Showing posts with label affordable. Show all posts

Monday, August 1, 2016

Make your own Ricotta!

Make your own Ricotta!


Simple, easy, fresh, organic, and beautiful.

Start here and turn it into something beautiful like homemade Gnocchi…
Easy Simple Makes 1lb.
Ingredients

  • Juice 1 Meyer Lemon
  • 1 Gallon 2% Milk
  • 1 Qt Buttermilk (reserve ¼ Cup)
  • 1 Tbsp Kosher Salt
  • You will need Cheesecloth - if you can’t find ask your butcher or meat dept for some.

Procedure

  • Place milk, buttermilk, lemon juice, and small into a small pot.
    • Bring to a boil.
    • stir constantly not to burn milk or it’s all over!
  • Once start to boil - drop heat and let simmer for 10 minutes.
    • Stirring occasionally avoiding sticking and scorching.
  • When the curds start to form and float to the top, turn off heat and let sit for 10-15 minutes.
  • Dampen the cheese cloth, and lined bowl or strainer.
  • Carefully pour curds over cheesecloth

  • After drained, pour the remainder buttermilk on top slowly to let absorb.
  • Tie around large spoon, and let hang over dripping bowl for about 1 hour.
  • Remove cheesecloth, and refrigerate until chilled. Cover until ready to use - up to 3 days.

#FreshRicotta #FreshCheese #HomemadeCheese #Ricotta #DIYGourmet #CaylenasCourses #ChefCaylena

Wednesday, July 27, 2016

Homemade Lemon Zest Fettuccine

Homemade

Lemon Zest Fettuccine

There truly is nothing better than homemade pasta, or the experience making it with others! Grab your girlfriends, your partner, and/or kids, and get in the kitchen this! Turn this into a party, a date, or just another cherishable moment!  
This splendid pasta pairs wonderfully with seafood and fresh herbs in the warmer weather due to it’s super bright flavor from the Lemon Zest.

with Farmers Market Summer Tomato Sauce
Servings 6- 8  Yields 1lb. of Dough Difficulty: Moderate/Easy

Ingredients

  • 1 cup packed  00 Flour
  • 1 cup  packed Semolina Flour
    • 1 cup Semolina Flour for rolling, cutting,& setting
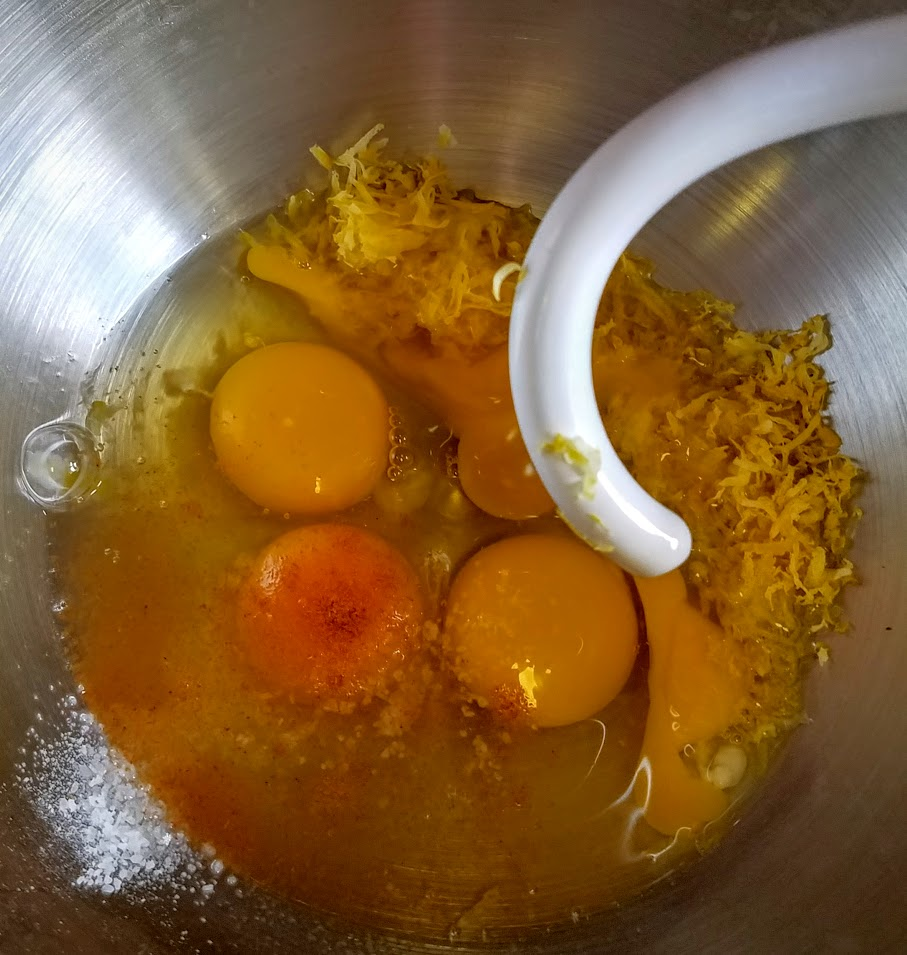
  • 4 whole Eggs
  • Zest of 1 full large Meyer Lemon (very thin zest.)
  • ½ tsp Kosher Salt
  • Pinch Cayenne Pepper
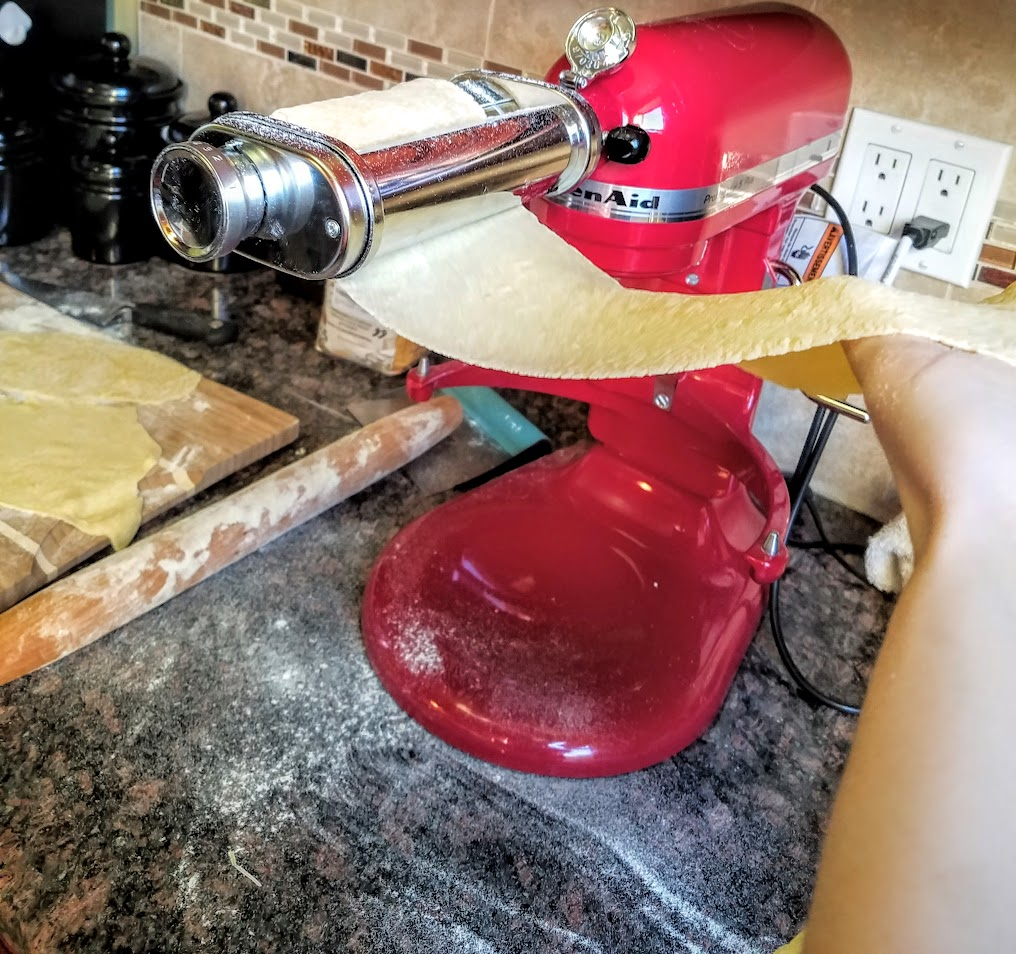
You can make this recipe by hand entirely - easily enough, with a hand fed pasta maker, or, the KitchenAid Mixer with Pasta attachment, which I’m using here. I will walk you through both ways.
Tools
  • Rolling Pin
  • Plastic wrap
  • Some form of electric mixer -OR- large wire whisk.
  • Pasta drying rack -OR- sheet pan.
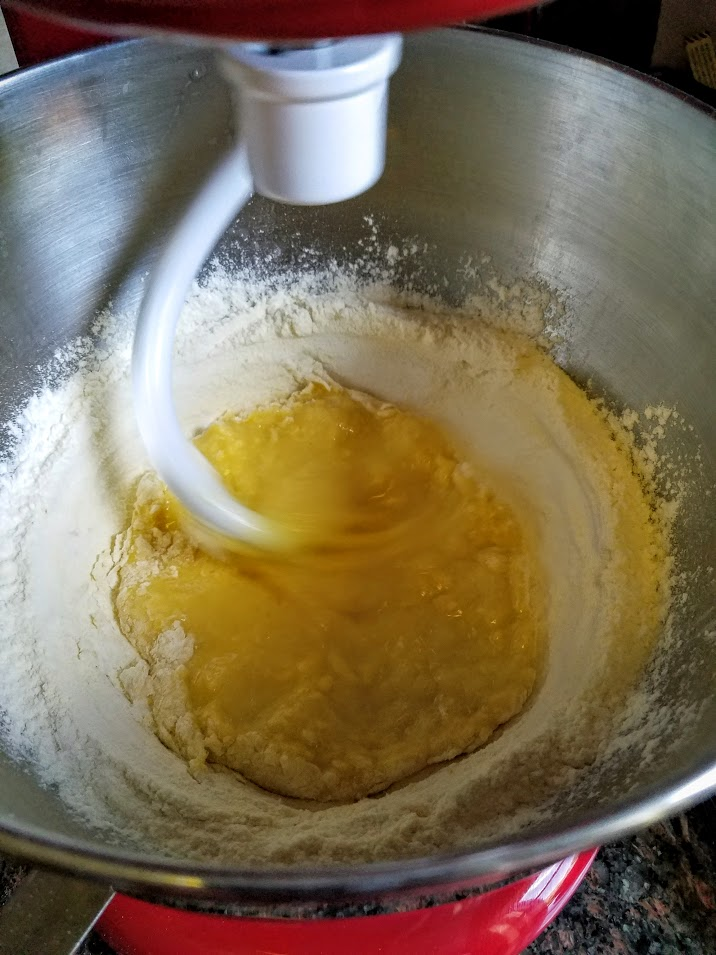
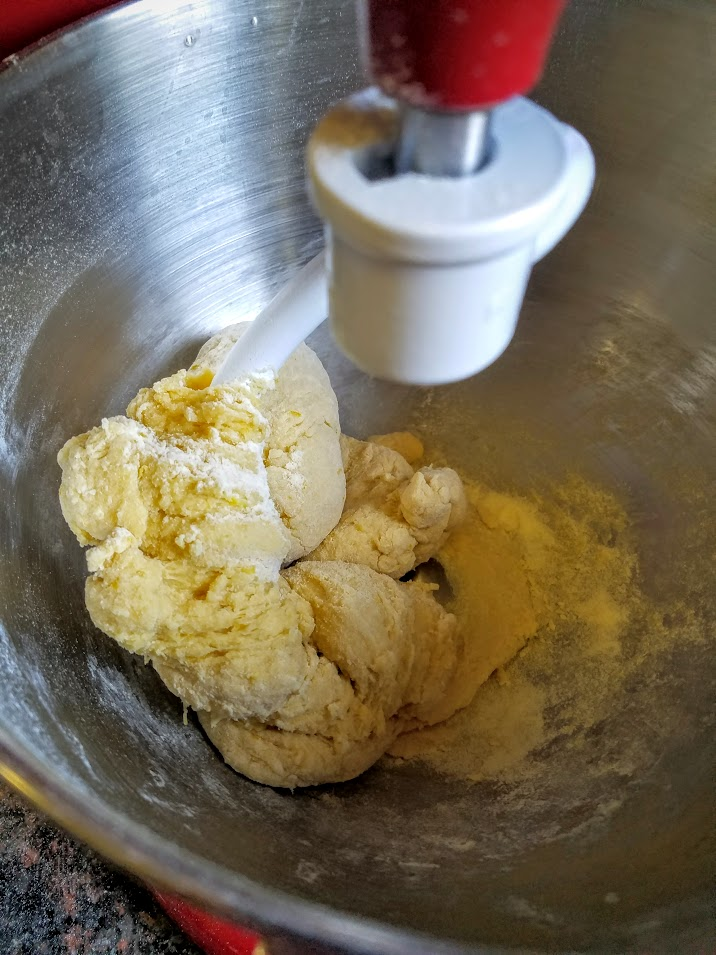
Mix eggs, salt, pepper, lemon zest, then ½ flour. Once incorporated, add rest of flour a little bit at a time.  Keep mixing until dough forms a ball and is no longer sticky.
  • If using a stand - use dough hook and mix at a Medium speed.
  • If using hand mixer - stop once thickens, and finish mixing by hand.
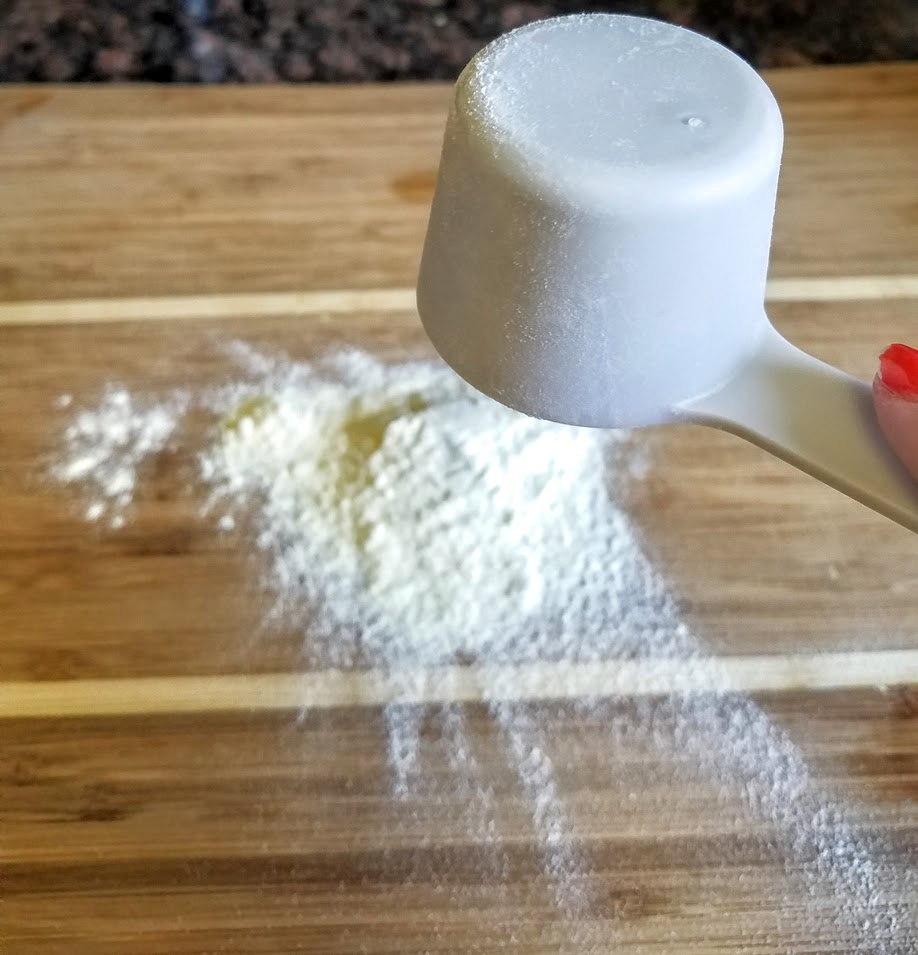
Cover working surface (cutting board, counter top, table - best not to use marble) with flour for working.
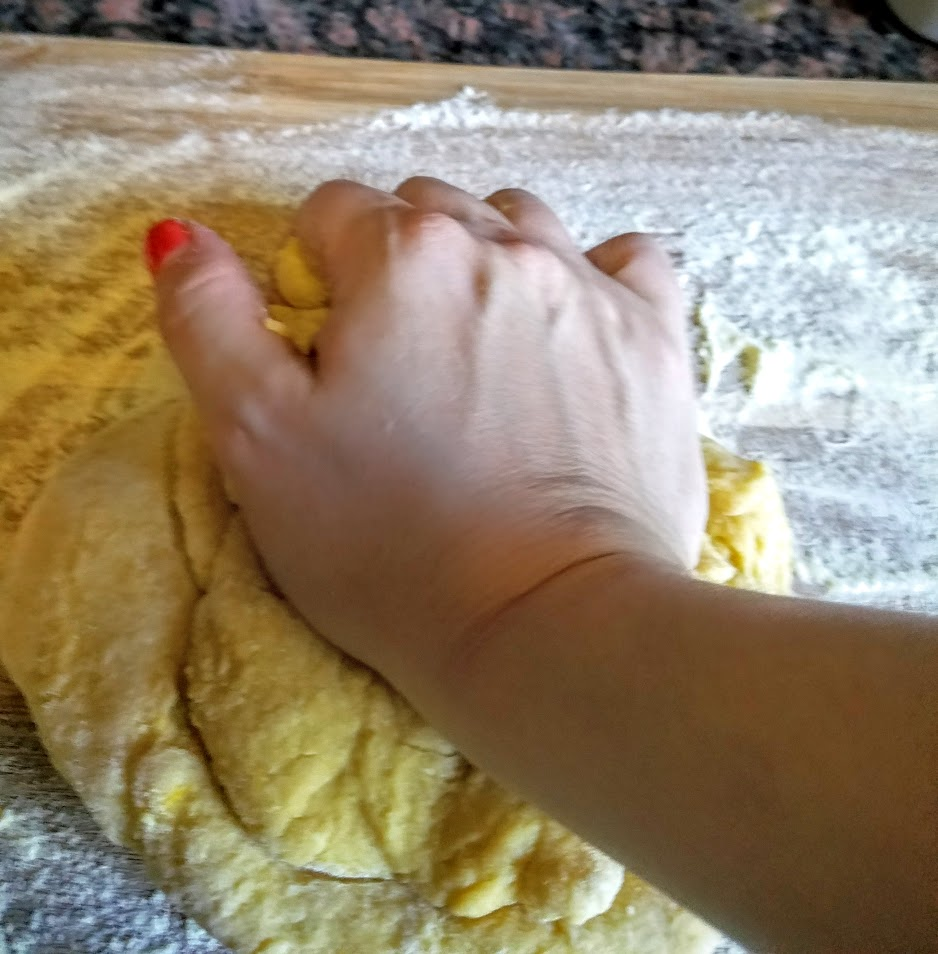
Take all the dough to the flour surface, knead by hand for 3-5 minutes, until dough is smooth and elastic. (Don’t worry about the pieces of zest.)
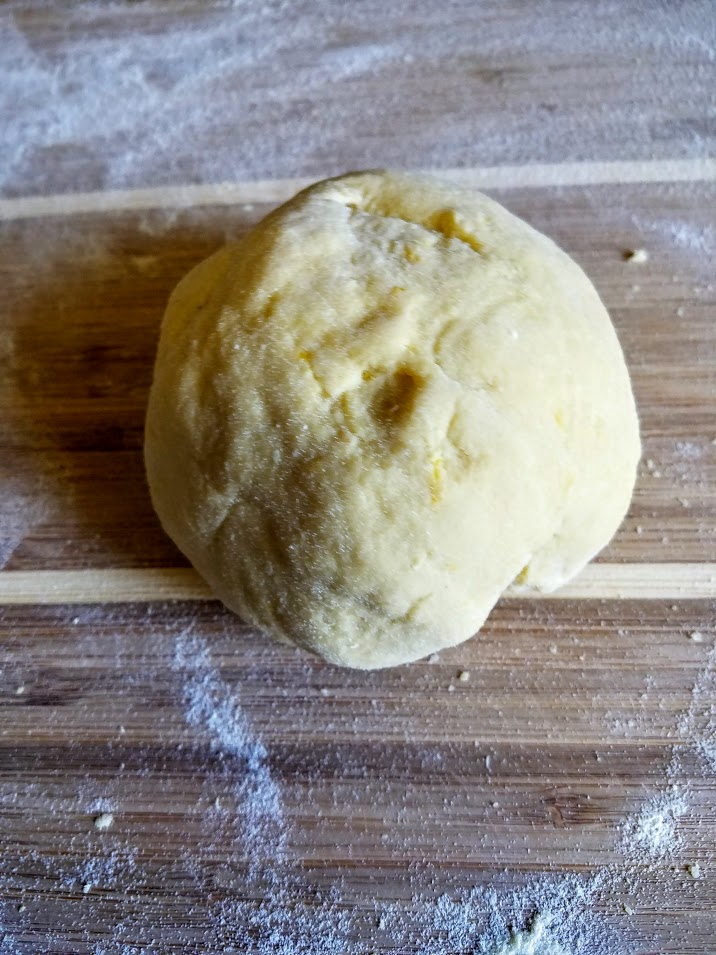
Use the flour on the board to keep the dough dry. When finished your hands will be dry and dough firm - though not dried out and crumbling. (*If it is, add a drop of olive oil until right texture.)
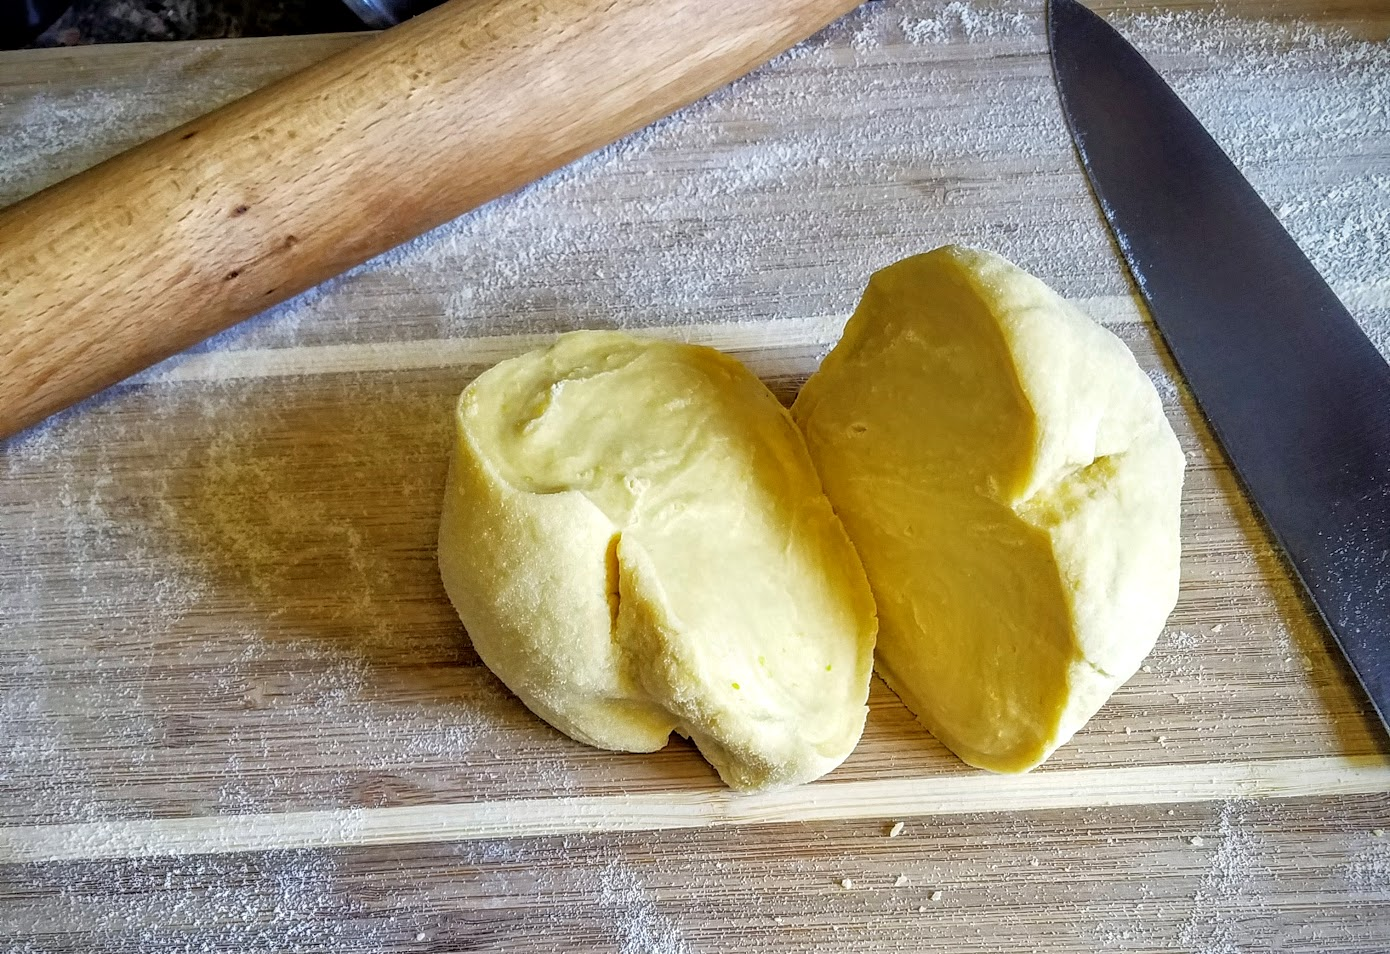
Cut dough in half. Form into ball and coat with flour from board. Wrap in plastic.
Put in refrigerator for 30 minute. Don’t start to clean up yet… you’re not done with the mess yet.
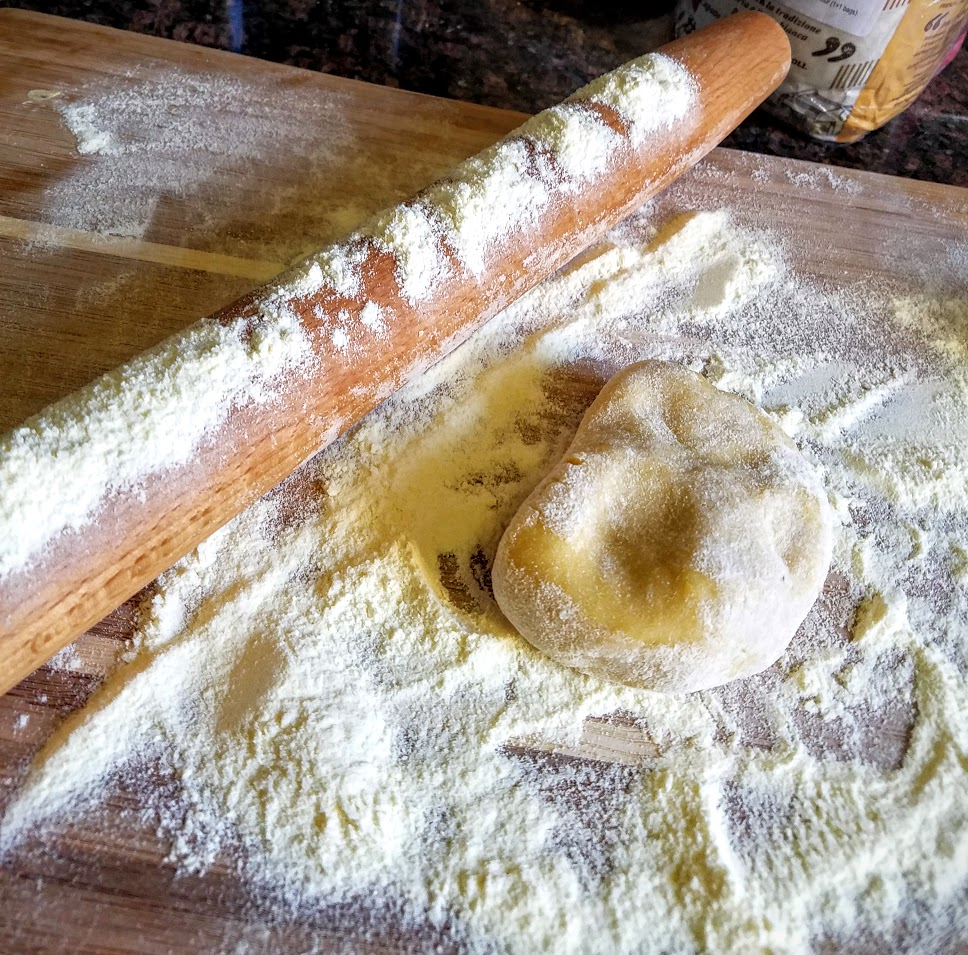
More flour! On board and coat rolling pin. Use as much as you need. Roll out dough
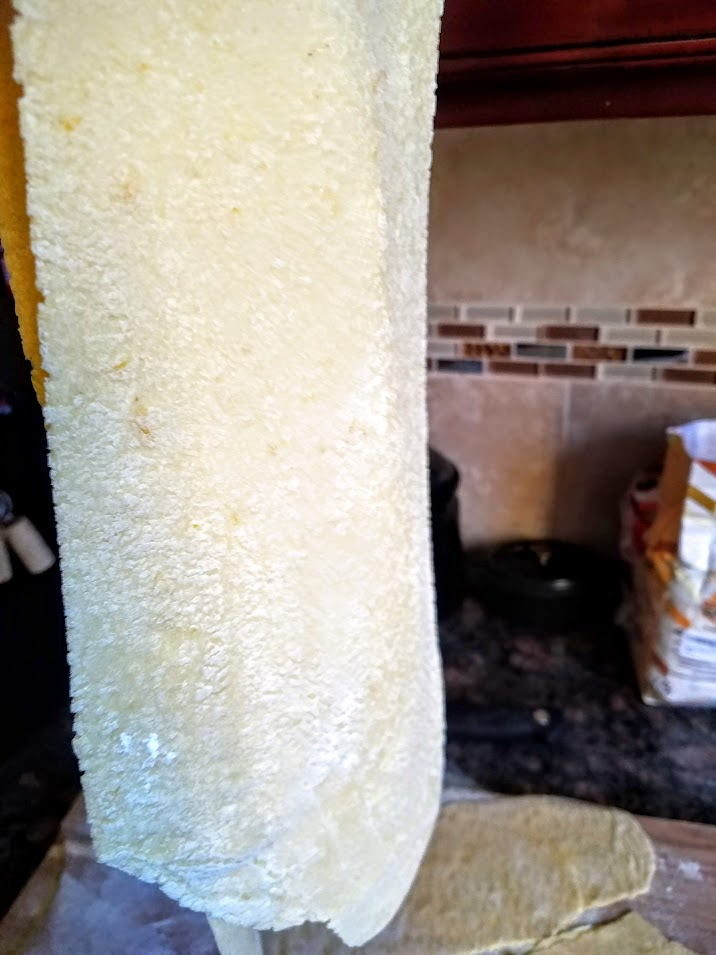
  • With pasta machine - use widest setting - roll through 2x, fold dough, then again on 2-3 more times, dusting with flour all the while.
  • If by hand follow the same but obviously you’re using the rolling pin.  

If doing by hand:
  • cut pasta into strips.  
  • Lay pasta flat, fold over 4” of the corner. Then take that corner and again, until you have a nicely folded 4” layered dough.
  • Using a knife - cut thin layer to thickness of fettuccine.

Meanwhile - Those using machine:
  • Change attachment on mixer - or if using hand operated.
  • Run pasta through machine - using one hand to catch, and one to feed machine. Although if you have this attachment you probably know how to use it.
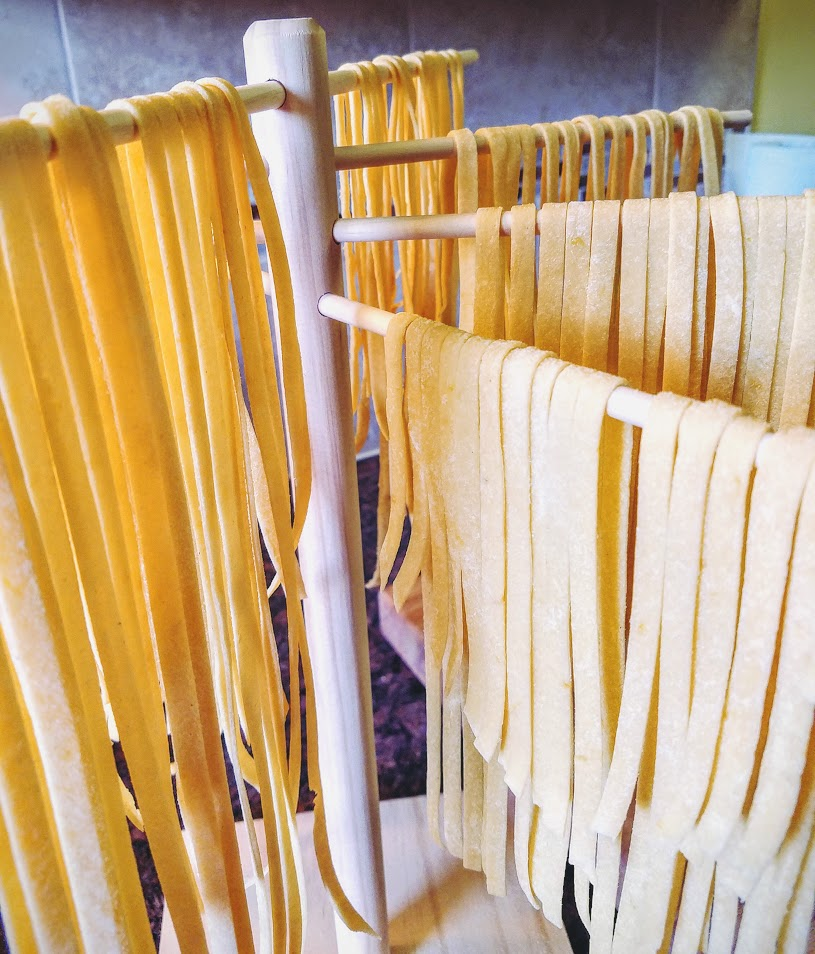
Hang pasta to try on rack if have. If not - coat sheet tray with more flour and drape noodles. Leave out at room temperature to air dry for 1 - 3 hours, refrigerating if not cooking. (*Dry - if humid put in refrigerator.)
Raw noodle can be covered in airtight container for no more than 2 days.   
*Boil in heavily salted water for 3-4 minutes, stirring the entire first minute to keep from sticking. Toss in favorite sauce and enjoy!
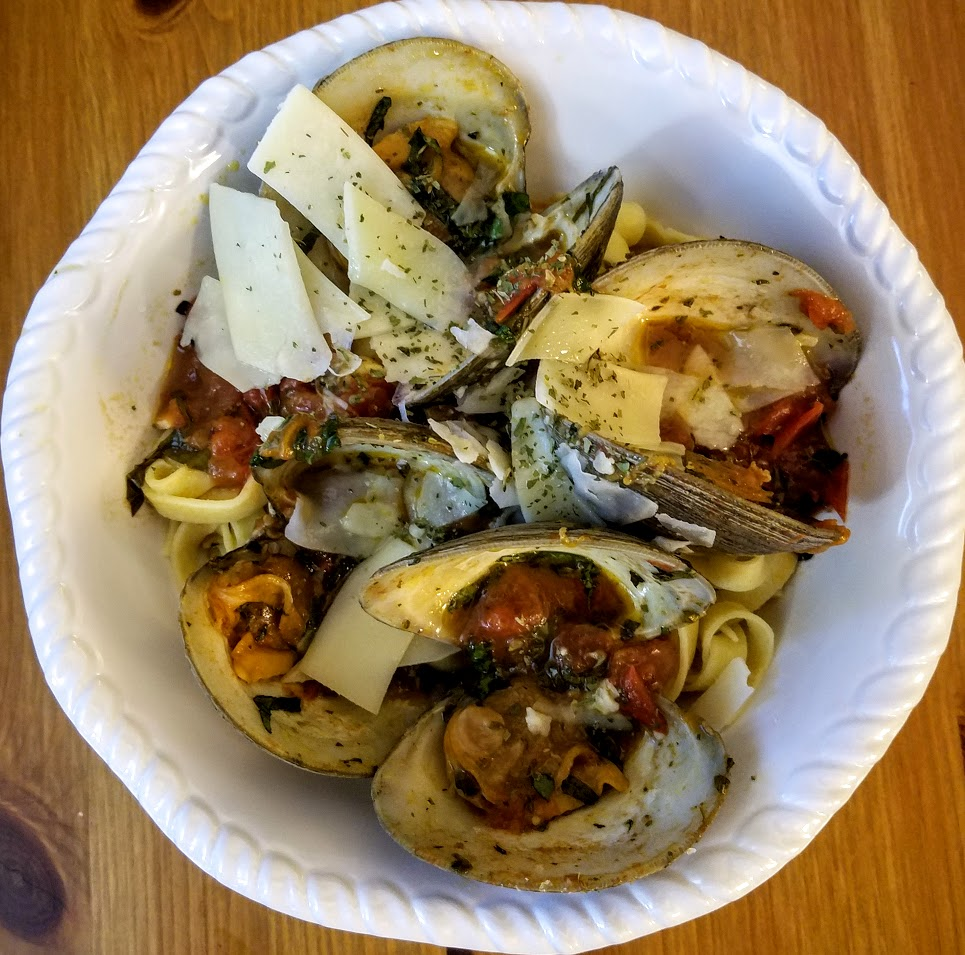
Here paired with my Simple Summer Tomato Sauce, fresh Basil.
Above with Farmers Market Summer Tomato Sauce, and clams.

#KitchenAidMixer #KitchenAidPasta #HomemadePasta #Fettuccine #KidFriendly #CheapEats #KidsCook #FreshEggPasta #LemonZestPasta #DIY #HostingAndEntertaining #FamilyCooking #ItalianCooking #ItalianCuisine #DIYItalianFood #SummerCooking, #ChefCaylena

Friday, July 22, 2016

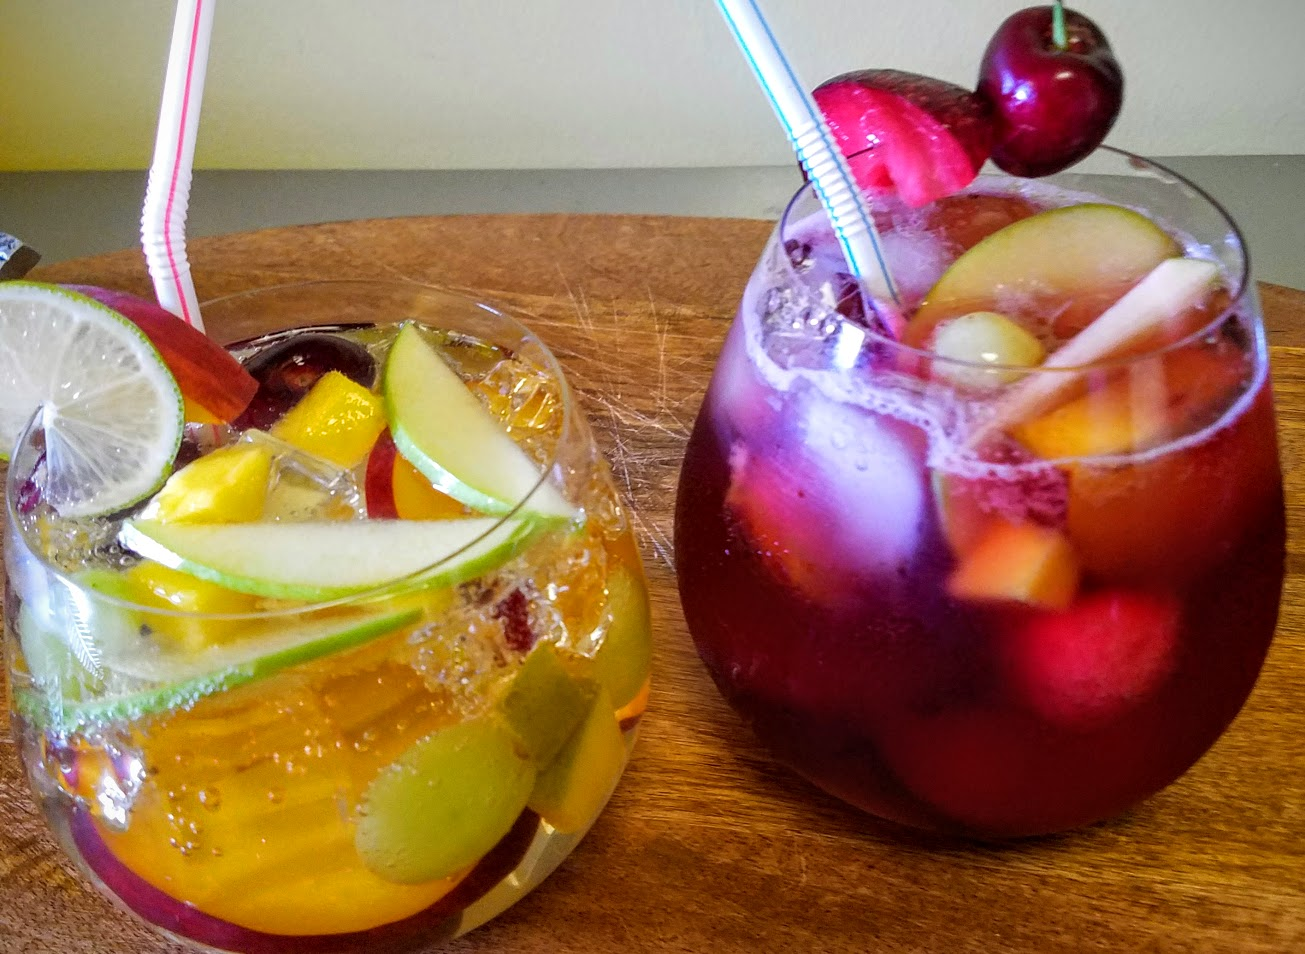
SANGRIA - My Favorite Summer Cocktail!!!


Sangria

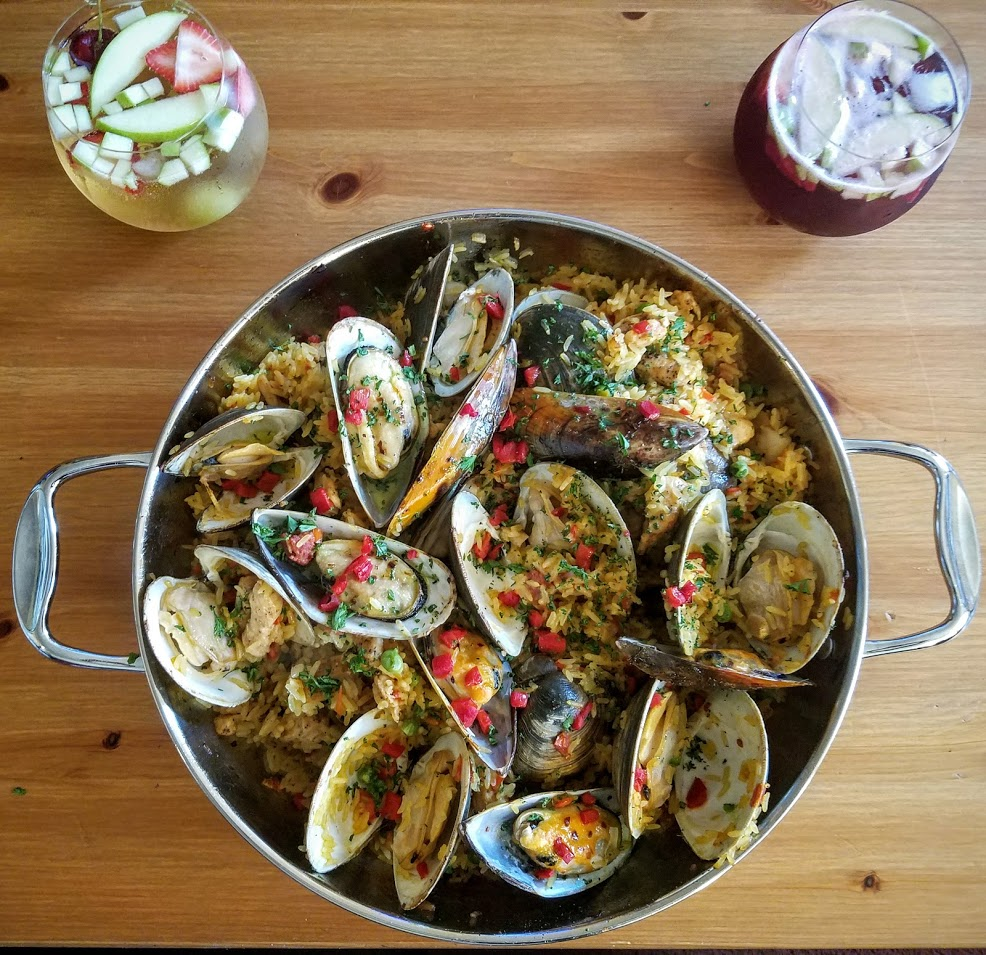
Red or White both are sublime
Delicious for the summer heat! Careful they’ll sneak up on you!!!


Perfect with Paella Valenciana

RED

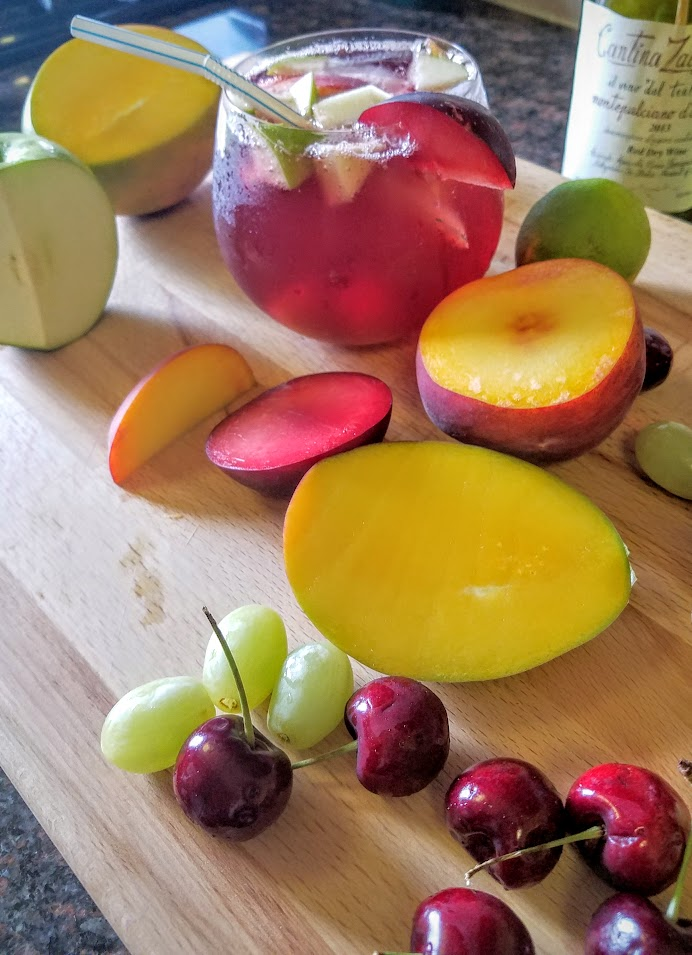
  • 2 bottles Cabernet, or any (cheaper) Red you prefer - stay away from sweet.
  • ½ cup Blackberry / Currant/ or Chambord
  • ½ cup Peach Schnapps
  • ½ cup  Brandy or Bourbon
  • Fruit:  Plum, Peaches, seedless Grapes, Green Apples.
Let fruit marinated in mixed liquor for at least 2 hours!
Fill glass with ice, fill 2/3rds with Sangria, add a spoon of the marinated fruit, and top off with Seltzer water. Voila…
Garnish with a plum slice and a cherry! Leave the stem on so people will know to watch for the seeds.

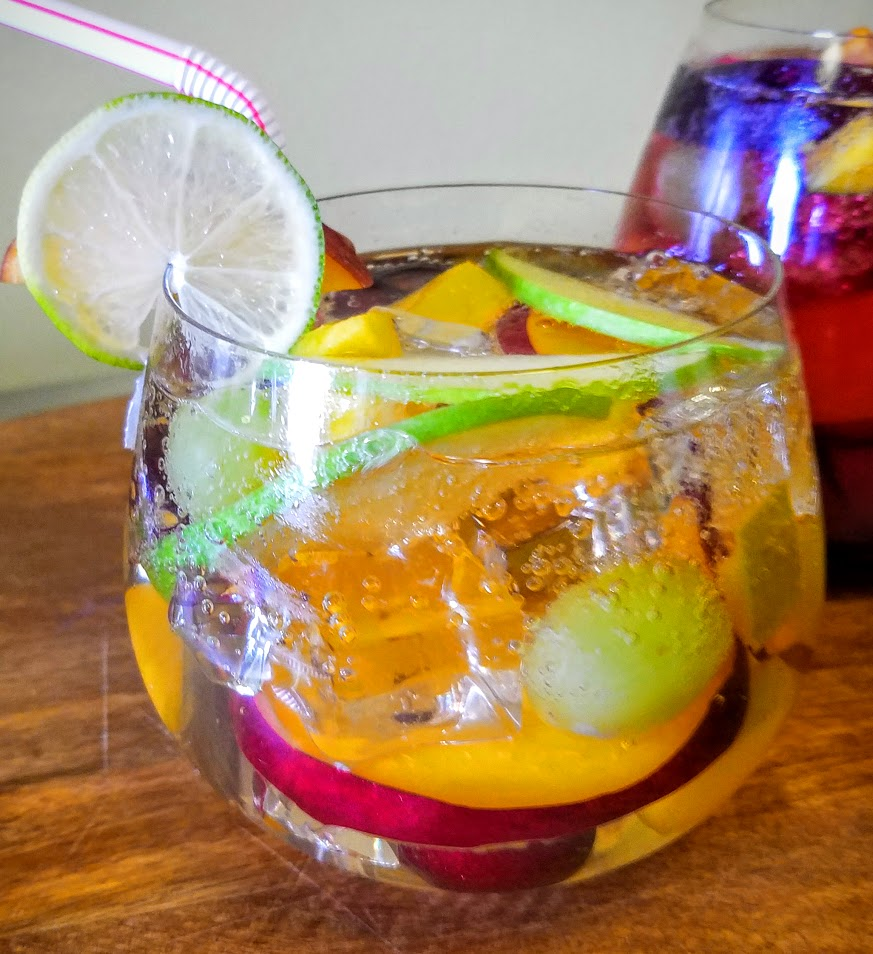
White

  • 2 bottles Dry White Wine
  • ½ cup Peach Schnapps
  • ½ cup Triple Sec or orange flavored liqueur - can finish with a splash of real oj if prefer.
  • ½ cup  Brandy, cognac, or bourbon
  • Fruit: Mango, Peaches, Green Grapes, Green Apple,
  • Seltzer water - for topping off not in the mix.

Fill glass with ice, fill 2/3rds with Sangria,, add a spoon of the marinated fruit,and top off with Seltzer water. Garnish with a lime to finish it!


Friday, July 8, 2016

Reviving A Classic - the Bloody Mary


*Bloody Mary*
If you’ve been paying attention - I love my brunches! I love cooking and entertaining! Before I had become a professional Chef, I was a bartender for 10 years, coast to coast. There are many ways and coastal differences of pretty much everything… especially cocktails lenient of preference. With that in mind this one is for the entertainer- Modern, Chic, and Fabulous!

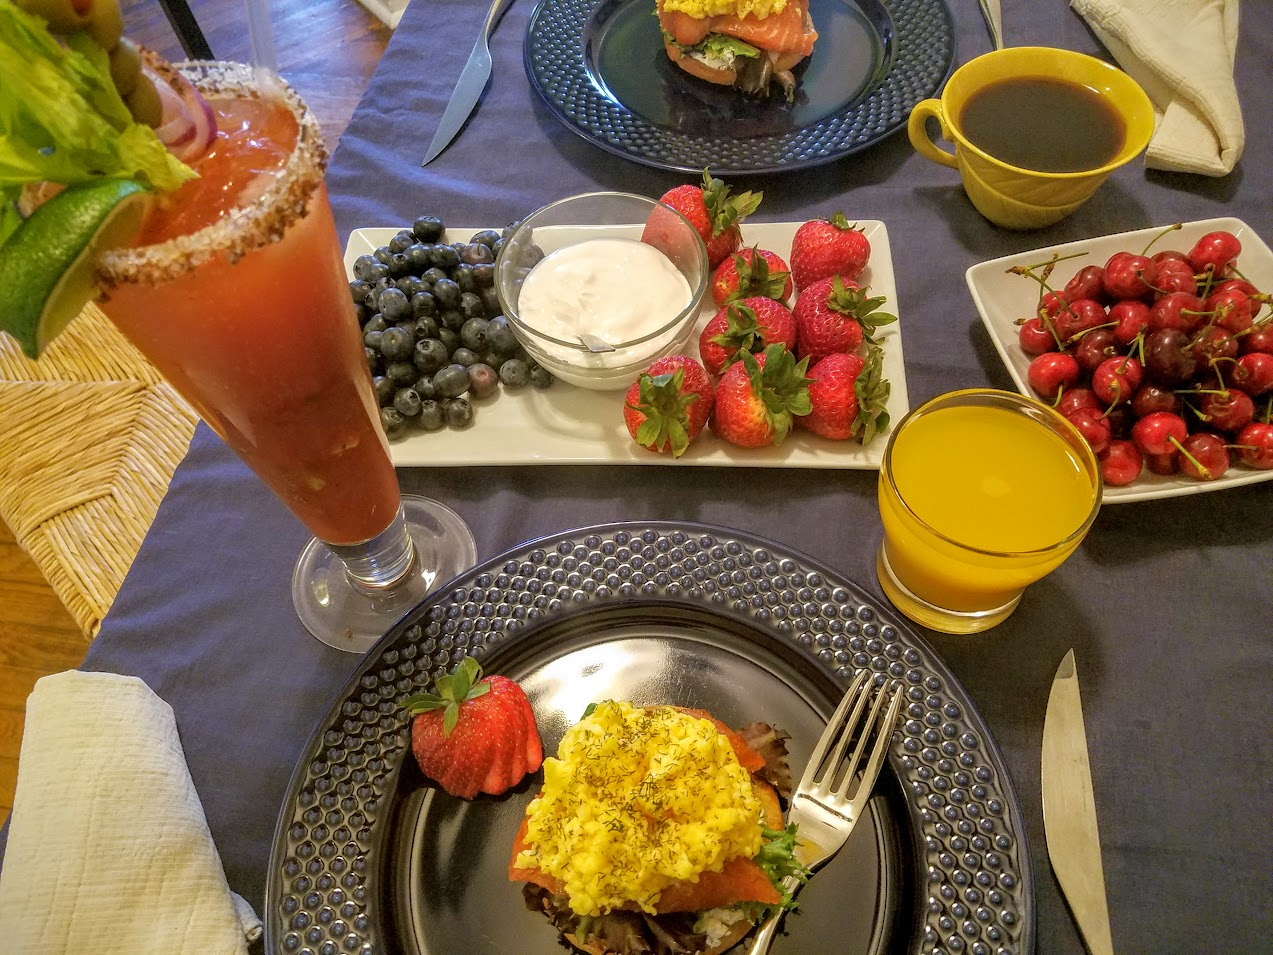
Fantastic for entertaining the masses, just put a bottle of your favorite hot sauce on the table if anyone wants to kick it up, like I do, other wise it’s pretty frickin awesome as is. Don’t forget the garnishes! They’re all part of the whole experience!

Make a vat and you’re good to go!

Per glass

  • V8- Spicy
  • Pinch finely grated Horseradish (or to taste)
  • dash Balsamic vinegar
  • ½ tsp Green Olive Brine  (or to taste)
  • (optional) Hot Sauce
  • 1 Tbsp Pinot noir - or any Leftover Red Wine!
  • 2 oz Vodka of Choice CITRUS! - get the lemon flavored

Per Pitcher:

  • 1 bottle V8 - Spicy  (2 Qts. = approx 10 cocktails)
  • 1 tsp finely grated Horseradish
  • 2 tsp Balsamic Vinegar
  • 1 Tbsp Green Olive Brine
  • ½ cup Red Wine
  • Couple dashes Hot Sauces - plus bottle left out for guest.
  • 2 oz Citrus Vodka per glass.

*Make the mixture separate, from Vodka
(note when yielding a large amount, taste, because somethings are not necessary to multiply.)

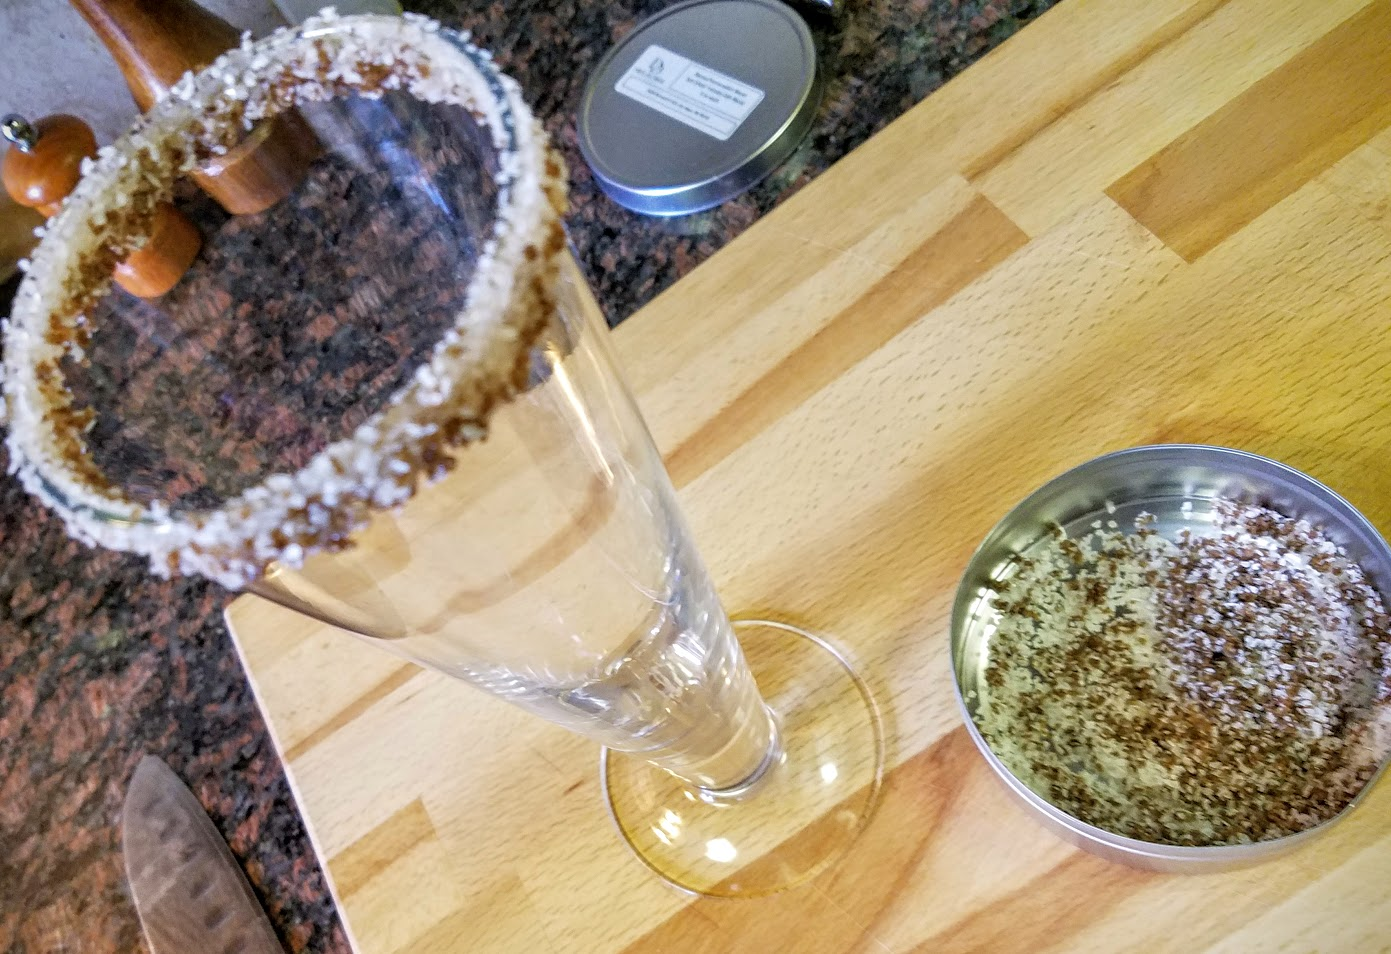
Rim:

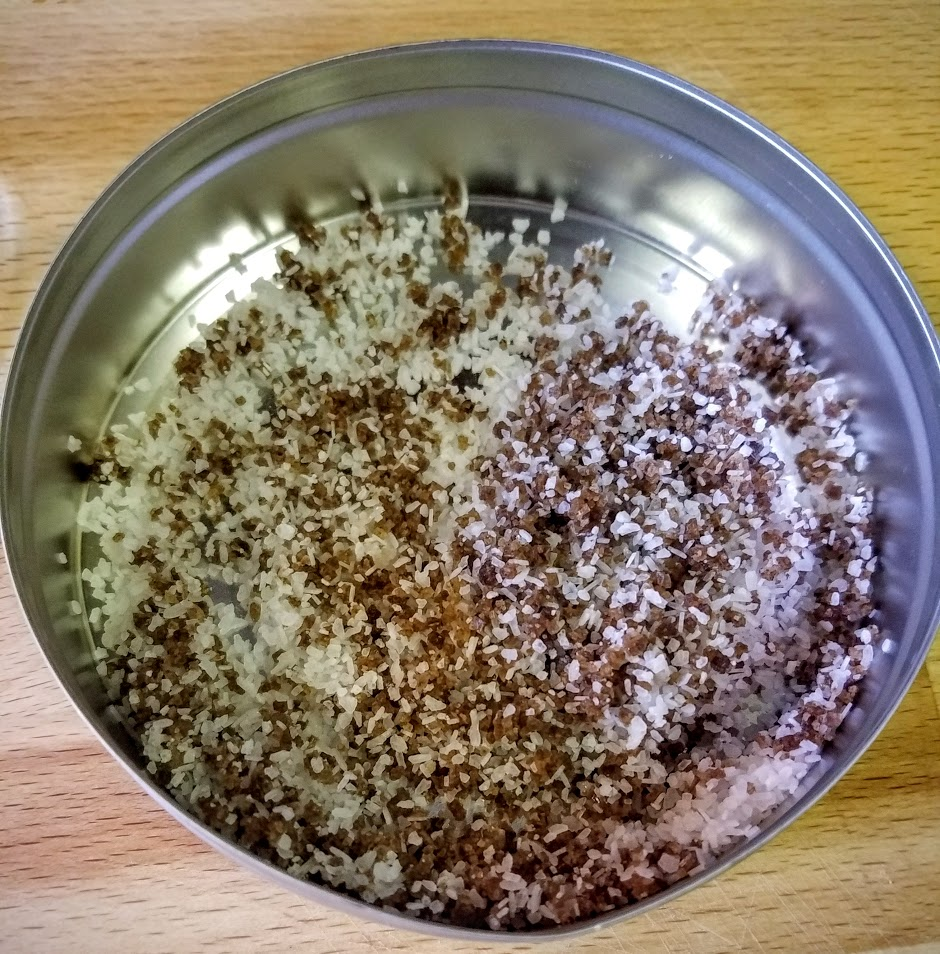
  • Bacon - make bacon, dust with Smoked Paprika! When Cool, crush finely
  • Coarse Sea Salt.
  • Lime Juice

Use a small blender or immersion if you have to get bacon really gritty. It’s going to be moist, mix it with the salt (which will dry it out and flavor the salt.) Keep in a sealed container until use - can last a week fridge!
Assembly:

  • Rub lime around rim, dip bacon and salt mixture to coat glass.

(can make several in advance for hosting)


  • Celery
  • Gently place ice in glass without touching salt rim, this will hold celery in place.
  • Vodka
  • Bloody Mary mix - don’t fill to top
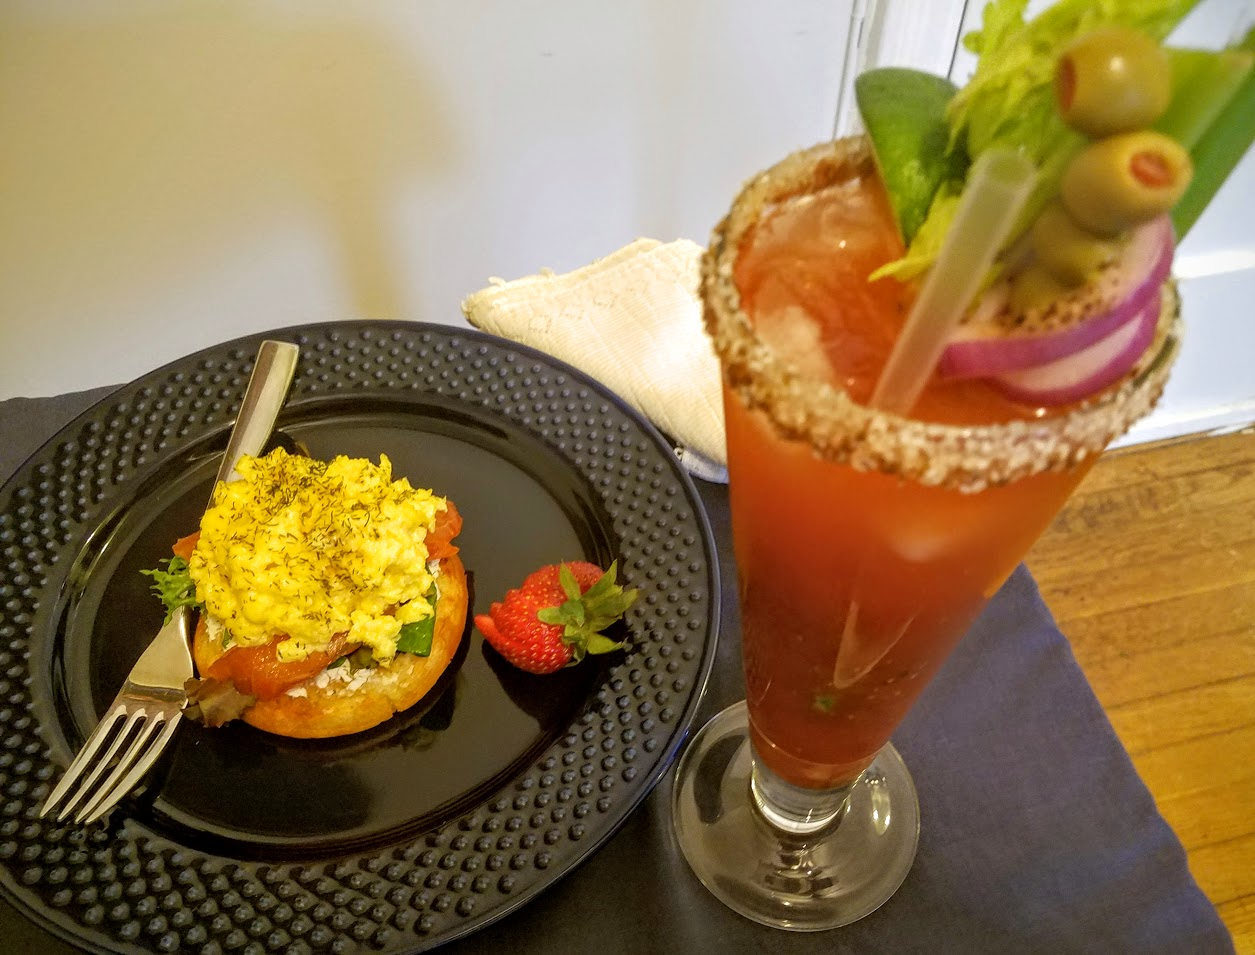
  • Now the rest of the Garnish… Green pimento Olives, Red Onion, Lime Wedge, Straw
    • Note- use toothpick for olives, then anchor into celery to hold place.
    • Then drape Red onion around for visual effect.


Go Enjoy and Share your Fabulous Bloody Mary!

Brunch above with my favorite Gravlax & Creamiest Scrambled Eggs over Crumpets.

This one is for the entertainer- Modern, Chic, and Fabulous!

#BloodyMary #Brunch #Cocktail #V8 #SpecialtyCocktail #FoodAndWine #BoozyBrunch #ClassicCocktail #RevitalizedClassic #ModernChicCocktail #ChefCaylena

Wednesday, July 6, 2016

THE CHEESE SOUFFLÉ

THE CHEESE SOUFFLÉ

The elegant and decadent souffle - the most pretentious and intimidating of haute cuisine.  I make this look easy - and now, so will you!
Most dramatically puffed up right out of the oven, and will deflate rather fast - so be prepared to serve immediately. This is why they are rather complicated to make for the masses, or why restaurants insists you let them know exactly when they are to be served, that, and the glorious fact that they are made to order.

This is a rather magnificent way to inspire awe out of your brunch guests! What they wont know is how incredibly easy and stress free this dish actually is to make!
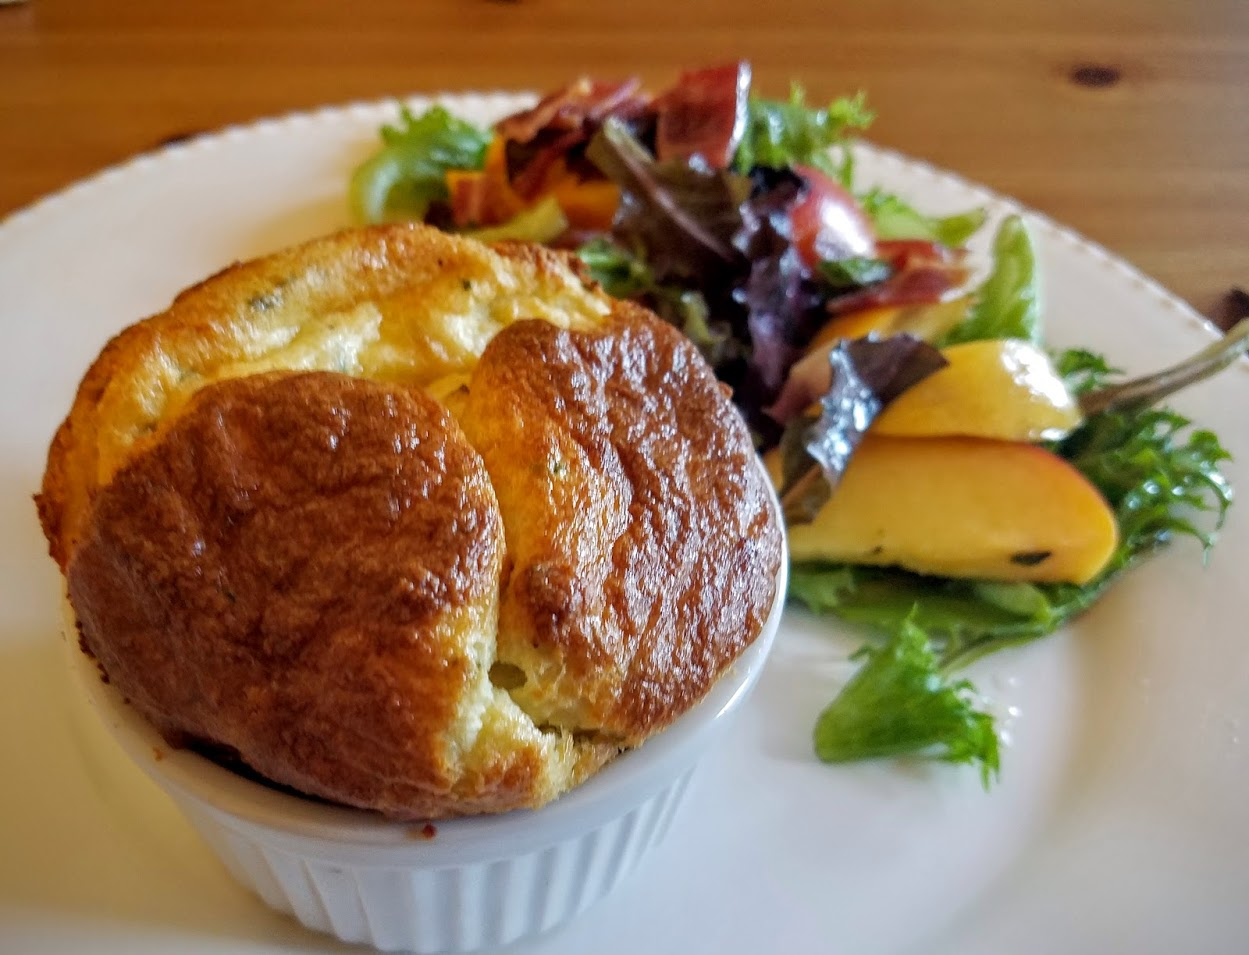
Shown here with Peaches & Bacon Salad


Difficulty - moderate / somewhat hard (Just pay attention & you got this!)
Time -  40-45 minutes TOTAL
Clean up - Easy, you’re eating straight out of the cooking dish!


*Mandatory:  Electric Mixer & 10 oz-Souffle cups / ramekins.
(you can buy for $2 each or the aluminum one time use ones at grocery stores.)
*Preheat Oven to 400*F

Ingredients

  • 4 Tbsp unsalted butter, plus more for ramekins
  • ¼ cup Parmesan cheese - grated
  • ¼ cup all-purpose flour
  • 1 cup Evaporated Milk (Lactaid, or whole Milk)
  • 1 cup grated Gruyere or Swiss cheese
  • 2 Tbsp chives - chopped
  • Pinch of Cayenne Pepper
  • Salt & pepper
  • 4 large eggs, room temperature, whites and yolks separated

Procedure

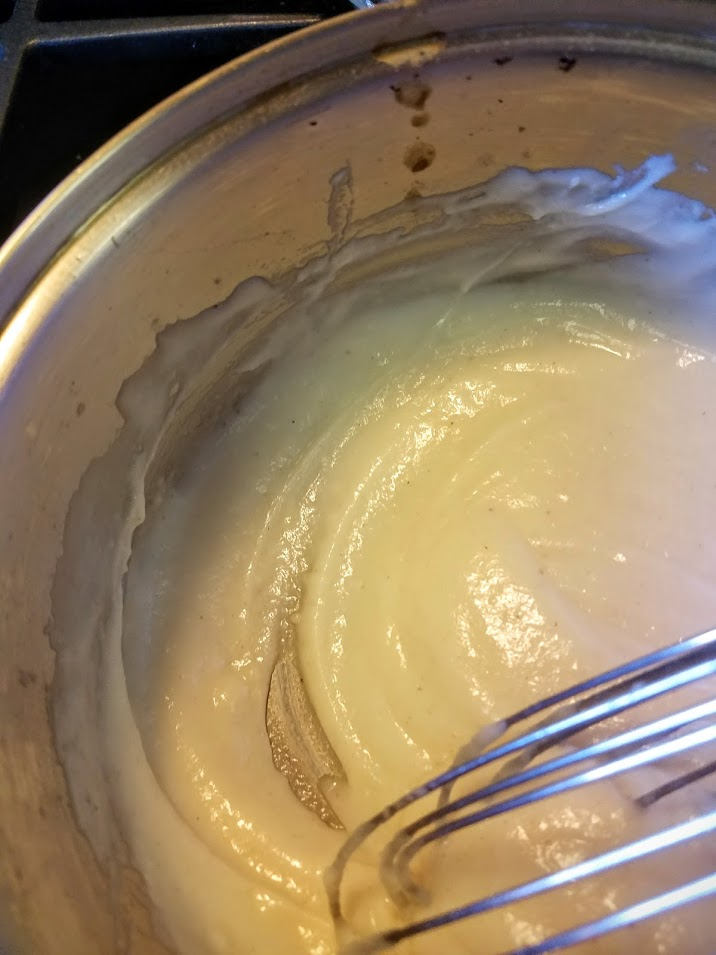
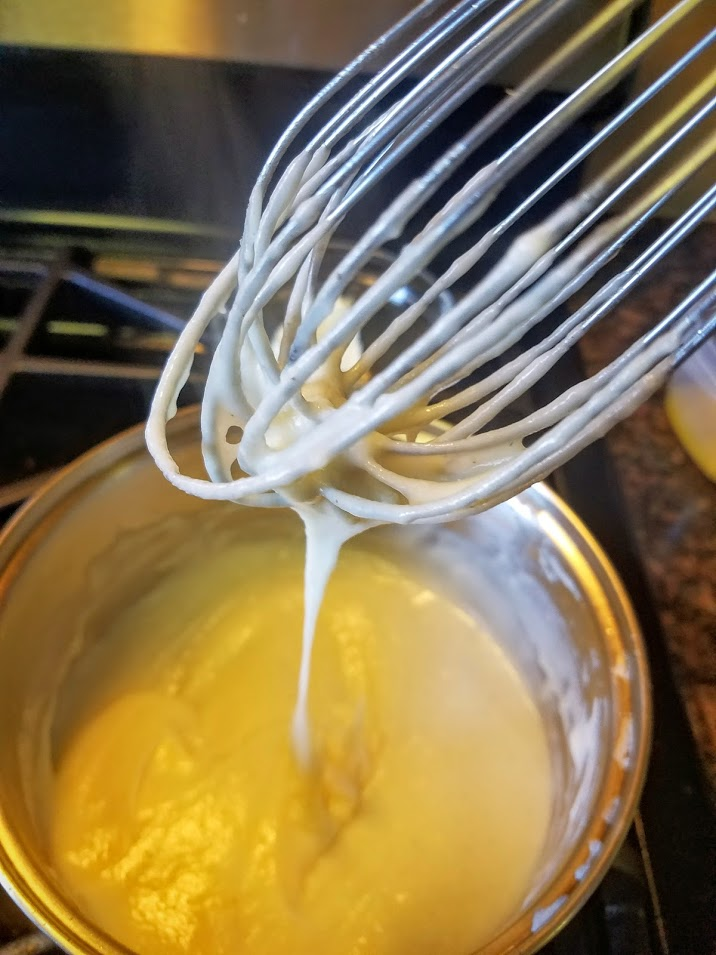
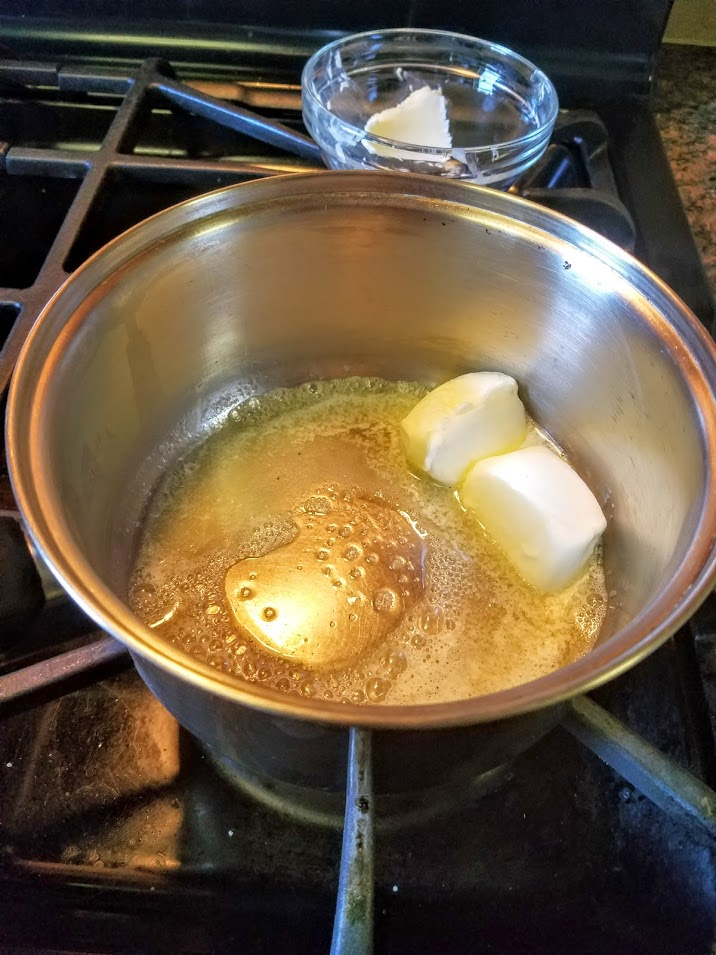
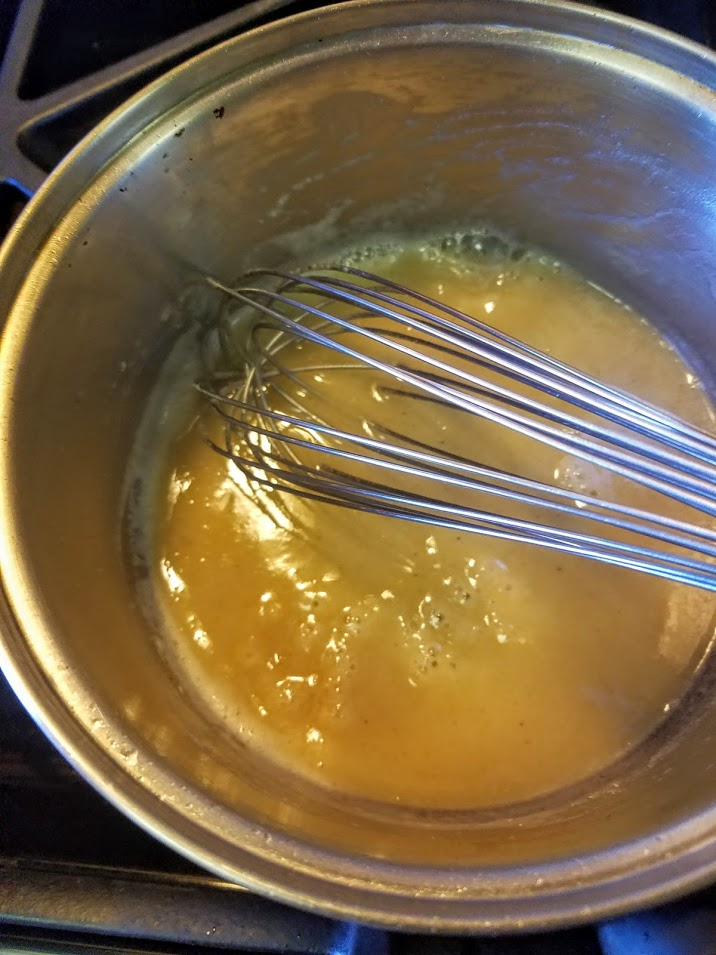
1) Melt butter in a saucepan over medium heat.
Add flour; stir 1 minute.
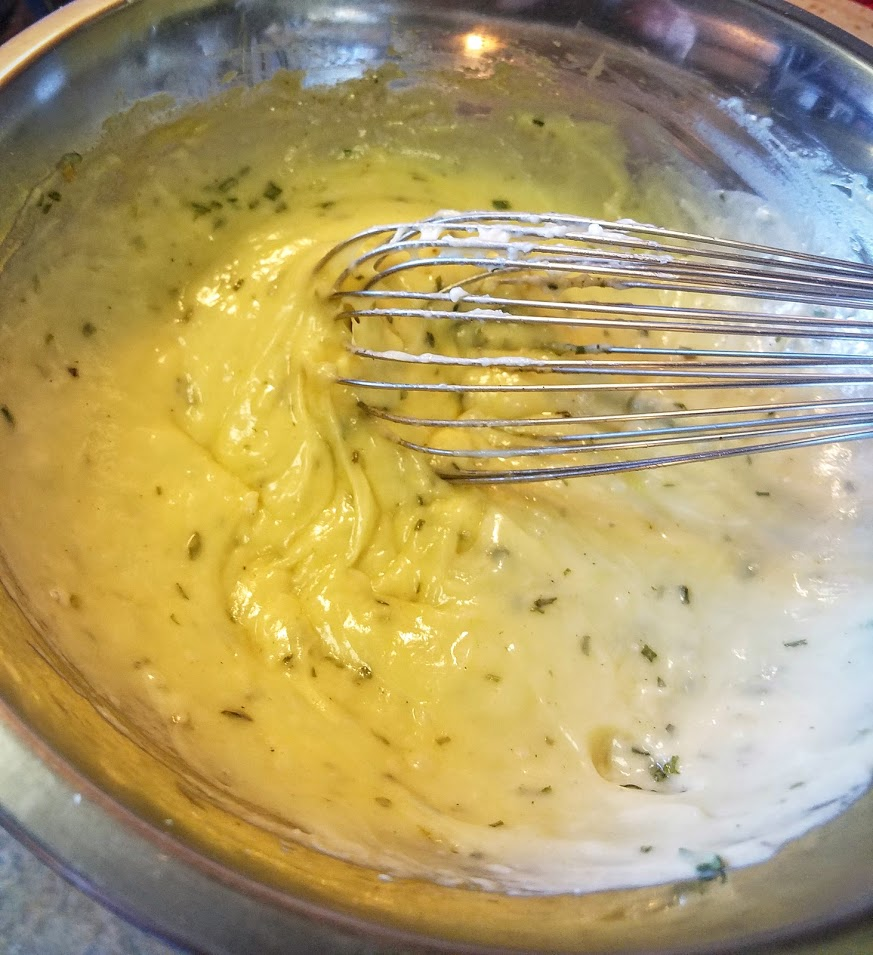
Add milk, whisking until thickened.
  
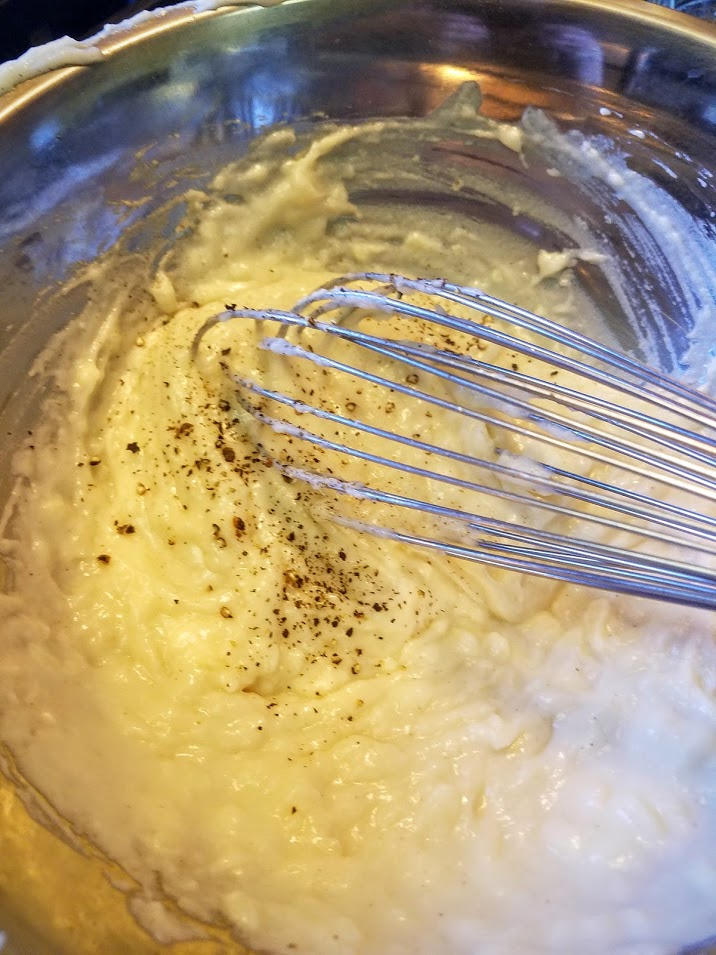
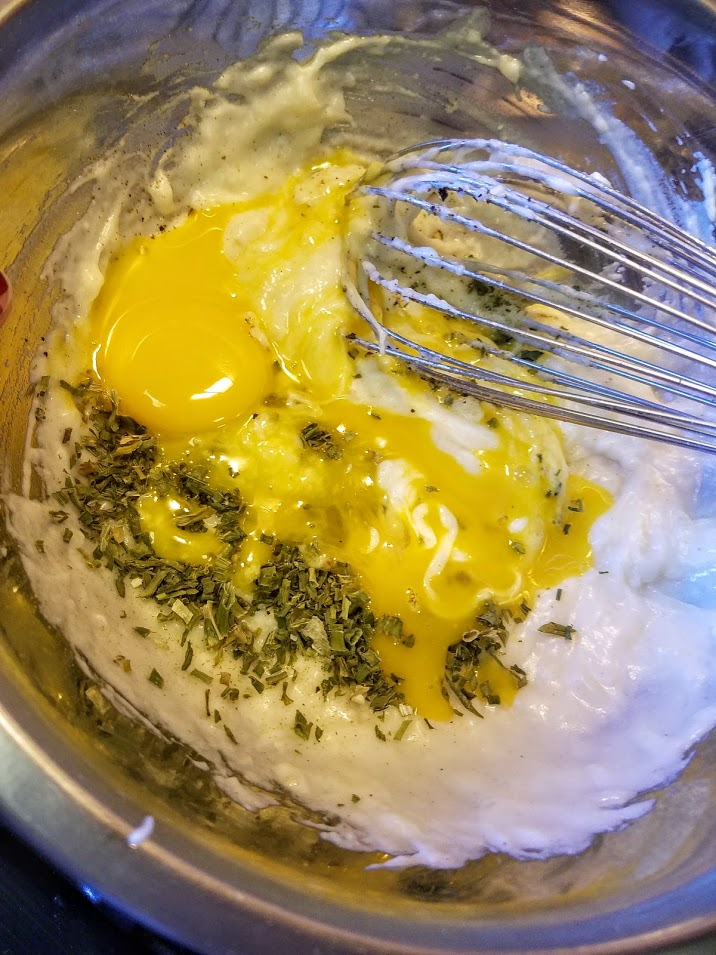
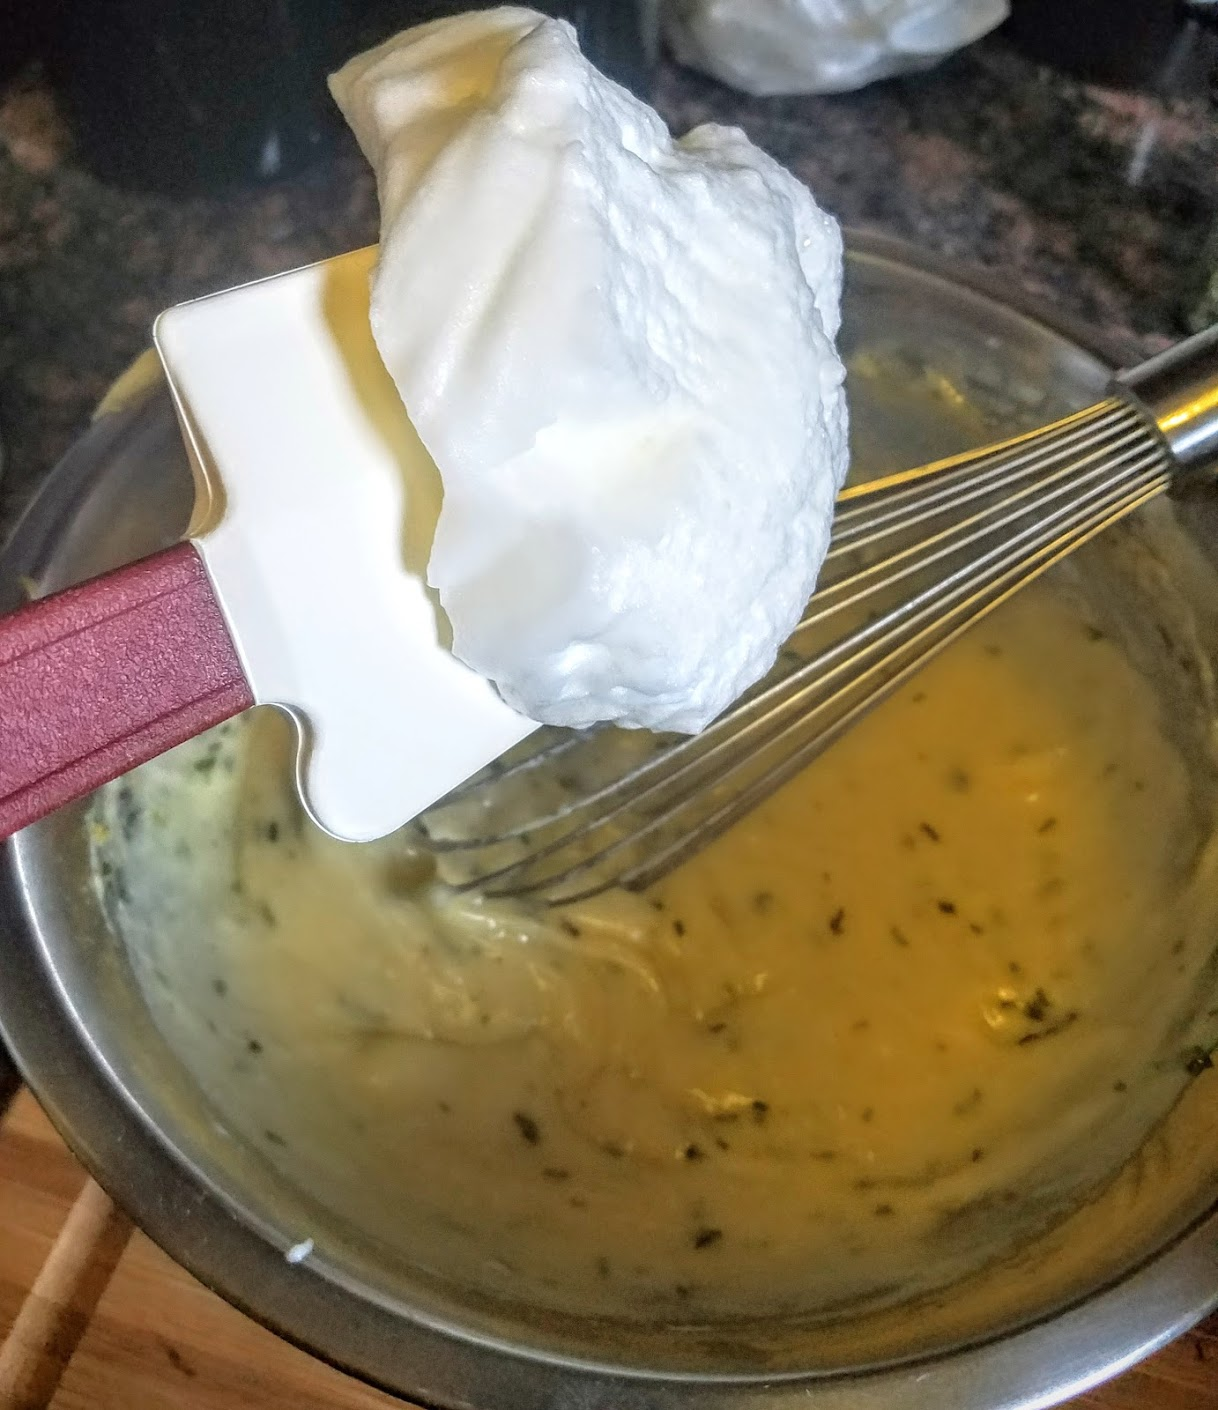
Transfer to a large bowl. Whisk in Gruyere / Swiss cheese, salt & pepper.

Then egg yolks & chives.
2) Making the Meringue…
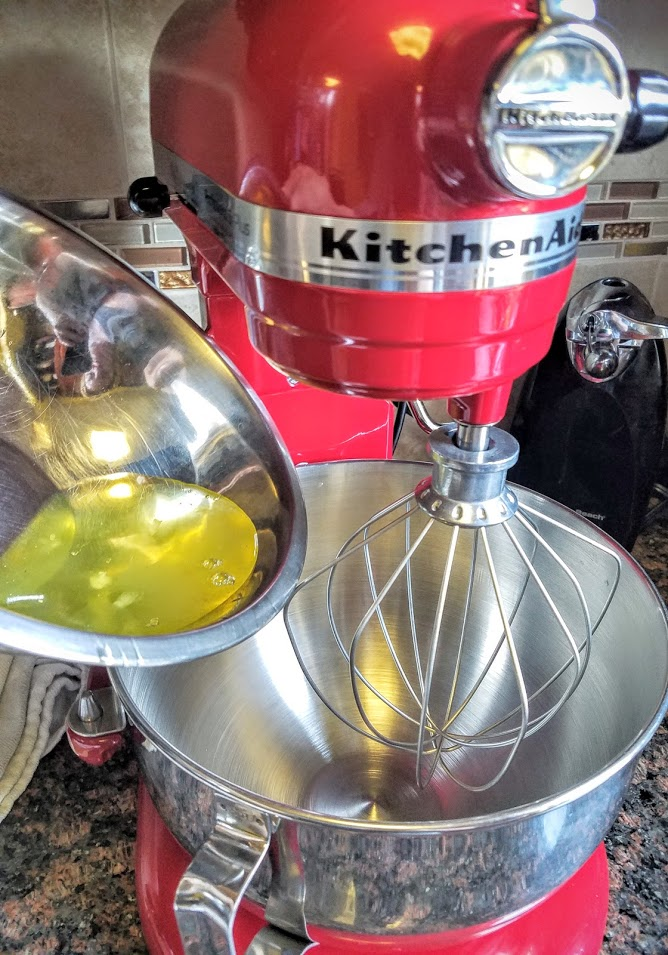
*It is very important not to have ANY yolks mixed with the whites, or it simply WILL NOT work. This is a crucial detail. If you think it’s working… wait until you try to get those souffles to rise… nada!
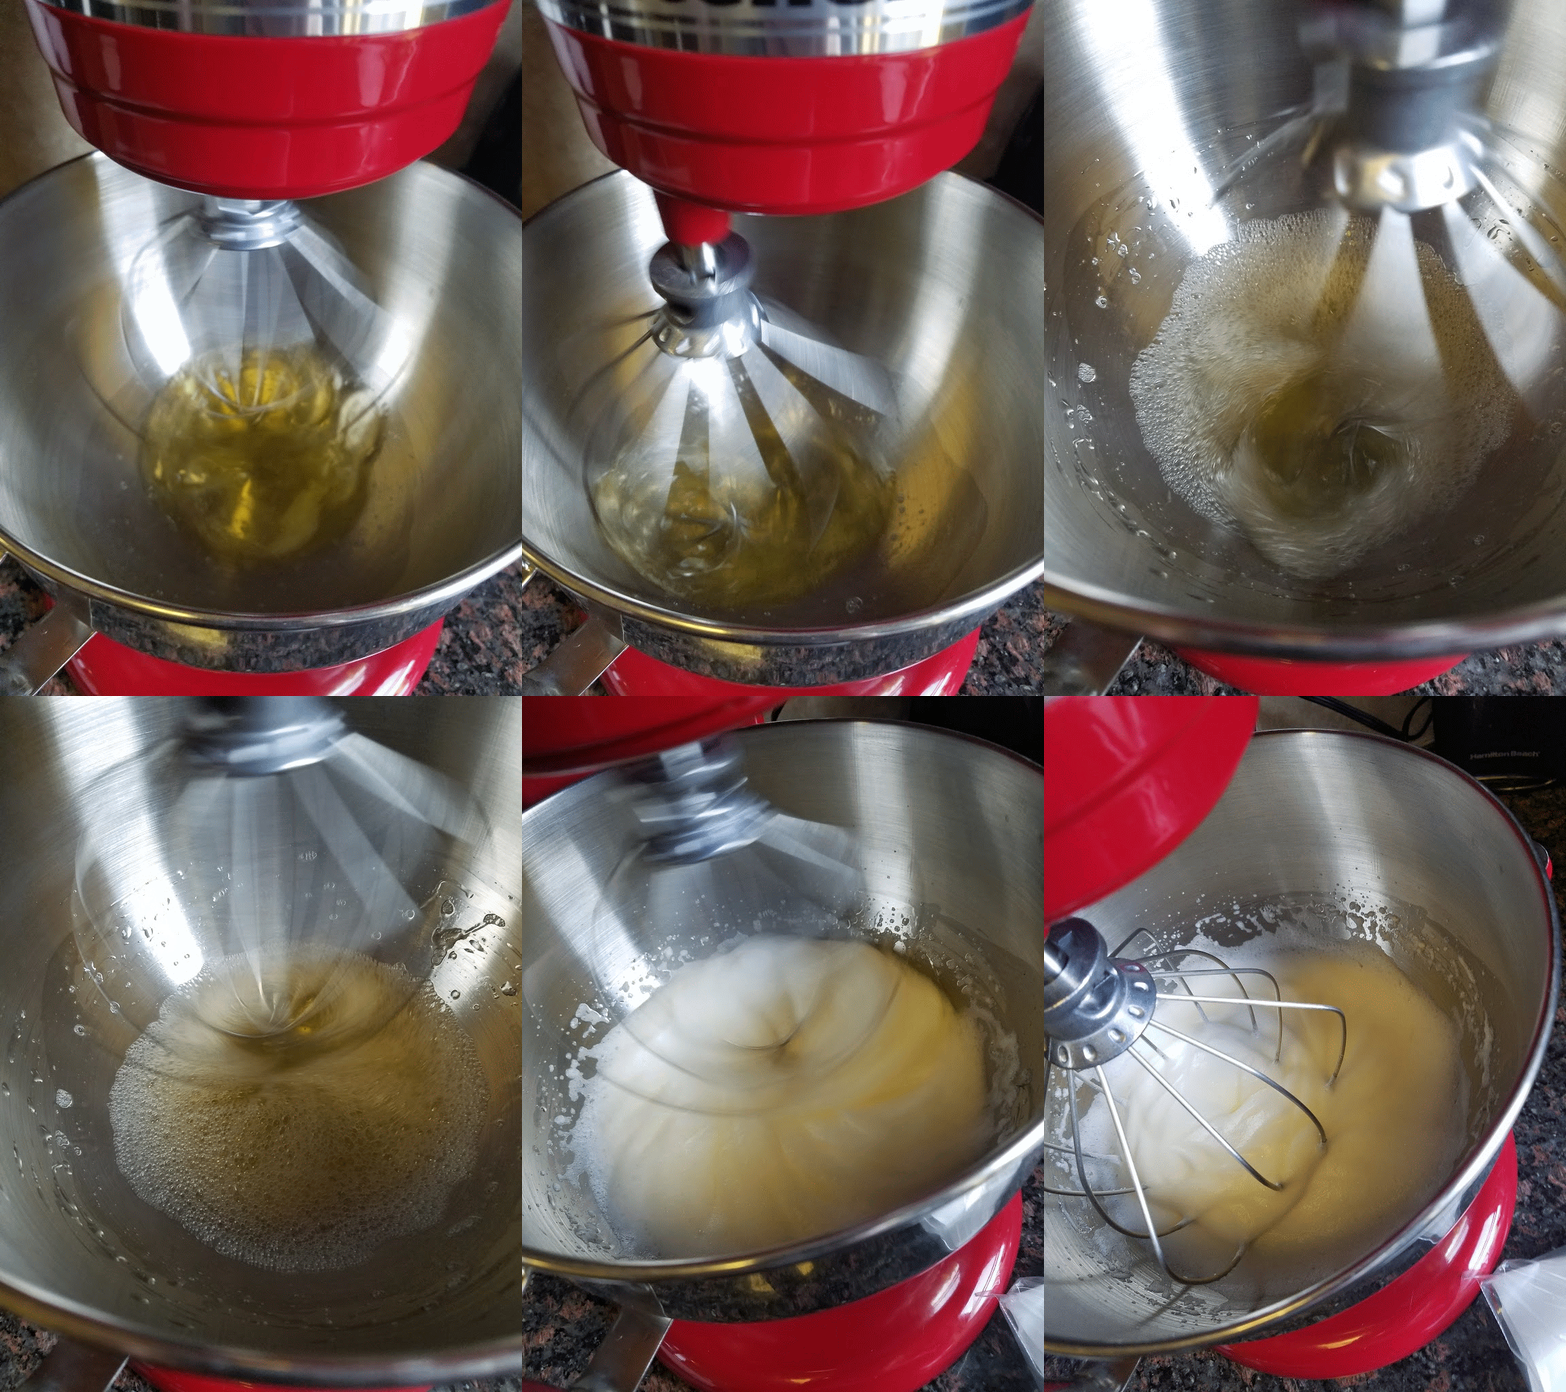
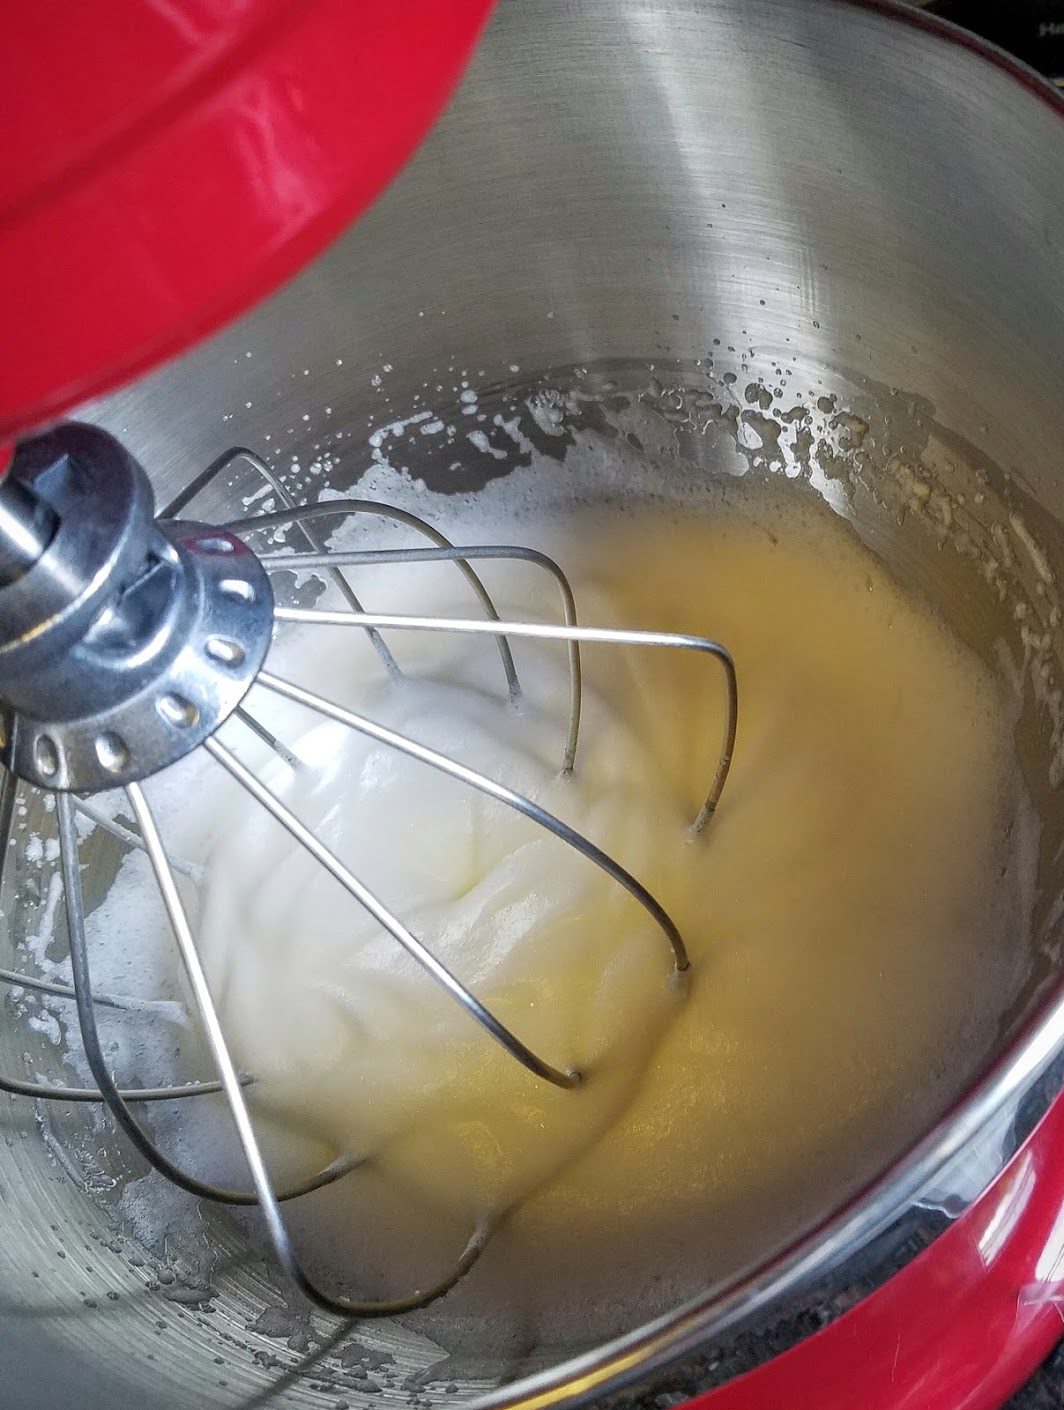
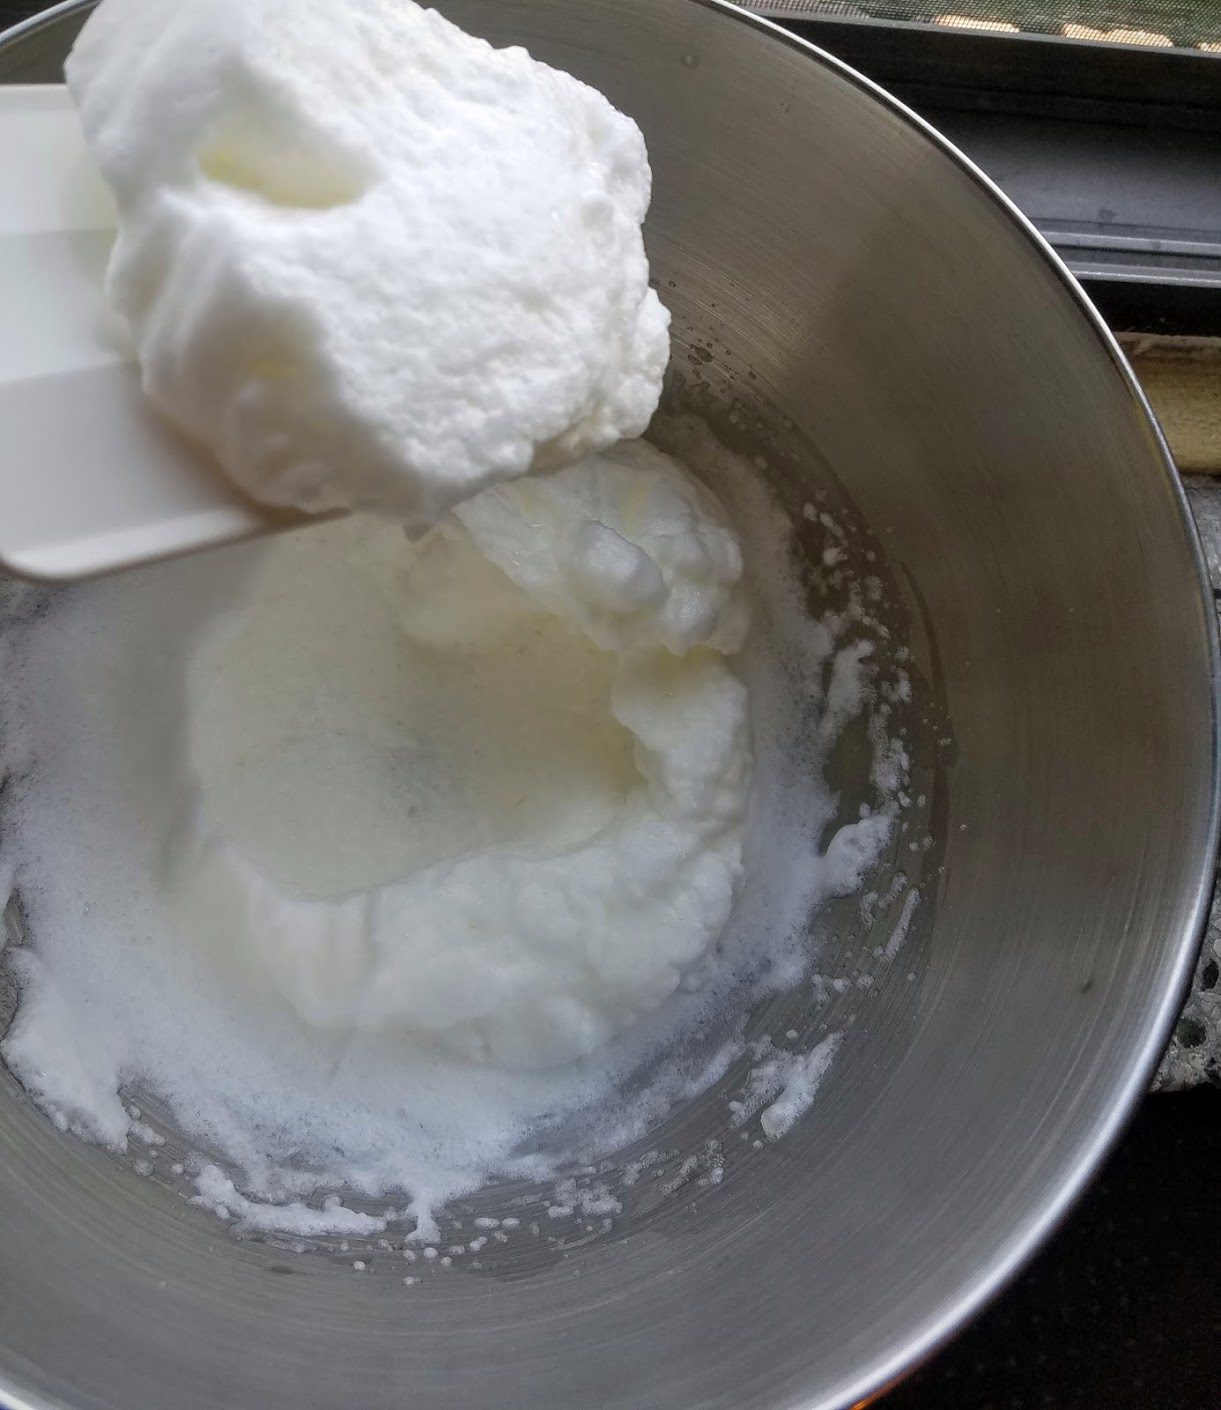
Whisk Egg Whites until soft peaks form.
merg.gif
Notice how thick you want it to be, before it’s finished.
*if you’re using a stand mixer - start at medium until start to foam & thicken, then turn to full speed until finished. This will take a couple of minutes, but don’t go too far.
In the meantime...
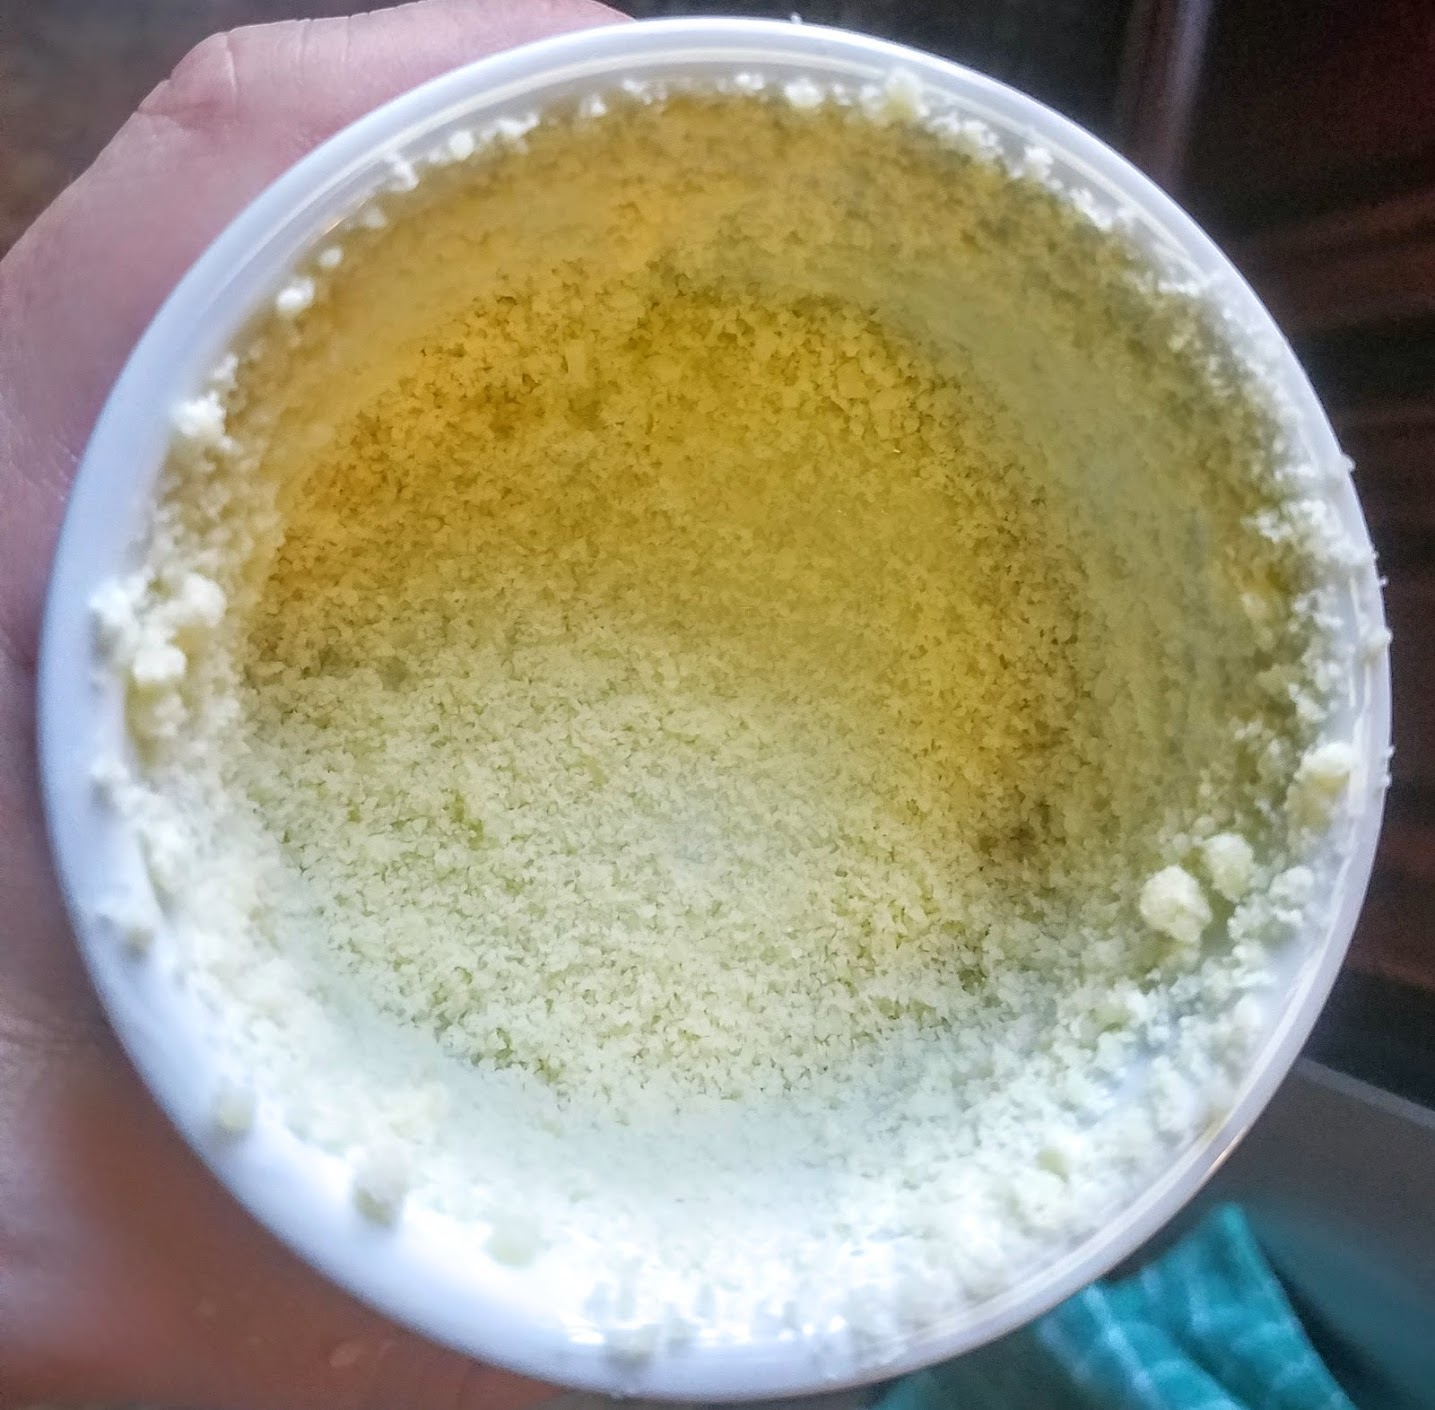
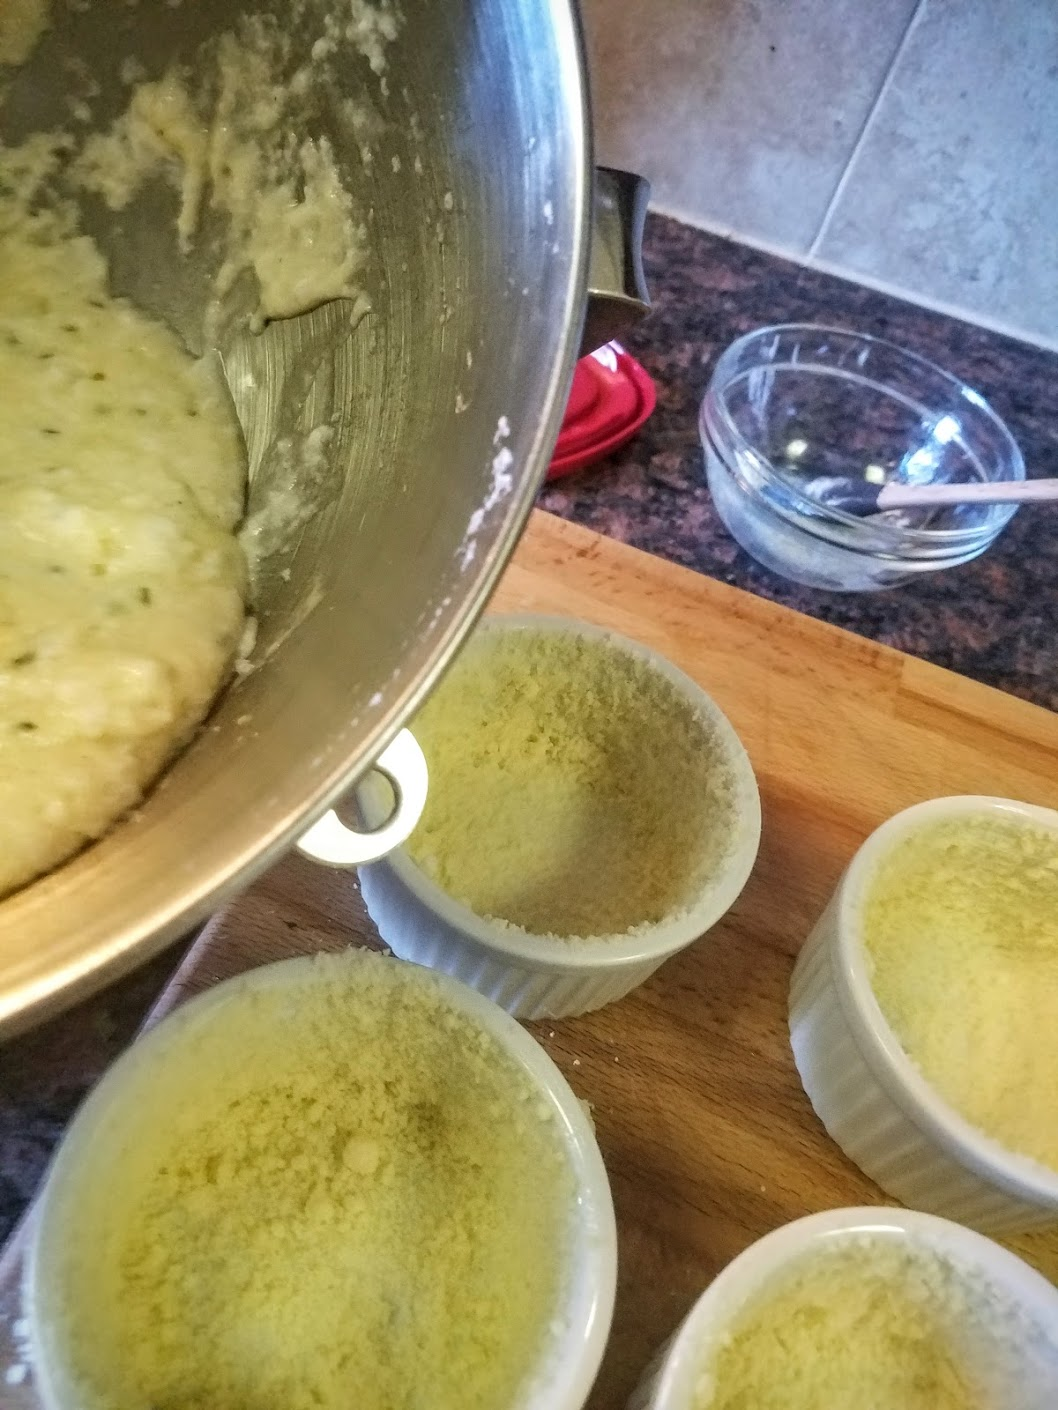
3)  Smear the butter inside the ramekin entirely. Then coat with the Parmesan.  
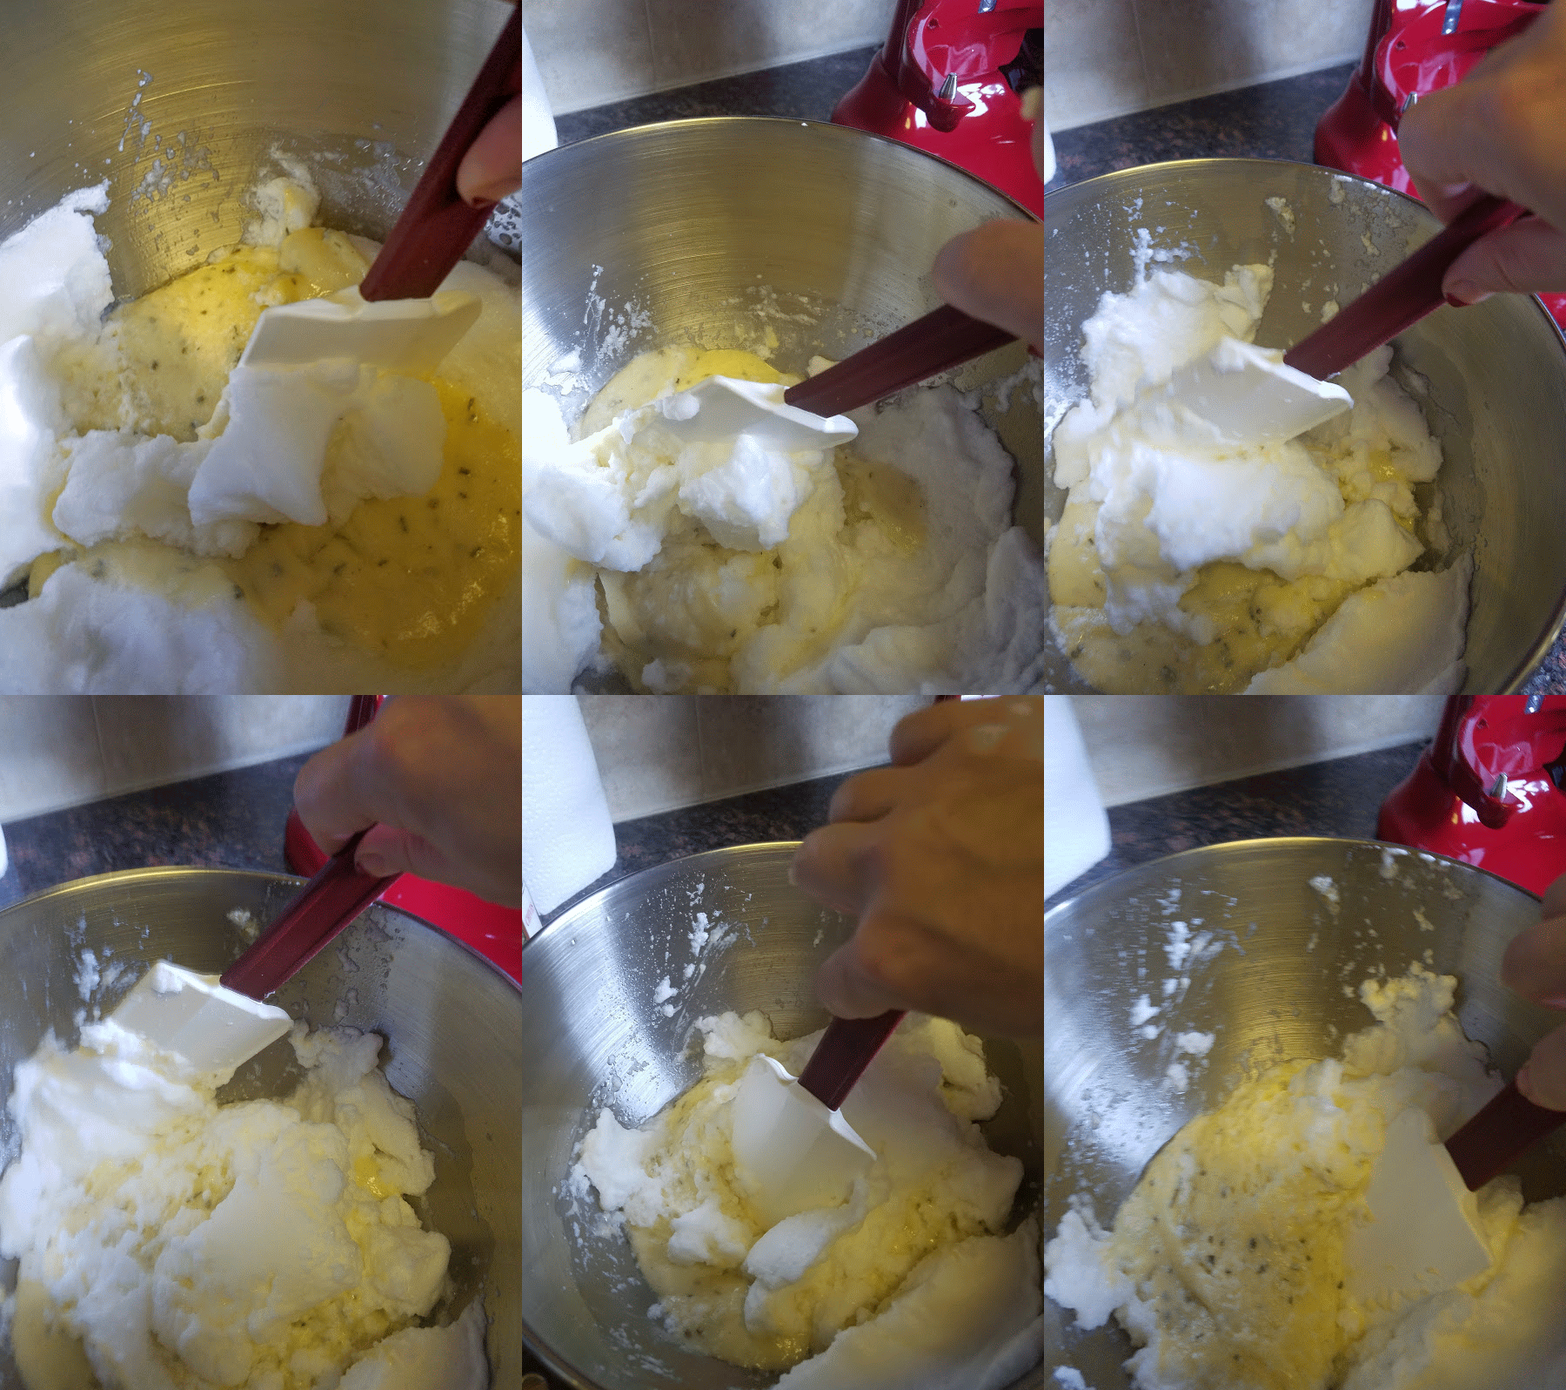
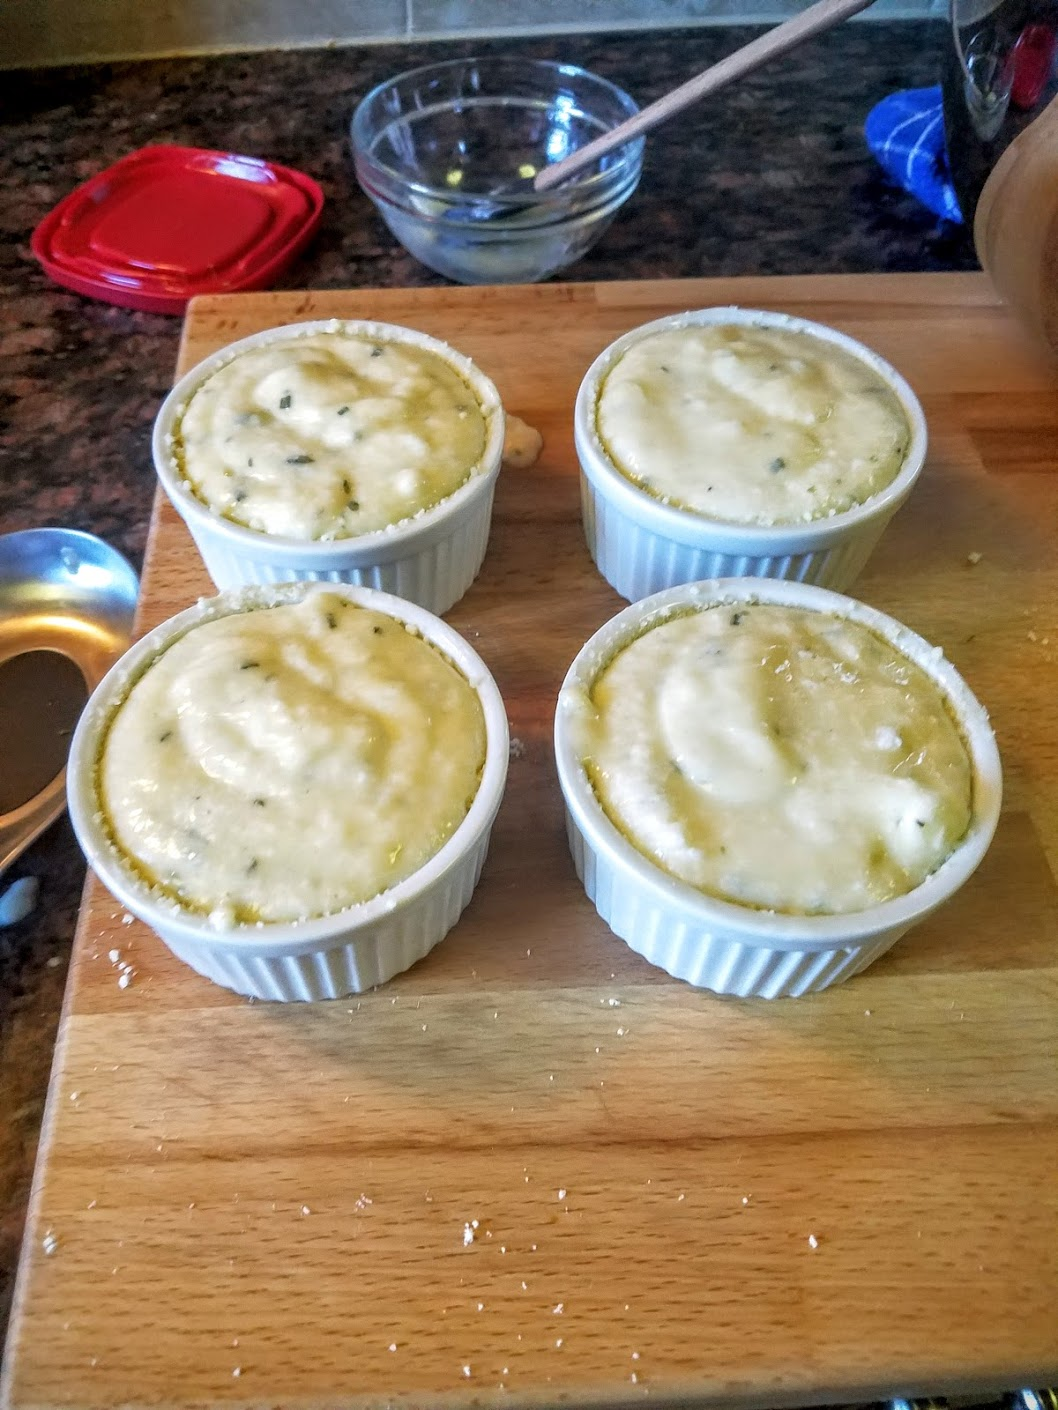
4) Fold Meringue into cheese mixture in thirds.
*Folding literally and gently. You do not want to break the meringue or make runny… you want to incorporate the two with working mixture as little as possible.
folding.gif
Divide between ramekins.
Bake on a baking sheet 15 minutes.
Reduce heat to 375 degrees.
*BE GENTLE around the oven space not to jumble stove, or ground… this is where souffles sink, along with your heart to the pit of your stomach… so be careful!

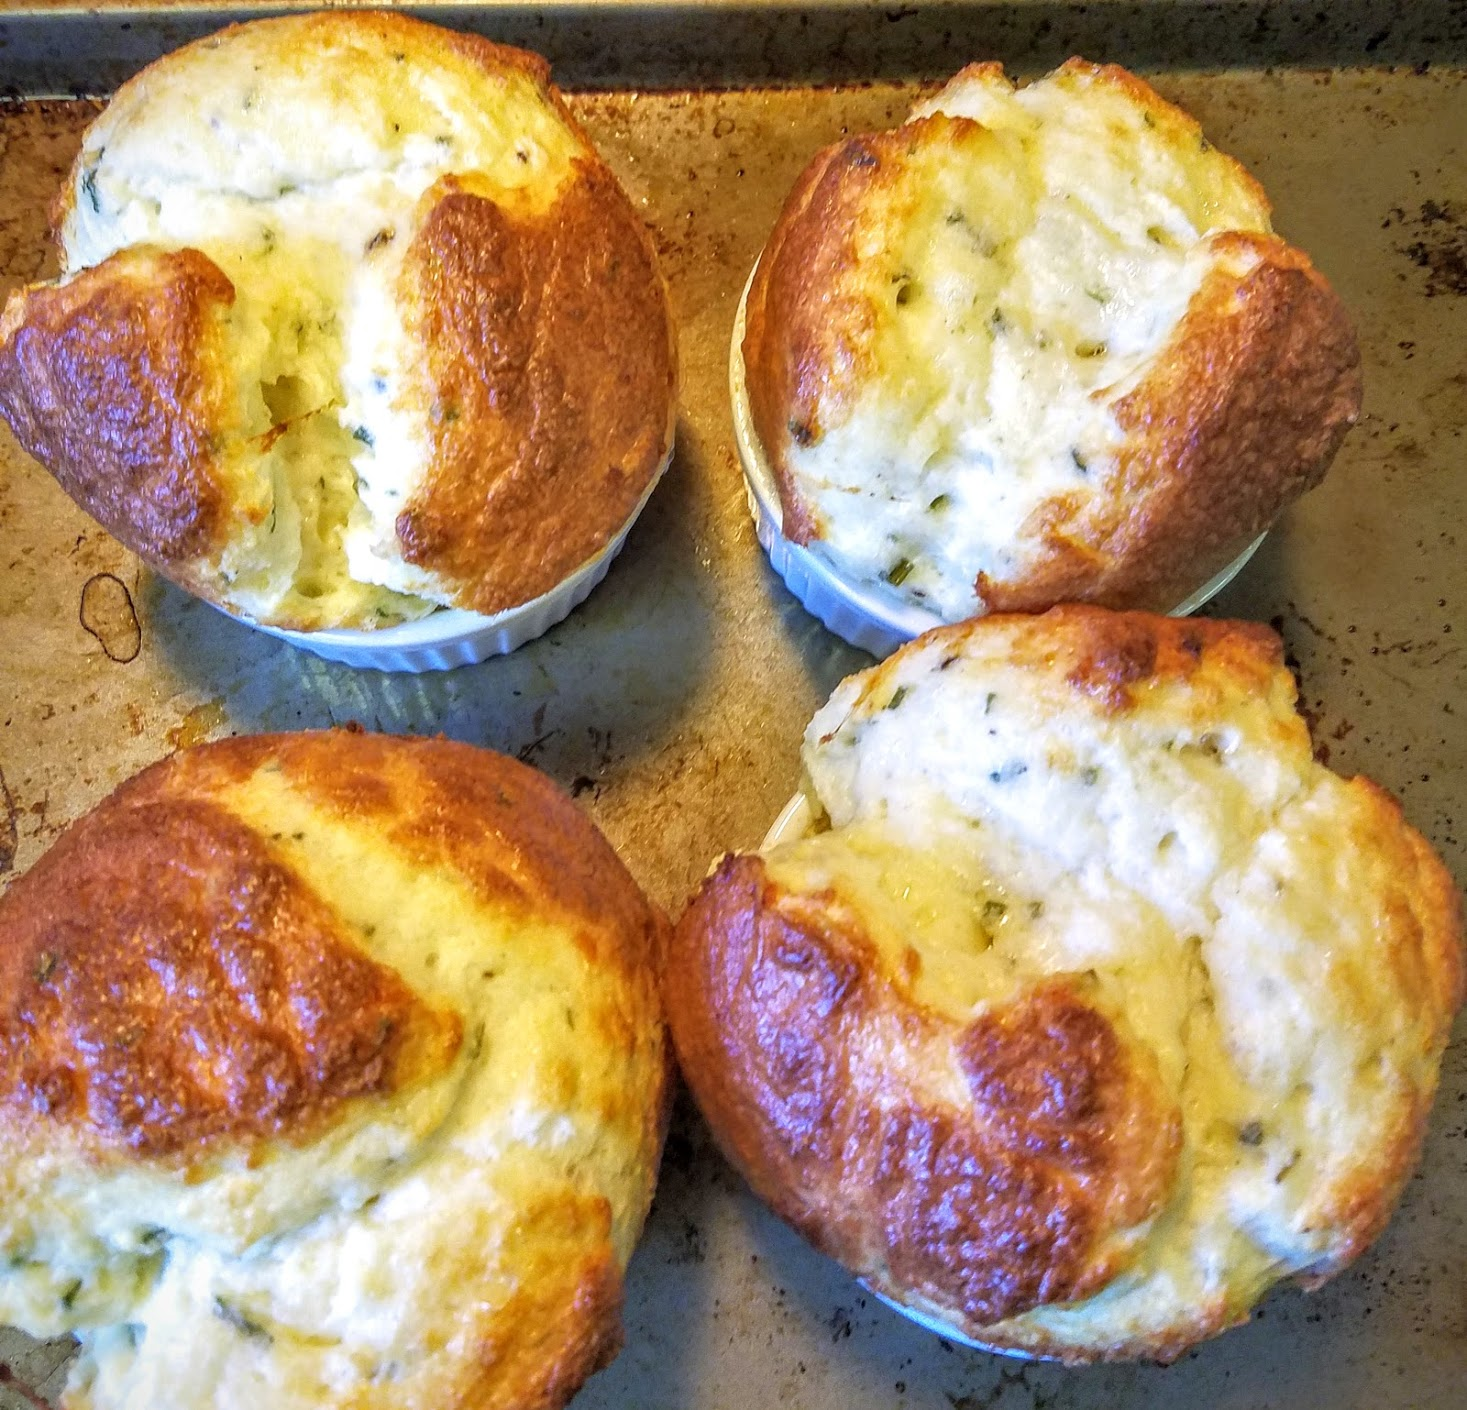
Bake until puffed, about 15 minutes.
Now remember to have your dishes, silverware, and whatever else ready because they will fall fast!
*You can not stick a toothpick in to check doneness, give it time to cook thru, but keep your eye on them because it all happens (or vanishes) fast! You can do happy dance (with out jumping or shaking the ground!) When they look like this...

Beautiful!!! Congratulations!!! You did it!!! Pull them out and gently put on surface, again they are fragile so don't drop them or you're souffle will too.


These are quite rich and filling so I recommend serving with my Peaches & Bacon Salad with Arugula, shown with. Now go and savor the moment! You’ve earned it!  


#CheeseSouffle #GourmetAtHome #DIY #Souffle #Baking #Brunch #SavorySouffle #FrenchCuisine #KitchenAid #EggSlut #ChefCaylena

Try serving it with my Bloody Mary!