Showing posts with label spicy. Show all posts

Friday, July 8, 2016

Reviving A Classic - the Bloody Mary


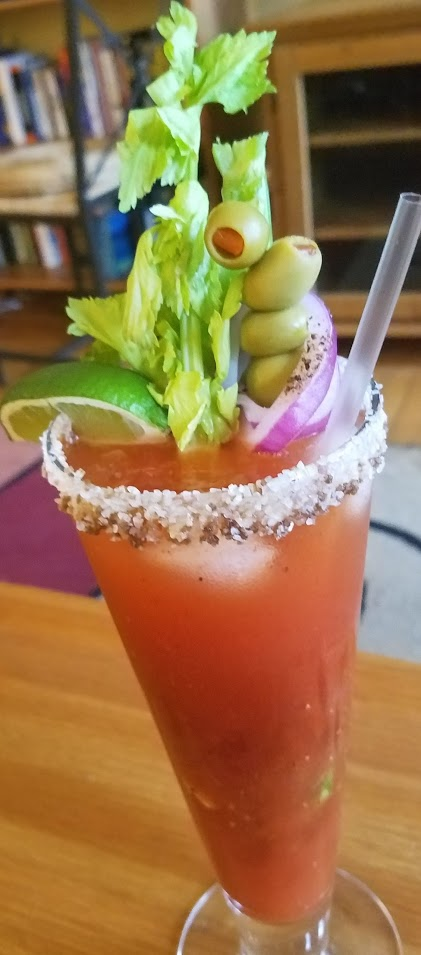
*Bloody Mary*
If you’ve been paying attention - I love my brunches! I love cooking and entertaining! Before I had become a professional Chef, I was a bartender for 10 years, coast to coast. There are many ways and coastal differences of pretty much everything… especially cocktails lenient of preference. With that in mind this one is for the entertainer- Modern, Chic, and Fabulous!

Fantastic for entertaining the masses, just put a bottle of your favorite hot sauce on the table if anyone wants to kick it up, like I do, other wise it’s pretty frickin awesome as is. Don’t forget the garnishes! They’re all part of the whole experience!

Make a vat and you’re good to go!

Per glass

  • V8- Spicy
  • Pinch finely grated Horseradish (or to taste)
  • dash Balsamic vinegar
  • ½ tsp Green Olive Brine  (or to taste)
  • (optional) Hot Sauce
  • 1 Tbsp Pinot noir - or any Leftover Red Wine!
  • 2 oz Vodka of Choice CITRUS! - get the lemon flavored

Per Pitcher:

  • 1 bottle V8 - Spicy  (2 Qts. = approx 10 cocktails)
  • 1 tsp finely grated Horseradish
  • 2 tsp Balsamic Vinegar
  • 1 Tbsp Green Olive Brine
  • ½ cup Red Wine
  • Couple dashes Hot Sauces - plus bottle left out for guest.
  • 2 oz Citrus Vodka per glass.

*Make the mixture separate, from Vodka
(note when yielding a large amount, taste, because somethings are not necessary to multiply.)

Rim:

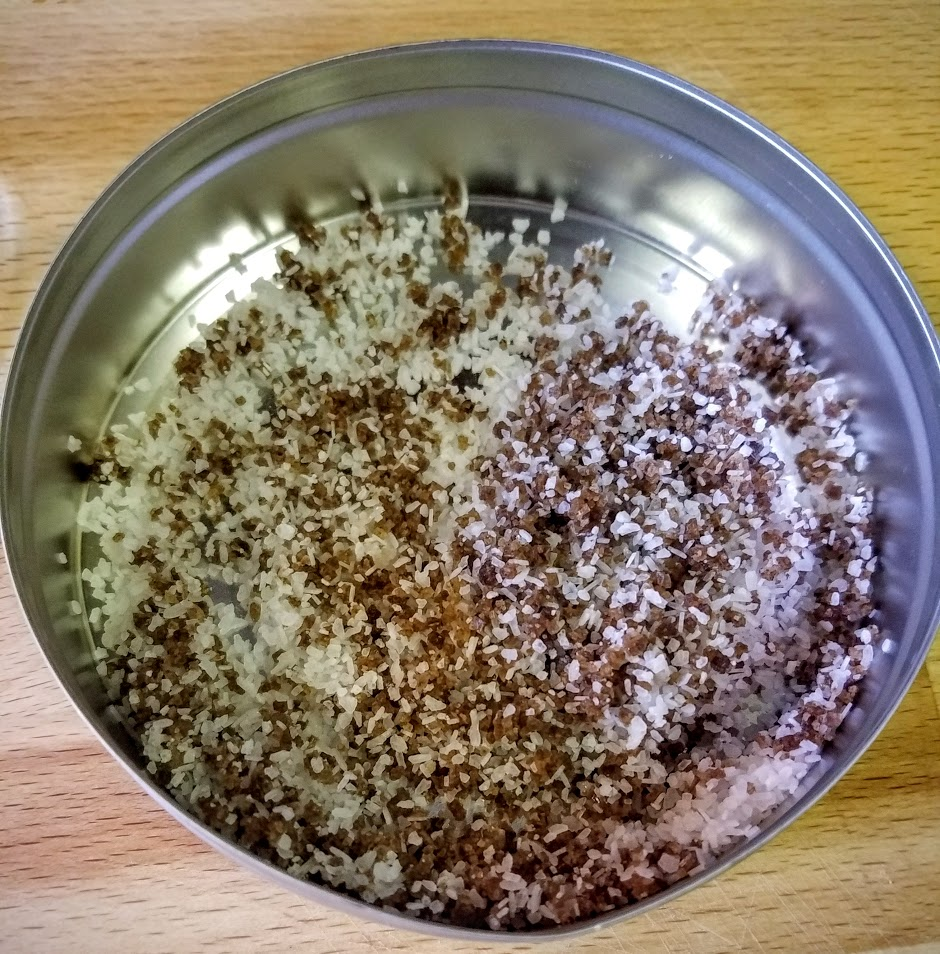
  • Bacon - make bacon, dust with Smoked Paprika! When Cool, crush finely
  • Coarse Sea Salt.
  • Lime Juice

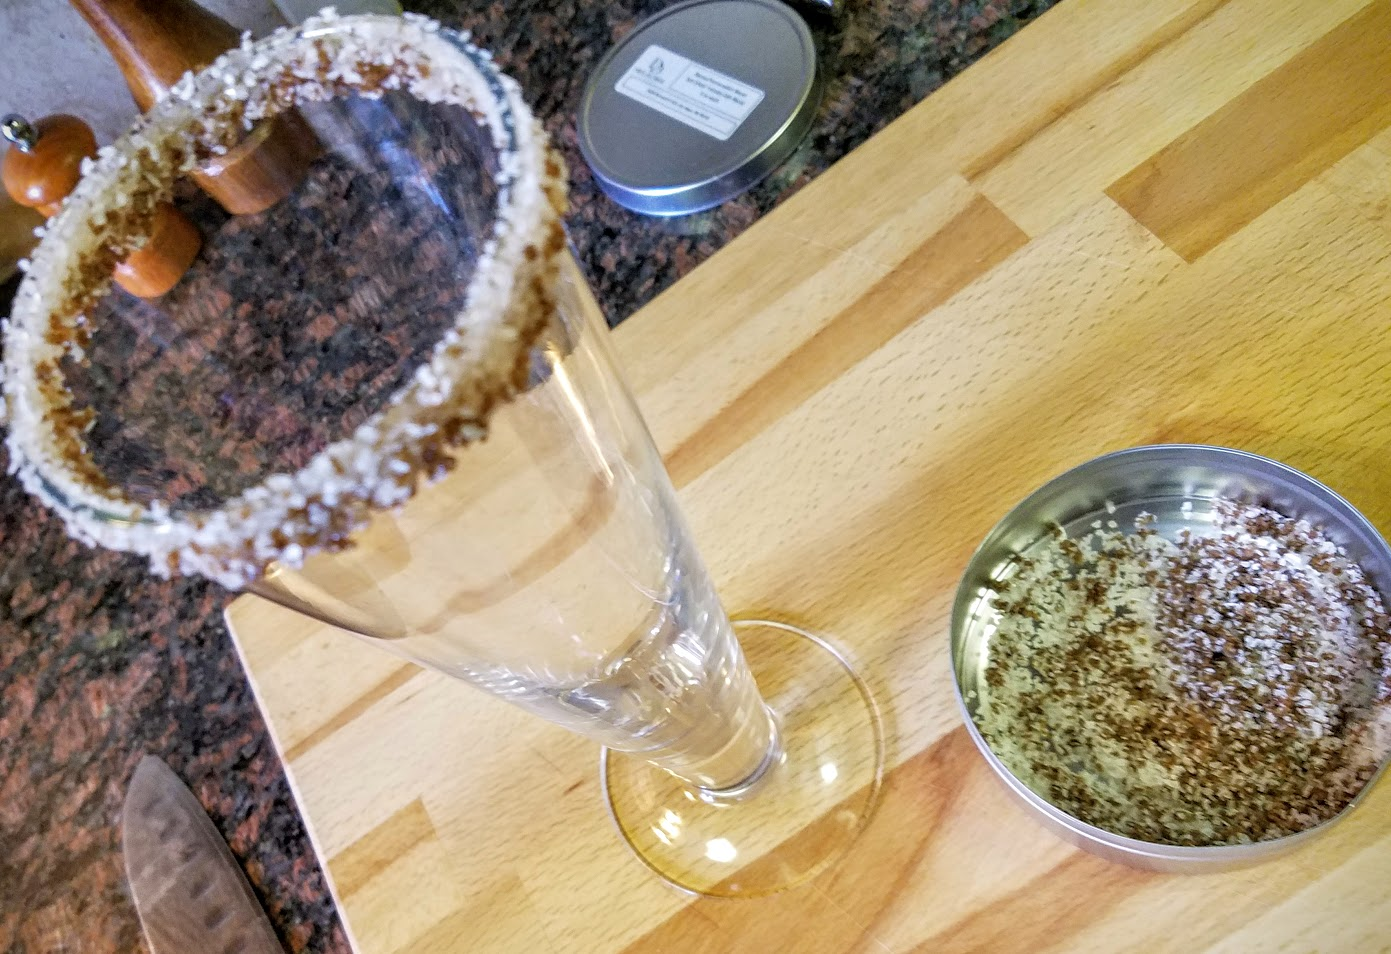
Use a small blender or immersion if you have to get bacon really gritty. It’s going to be moist, mix it with the salt (which will dry it out and flavor the salt.) Keep in a sealed container until use - can last a week fridge!
Assembly:

  • Rub lime around rim, dip bacon and salt mixture to coat glass.

(can make several in advance for hosting)


  • Celery
  • Gently place ice in glass without touching salt rim, this will hold celery in place.
  • Vodka
  • Bloody Mary mix - don’t fill to top
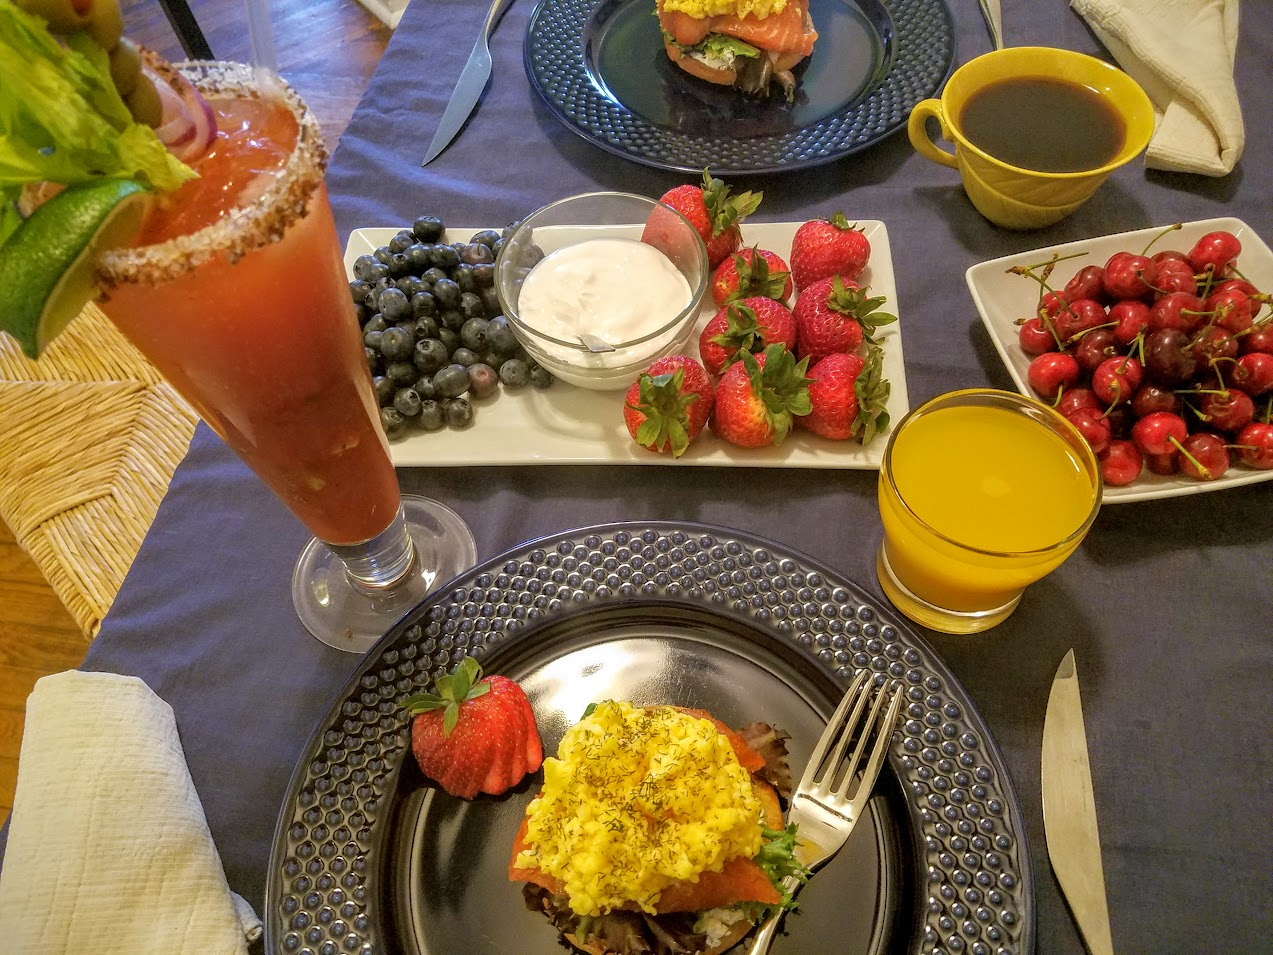
  • Now the rest of the Garnish… Green pimento Olives, Red Onion, Lime Wedge, Straw
    • Note- use toothpick for olives, then anchor into celery to hold place.
    • Then drape Red onion around for visual effect.


Go Enjoy and Share your Fabulous Bloody Mary!

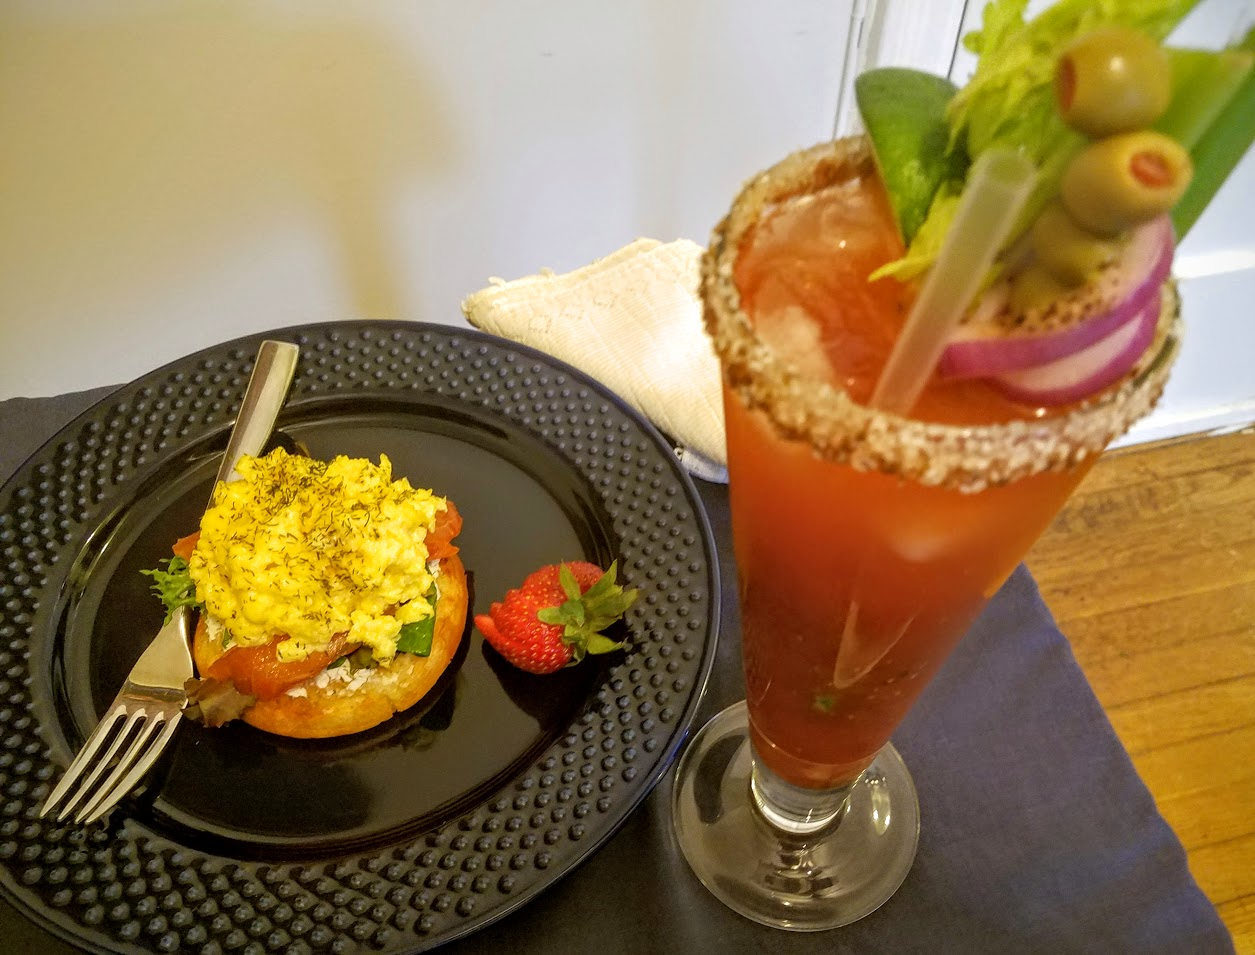
Brunch above with my favorite Gravlax & Creamiest Scrambled Eggs over Crumpets.

This one is for the entertainer- Modern, Chic, and Fabulous!

#BloodyMary #Brunch #Cocktail #V8 #SpecialtyCocktail #FoodAndWine #BoozyBrunch #ClassicCocktail #RevitalizedClassic #ModernChicCocktail #ChefCaylena

Tuesday, May 3, 2016

Amazing Pork Tinga for Cinco de Mayo


Celebrating Cinco De Mayo
With *Pork Tinga!*


Celebrate this Cinco de Mayo with a real feast! This Pork Tinga is elevated beyond the normal street fair, and it’s certain to give a WOW factor to your festivities this year!


Steve Notes
______________________________________________________
PORK TINGA:
  • Elevated version of the pedestrian pork tinga you likely already enjoy
  • Robust flavor profile from the first bite
  • Notable yet mild & appeasing heat factor lingering after every bite.
  • Meat was tender and fell apart in your mouth as if it been slow cooked for ages
  • Potato added a nice texture
  • Could be enjoyed as a standalone stew, or as the star protein of a broader dish.


I can’t say much more or better than this! My favorite thing to cook is peasant food and raise them into something magnificent… This is my take based off a Rick Bayless recipe, with alterations and additions that makes this a beautiful extension if not tribute!   
-------------------------------------------------------------------------------------------------------------------
TIME FACTOR: 2 hours DIFFICULTY: MODERATE- Easy
CLEAN UP: It’s a bit messy but worth it! TASTE FACTOR: AMAZING!!!


INGREDIENTS:


1 ½ lbs. Pork Shoulder - Bone in! (You can do without but this is amazing in broth!)
1 large Chorizo
1 lbs Baby White Potatoes or Fingerling
1 Medium White or Yellow Onion - chopped
1 small can Chopped Italian tomatoes (drained)
1 small can Crushed Italian tomatoes (all it’s juice)
3 Chipotle Chilies in adobo sauce (seeded & minced)
4 Tsp of the adobo sauce
2 Poblano Chili Peppers (seeded & minced)
1 Garlic Clove - minced
1 juice of lime
I bunch Cilantro (separate Stems and leaves)
1 bunch Thyme
4 bay leaves
4 Cloves
Salt, Pepper
2 Tbsp Vegetable Oil
------------------------------------------------------------


Start with the Pork Broth & Pork shoulder…


Cut excess fat - as much as you can. Cut around the bone to get all meat possible. Cut into 2 inch pieces. You’re using the bone and meat in the broth, and you’re throwing away the fat… or saving for another day!
In a large pot - 6 cups of water, stems of cilantro, thyme, cloves, bay leaves, & handful of salt. Bring to boil then drop down and simmer for 45 minutes. Skimming the scum from the top as it builds, and before removing meat.
 
While that’s working bring your potatoes to a boil and cook until tender, start with cold salted water. Drain, set aside.
remove casing from Chorizo, break up.


Use a slotted spoon, remove the meat when it’s finished. Boiled meat is Never attractive - don’t worry you’re not done…
Trust me - better yet - taste it yourself! It’s pretty amazing and You’re only halfway there!
Set aside, strain the broth. You can throw the bone away now. Let meat cool enough to handle it. Then break it down by hand like shredding in large chunks. (shown below.)


NEXT…
In a large Skillet, add the oil and brown Chorizo.
When ½ way there, add the Pork and brown for 2-3 minutes.
Drop down to Med Low temp. Add the onion, Poblanos, Garlic - 10 minutes.
You’re almost finished and you can’t imagine what your house smells like right now!!!


Add the Adobo, Chipotle, Tomatoes 5 minutes… Then potatoes (they’re already cooked thru, just mix in.


Now add 2 cups of the broth! Save the rest in case you want it juicier or for later - it’s delicious!
tinga broth.gif
Simmer for 10 minutes. Turn off heat and let sit for 10 minutes to thicken.


Finish with lime juice and Cilantro!


Serve as is to build your own family style as I’ve done here….


A Cinco De Mayo Feast! Above I served my Tinga with Margaritas, Guacamole (the best you’ve ever had!), Pico de Gallo, corn & flour tortillas, black beans, Cilantro Corn, Citrus Green Rice, Queso Fresco, Cilantro & Red pepper oils, plenty of limes.


Torta...
As a tostada


Happy Cinco de Mayo! Cheers!


Monday, April 18, 2016

Coconut & Old Bay Salmon Cakes

served with Lemon Dill Yogurt

Salty, Sweet, & Spicy! Simply Scrumptious!

This is an easy version on the fabulous dish! A hit for any occasion including a cocktail party to fun family dinner. A great way to introduce children into the kitchen and the entertainer’s instant hit! Quick. Easy. Inexpensive.
I served them on a pinch with my favorite Basil, Tomato, Potato Salad (shown above), and left overs for a beautiful Sunday Brunch! Make extra’s and cut your weekend’s cooking in half!
Now Roll up your sleeves and let the kids play with their food!


Prep time: 30 min Cook time: 15 min Servings: 4-6 entree Dif: EASY
Clean Up Time:   Sorry!


Ingredients Crab Cakes:
  • 3 cups canned Salmon - strained
  • 2 Eggs - beaten
  • 2 cups Dried Coconut  - more if you like sweeter
  • 2  cups Panko (plain bread crumbs)
  • ¼ cup Lemon juice
  • ½ cup Mayo
  • 1 tsp Onion Powder
  • 1 Tbsp Dill
  • ⅓  cup Old Bay Seasoning
  • 1 cup Coconut Oil - for frying   * Vegetable oil is just fine
* These do not need any extra salt! Even at the end because you want that coconut to really pull thru.
** If you’re not familiar with Old Bay… it’s fantastic spice blend for seafood, but it’s heavily salty so if you’re looking for more Heat - as these are mild, add plain Cayenne pepper.
Ingredients Garish:
  • 1 cup Plain Yogurt of choice
  • 1 Lemon - Juice & Zest
  • 1 Tbsp Dill
  • Salt to taste


WHAT ELSE YOU’RE GOING TO NEED
Prepare with lots of paper towels around because  this is best done by getting your hands dirty!  
Mise en place!  Because you’re going to be with dirty hands most of the time, have all your ingredients measured and set  up for you when you need them.
  • a skillet with the oil -not turned on yet.
  • a large bowl to start mixing everything together
  • a regular sized bowl you’ll have for the breading
  • Fish spatula, or slotted spoon - these work best as to not splash extra grease when flipping!
  • Cookie sheet or plate for the cakes - before, and then layered with paper towels for draining after cakes are fried.
  • Space in refrigerator for the large bowl to chill before shaping.  *Do Not put in Freezer*
 
WHERE TO NOW…
In the smaller bowl mix the Panko and Coconut together. Put the Oil in the skillet if you haven’t already...  Put everything away as soon as your done with it... trust me, you'll thank me later!
In the Large bowl, mix the Drained Salmon, Lemon juice, & Old Bay Seasoning, let sit for a couple minutes to really absorb the flavor.
Toss in the rest of the ingredients and mix by hand until it’s completed coated. Now pour ½ the crumbs and coconut mixture, gently fold in with hands, then refrigerate for about 10 minutes.
  • If your mixture seems a bit too wet… this is why it’s going into the fridge - it’ll thicken up and be easier to mold.
  • If it’s too dry as in crumbling and not holding together at all… add another egg or tsp of mayo.
  • Try forming a patty and if it’s barely holding together because it’s damp - then you’ve got the right consistency.
While waiting it’s a great time to start on your Garnish ...
You’ll need one more bowl, and a anything but your hand to mix it all together… Voila it’s finished. Toss it in the fridge until ready to serve.


CAKE TIME:
Grab the mixture, sheet tray, and remaining Panko & Coconut mix.
By hand start forming your cakes to a desired shape…
*Too Small they will burn! If you’re making an appetizer size you’re going to need to bake these at 375 for - 7-10 minutes pending on size. * OR you can fry them just the same but think of them a simple flash! I would not recommend this for beginners.
Also you don’t want them too thick or they won’t cook all the way thru.
Drop the cakes in the Panko mix and make sure coated, pressing if you need to make it stick...
Turn oil to Med- High temperature, you’ll be cooking these slower to cook all the way thru and not to burn your coconut!
The non-kid friendly part:


Basically you’re cooking these for 3-4 minutes on each side… You want to make sure they are light brown, then flip over carefully.
The light brown is important because they will continue to cook after you pull them out of the oil, turning them much darker and into that pretty golden color your desiring, as well as keeping the inside relatively moist. (Sorry I know everyone hates that word, but really nothing else works here.)
If you’re doing batches you can most likely use the oil for 2 batches… if more than that you should have 2 pans going or change the oil to finish the rest.
Take the cakes out carefully and let them drain on the paper towels before serving. This is where most people put salt on their fried food… because this is covered in coconut, and the Old Bay throughout… I highly wouldn’t recommend it, but of course try one first and see what you think.
FINALLY....
Plate with whatever you’re serving with! You can put the sauce on the side for people to help themselves, or a dollop on, however you’d like. Again here I made a non-mayo, Tomato and Basil, Red Potato Salad which is great now the weather has changed! I’ll post that shortly so keep a look out!
I hope you enjoy! And in case you have left overs....
There’s an Amazing Brunch in your future!