Homemade
Lemon Zest Fettuccine
 There truly is nothing better than homemade pasta, or the experience making it with others! Grab your girlfriends, your partner, and/or kids, and get in the kitchen this! Turn this into a party, a date, or just another cherishable moment!
This splendid pasta pairs wonderfully with seafood and fresh herbs in the warmer weather due to it’s super bright flavor from the Lemon Zest.
There truly is nothing better than homemade pasta, or the experience making it with others! Grab your girlfriends, your partner, and/or kids, and get in the kitchen this! Turn this into a party, a date, or just another cherishable moment!
This splendid pasta pairs wonderfully with seafood and fresh herbs in the warmer weather due to it’s super bright flavor from the Lemon Zest.

with Farmers Market Summer Tomato Sauce
Servings 6- 8 Yields 1lb. of Dough Difficulty: Moderate/Easy
There truly is nothing better than homemade pasta, or the experience making it with others! Grab your girlfriends, your partner, and/or kids, and get in the kitchen this! Turn this into a party, a date, or just another cherishable moment!
This splendid pasta pairs wonderfully with seafood and fresh herbs in the warmer weather due to it’s super bright flavor from the Lemon Zest.
with Farmers Market Summer Tomato Sauce
Servings 6- 8 Yields 1lb. of Dough Difficulty: Moderate/Easy
Ingredients
-
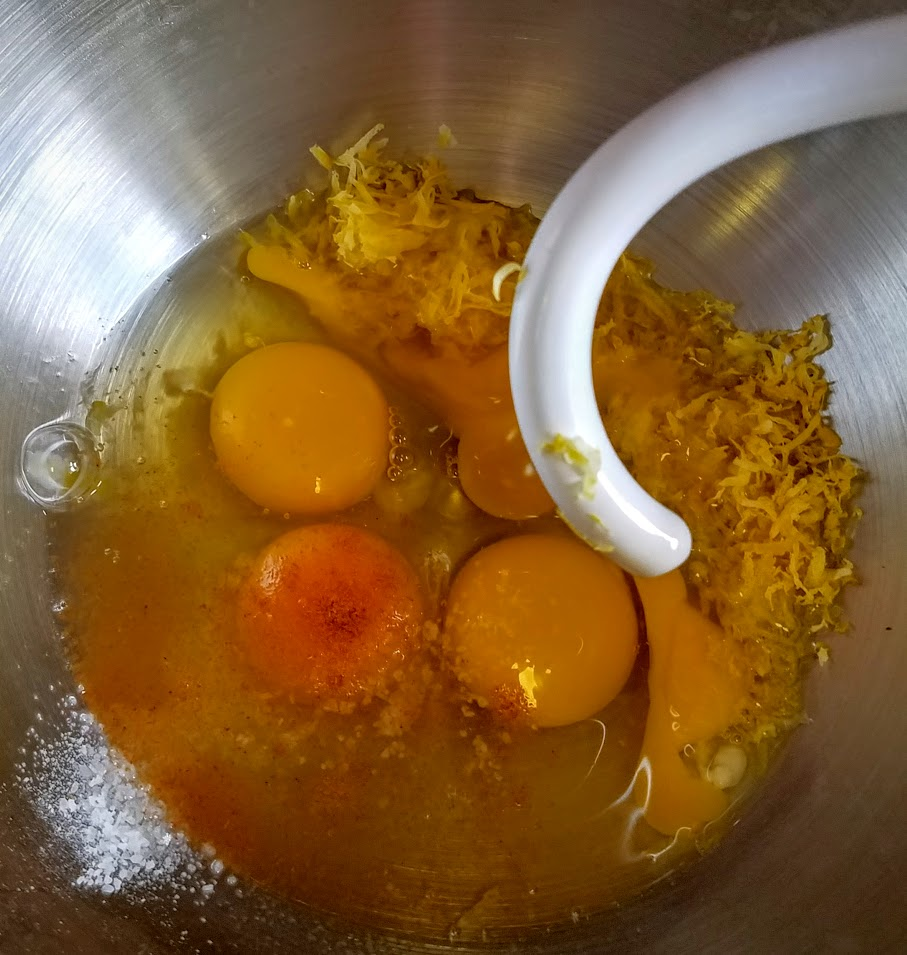 1 cup packed 00 Flour
-
1 cup packed Semolina Flour
-
1 cup Semolina Flour for rolling, cutting,& setting
-
4 whole Eggs
-
Zest of 1 full large Meyer Lemon (very thin zest.)
-
½ tsp Kosher Salt
-
Pinch Cayenne Pepper
You can make this recipe by hand entirely - easily enough, with a hand fed pasta maker, or, the KitchenAid Mixer with Pasta attachment, which I’m using here. I will walk you through both ways.
Tools
-
Rolling Pin
-
Plastic wrap
-
Some form of electric mixer -OR- large wire whisk.
-
Pasta drying rack -OR- sheet pan.
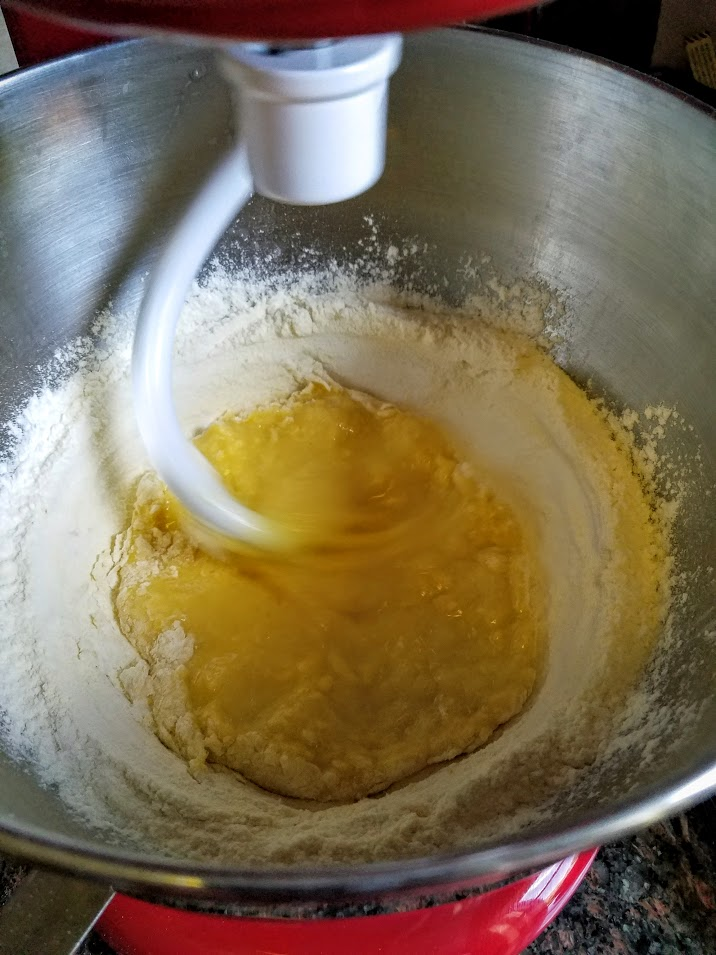 Mix eggs, salt, pepper, lemon zest, then ½ flour. Once incorporated, add rest of flour a little bit at a time. Keep mixing until dough forms a ball and is no longer sticky.
-
If using a stand - use dough hook and mix at a Medium speed.
-
If using hand mixer - stop once thickens, and finish mixing by hand.
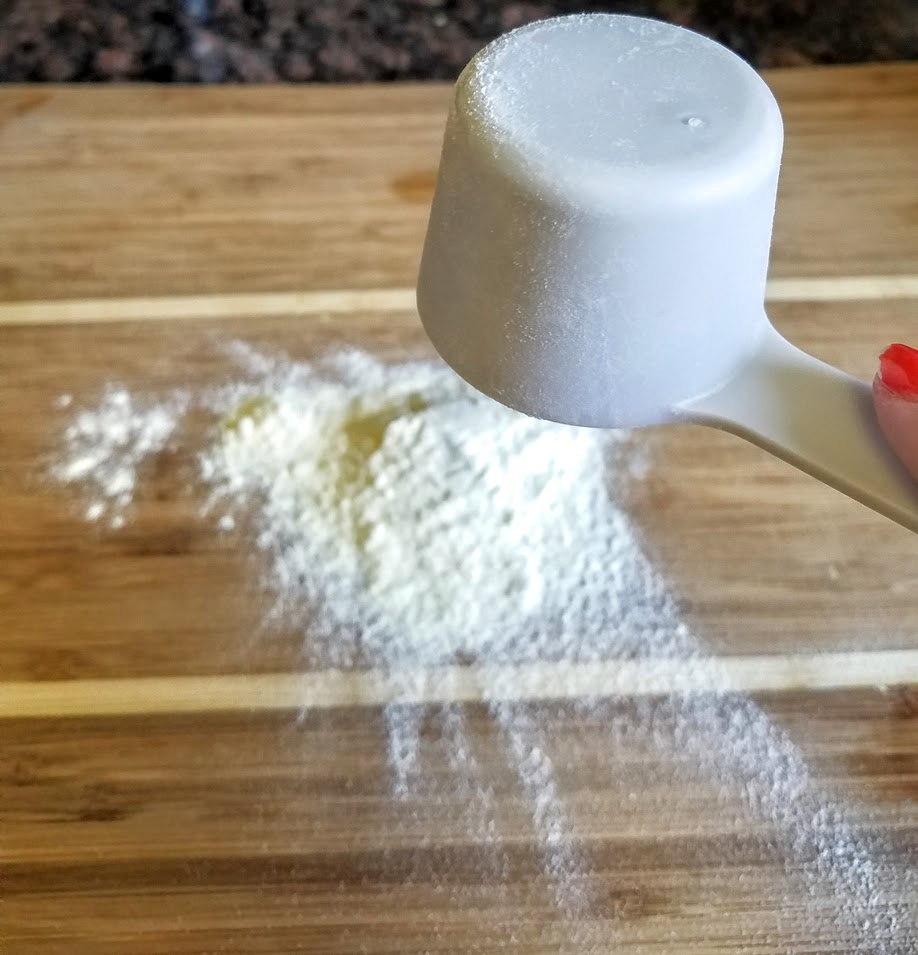
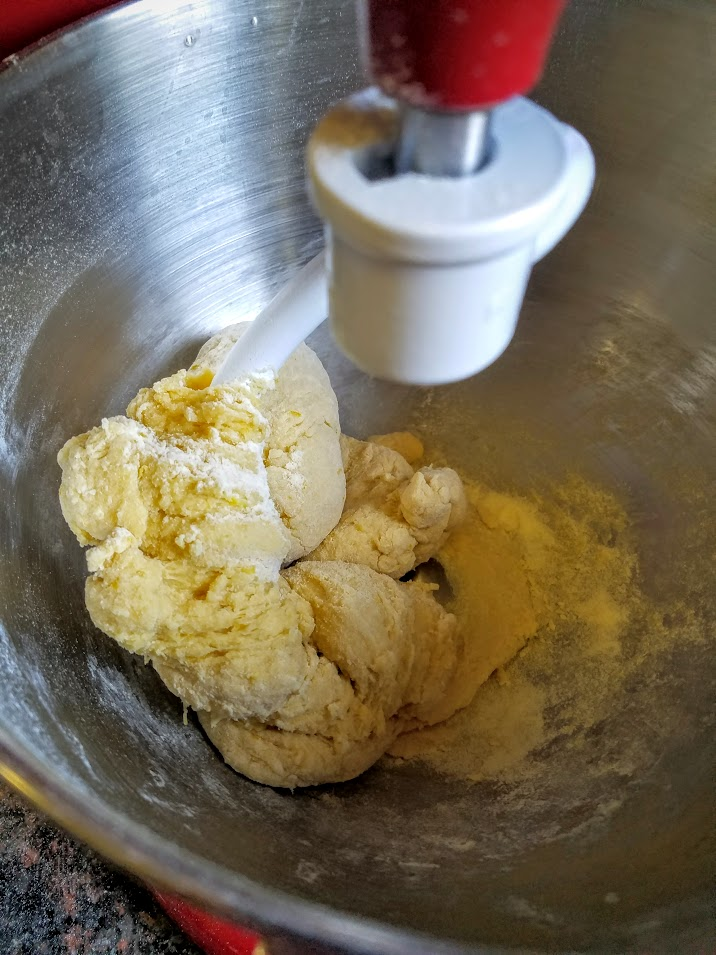 Cover working surface (cutting board, counter top, table - best not to use marble) with flour for working.
 Take all the dough to the flour surface, knead by hand for 3-5 minutes, until dough is smooth and elastic. (Don’t worry about the pieces of zest.)

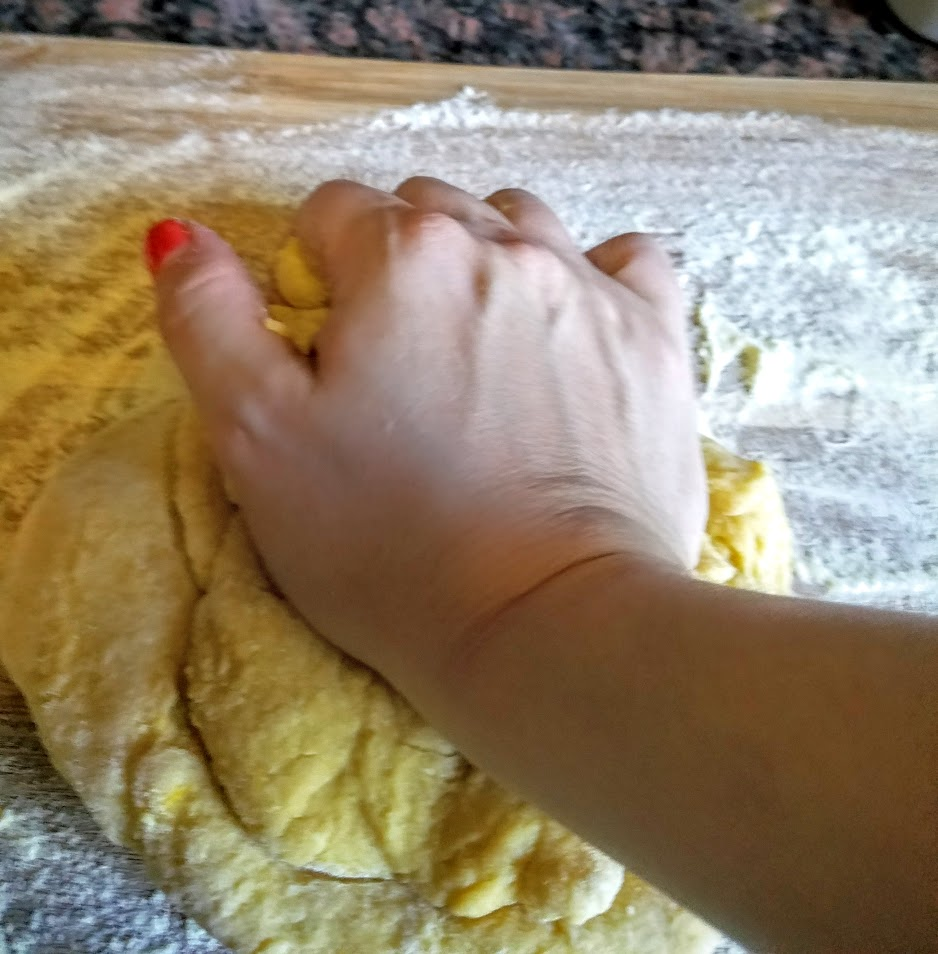 Use the flour on the board to keep the dough dry. When finished your hands will be dry and dough firm - though not dried out and crumbling. (*If it is, add a drop of olive oil until right texture.)
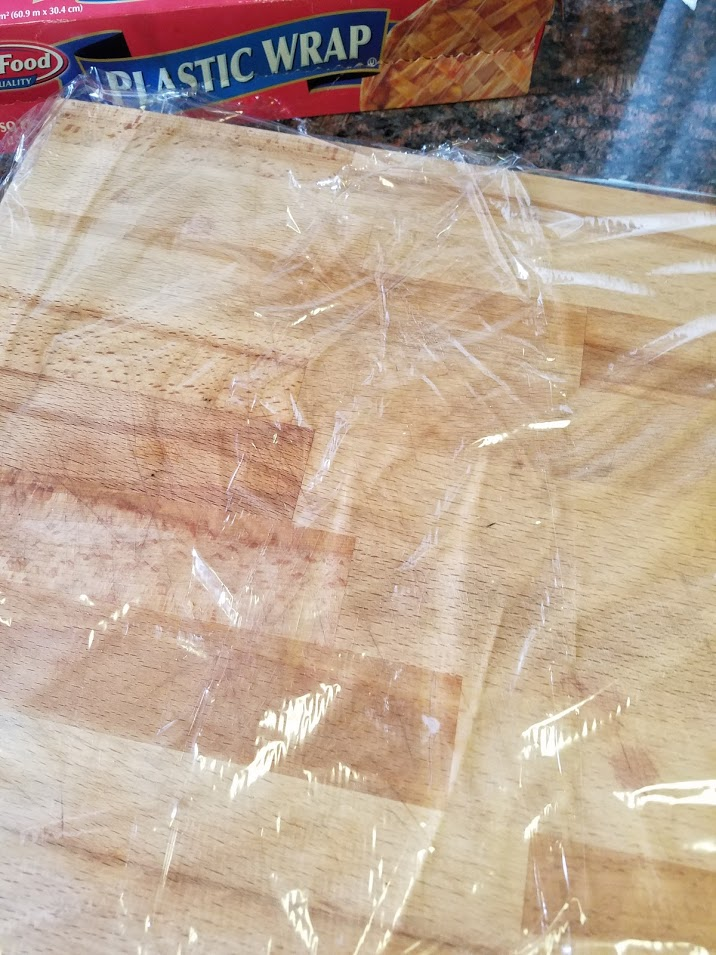
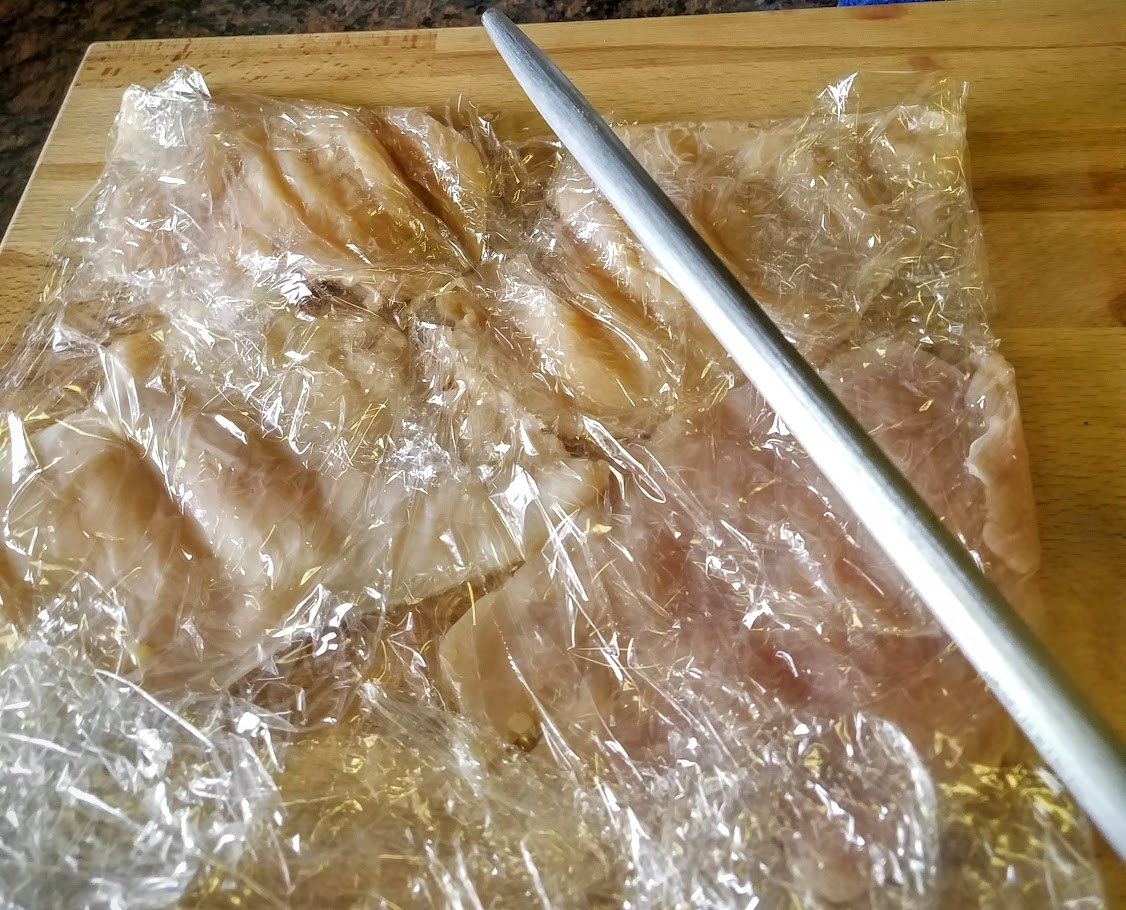
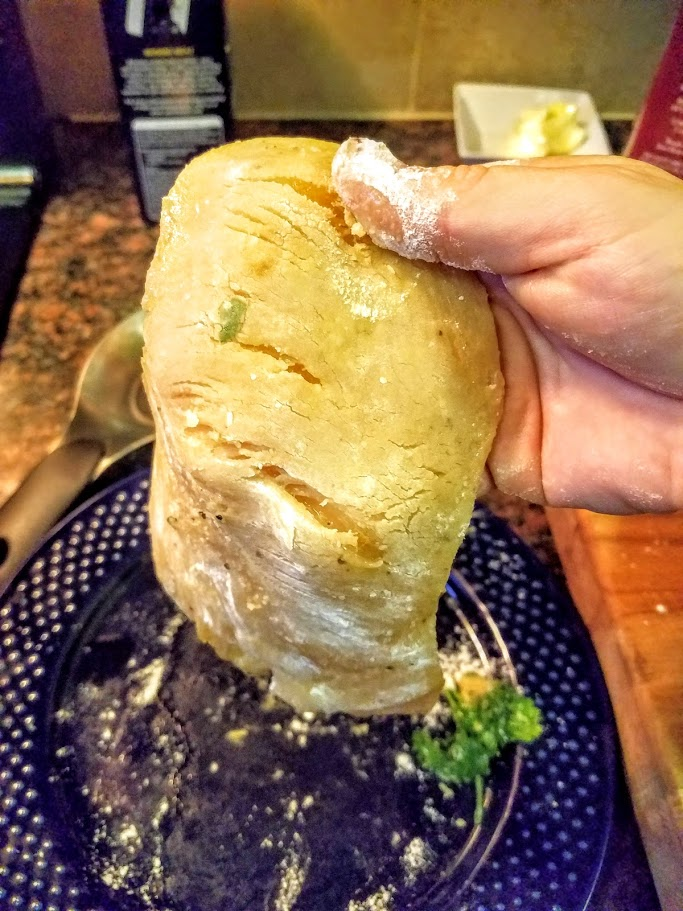
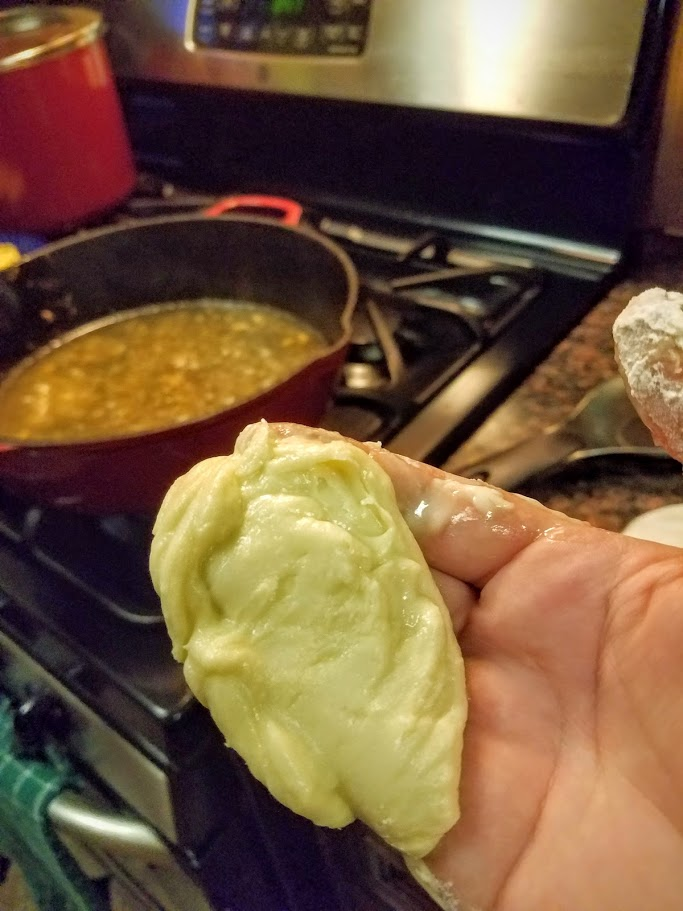
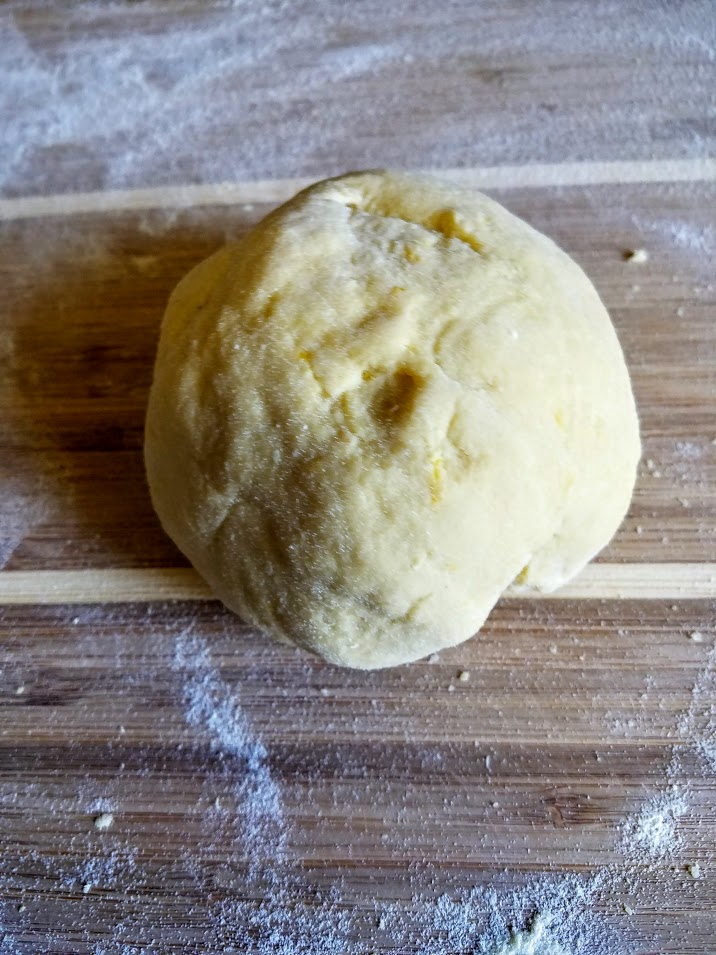 Cut dough in half. Form into ball and coat with flour from board. Wrap in plastic.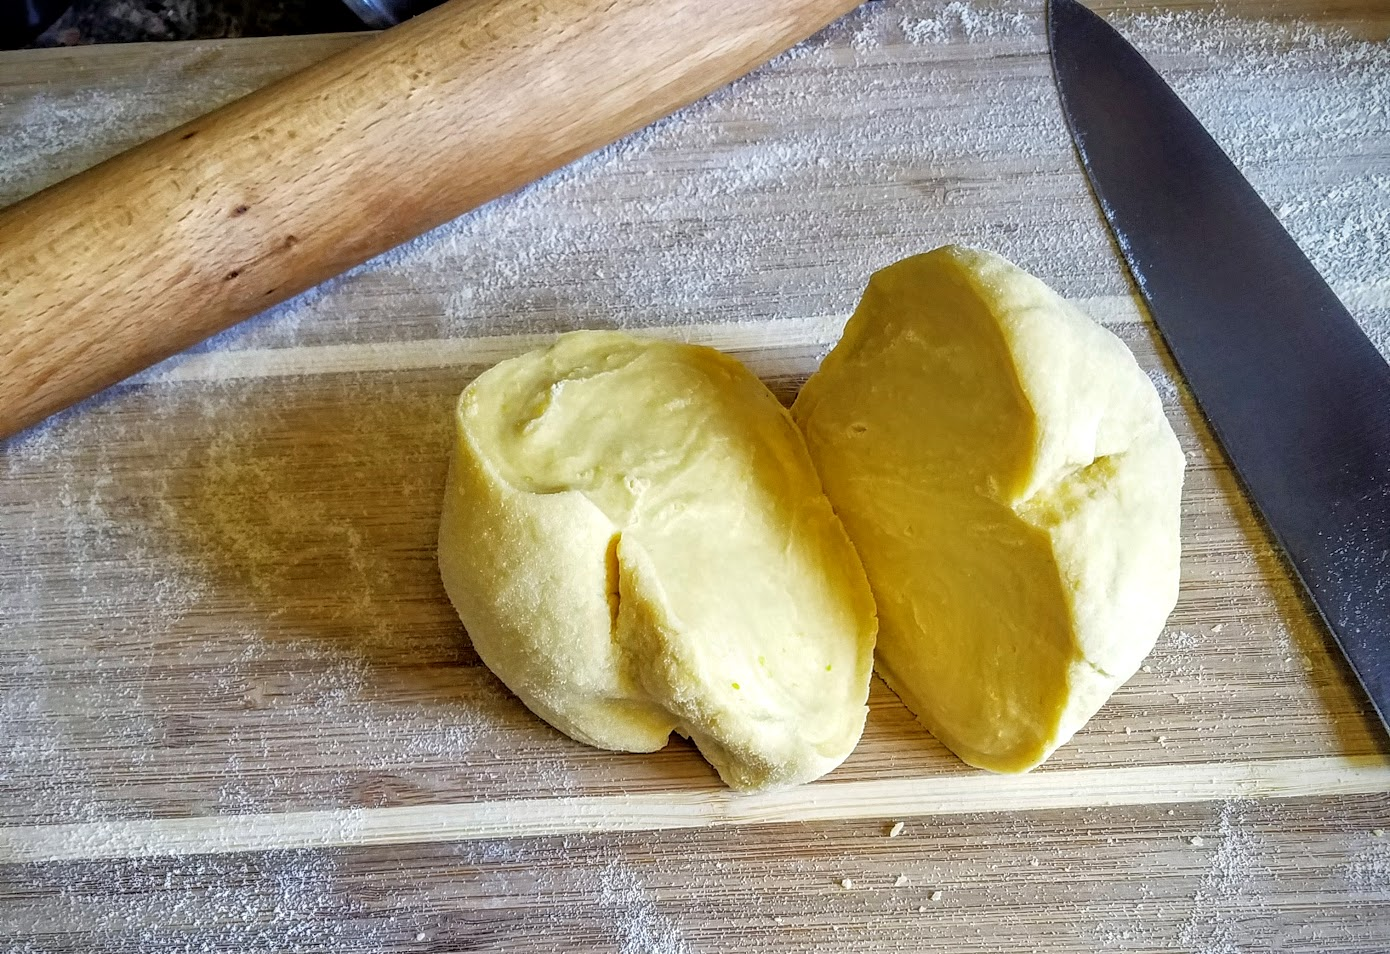
 Put in refrigerator for 30 minute. Don’t start to clean up yet… you’re not done with the mess yet.
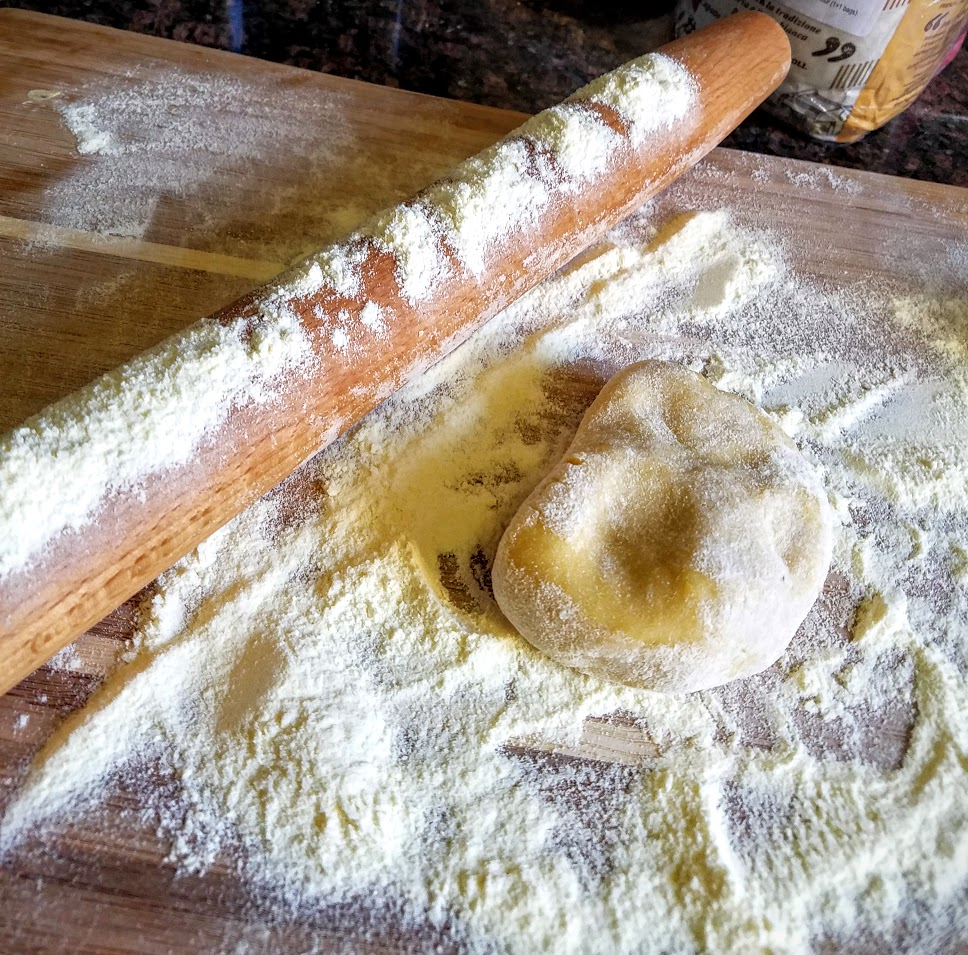 More flour! On board and coat rolling pin. Use as much as you need. Roll out dough
-
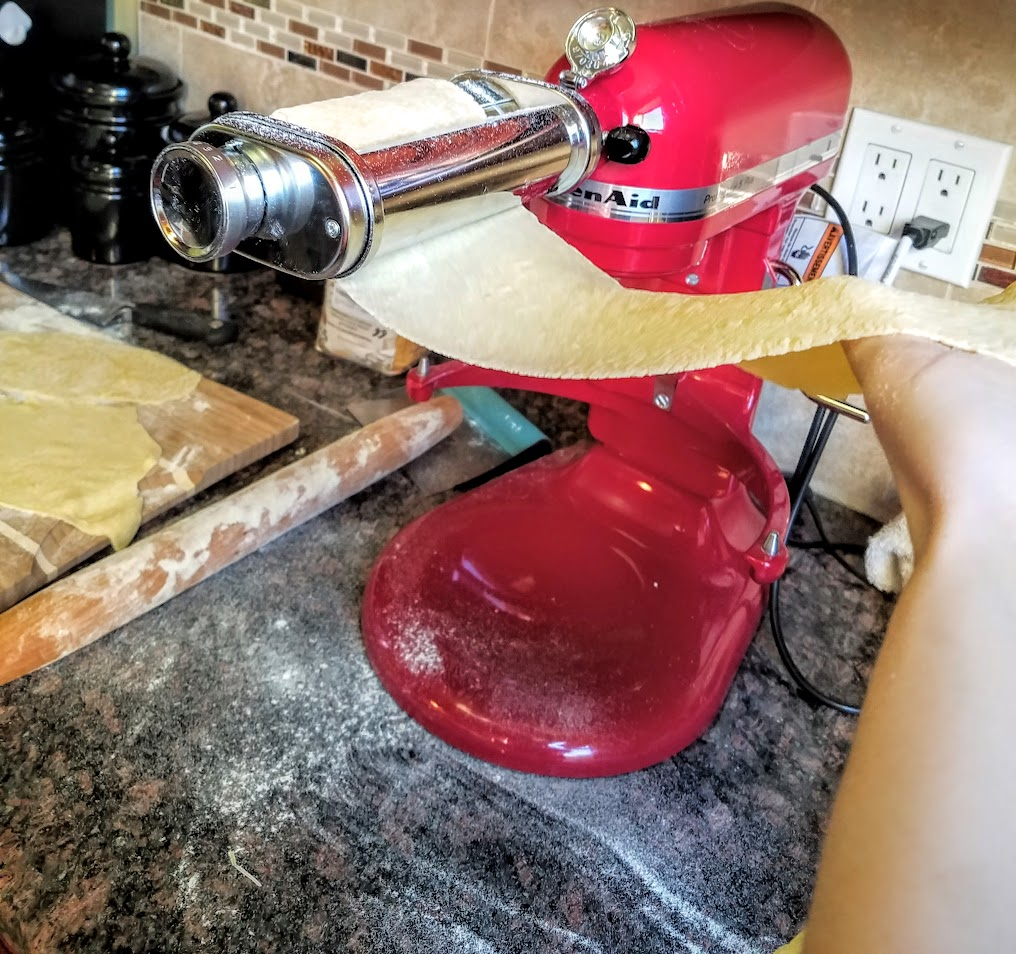
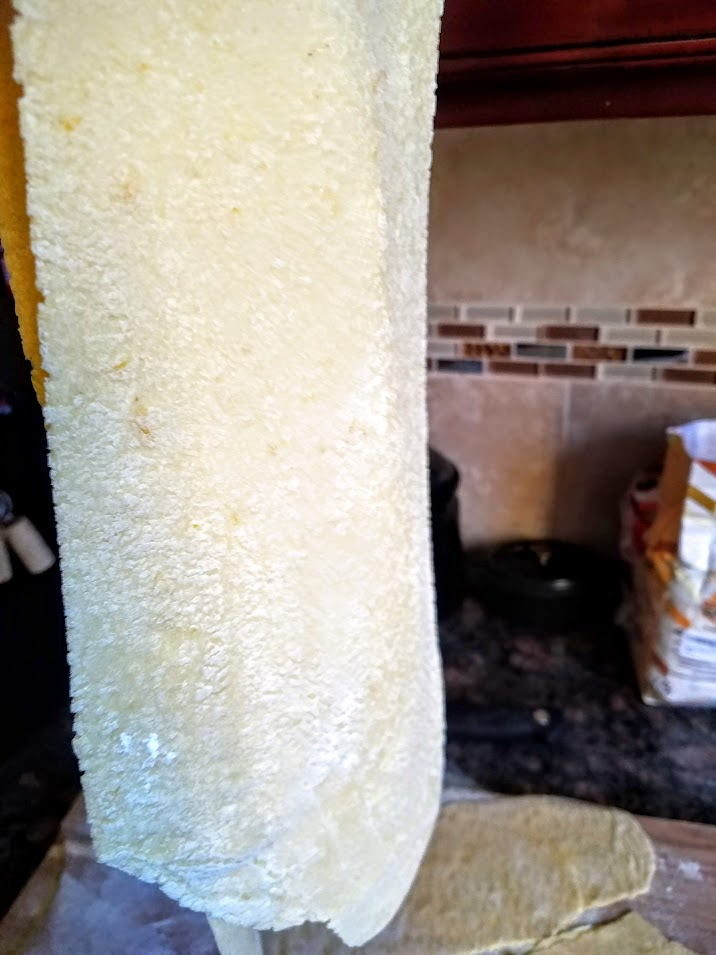
With pasta machine - use widest setting - roll through 2x, fold dough, then again on 2-3 more times, dusting with flour all the while.
-
If by hand follow the same but obviously you’re using the rolling pin.


 If doing by hand:
-
cut pasta into strips.
-
Lay pasta flat, fold over 4” of the corner. Then take that corner and again, until you have a nicely folded 4” layered dough.
-
Using a knife - cut thin layer to thickness of fettuccine.
Meanwhile - Those using machine:
-
Change attachment on mixer - or if using hand operated.
-
Run pasta through machine - using one hand to catch, and one to feed machine. Although if you have this attachment you probably know how to use it.

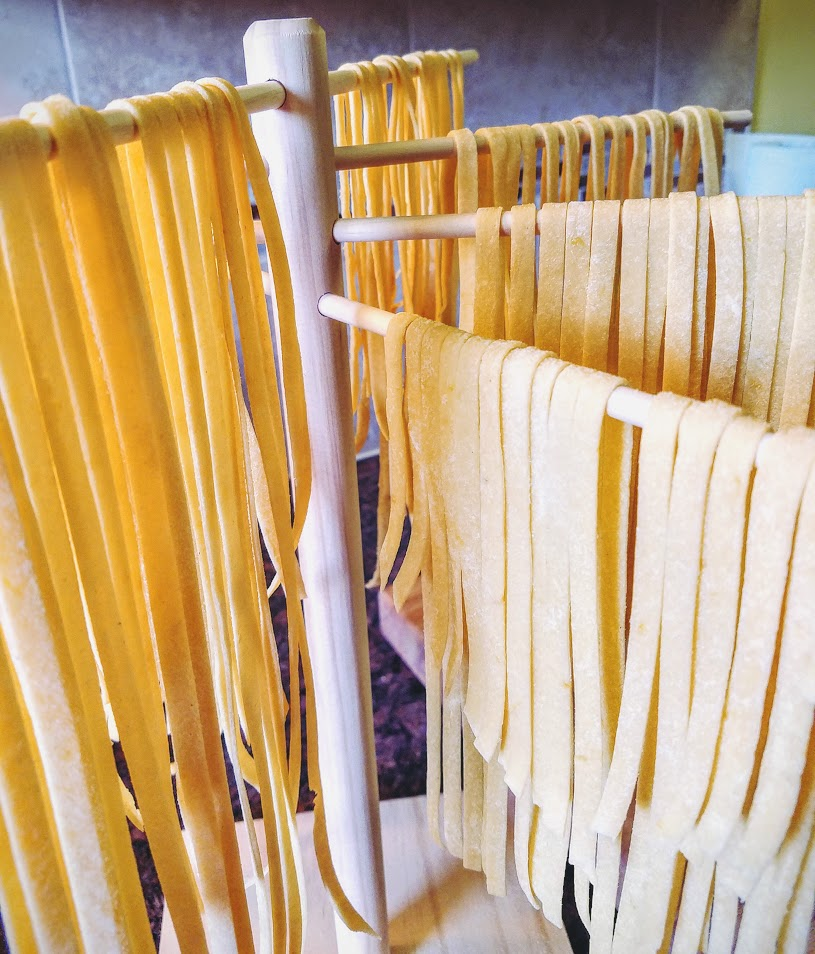
 Hang pasta to try on rack if have. If not - coat sheet tray with more flour and drape noodles. Leave out at room temperature to air dry for 1 - 3 hours, refrigerating if not cooking. (*Dry - if humid put in refrigerator.)
Raw noodle can be covered in airtight container for no more than 2 days.
Hang pasta to try on rack if have. If not - coat sheet tray with more flour and drape noodles. Leave out at room temperature to air dry for 1 - 3 hours, refrigerating if not cooking. (*Dry - if humid put in refrigerator.)
Raw noodle can be covered in airtight container for no more than 2 days.
 *Boil in heavily salted water for 3-4 minutes, stirring the entire first minute to keep from sticking. Toss in favorite sauce and enjoy!
 Here paired with my Simple Summer Tomato Sauce, fresh Basil.
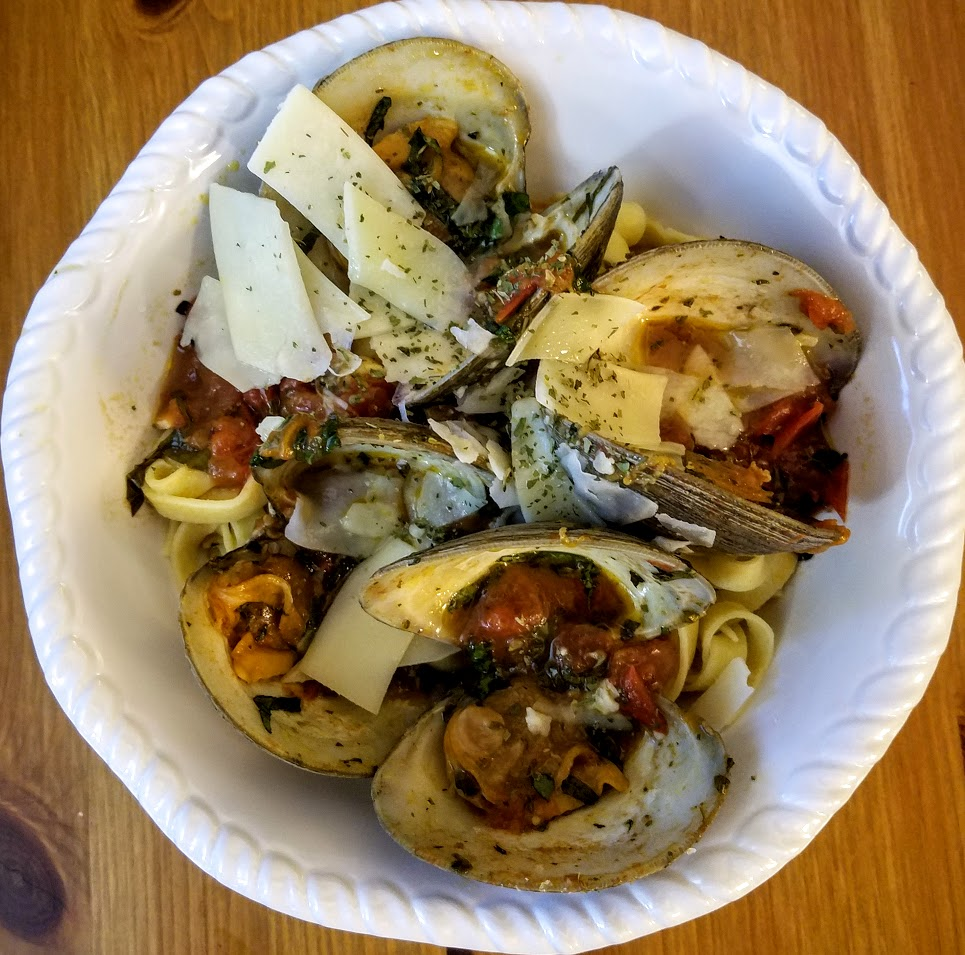 Above with Farmers Market Summer Tomato Sauce, and clams.
#KitchenAidMixer #KitchenAidPasta #HomemadePasta #Fettuccine #KidFriendly #CheapEats #KidsCook #FreshEggPasta #LemonZestPasta #DIY #HostingAndEntertaining #FamilyCooking #ItalianCooking #ItalianCuisine #DIYItalianFood #SummerCooking, #ChefCaylena
1 cup packed 00 Flour
1 cup packed Semolina Flour
- 1 cup Semolina Flour for rolling, cutting,& setting
4 whole Eggs
Zest of 1 full large Meyer Lemon (very thin zest.)
½ tsp Kosher Salt
Pinch Cayenne Pepper
You can make this recipe by hand entirely - easily enough, with a hand fed pasta maker, or, the KitchenAid Mixer with Pasta attachment, which I’m using here. I will walk you through both ways.
Tools
Rolling Pin
Plastic wrap
Some form of electric mixer -OR- large wire whisk.
Pasta drying rack -OR- sheet pan.
Mix eggs, salt, pepper, lemon zest, then ½ flour. Once incorporated, add rest of flour a little bit at a time. Keep mixing until dough forms a ball and is no longer sticky.
If using a stand - use dough hook and mix at a Medium speed.
If using hand mixer - stop once thickens, and finish mixing by hand.
With pasta machine - use widest setting - roll through 2x, fold dough, then again on 2-3 more times, dusting with flour all the while.
If by hand follow the same but obviously you’re using the rolling pin.
If doing by hand:
cut pasta into strips.
Lay pasta flat, fold over 4” of the corner. Then take that corner and again, until you have a nicely folded 4” layered dough.
Using a knife - cut thin layer to thickness of fettuccine.
Change attachment on mixer - or if using hand operated.
Run pasta through machine - using one hand to catch, and one to feed machine. Although if you have this attachment you probably know how to use it.
Hang pasta to try on rack if have. If not - coat sheet tray with more flour and drape noodles. Leave out at room temperature to air dry for 1 - 3 hours, refrigerating if not cooking. (*Dry - if humid put in refrigerator.)
Raw noodle can be covered in airtight container for no more than 2 days.