Showing posts with label Party Food. Show all posts

Friday, July 22, 2016

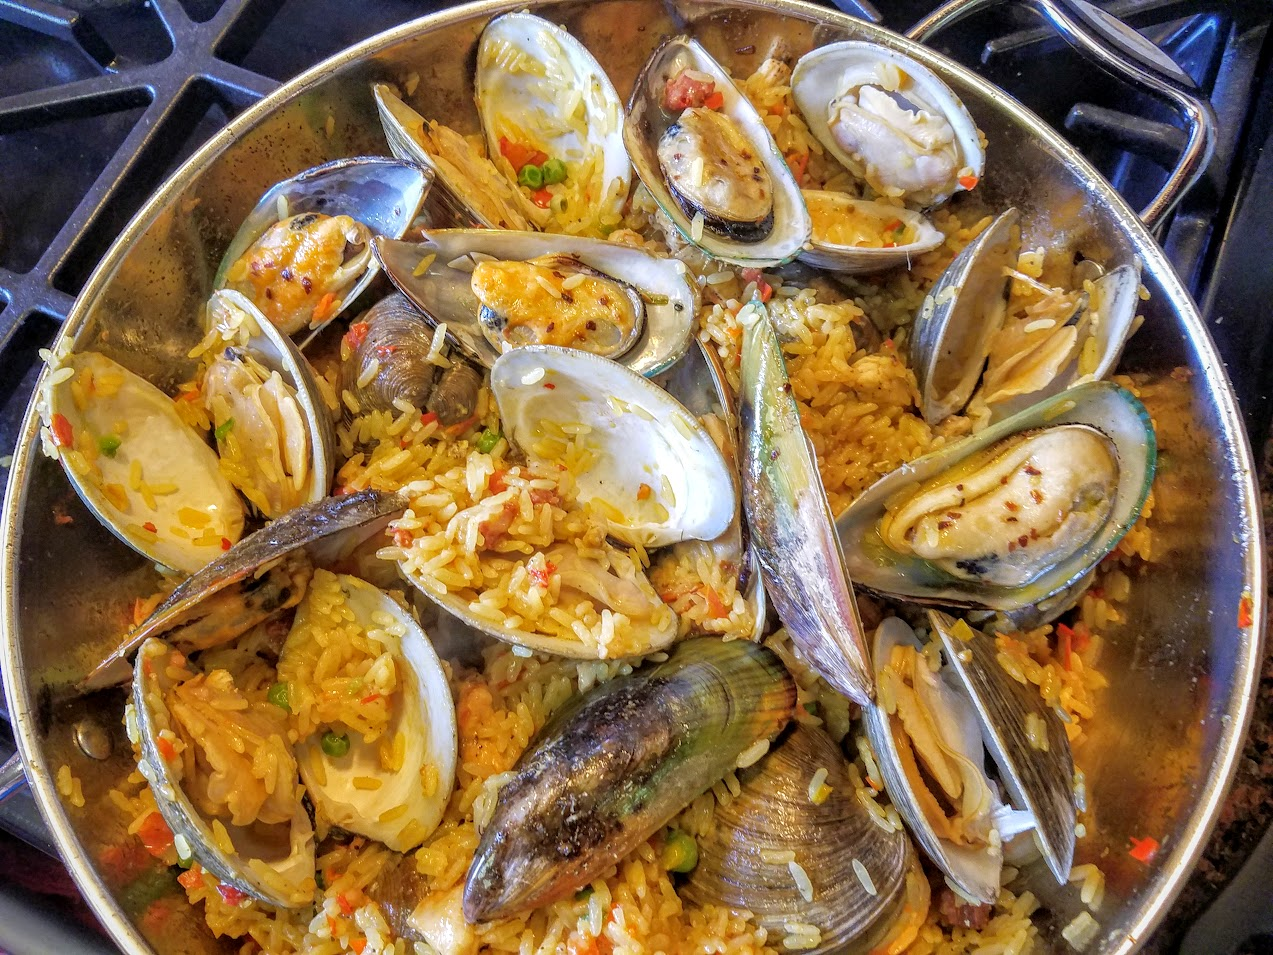
Paella Valenciana


Paella Valenciana!


Summer eating like Spain and beyond.
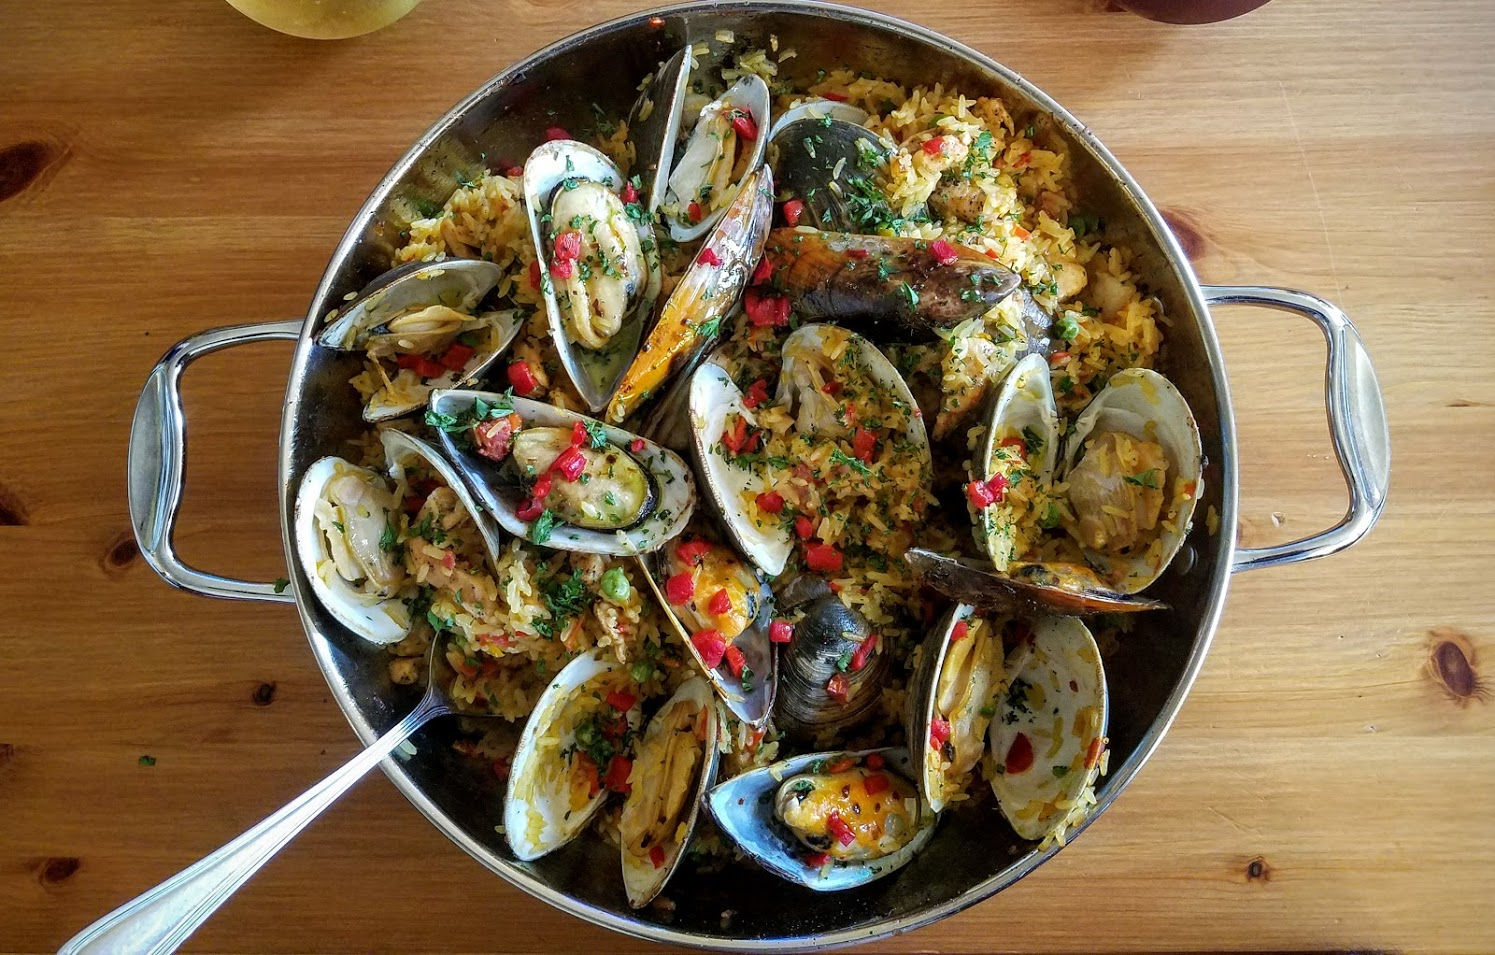

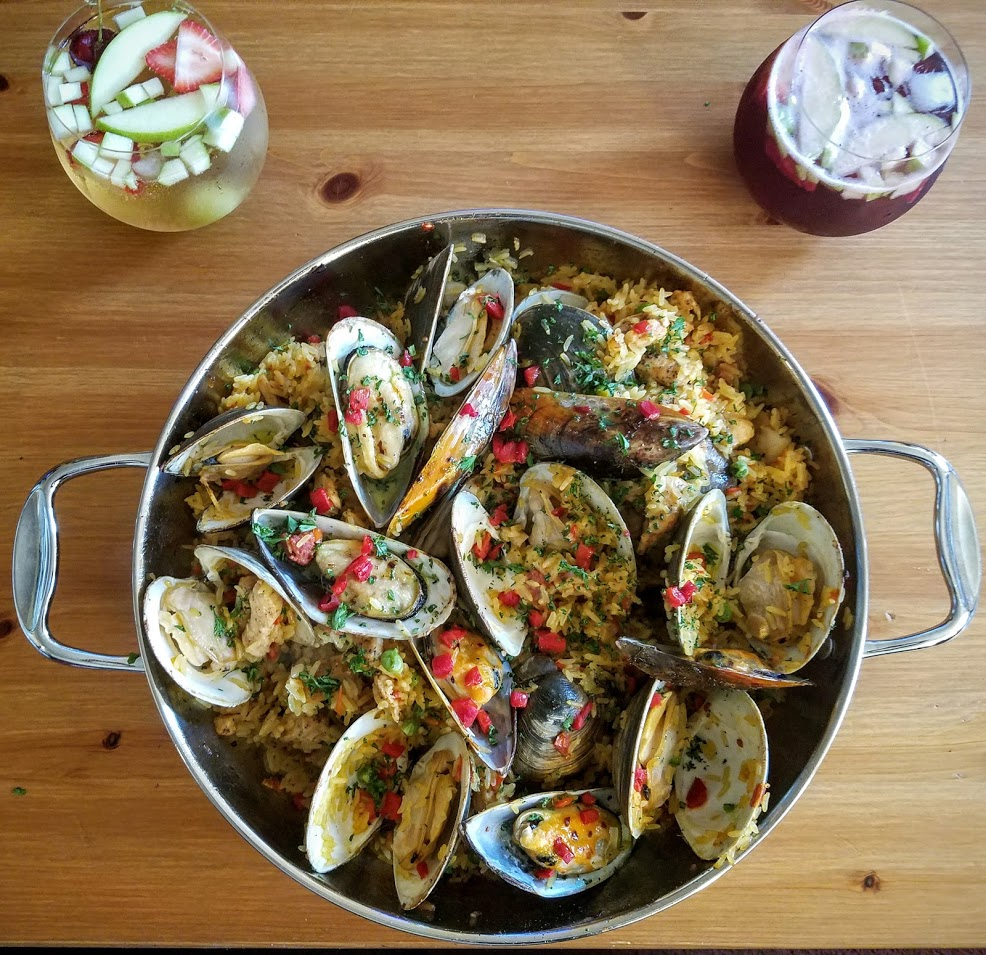
The ever transcending Paella. Most are delicious, few sublime, and all are breathtaking! Embrace the summer like the Spaniards with an awe inspiring seafood and meat dish, don’t forget the Sangria!
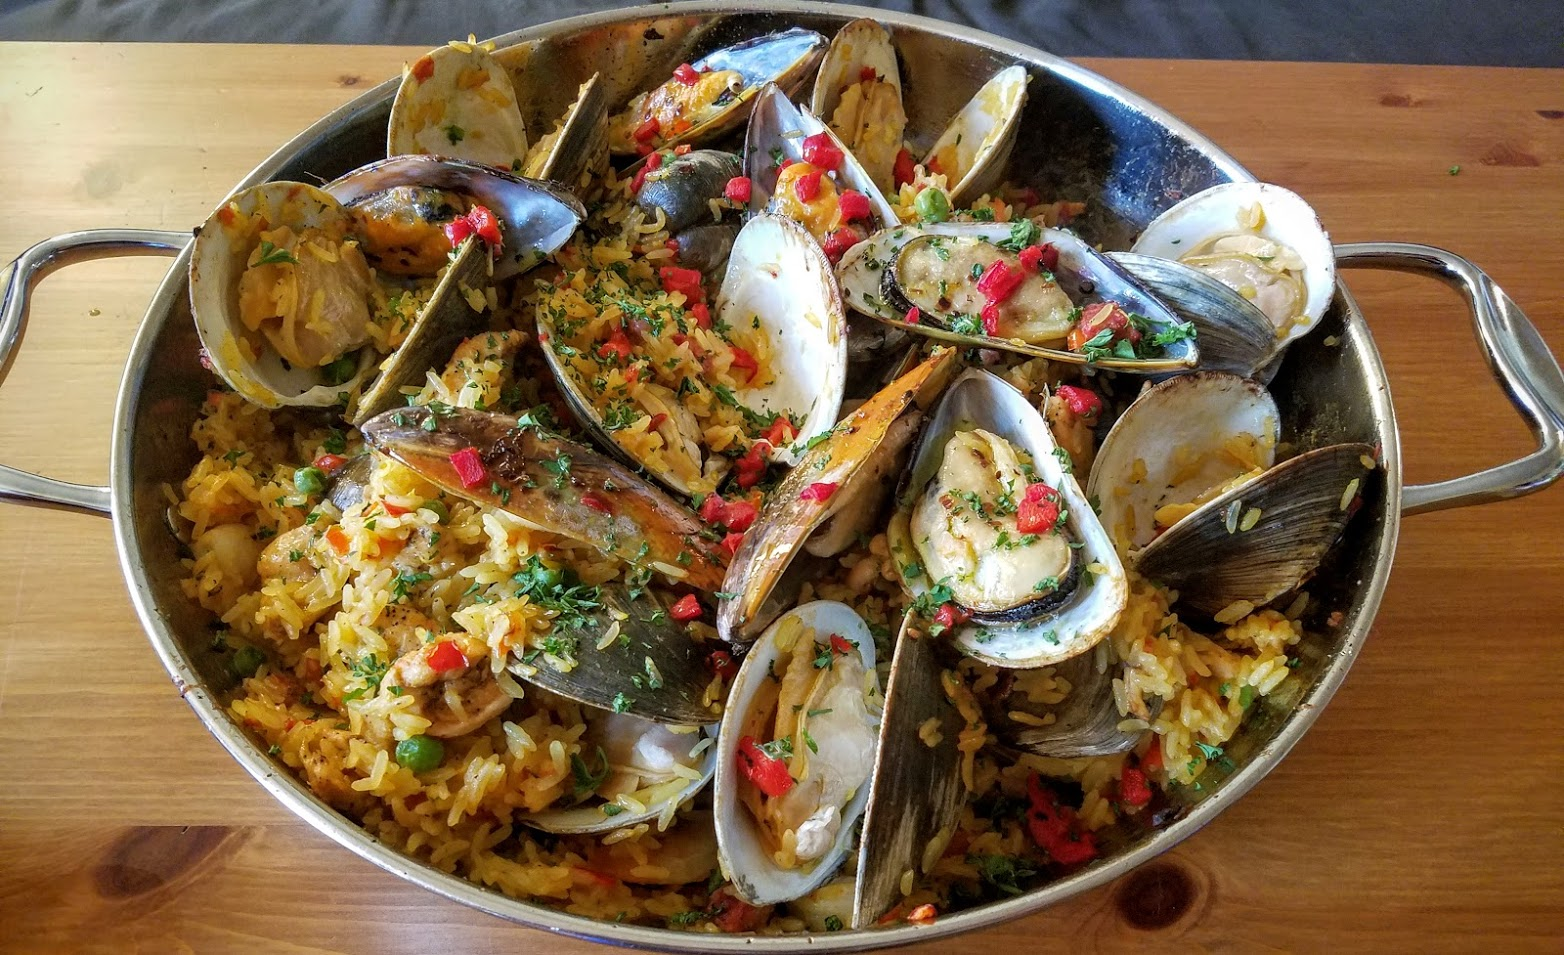

Tinkering is as fundamental of the culture of paella, as the original Valenciana, start with this, and explore from here. This one pan dish is easier than it appears, and has a gorgeous presentation - serve in the pot you created it in.
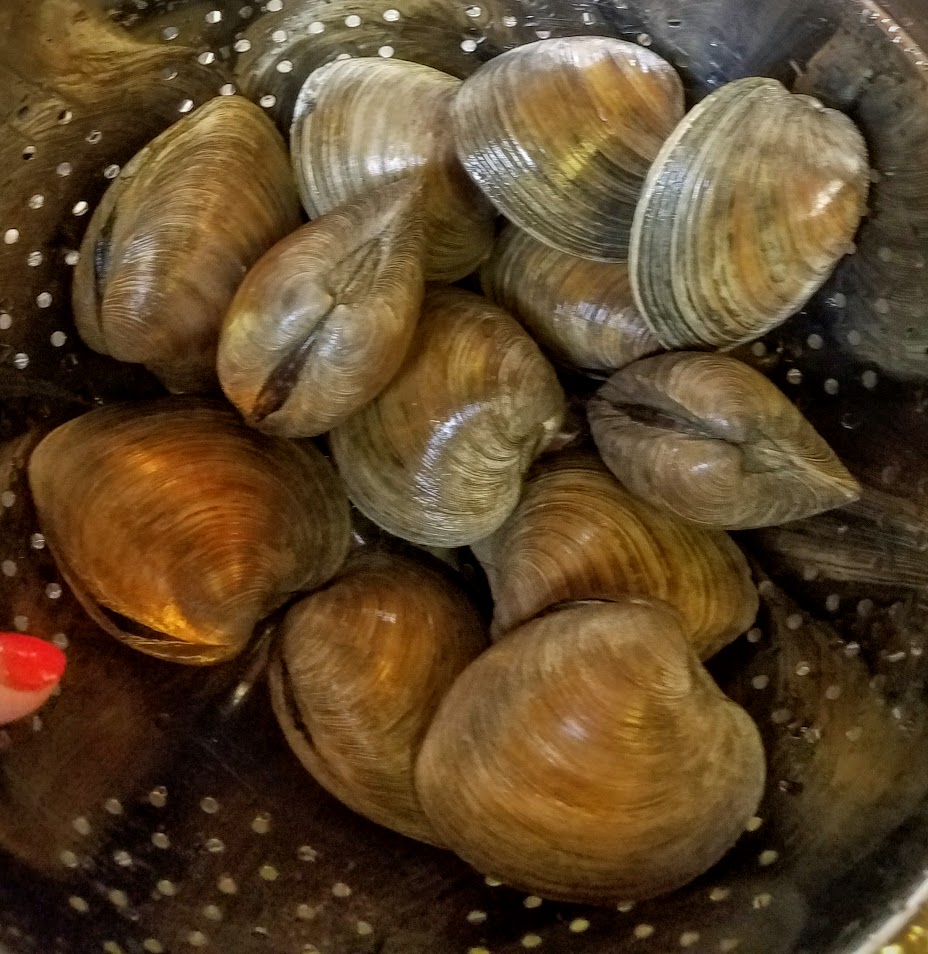
Ingredients (serves 4 -6 *add more protein to serve more)


  • 12 Shrimp
  • 12 Clams
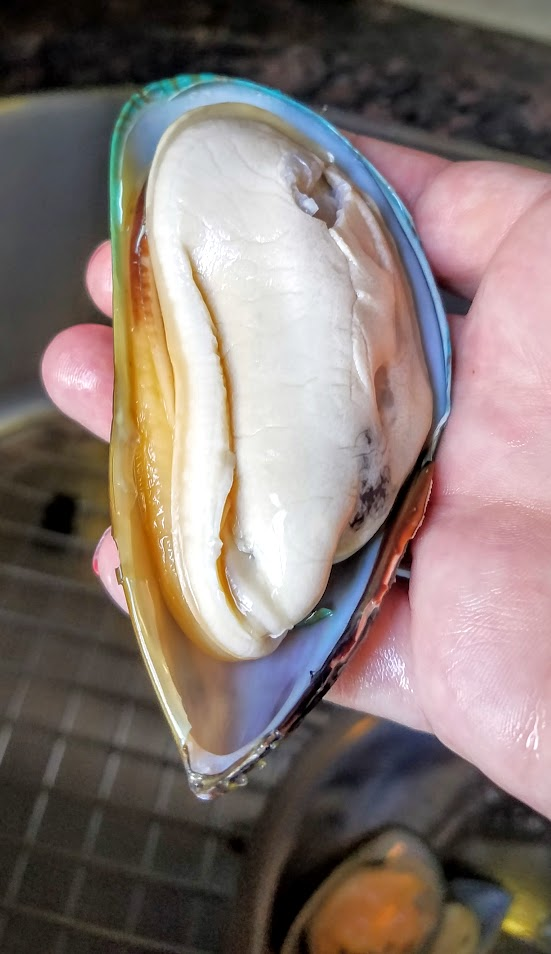
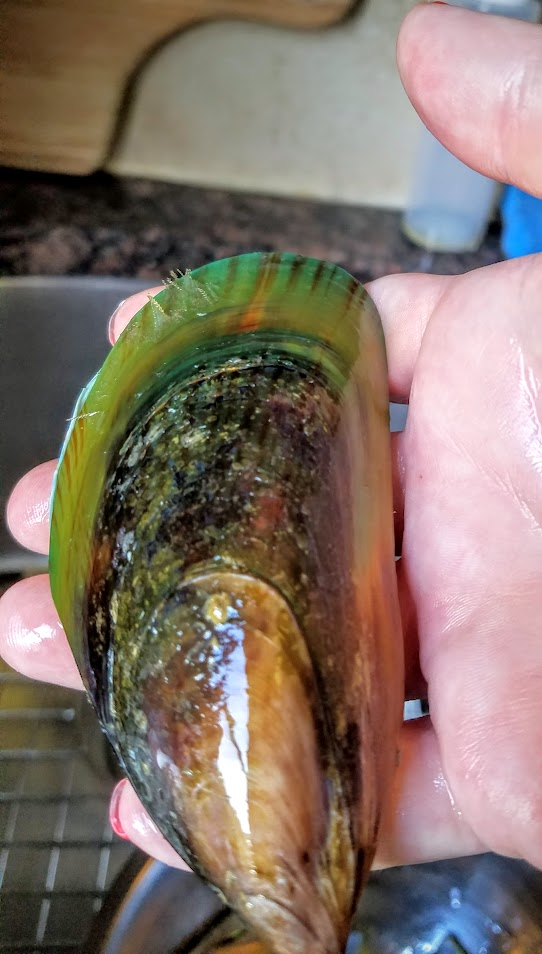
  • 8- 12 Mussels (cleaned & debearded)


  • 2 Chicken breast
  • 6 oz dry Chorizo - cubed
  • 2 cups Spanish Rice
  • 1 ½ fl oz Olive Oil

     
  • 1 ¼ tsp Saffron


  • 32 fl oz (1 L) Chicken Stock (or Seafood)
  • 1 cup mixed peppers - small dice   *This is important because they’re visually appealing as well as to the palate  

  • 1 Cup frozen cooked Peas - thawed

  • 1 ½ Cup small diced Fresh Tomato

  • 2 Shallots - finely chopped
  • 1 tsp crushed Garlic
  • 4 piquillo chilies (from jar) -diced
  • Parsley - chopped
  • 1 tsp of Smoked Paprika
  • 1 pinch Chili pepper flakes
  • Salt & black pepper as needed - *be careful because the seafood liquor & chorizo will bleed a great deal of salt!
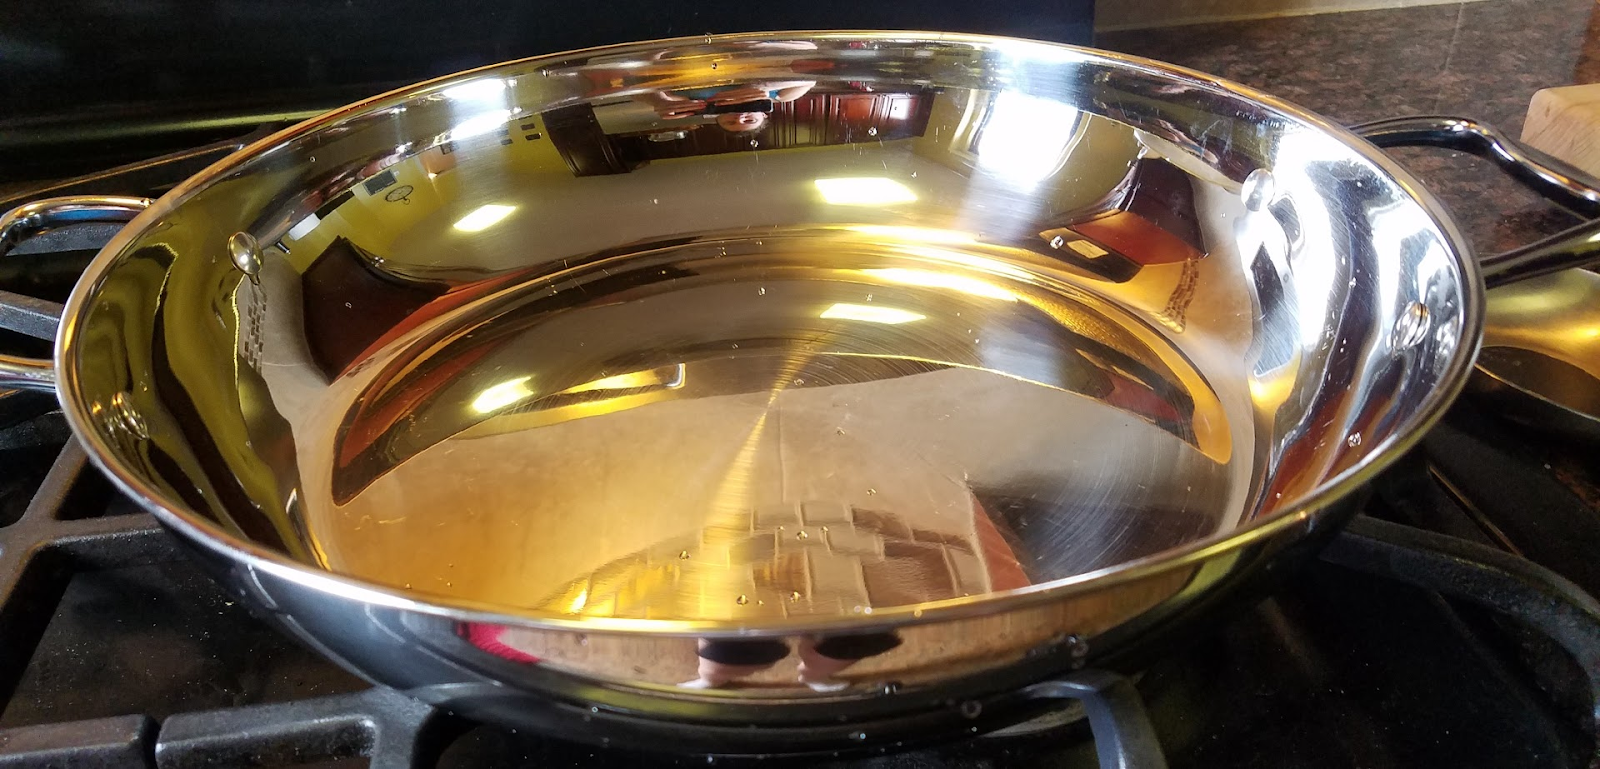

*If you do not have a traditional Paella pan - use a shallow stainless steel pan with a fitting lid! Most important! I use 32.5 in/32 cm

Procedure


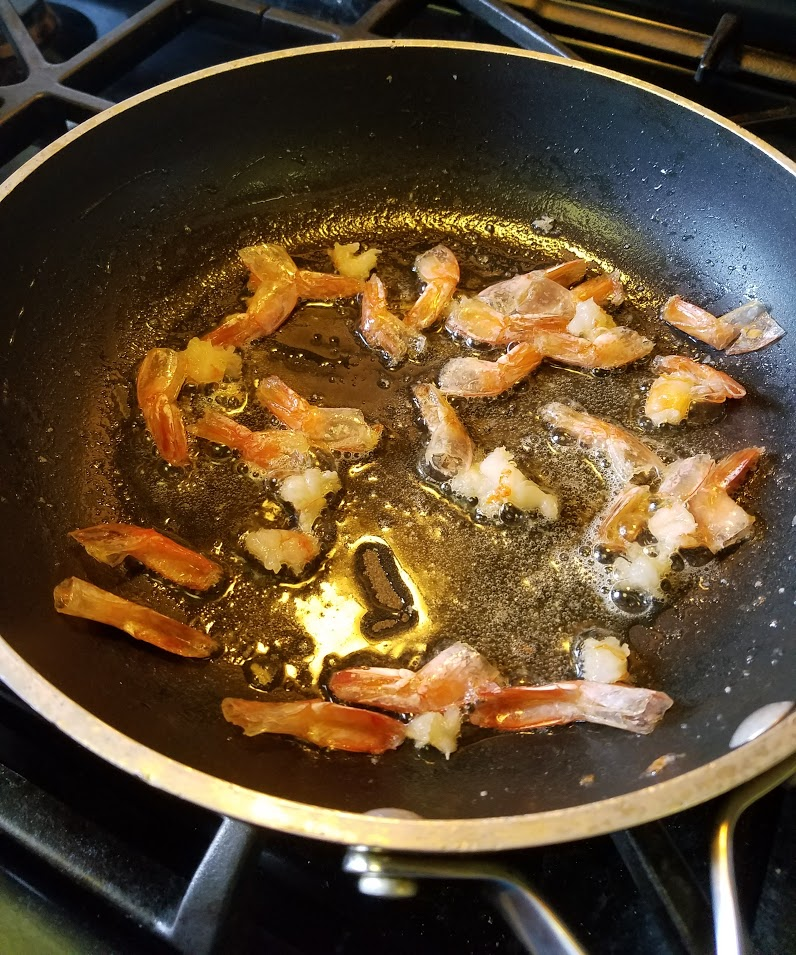
    • Peel & devein shrimp.
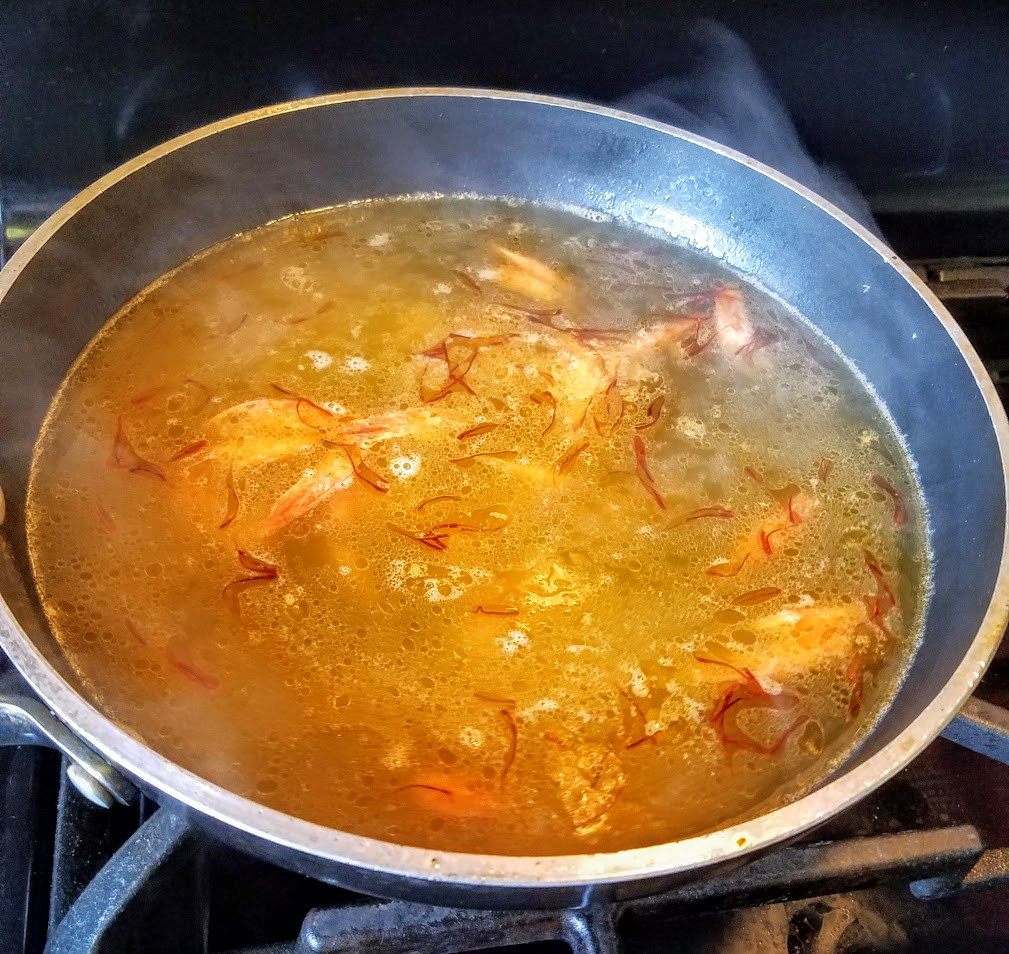
    • Saute the shells in 1 oz of oil until they turn pink.
    • Add Saffron & Stock - simmer for 30 minutes. Strain, set aside.  


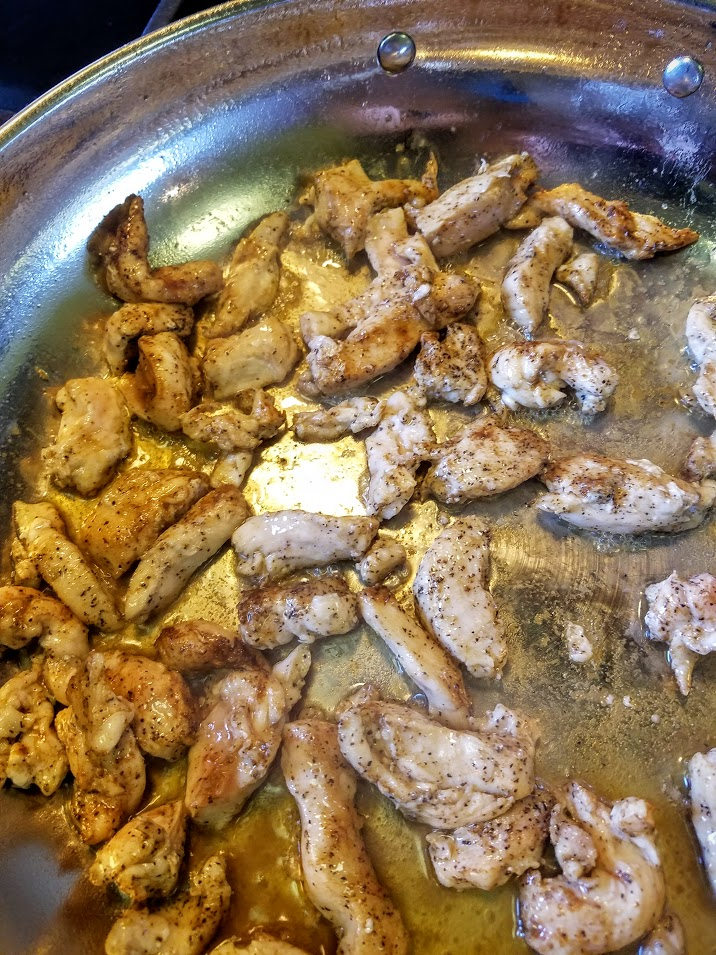
  1. The Chicken
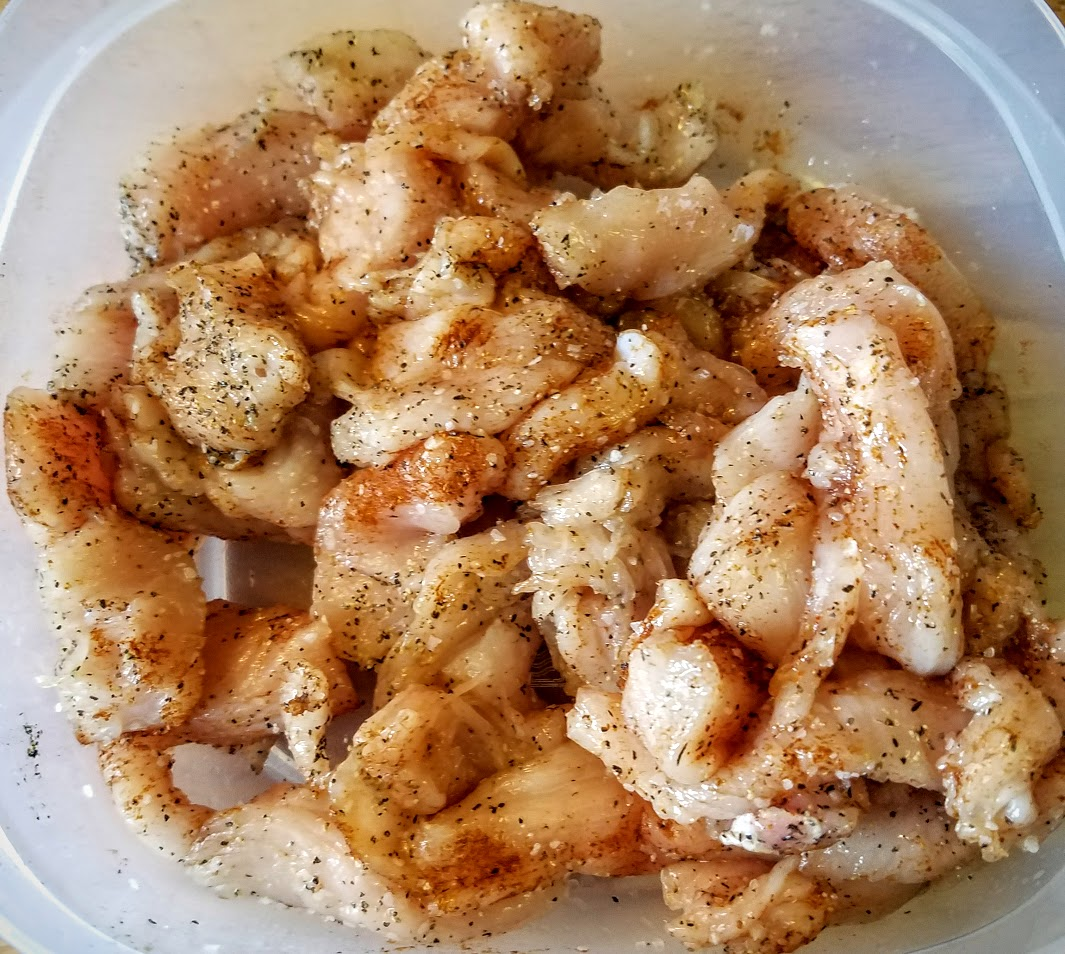
    1. Cut into small strips, season well with salt, pepper, & paprika.
    2. Add 1 fl oz oil to the paella pan and heat to smoke point - Med High. Add Chicken and brown on all sides.
    3. Remove from pan, set aside.


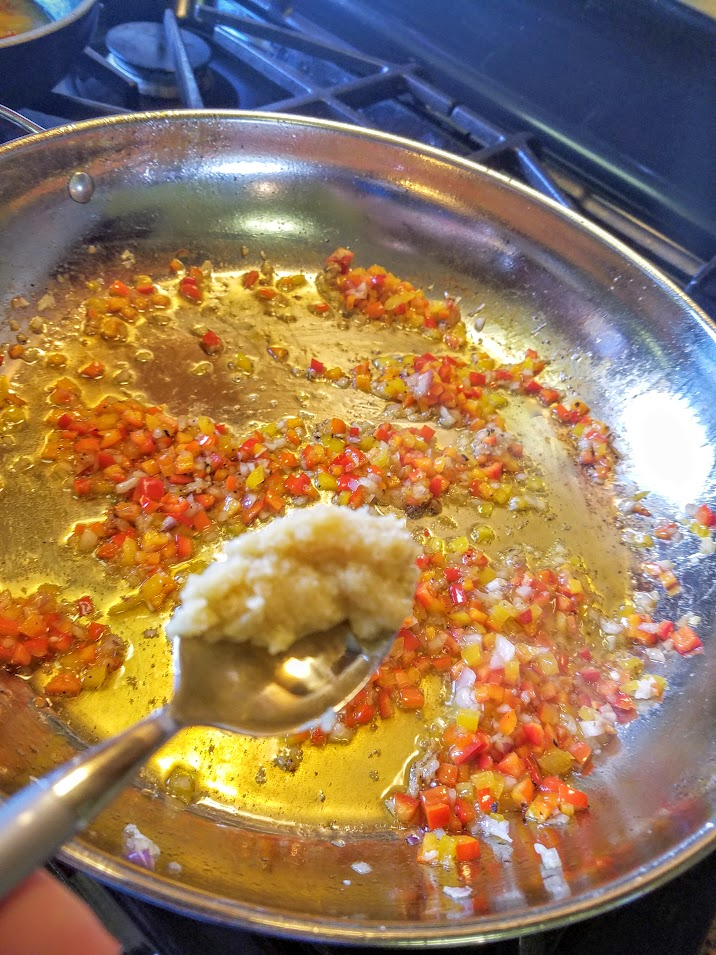
  1. Turn stove off while adding veg - pan is hot enough & you don’t want to burn!
    1. Add remaining oil, then peppers, shallots, salt, pepper. *NOT chili peppers flakes.
    2. Saute 1 min., then add garlic.
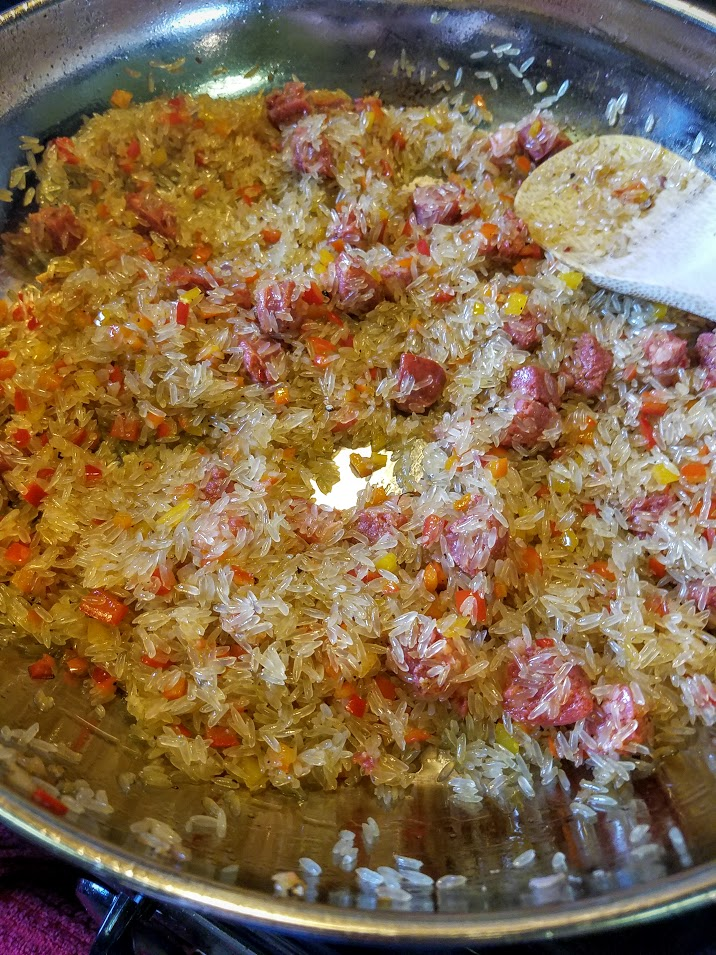
  1. Stir in chorizo & rice - coating the rice in the oil.
    1. Turn stove back on to Med- High.
    2. Saute 3 minutes - stirring.

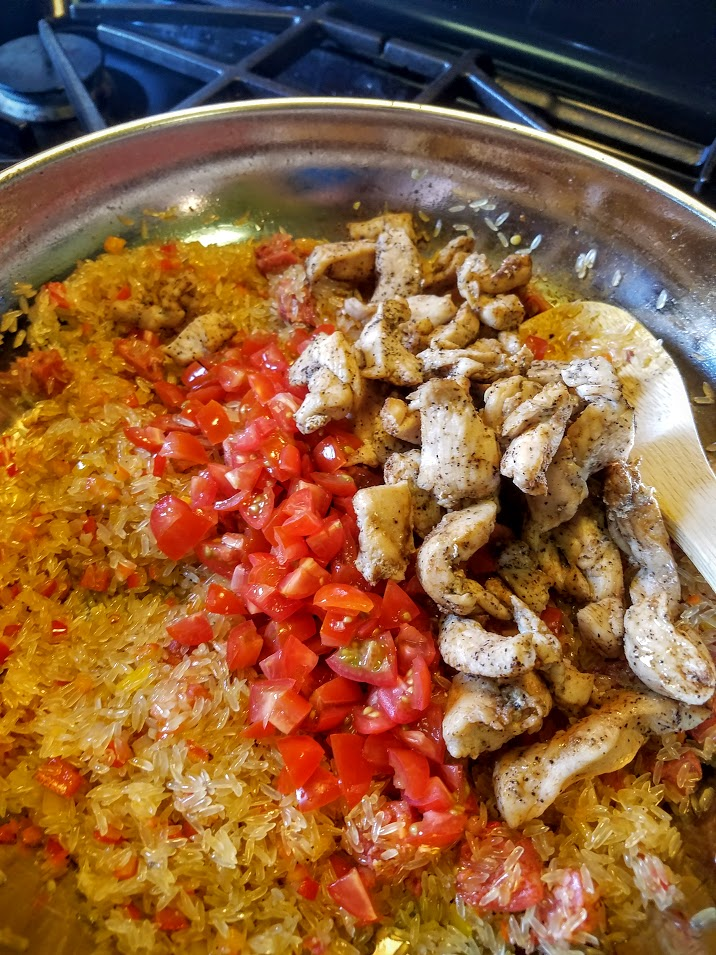
  1. Add tomatoes & chicken
  1. Pour in half the stock - stir. Wait 1 minute, then add rest of stock & chili pepper flakes. Stir.
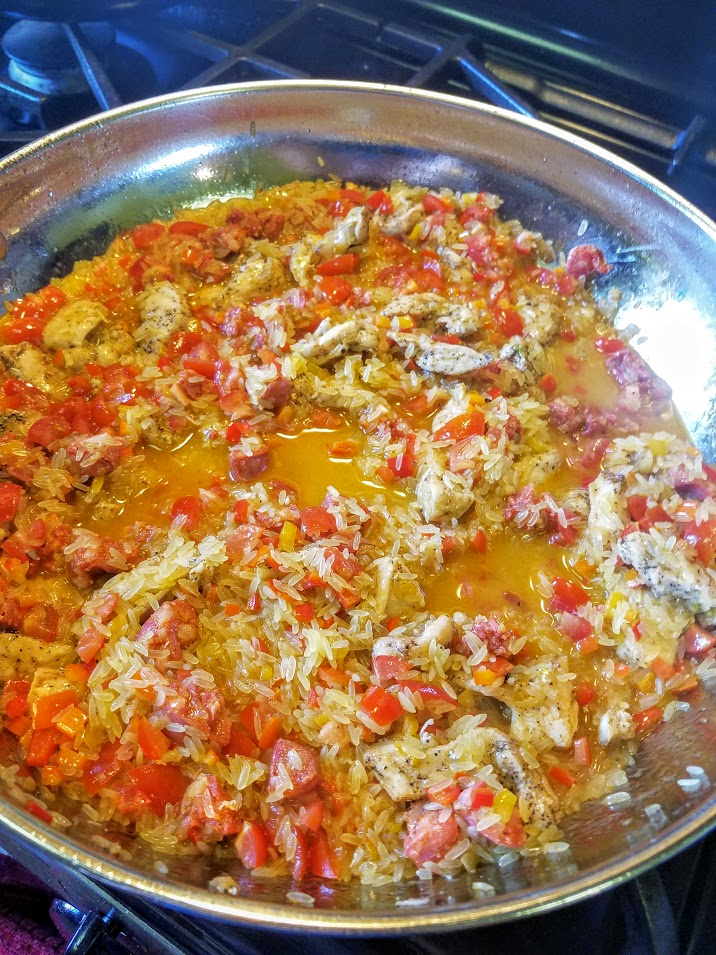
  1. Place the clams on top, Cover.

  2. Reduce heat to Medium. Cook 5 minutes. -or until clams open.
  3. Add the mussels and shrimp to the pan. Cover cook another 5-7 minutes.
  4. With a minute to go - add the peas. *** Check first that you are in fact finished…
    1. If steamy & liquid still present - Stir rice to absorb. Then arrange for presentation.
    2. Add more stock during cooking if necessary so the rice doesn’t dry out.
    3. The consistency is firm in shape though soft in texture like a pilaf. -Not a risotto.


You've done it!
Final Touches: Arrange the shells in upright open position, since you’re serving in this same dish.
Garnish with piquillo chiles & parsley. Serve Immediately.
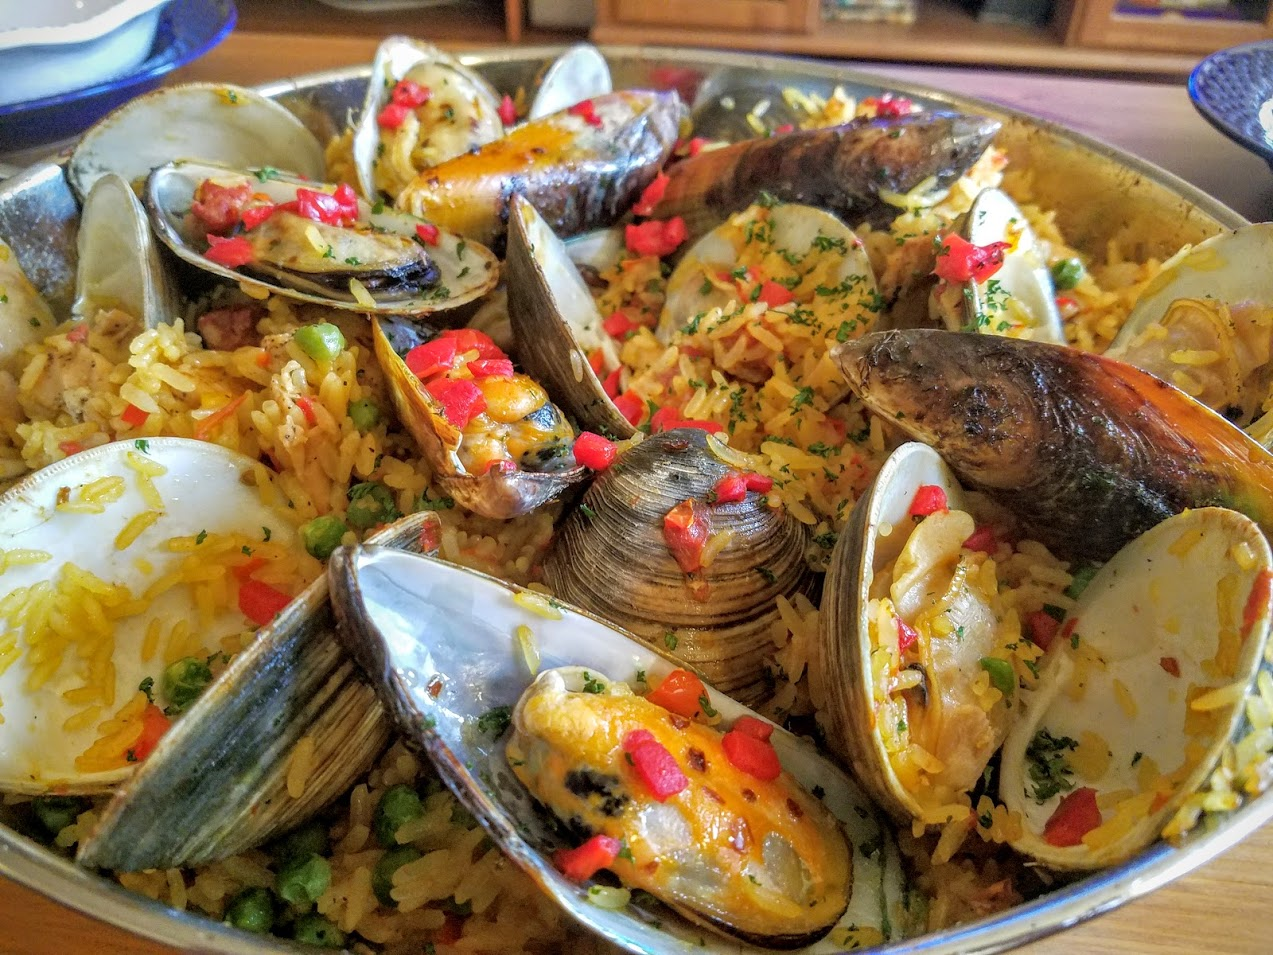

Take pictures and boast to everyone that wasn't there for your greatness!
(Including me! I want to see!)

#SummerTomatoes #Paella #SpanishCuisine #Seafood #Shellfish #SummerEating #HauteCuisine #1Pan #SummerRomance #RomanticFoods #SexySummerEats #WinePairing #MeatAndSeafood #AphrodisiacFood  #DIYGourmet #ChefCaylenaCourses #ChefCaylena #PaellaValenciana #SummerEntertaining #EntertainingHosting #SeafoodDinner #SeafoodLover


Saturday, June 18, 2016

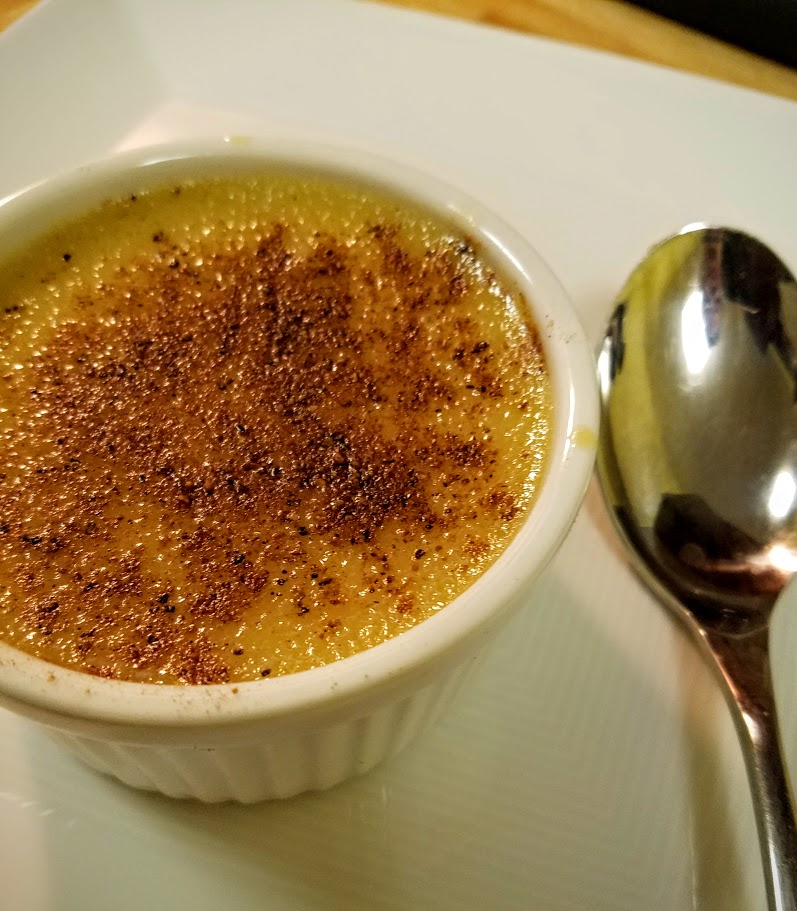
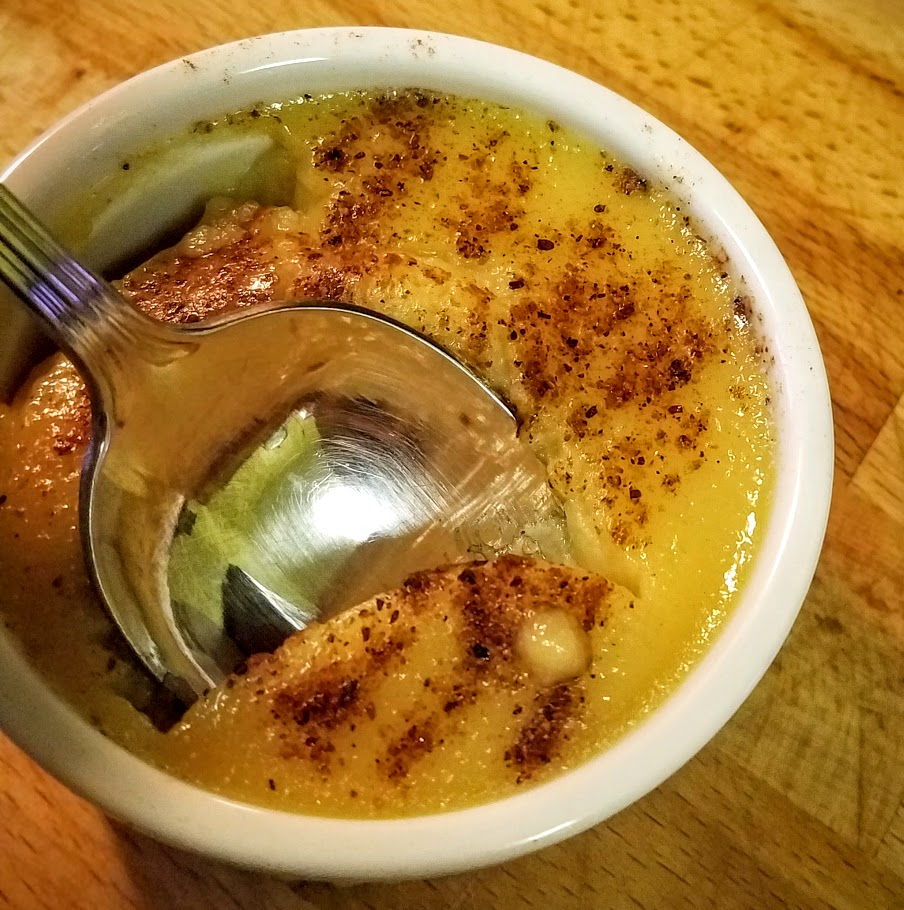
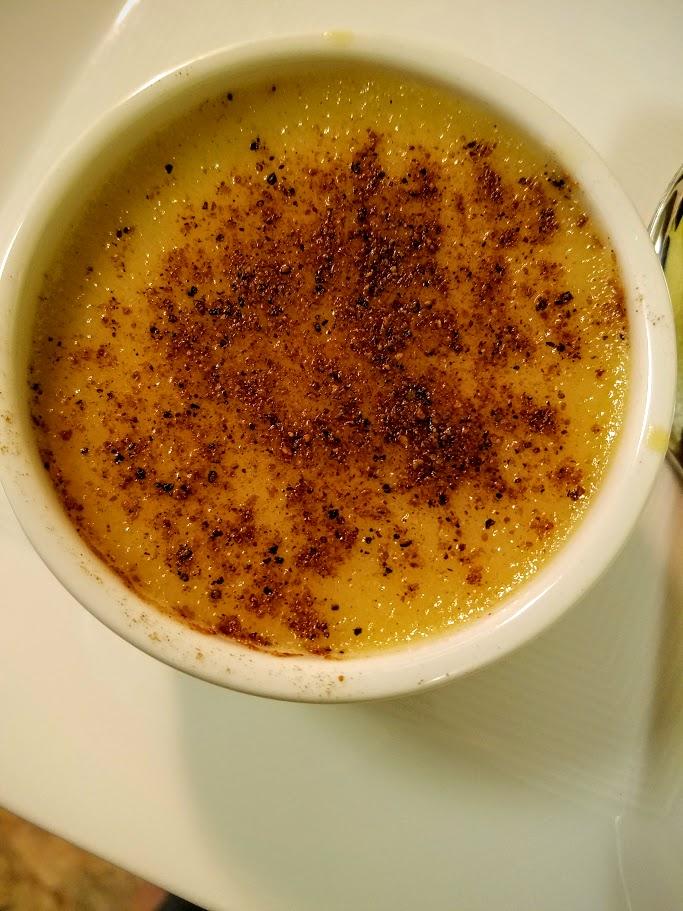
Vanilla Bourbon & Coconut Egg Custard!


Vanilla Bourbon & Coconut

Egg Custard!

This is a super easy dish to prepare! It’s super affordable! This a lovely spin on a classic custard that always is a stand out because of it’s simplicity and sophistication… great for a dessert and yet the kids will devour it (not to mention can make themselves.) And most importantly it’s delicious and light enough for the current summer heat wave!
A Must Try!
This will take 15 minutes of prep, 35 minutes in a low temp oven of 325F, and rests for at least 2 hours. Eaten chilled.
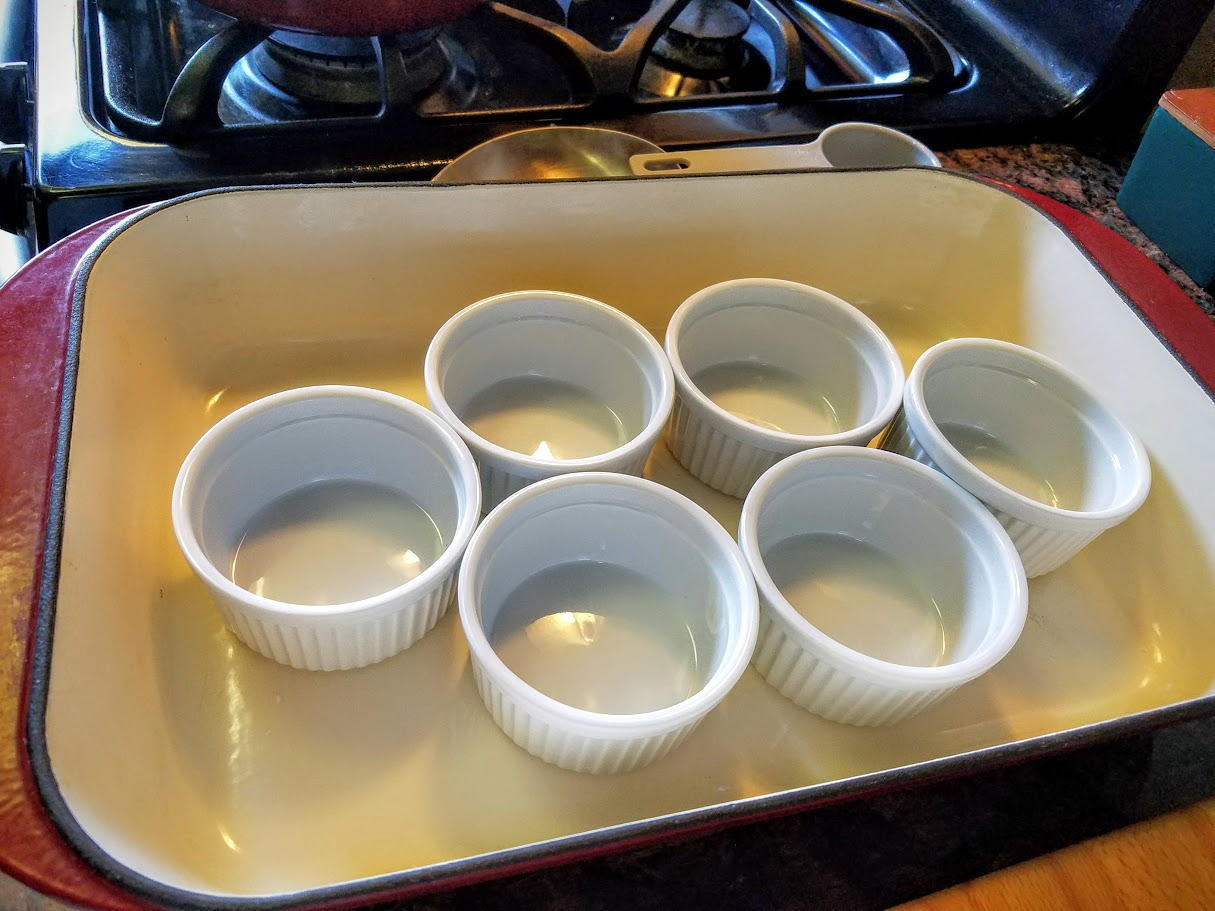
You will need 6 ramekins -or- coffee cups that are oven safe.


Ingredients:
  • 1 cup Evaporated Milk - or 2% Milk
  • 1 ½ cup Coconut Milk - Cream of Coconut
  • 3 whole Eggs
  • 4 Egg Yolks only
  • ⅓ cup Sugar
  • ¼ cup Powder Sugar (Confectioners)
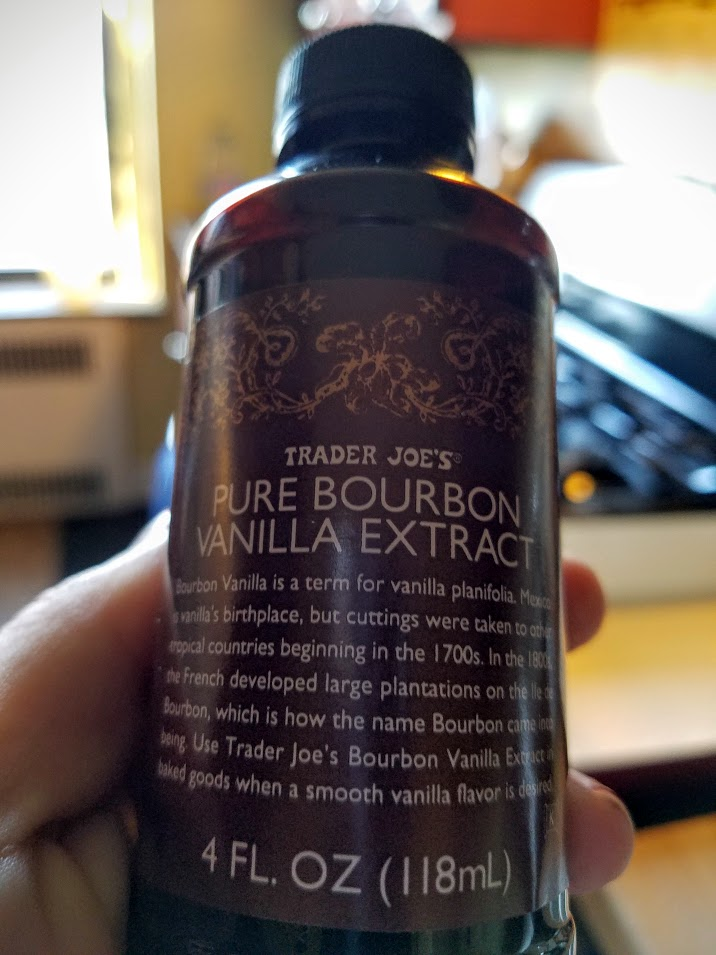
  • 1 Tbsp Bourbon Vanilla Extract
  • Ground nutmeg for top


Procedure:
  1. Preheat oven to 325F
  2. Boil a pot of water, let steam out while you prepare. You want it hot not boiling when use.
  3. In sauce pan - bring milks to a simmer over med-high heat. (take off heat if it starts to boil or foam up.)
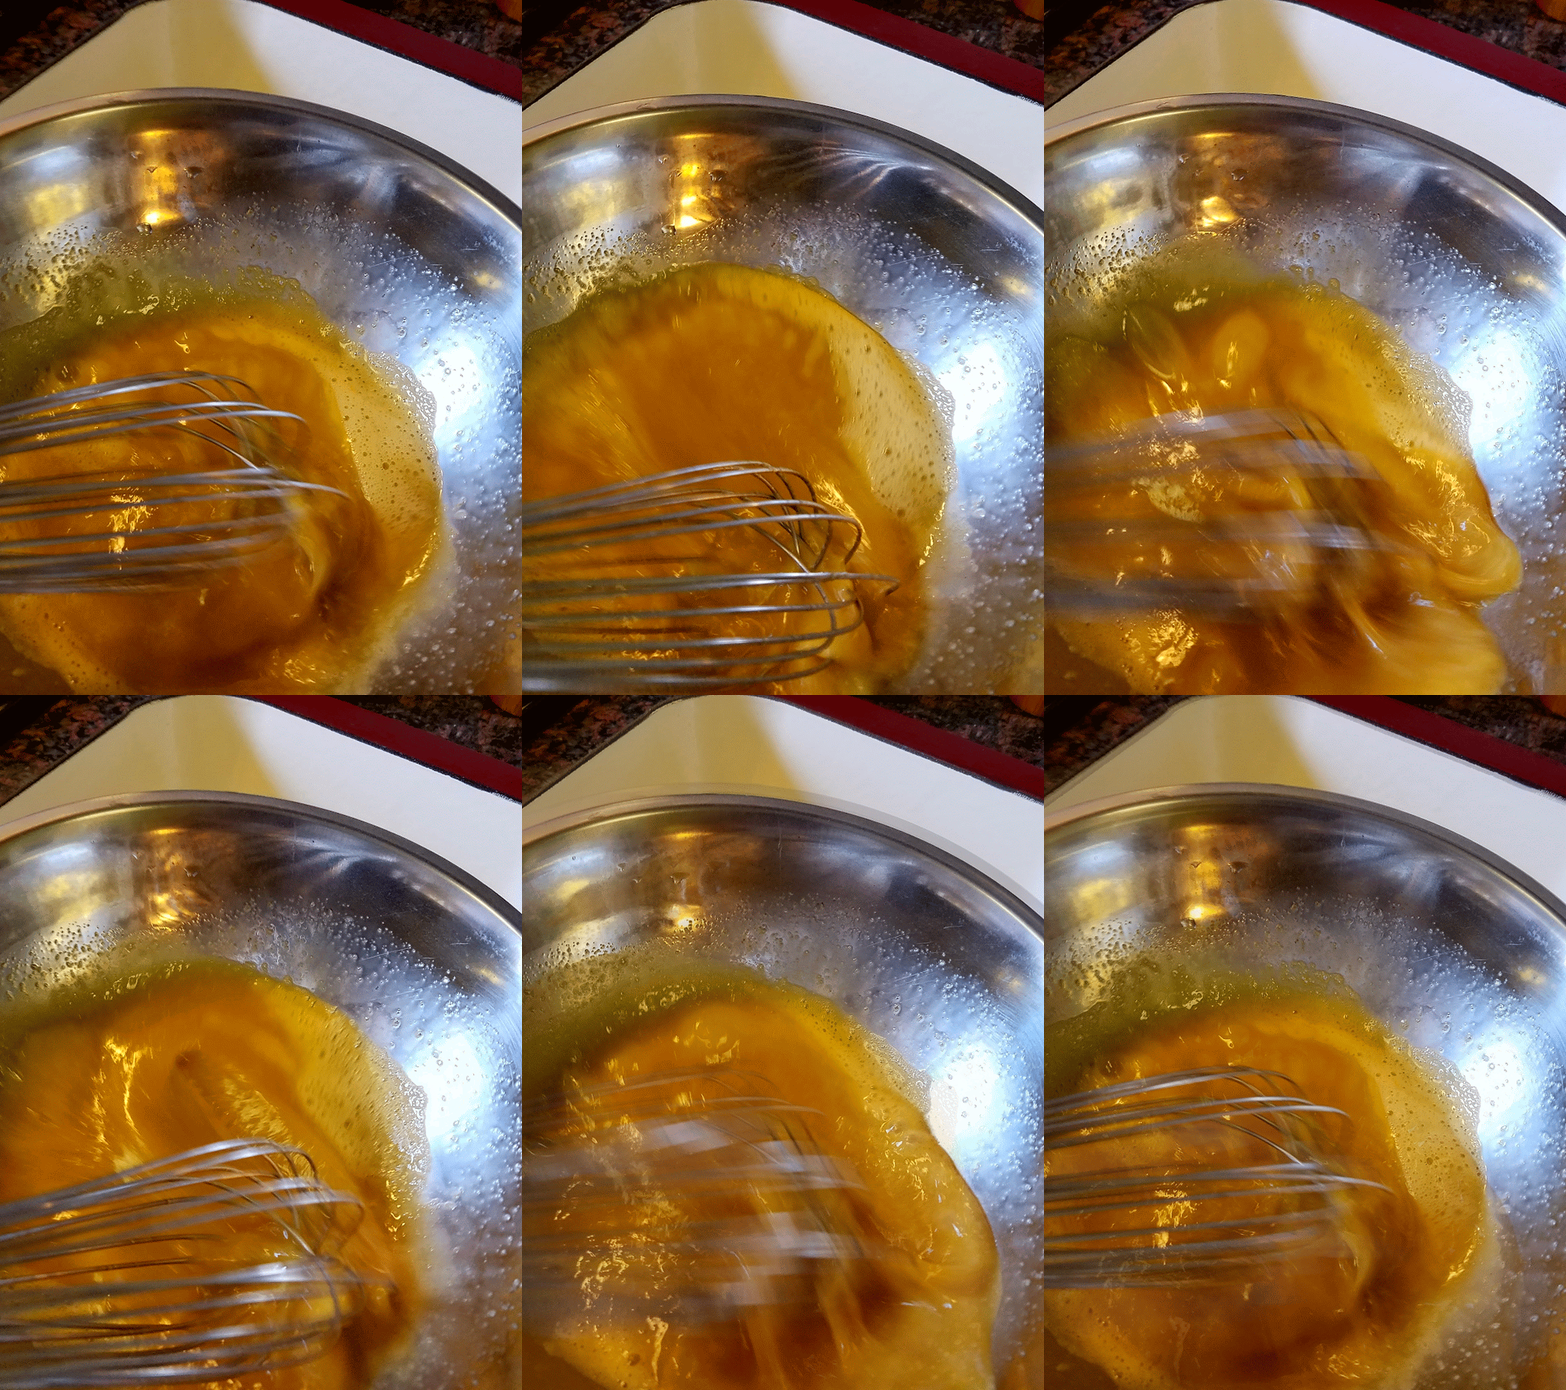
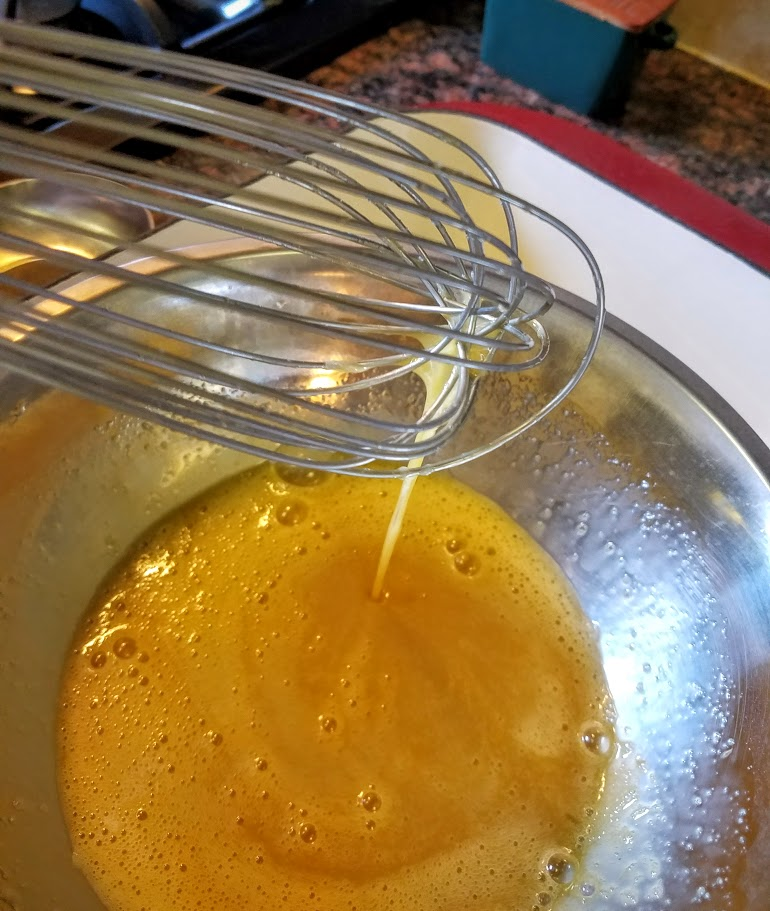
  4. In a separate bowl, whisk eggs, yolks, bourbon vanilla, then the sugar, altogether.
custard.gif


  1. Temper your eggs:
Take a measuring spoon or ladle and slowly pour hot milk into eggs while stirring. This is to raise the temperature slowly enough so they won't break nor scramble.


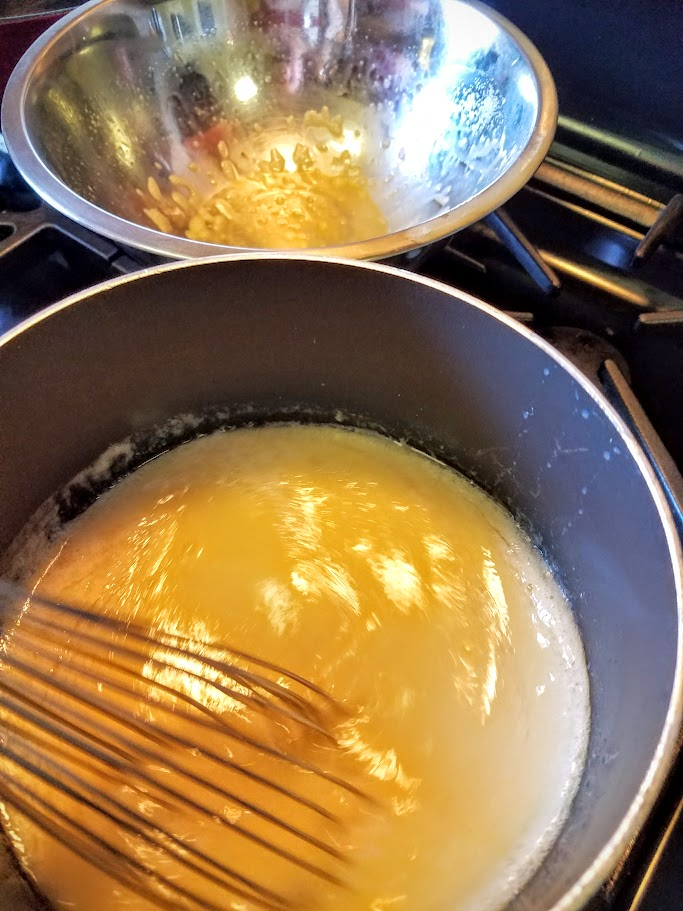
  1. Pour eggs into milk pot, whisk.
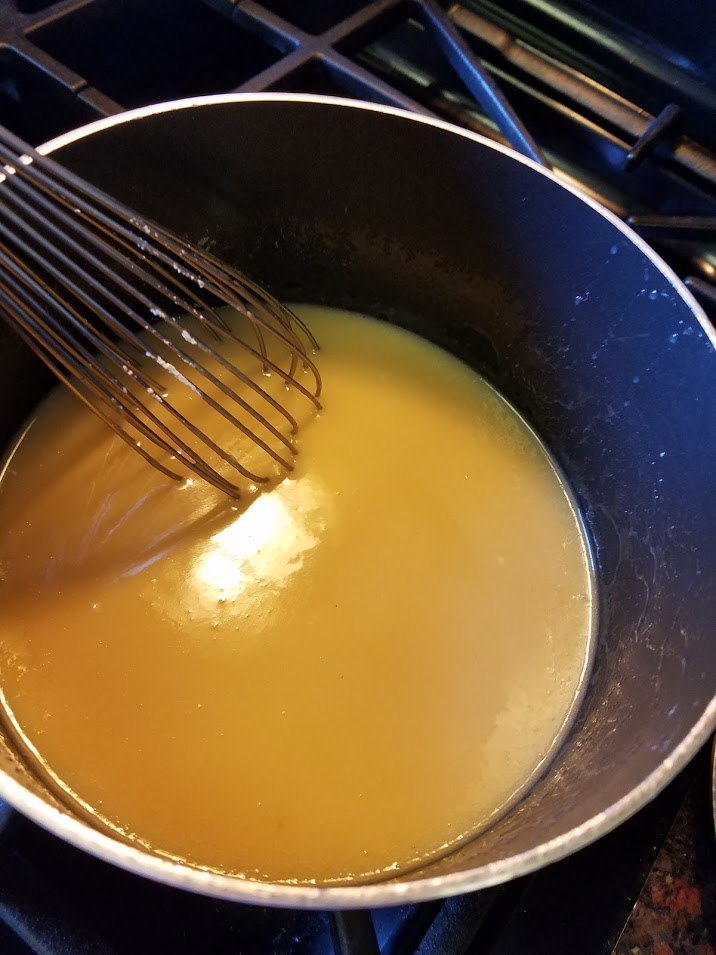
  2. Pour in Powdered Sugar slowly while whisking until smooth and lump free.
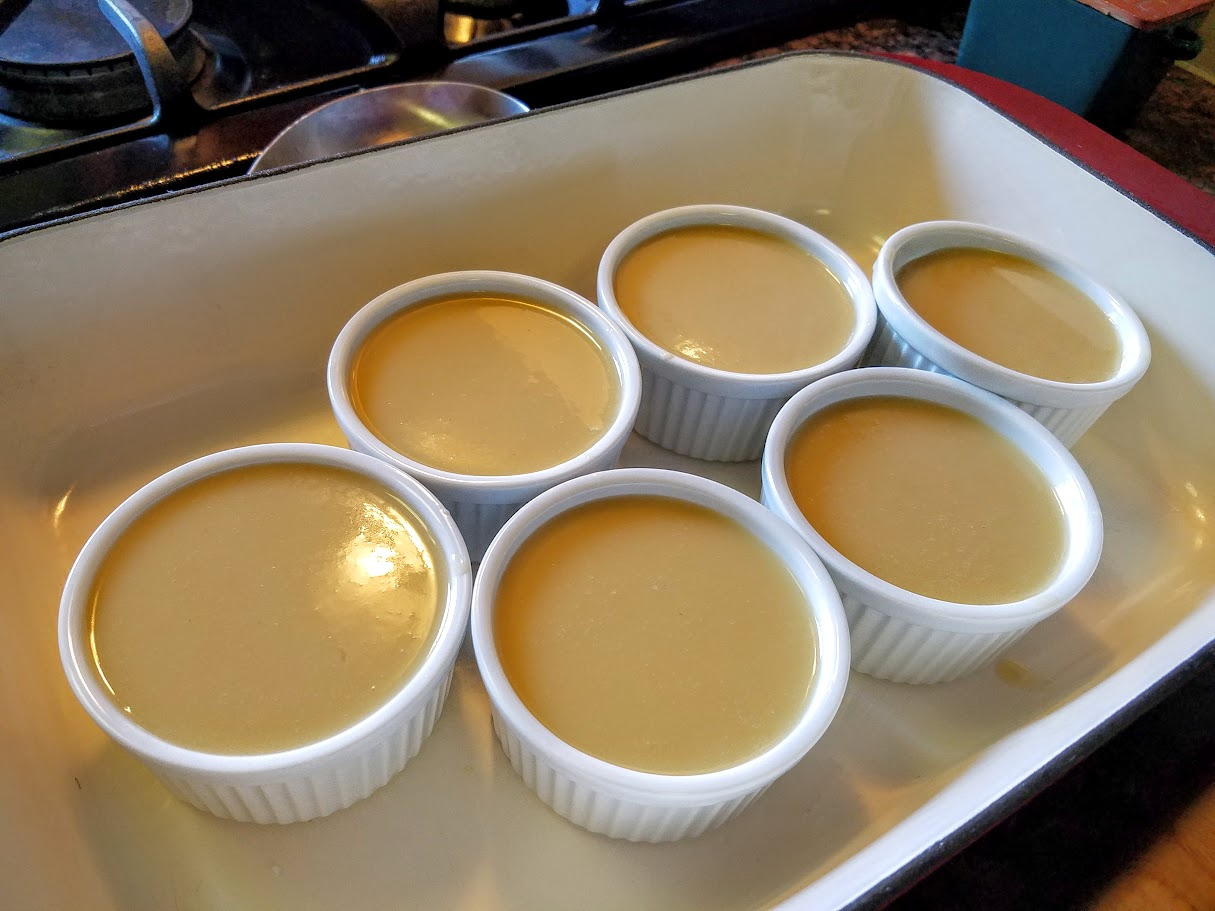
  1. Place ramekins in a deep enough baking dish.
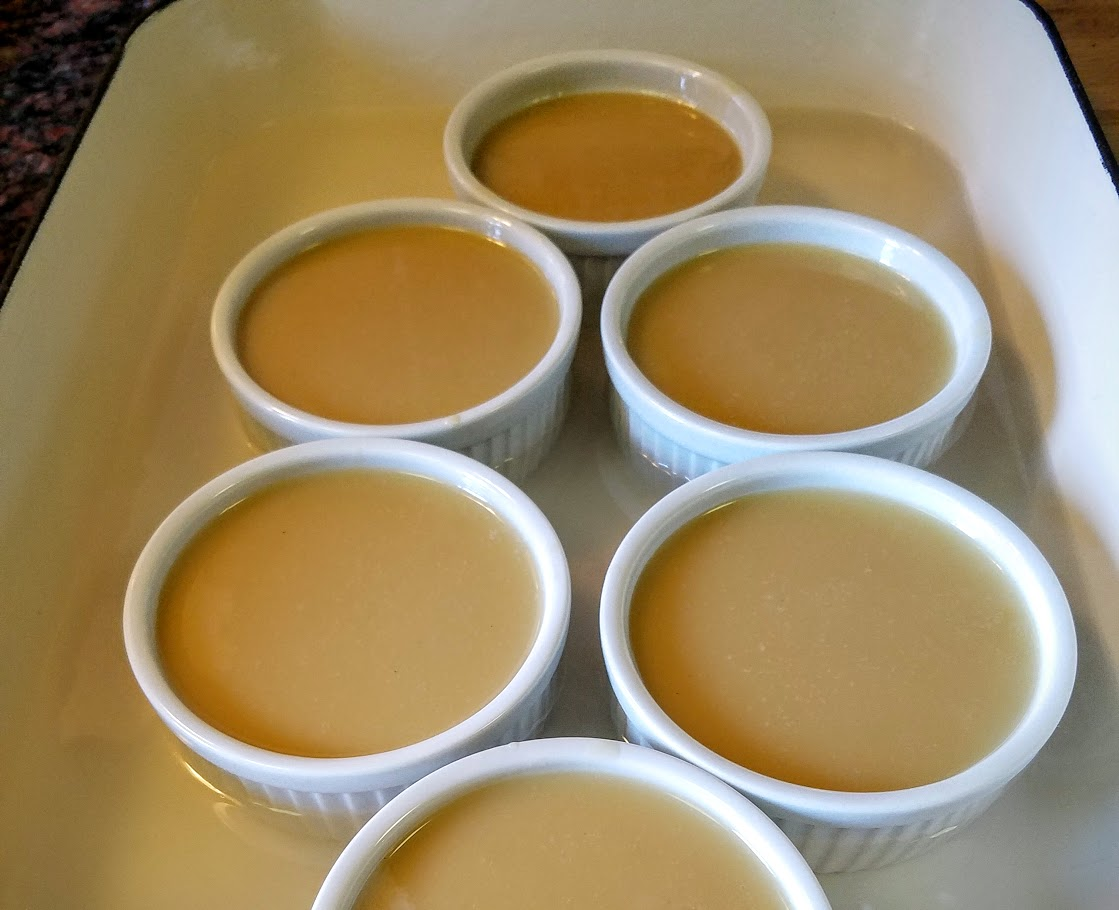
  1. Use a measuring cup and fill cups, leaving a little room so they won't spill in movement.
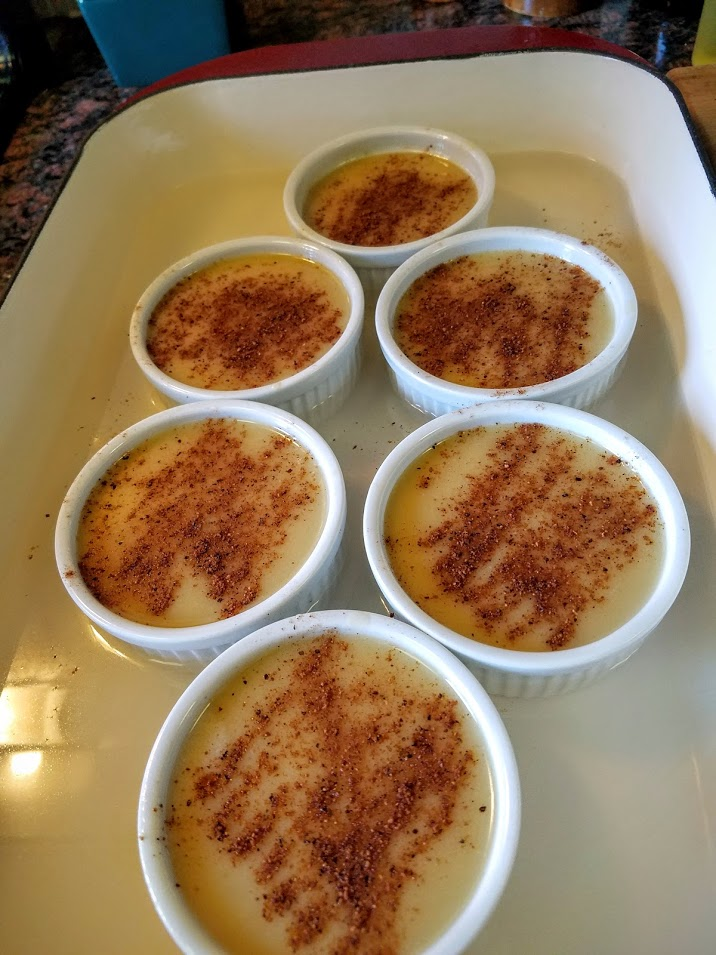
  1. Carefully pour hot water around cups (do not get in custard) until around half the ramekin.
  1. Sprinkle top with Nutmeg
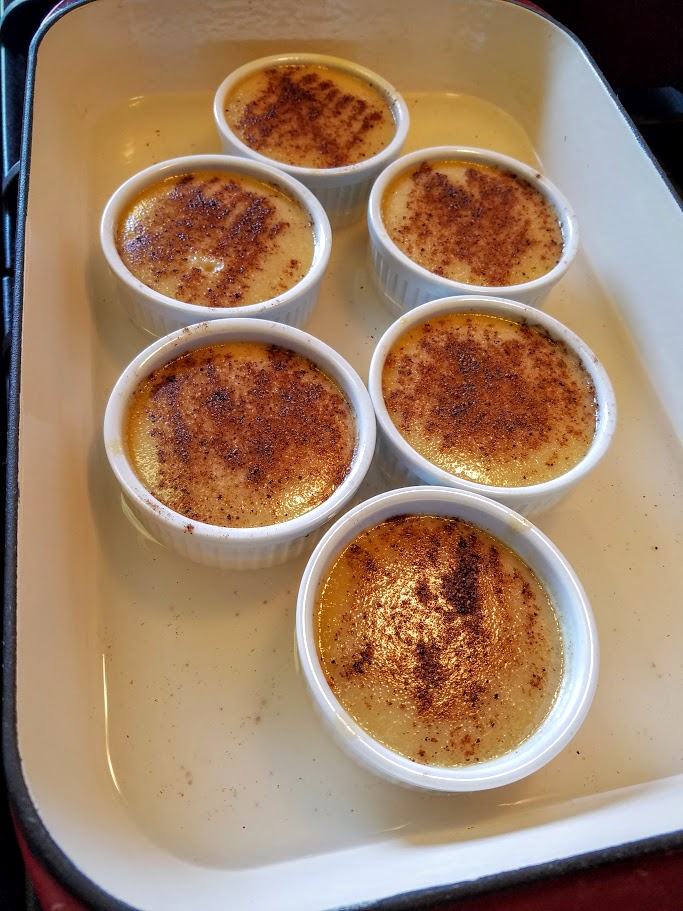
  1. Now ever so carefully not to Move the ramekins or spill .. anything, place in middle of oven for 30-35 minutes - if you’re using an electric oven you may need to let them cook another 5-10 minutes.
    1. They should be loose but still jiggle as if they hold together, you can touch the top and feel it slightly firm.

Now that’s it! Simple and easy! Just let sit at room temperature in the water bath for at least ½ hour - hour. Then take individually and place in refrigerator for 1 hour (up to 3 days.)
Serve as is! Enjoy!


You can serve with berries or anything you’d like, but it’s really creamy and nice just as.


#SummerDessert #BeatTheHeat #SummerEats #EggSlut #CheapEats #ChicEats #EasyCooking #EasyDessert #Pudding #TraderJoes #CuisinArt #EggCustard #SummerBaking #FathersDay #Coconut #KidFriendly #KidsCook  

Monday, May 30, 2016

Conquering and Refining the Mac & Cheese


Conquering and Refining

the Mac & Cheese!

Without all the bells & whistles … that’s up to you.
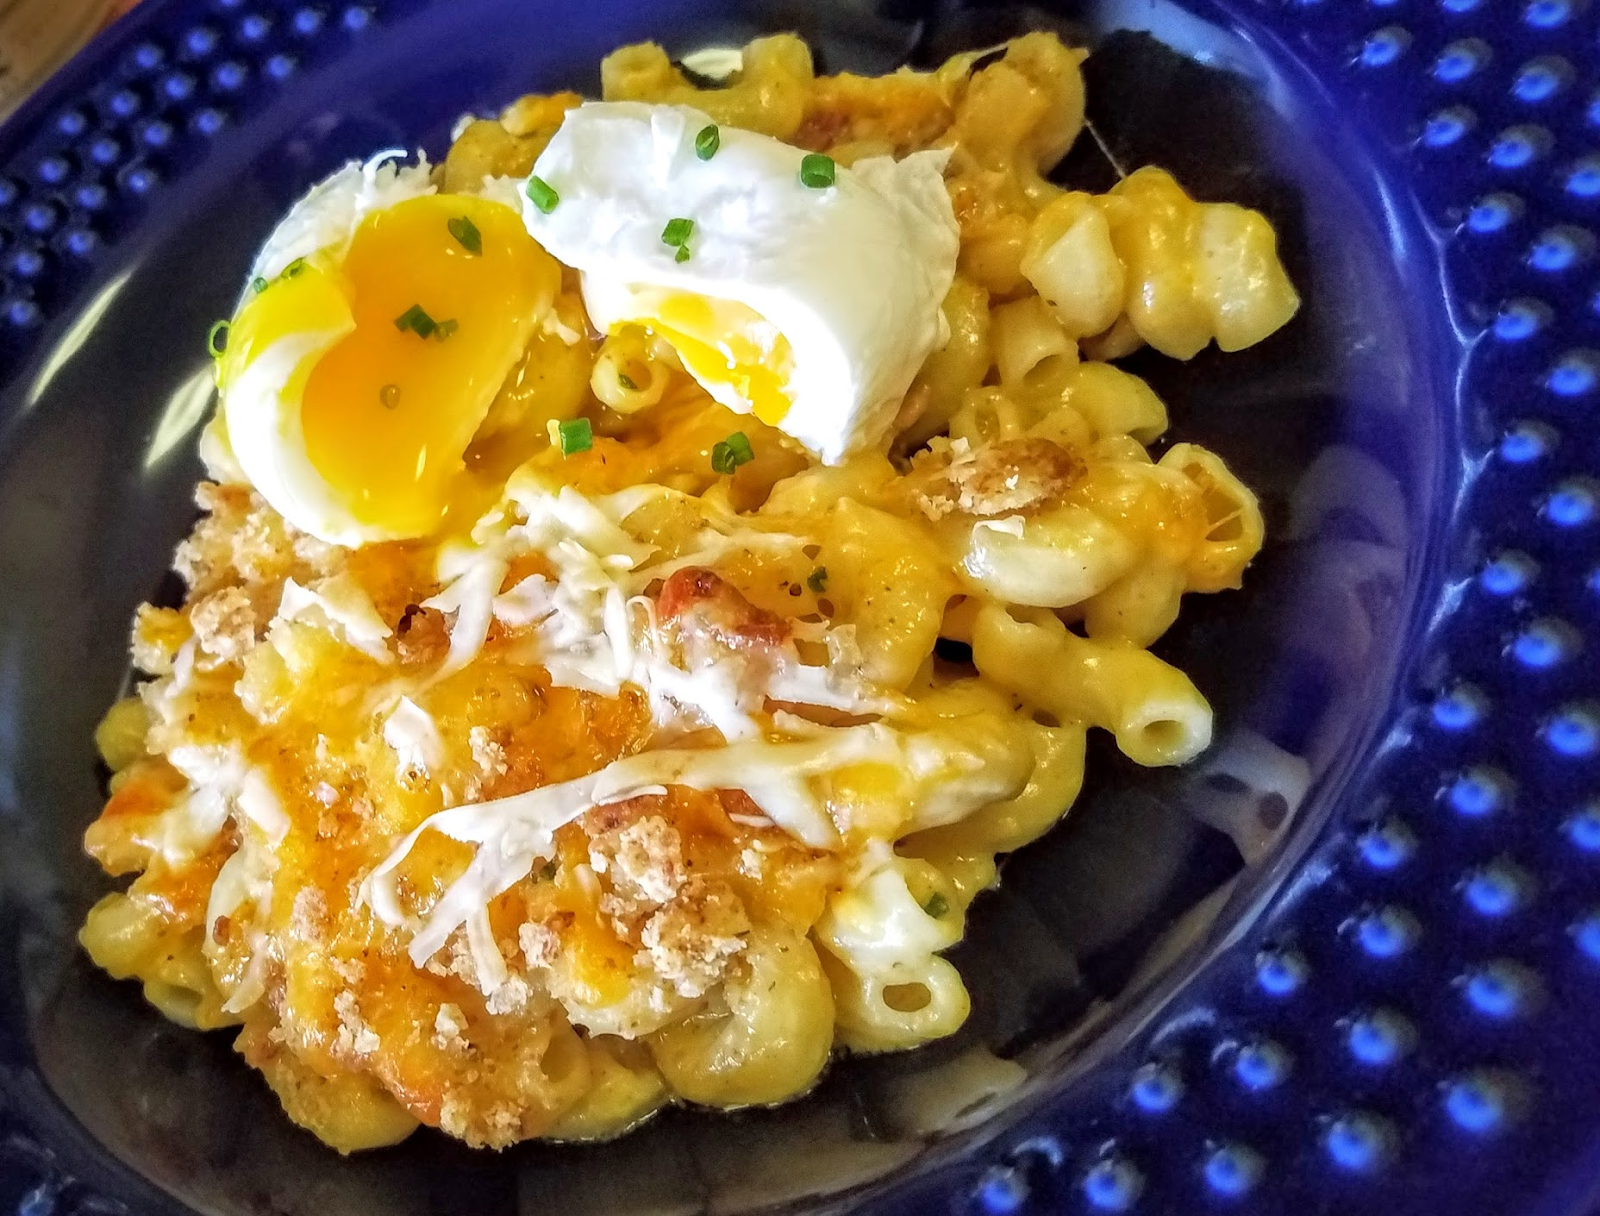
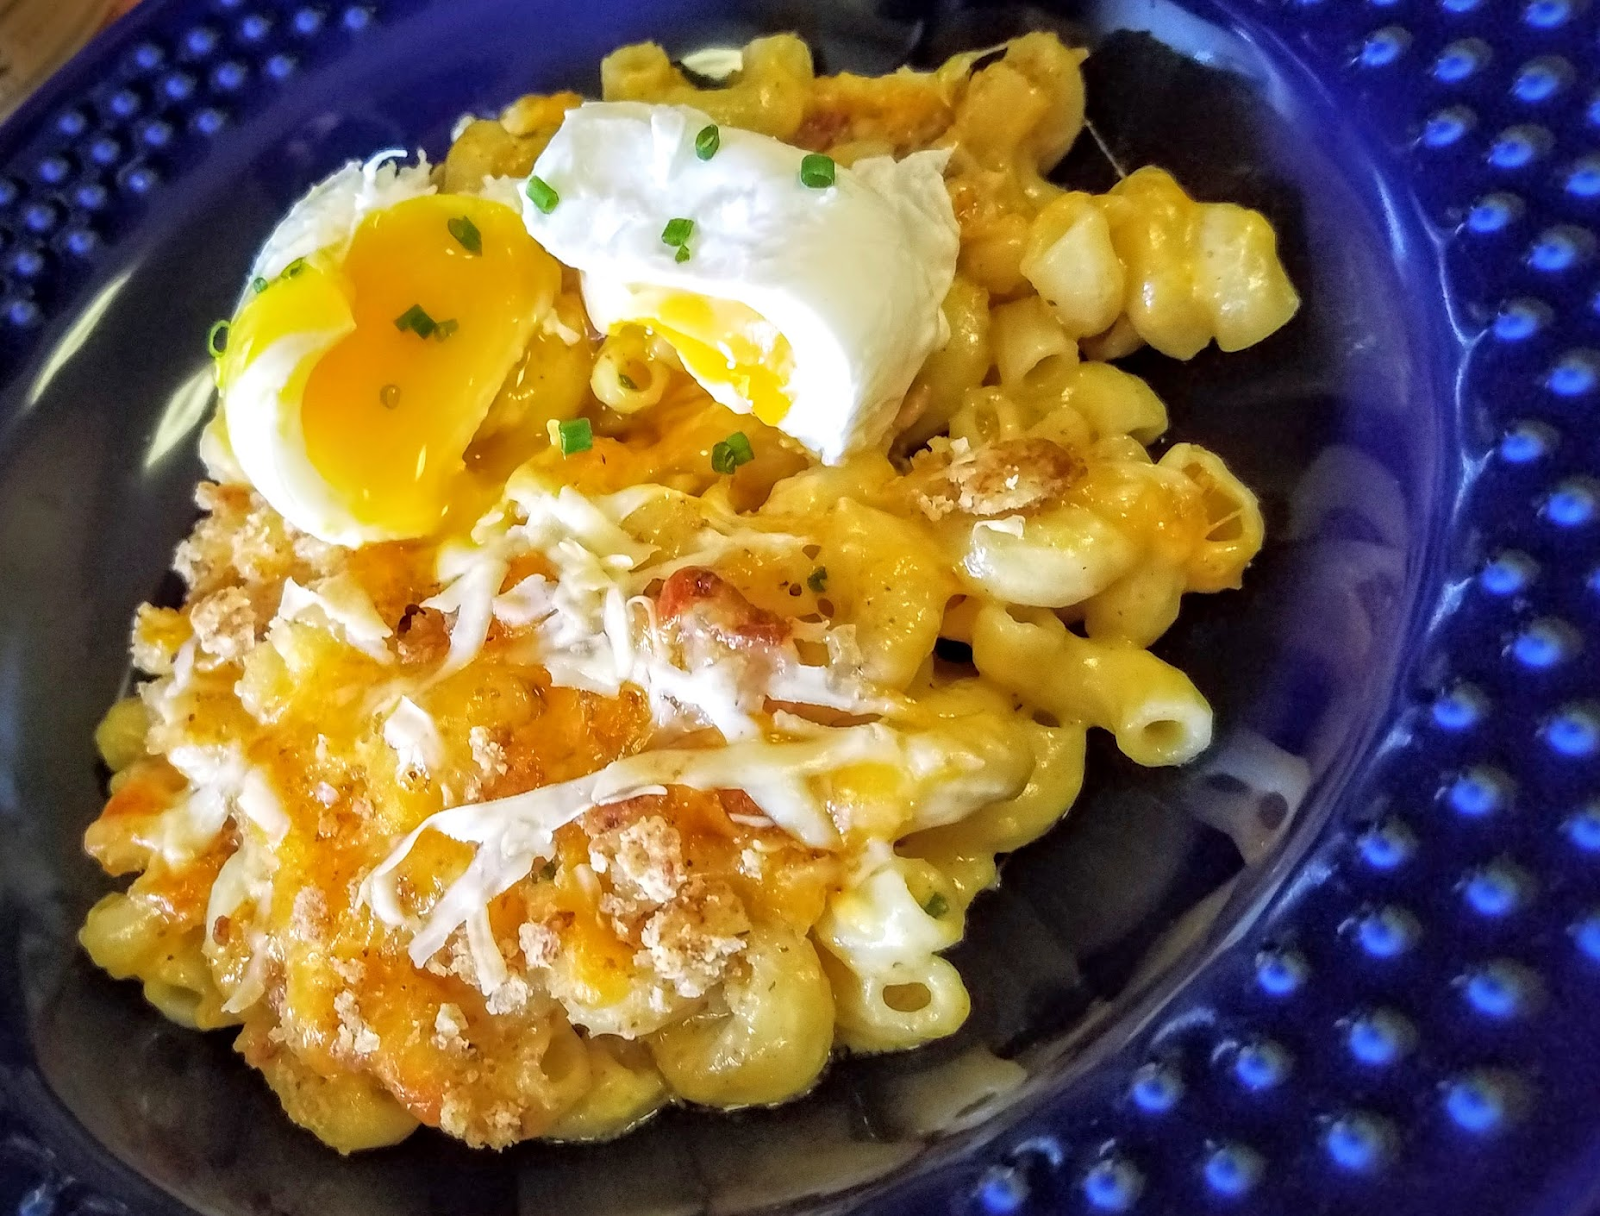
Serve as a rich and decadent side dish, as the ultimate brunch with a poached egg...
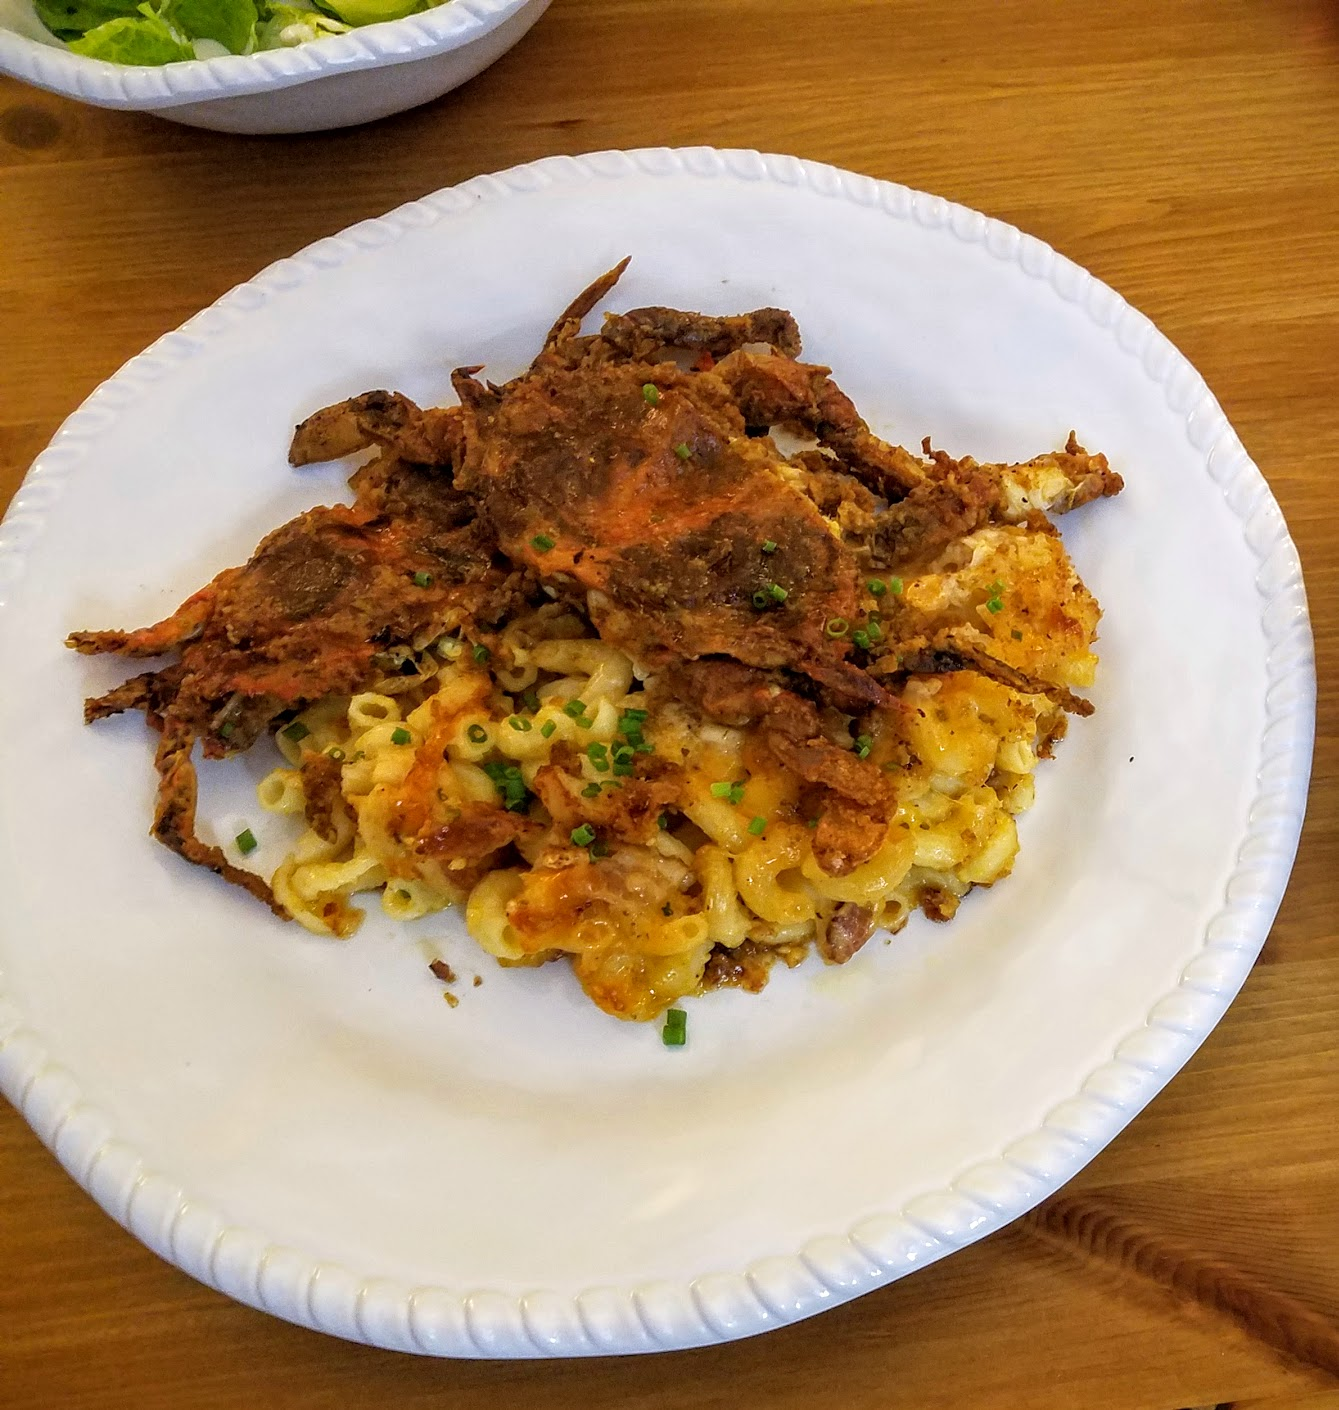
Or as a succulent entree with Soft Shell Crabs.

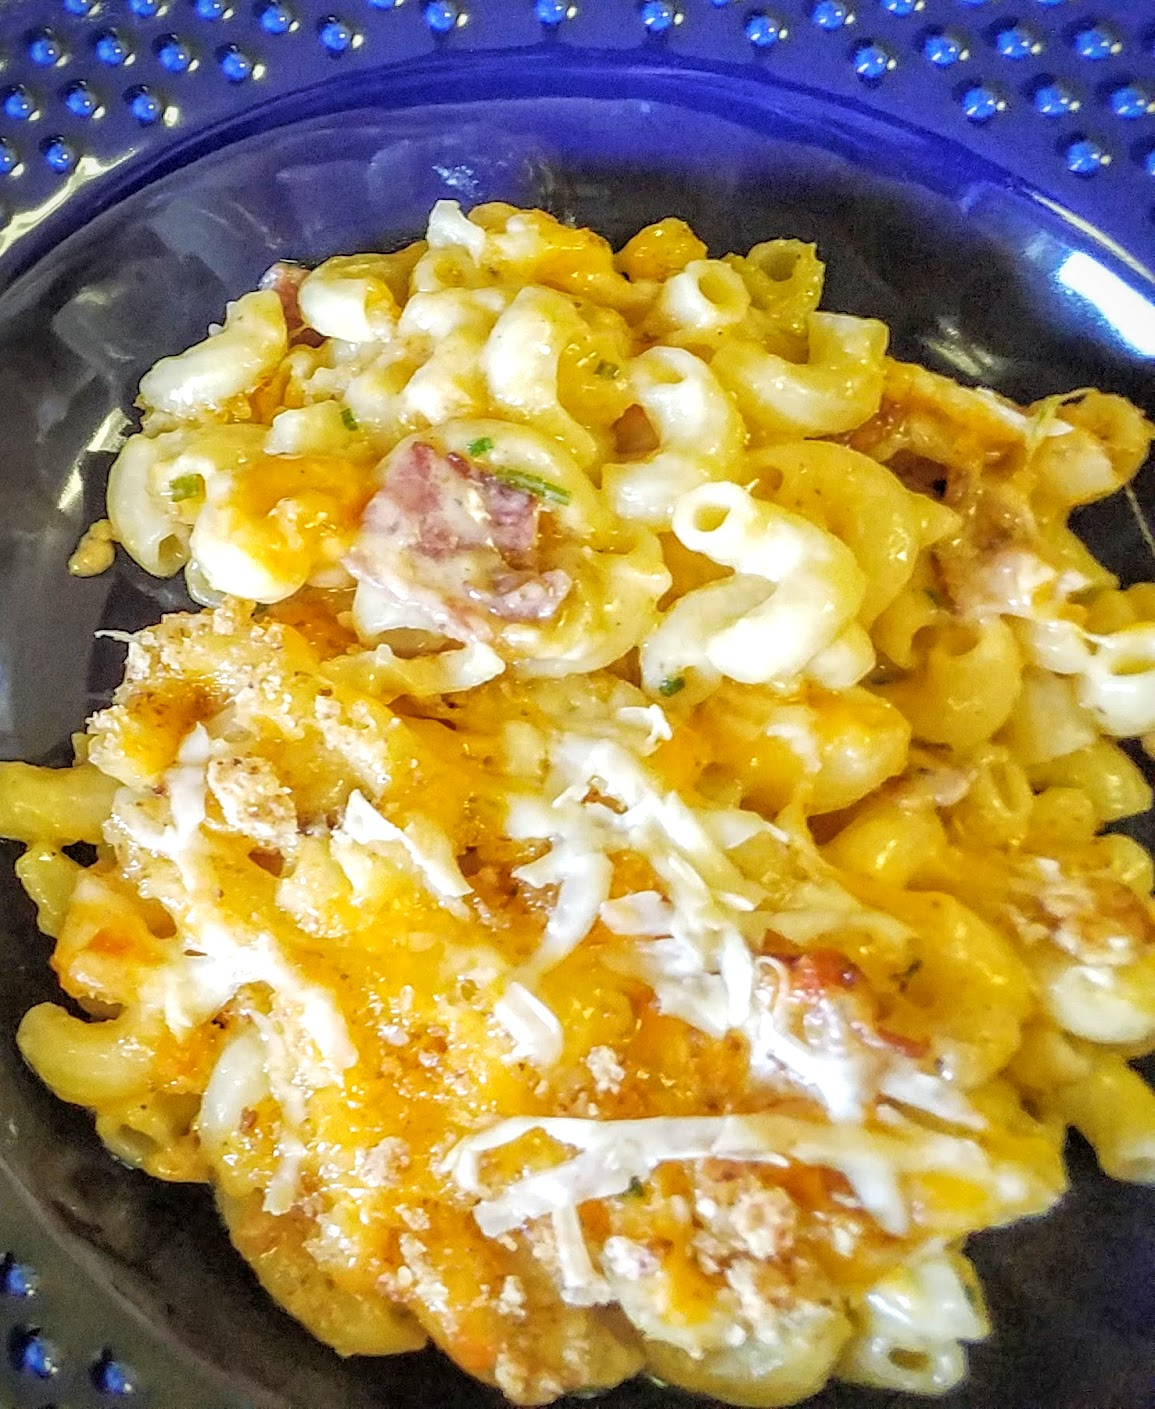
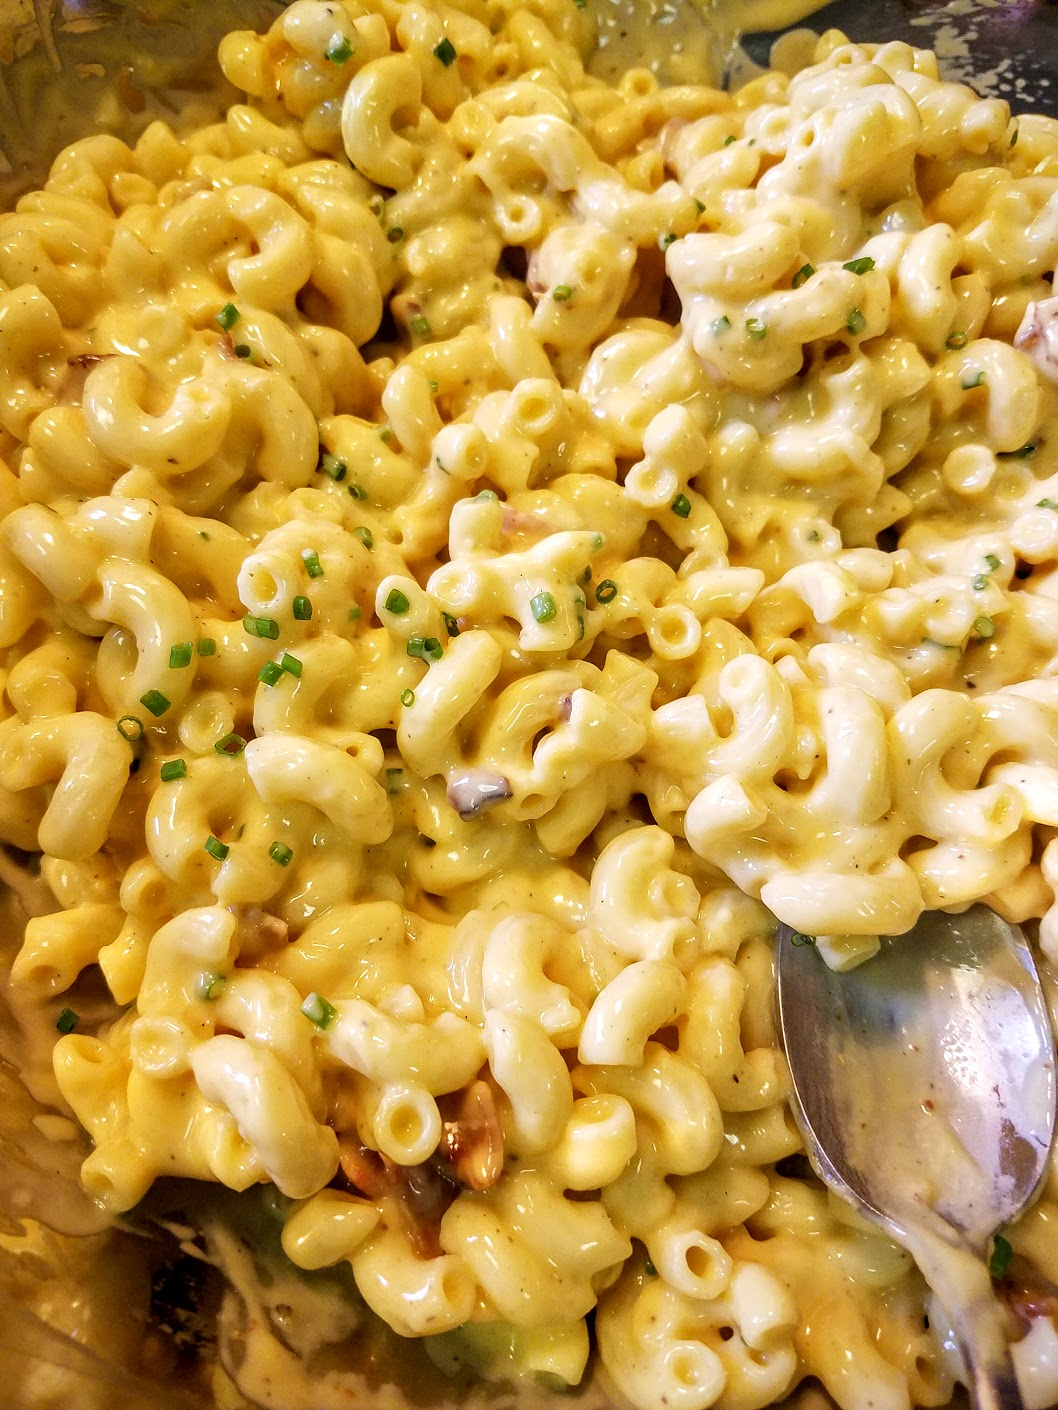
A thousand ways to make Mac & Cheese… This luscious version is rich & creamy, light & fluffy, slightly smoky, and served with anything you dream off.  This is not your grandparent’s Mac & Cheese, and it’s clearly not Velveeta. This is not made with Truffles, though it’s certainly just as gorgeous, elegant, and beautiful enough to stand alone.


Total Time: 45-1 hour Difficulty: Intermediate Flavor: Gorgeous Serving Size: 6 entree / 12 side dish
*This is a great dish to serve as assemble - or can up to 2 days later.
** Preheat oven *400
Ingredients:
  • 4 cups Elbow / Macaroni Noodle - cook until Al Dente in Salty water!
  • 6 pieces Smoked Bacon - cooked


  • 2 cups Milk (sub ½ cup for ½ cup cream for super rich, but no more)
  • 2 Egg Yolks - toss whites
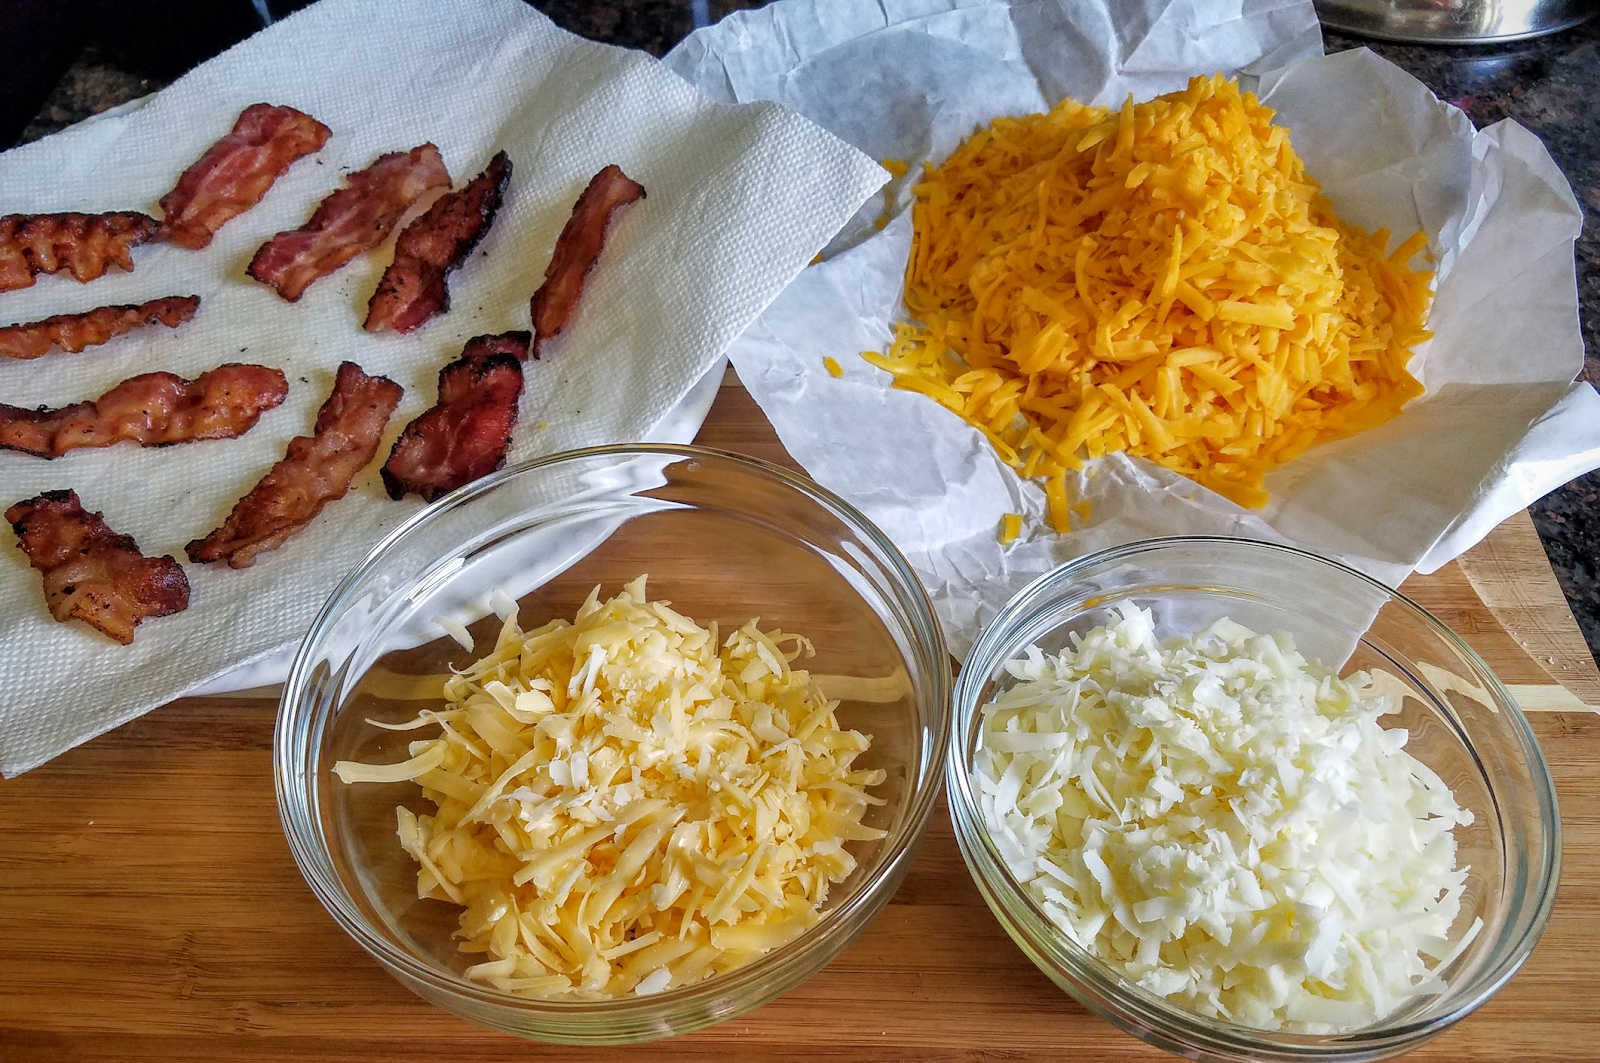
  • ½  lb grated Sharp Cheddar (reserve ¼ cup for topping)
  • ¼ lb grated Smoked Gouda
  • ¼ lb grated Parmesan  (reserve handful for topping)
  • 1 oz Brandy or Spiced Rum
  • ¼ cup Chives or Scallions (green parts only) chopped
  • 2 tsp Butter -Room Temperature.   & more to grease casserole dish
  • 2 tsp Flour
  • 1 tsp Mustard
  • 2 cloves Garlic - minced
  • 1 tsp White Pepper (or smoked Paprika)
  • ½ tsp Nutmeg
  • 1 Tbsp Salt - or to taste, plus more for boiling noodles.
  • ½ Cup bread crumbs from crackers
Start with Mise…
Shred your cheese, measure everything out, because it should go fairly fast once you start your Bechamel.
Cook bacon, drain excess grease, chop to bite size pieces.
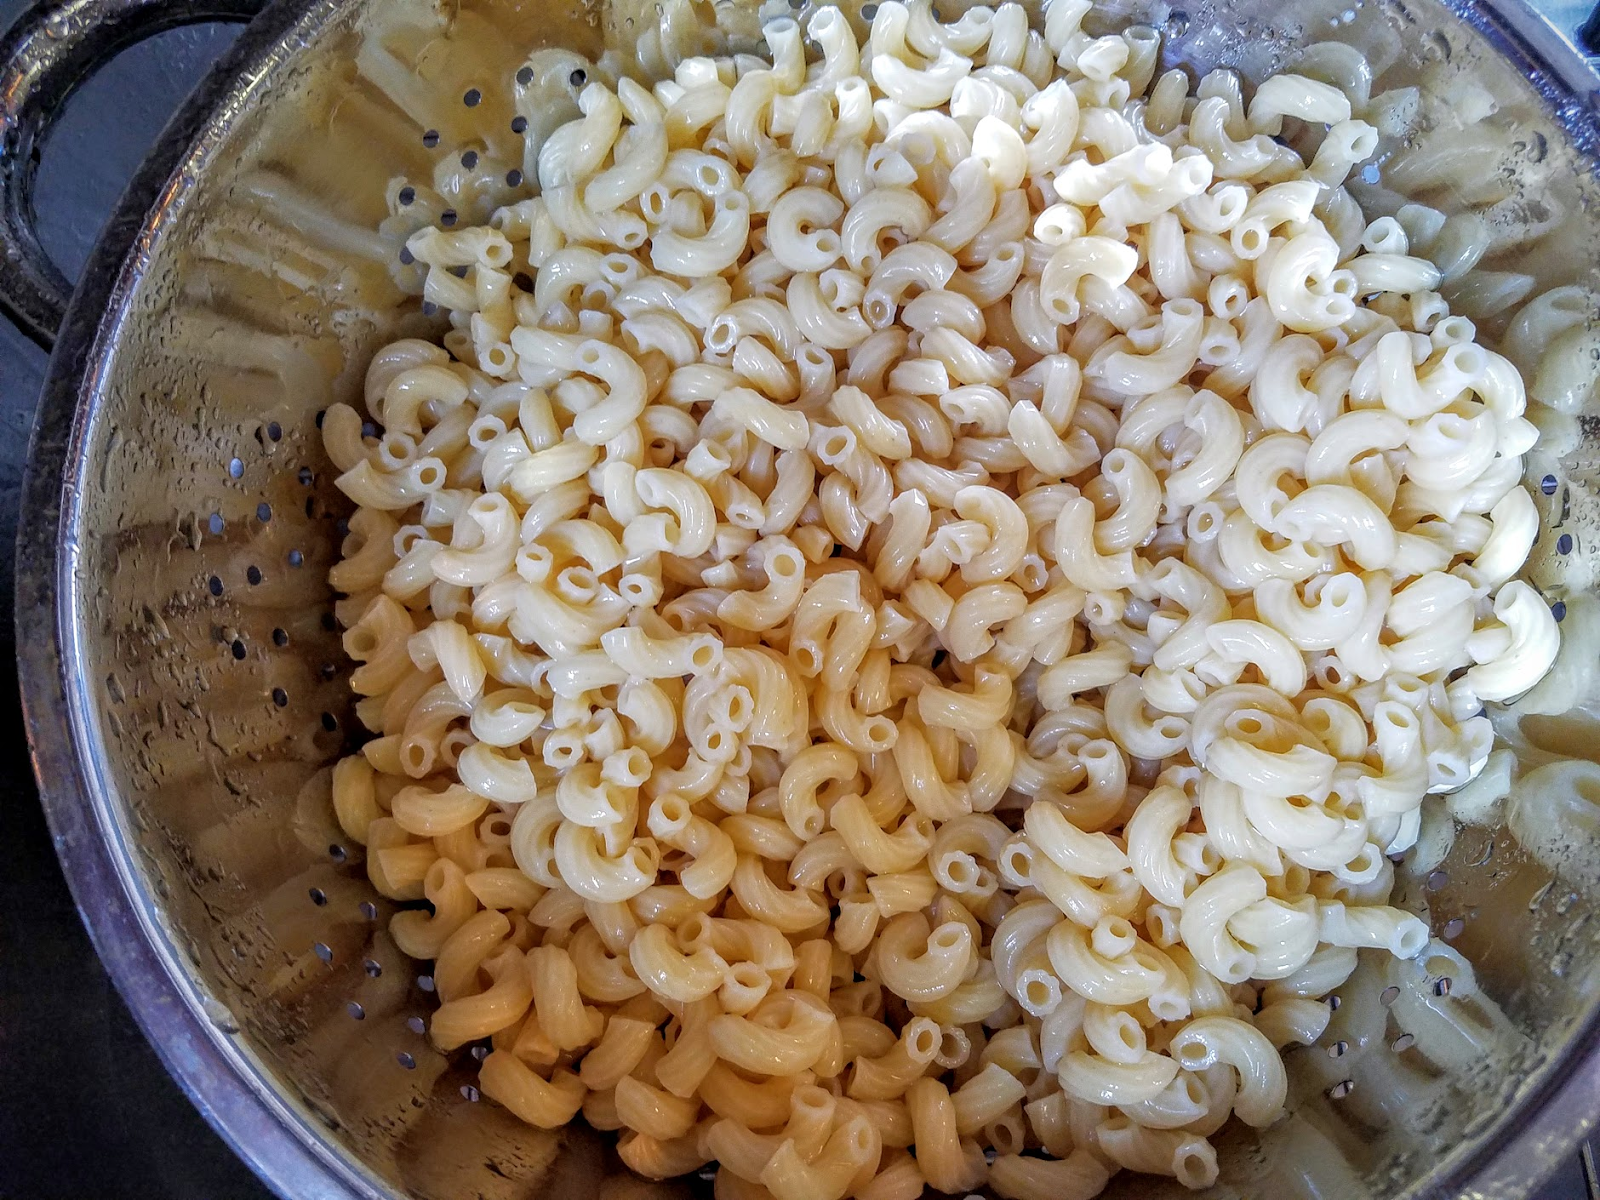
Boil noodles in Salty water until fairly Al Dente - run under cold water after straining to stop cooking process.
1 - Make the Roux - Blonde.
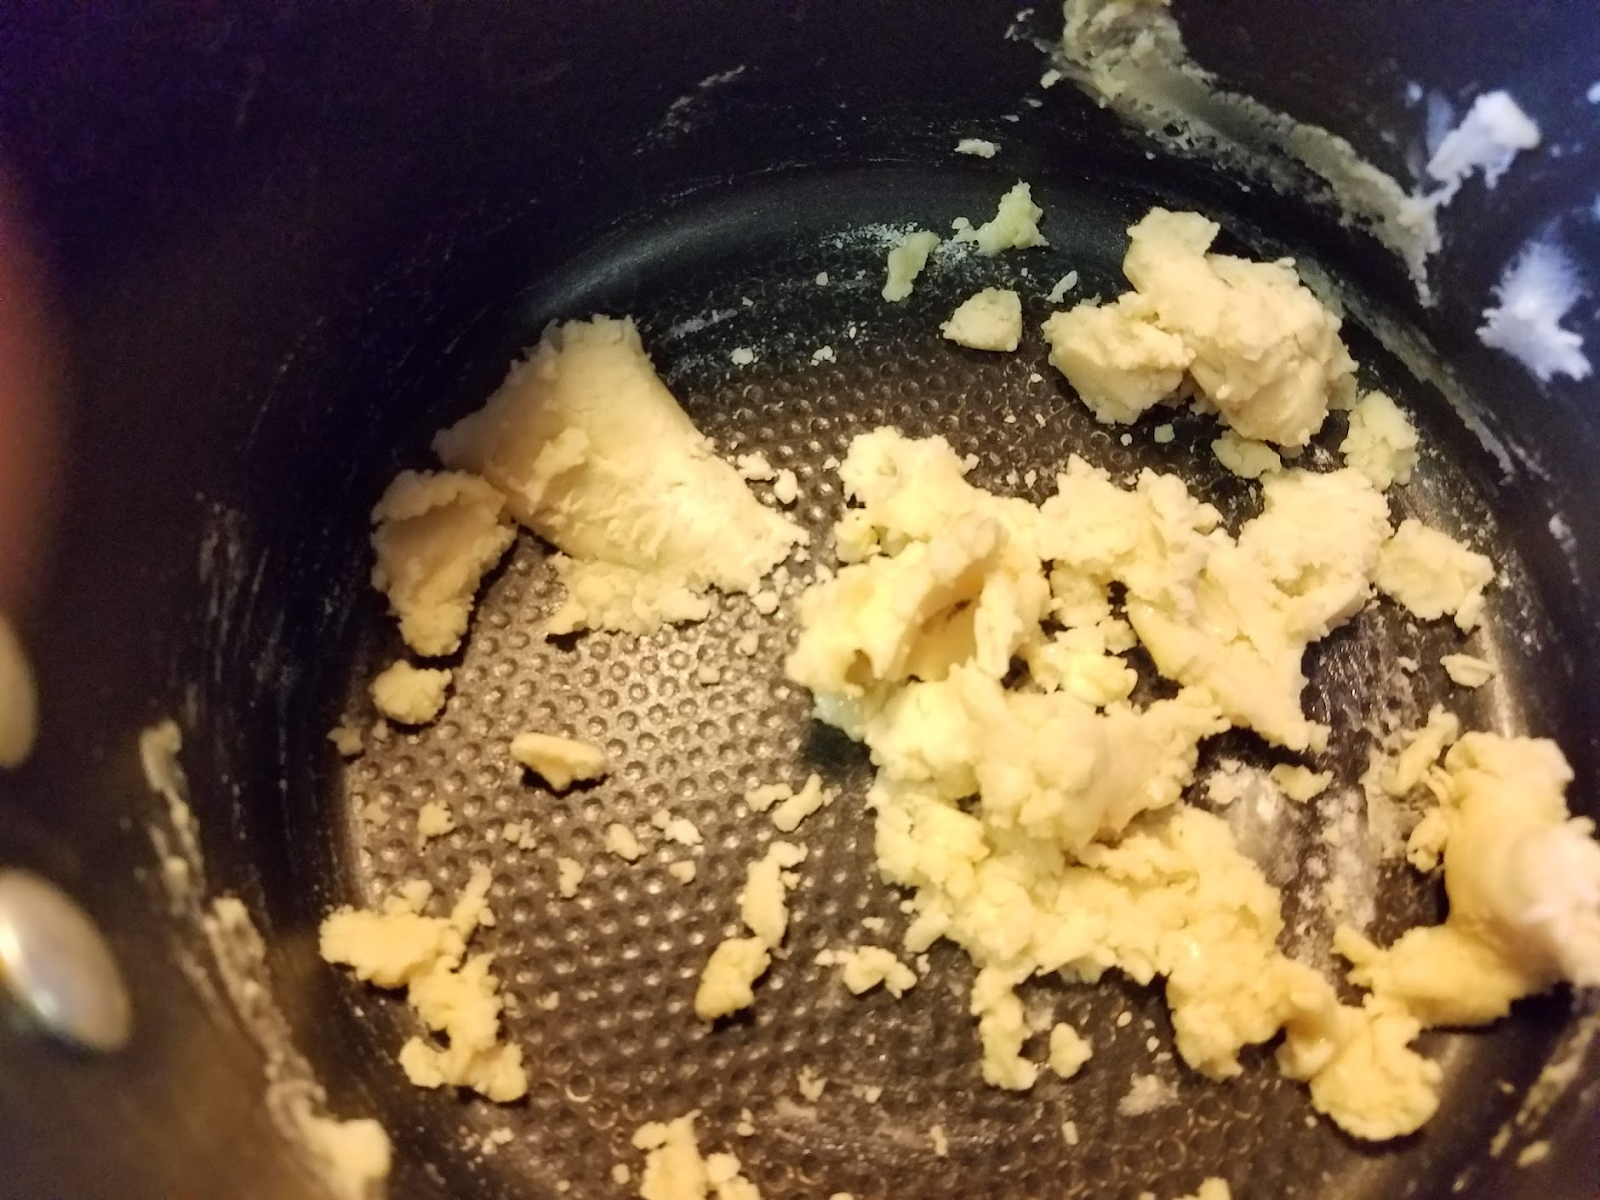
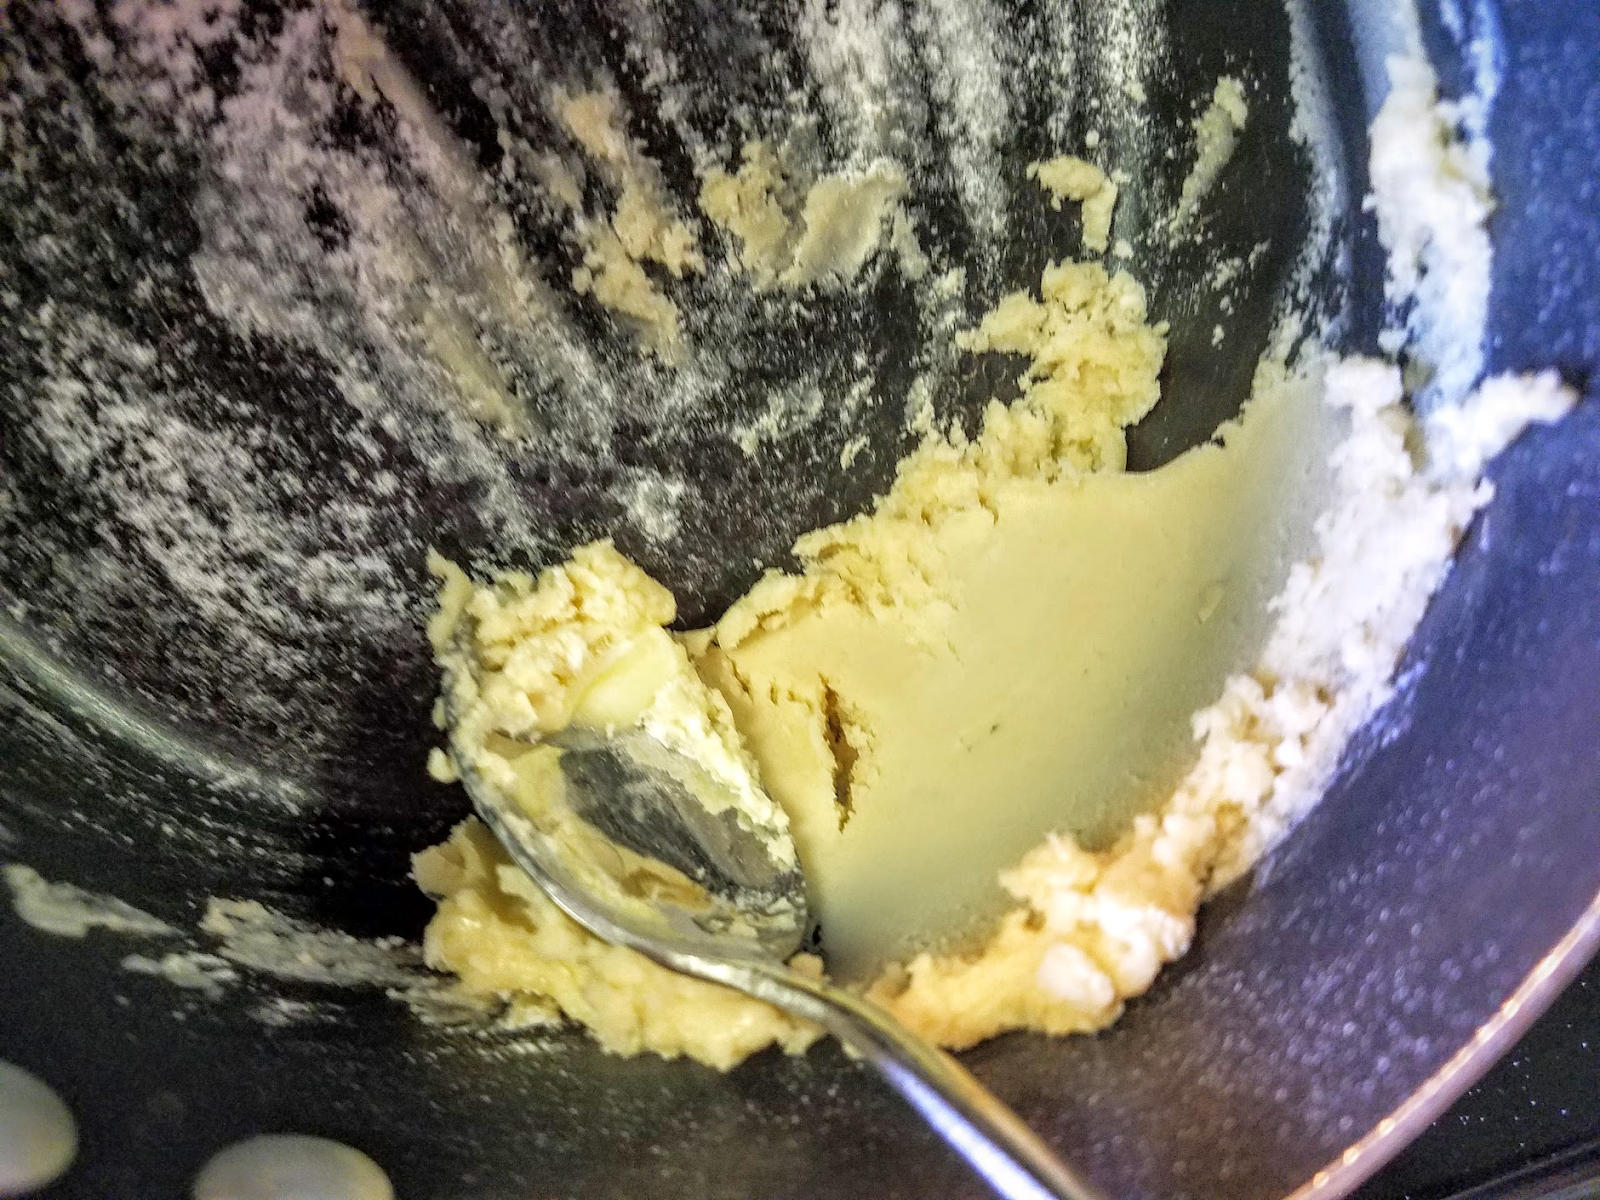
  1. In Sauce Pan mash the Butter & Flour until light paste. Turn heat on over Med- Low to warm.
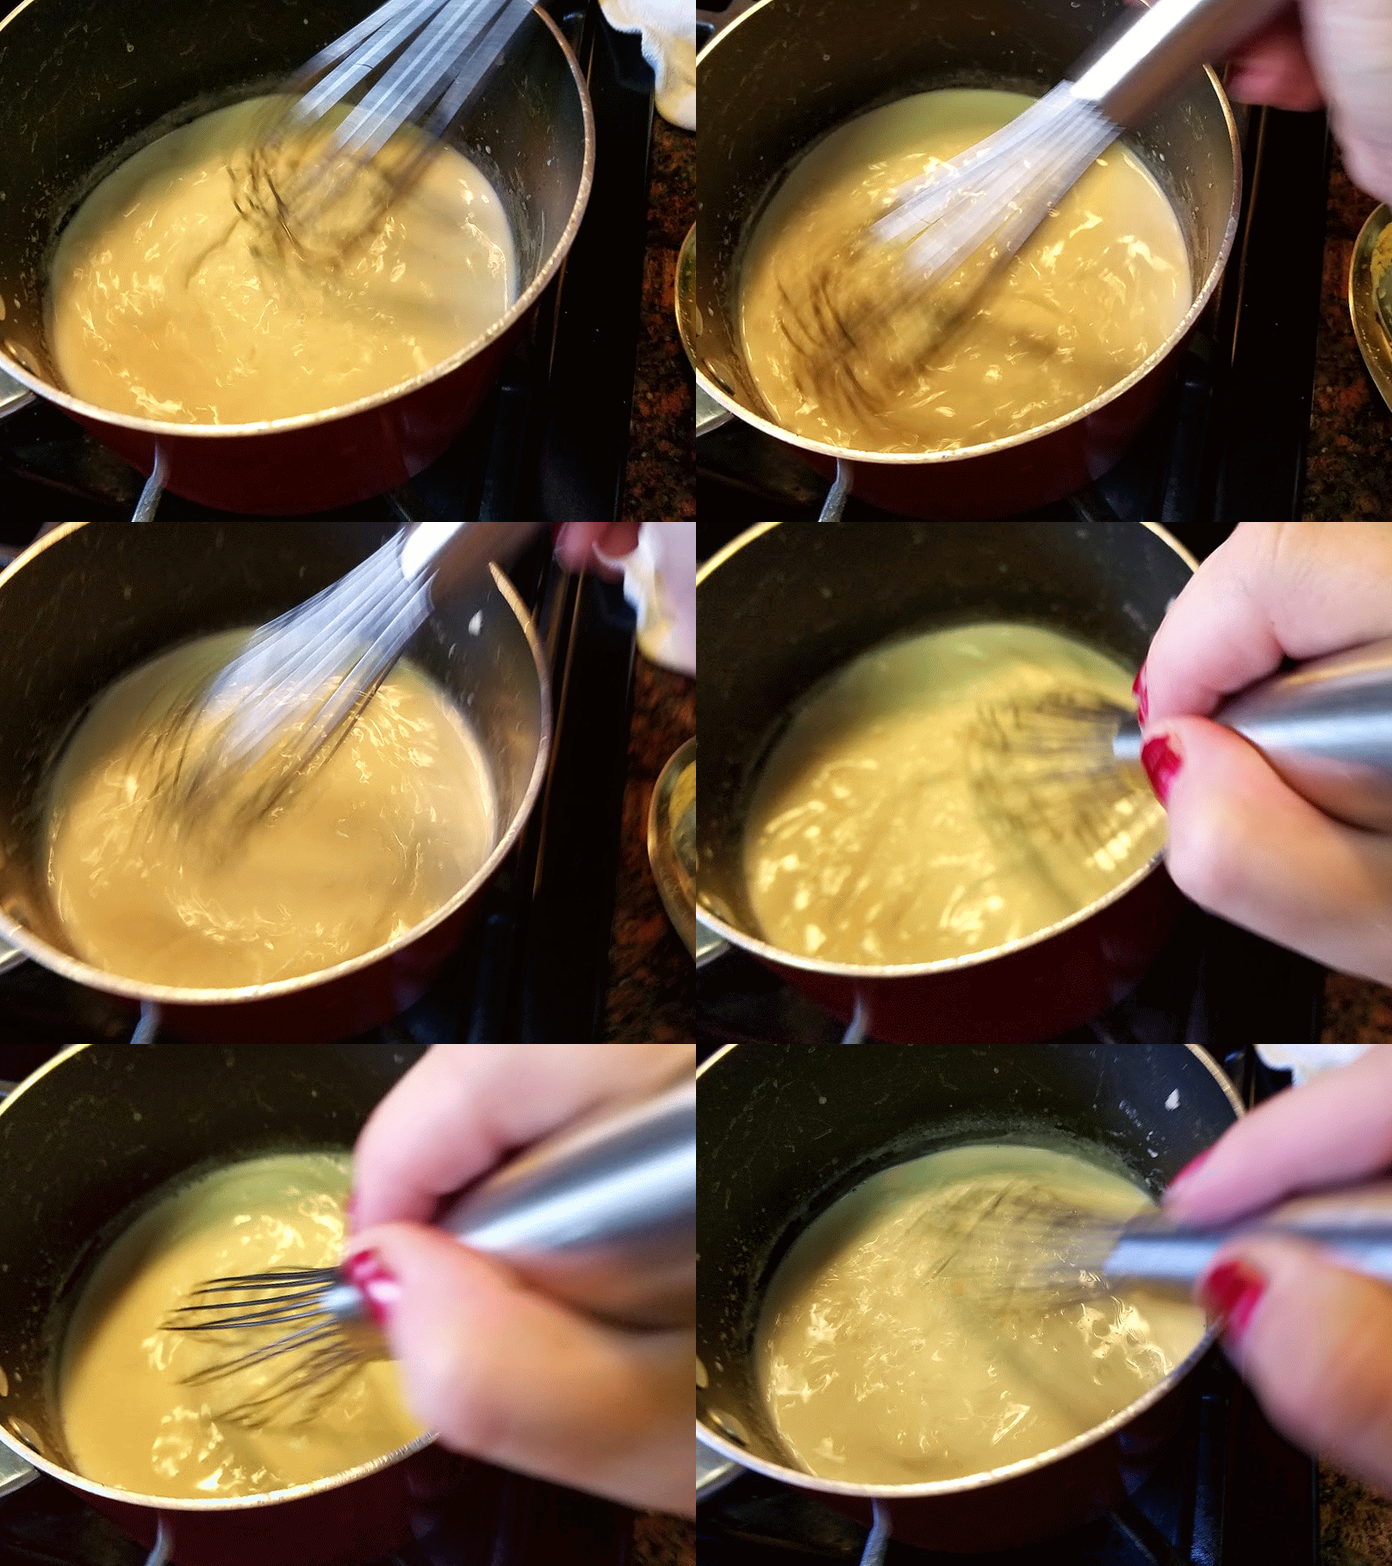
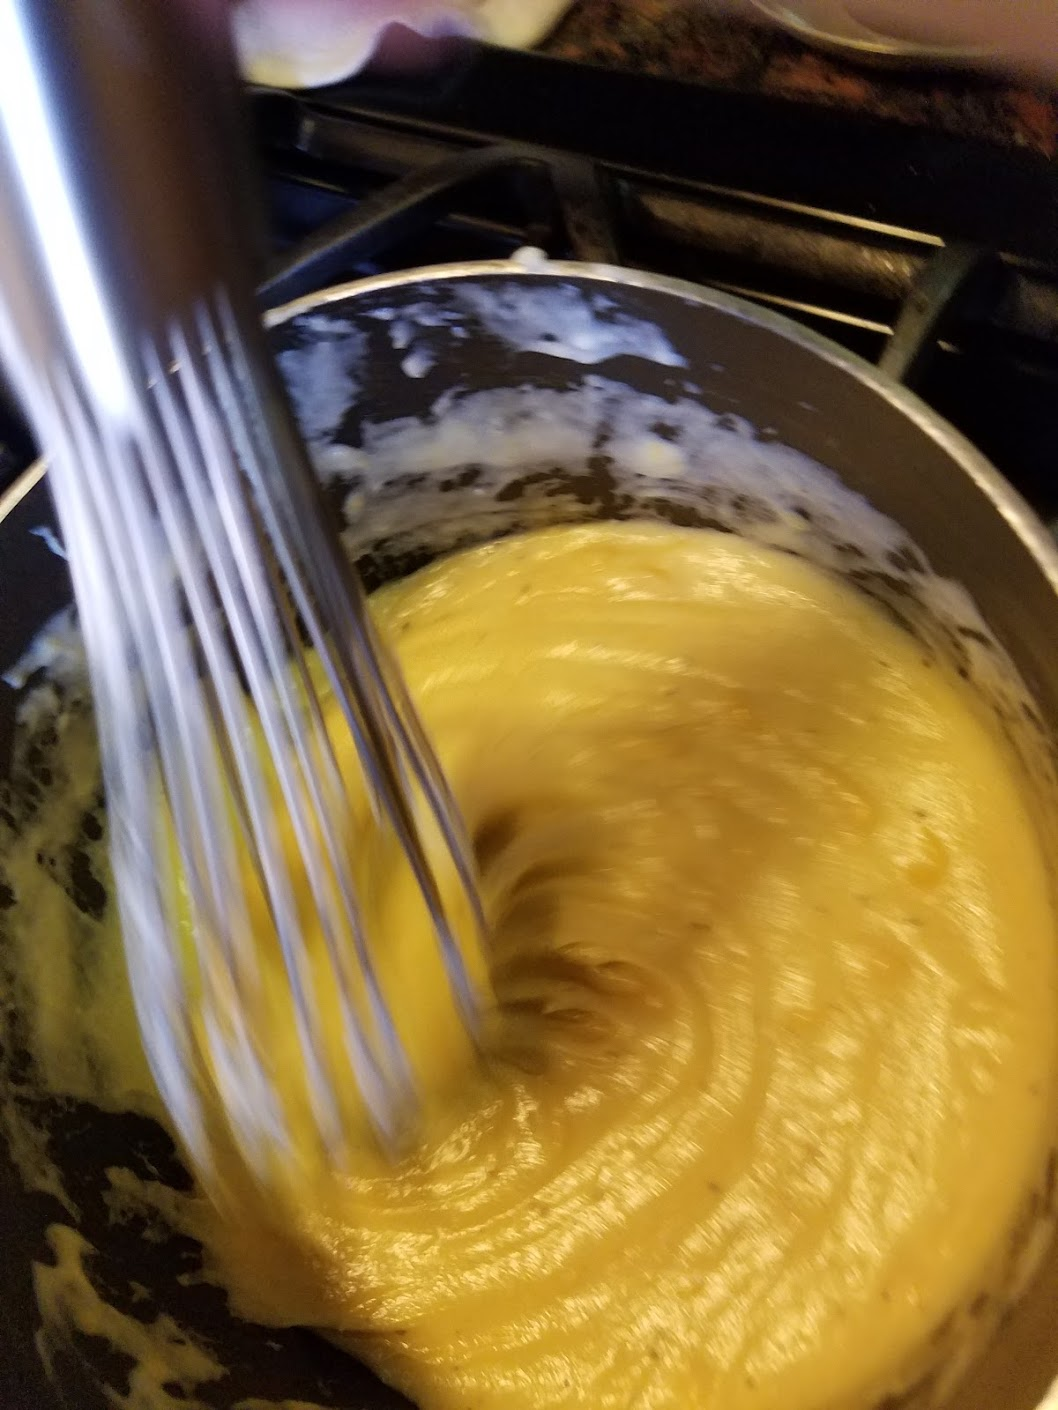
2 - Add milk and turn up the heat to high, whisking until smooth, never stopping to let the bottom burn. Once starts to foam - lower heat to Medium High while whisking vigorously until thick as a sauce. Drop heat to Low immediately. 20160527_182529-ANIMATION.gif
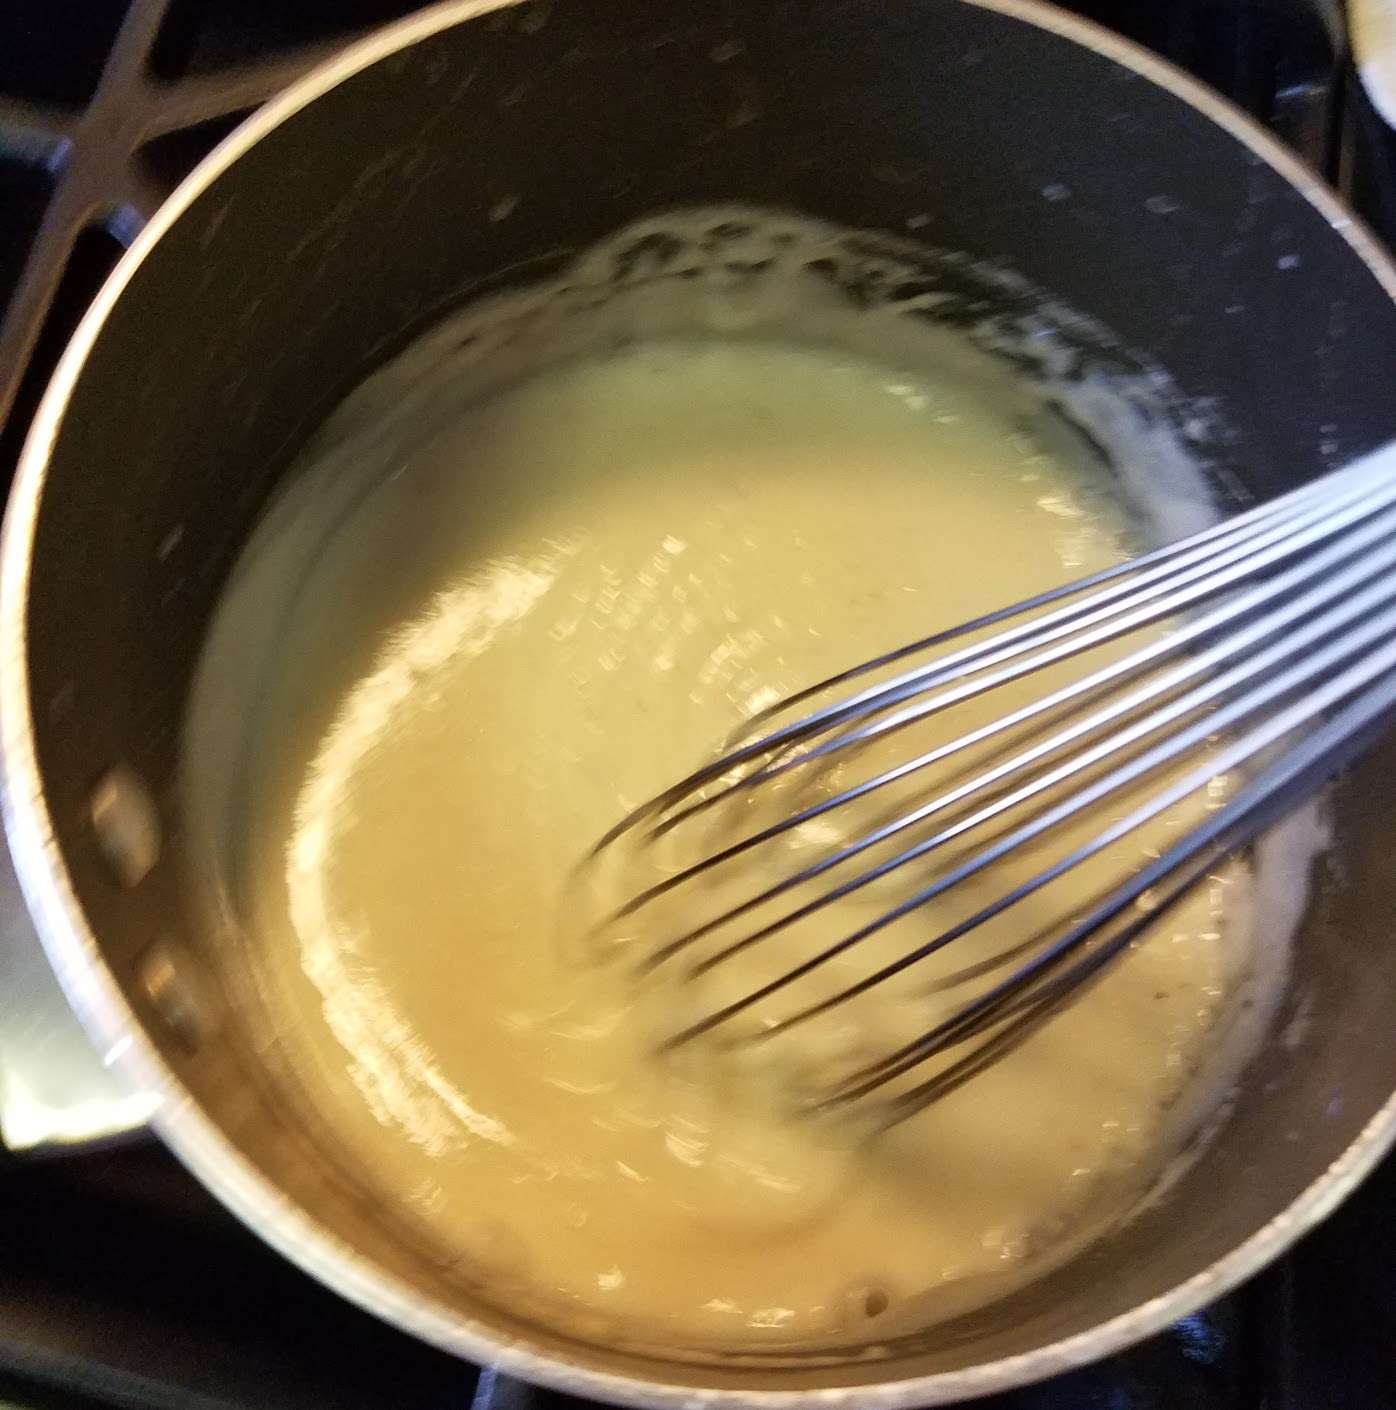
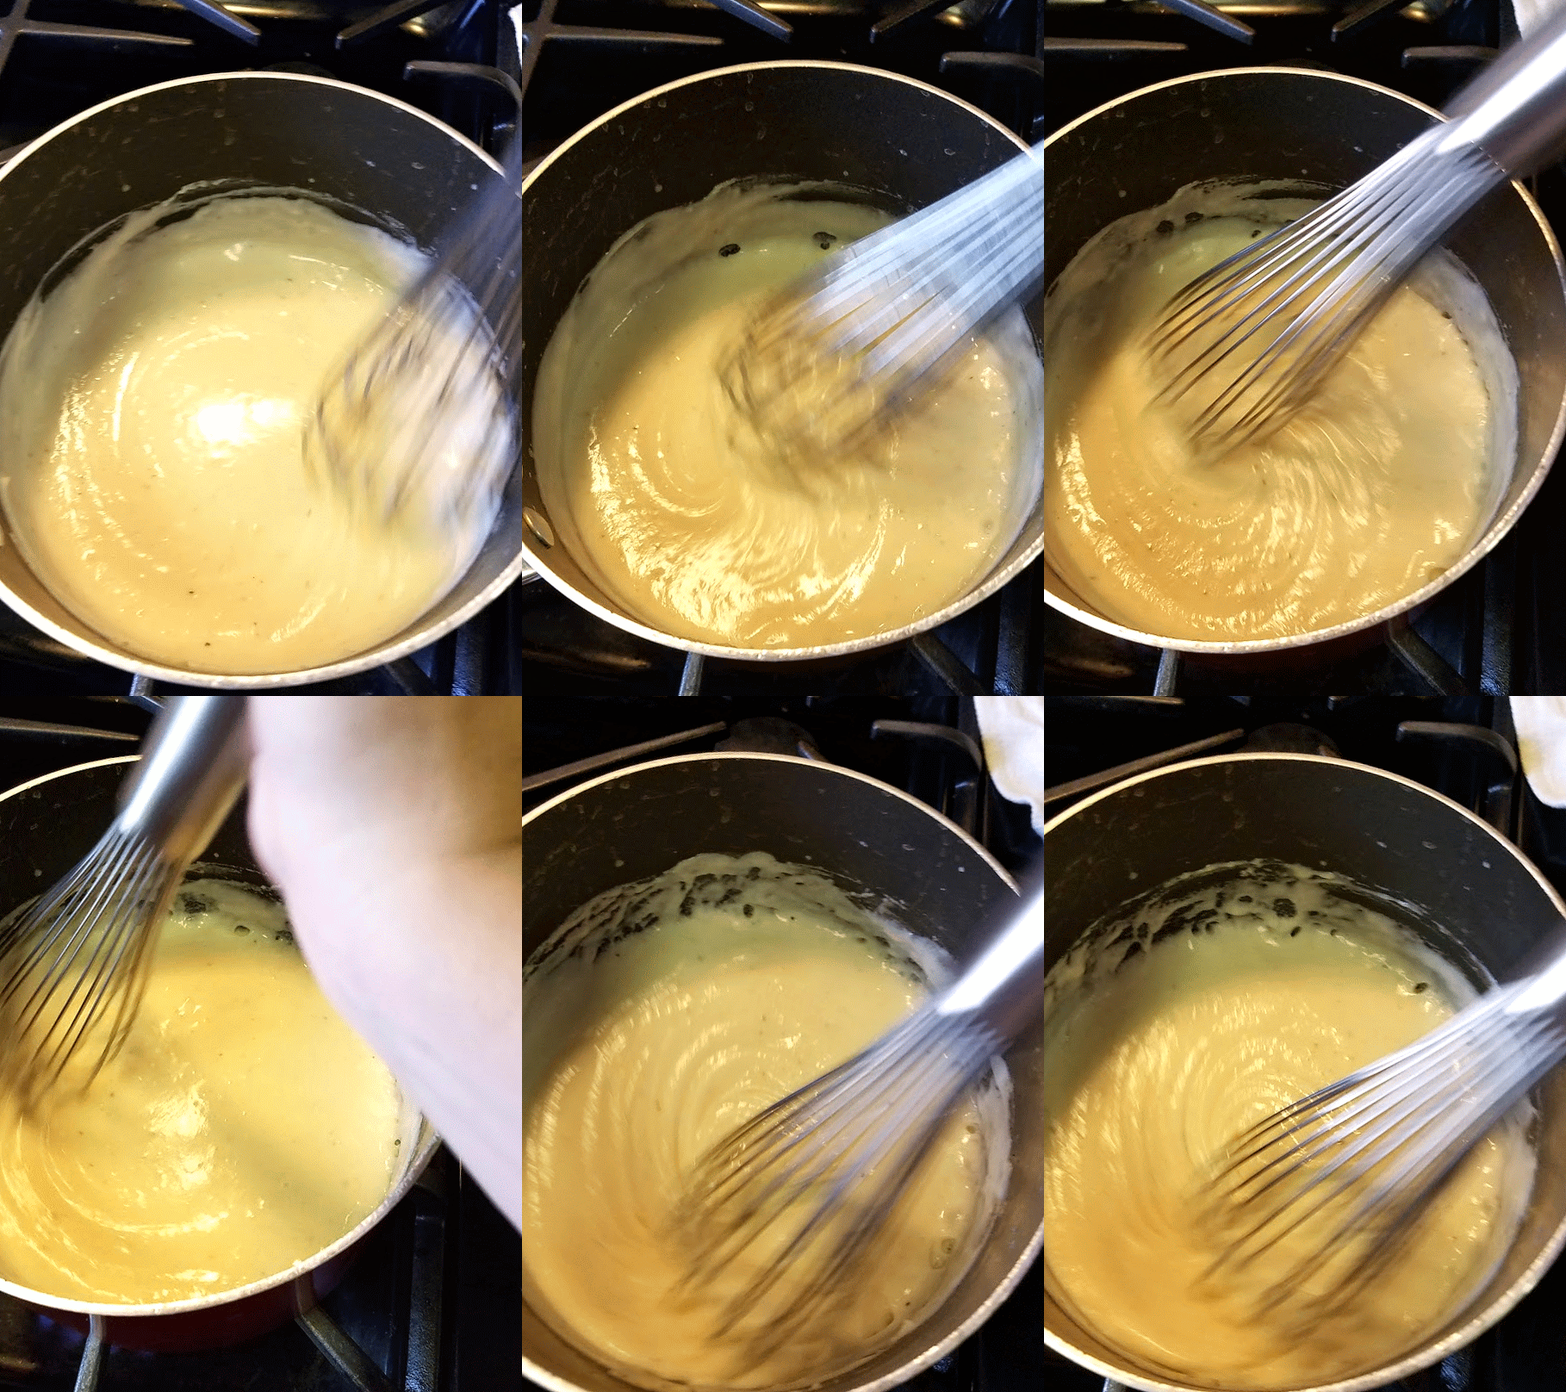
Keep going until thick. 2.gif
3 - Add salt, Nutmeg, White Pepper, Mustard, Garlic.
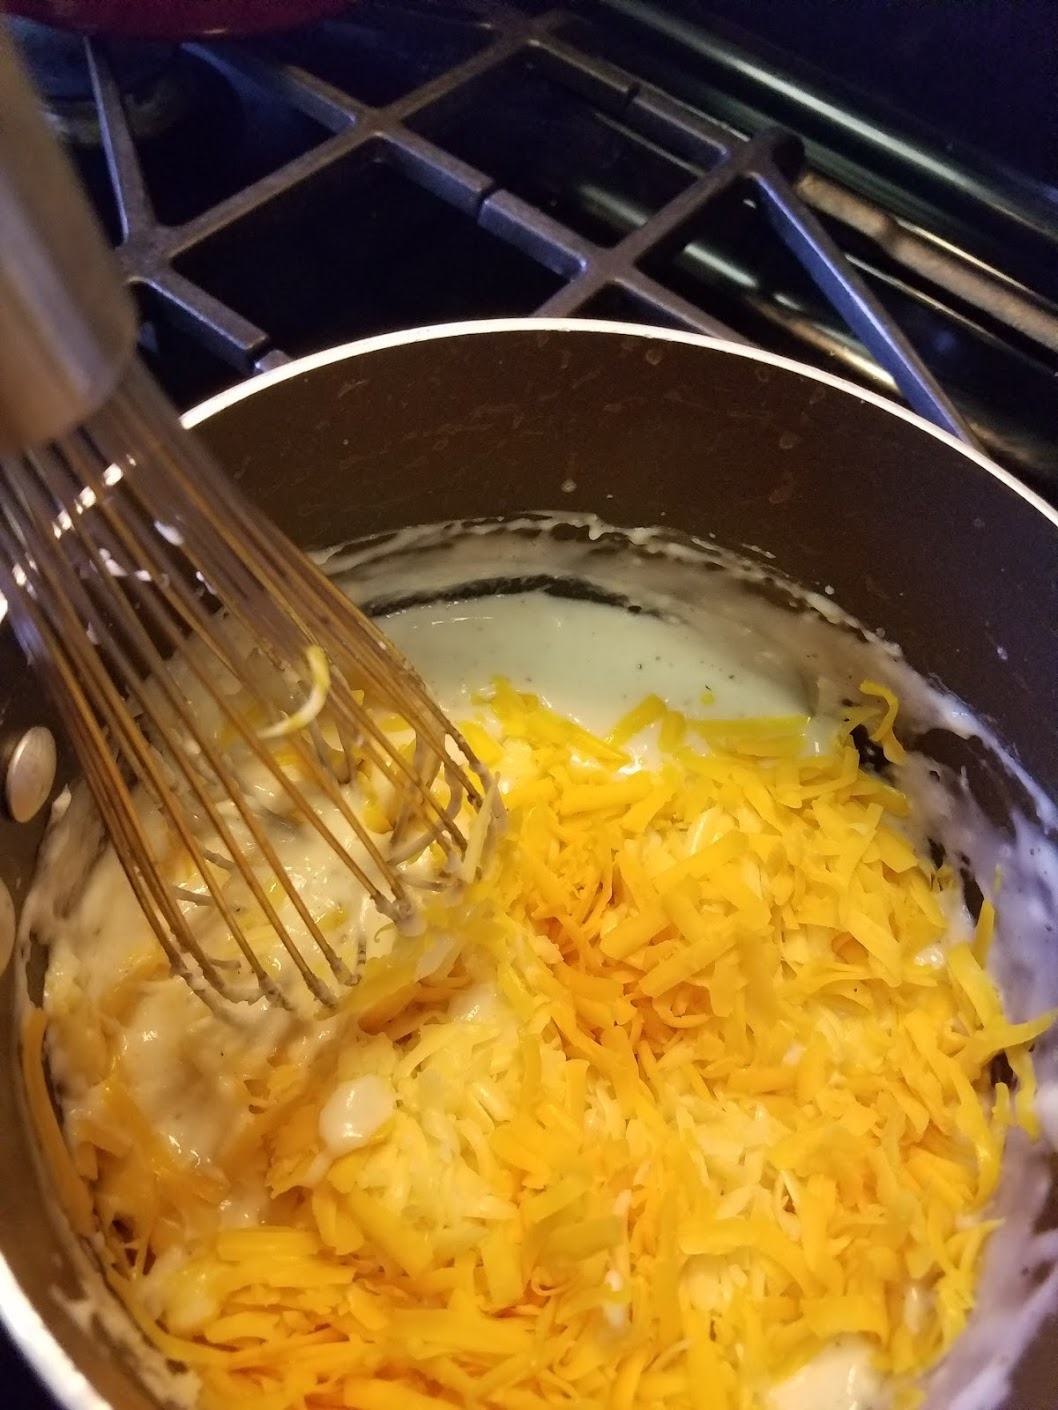
4- Add the cheese in increments - Whisk until melted. (don’t forget save some for topping.) ** If you’re sauce is getting too hot, pull off heat as not to burn!
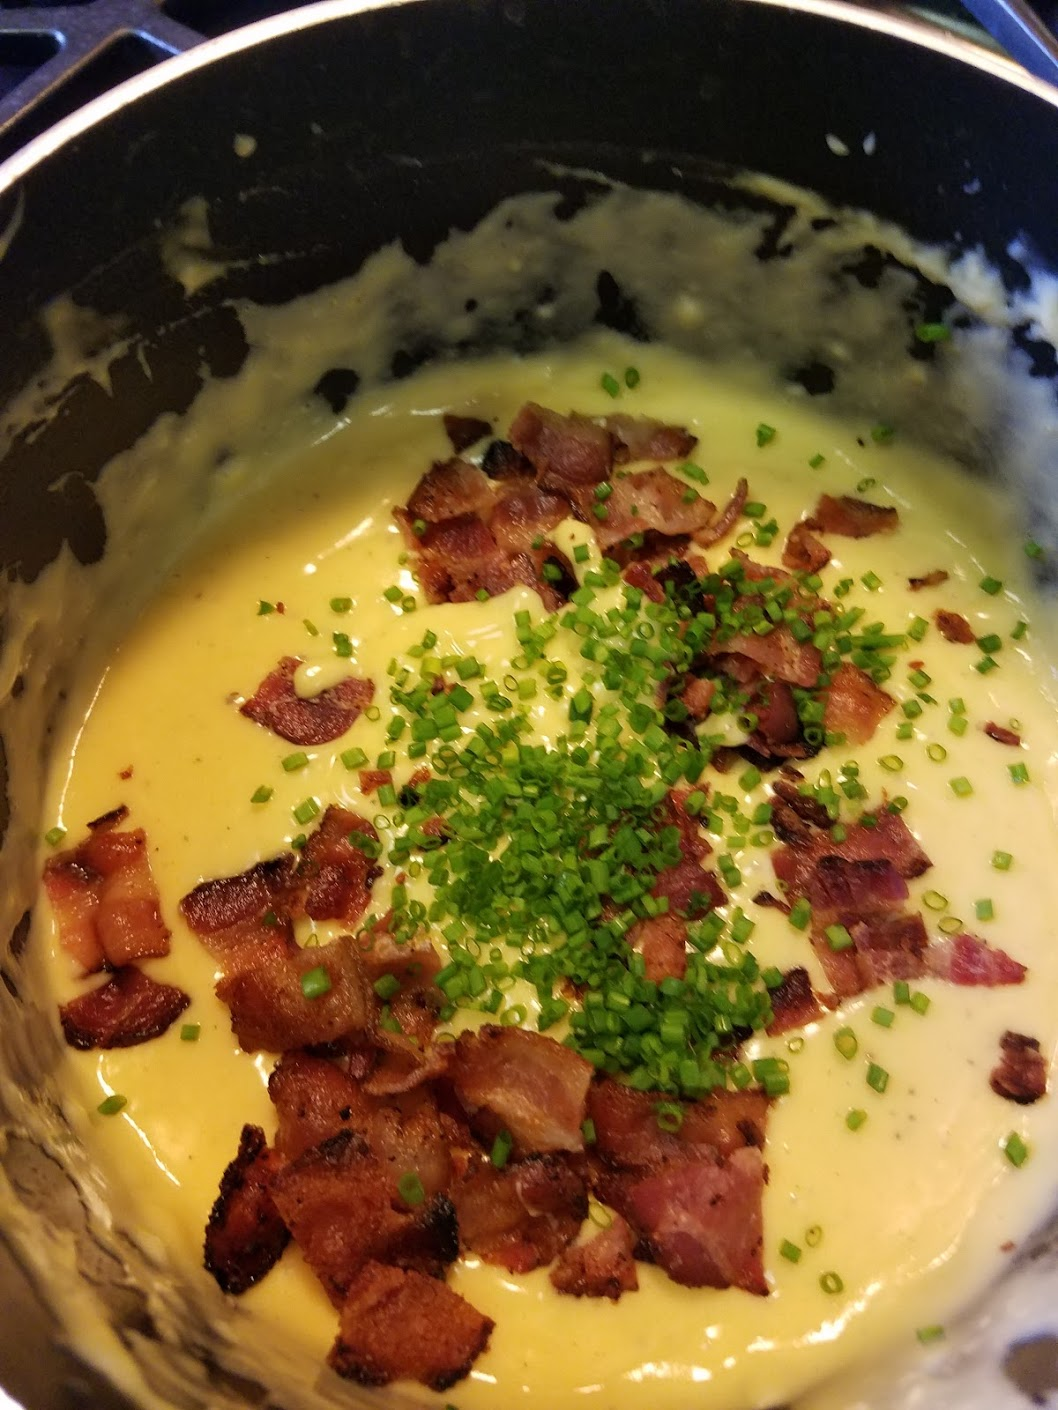
5 - Turn off heat once Cheese is melted in.  Stir in Brandy, Bacon, & Chives.
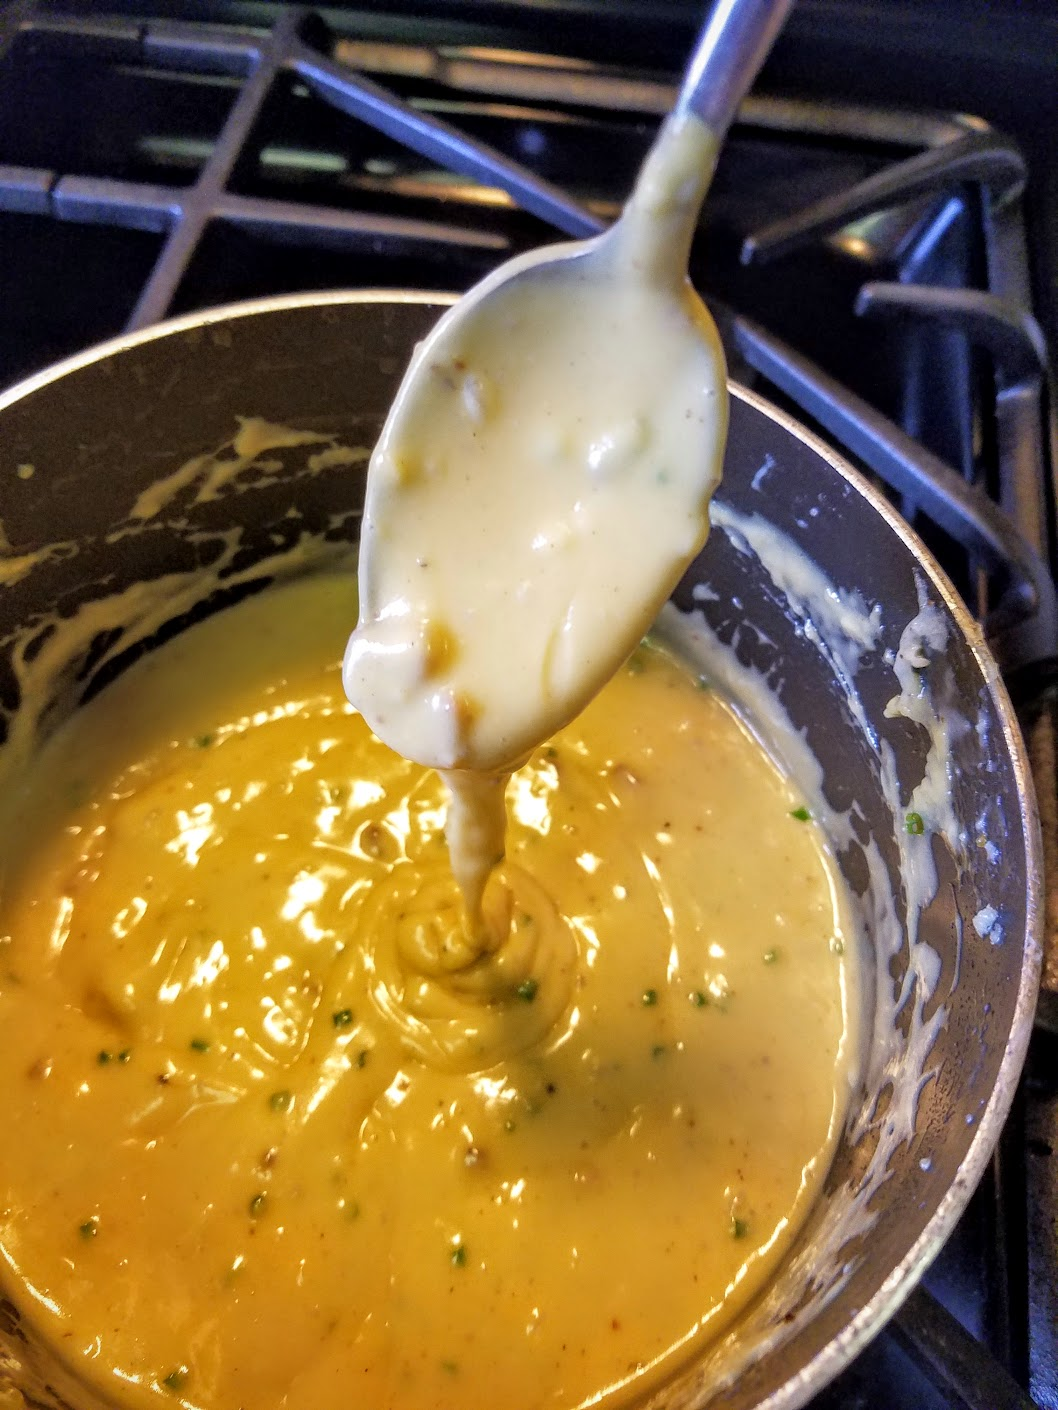
6 - Fold in Yolks, stir gently to mix.  This will turn it very luscious and will coat noodles gorgeously!
7 - Pour and stir Sauce into cold noodles. Taste for salt now.
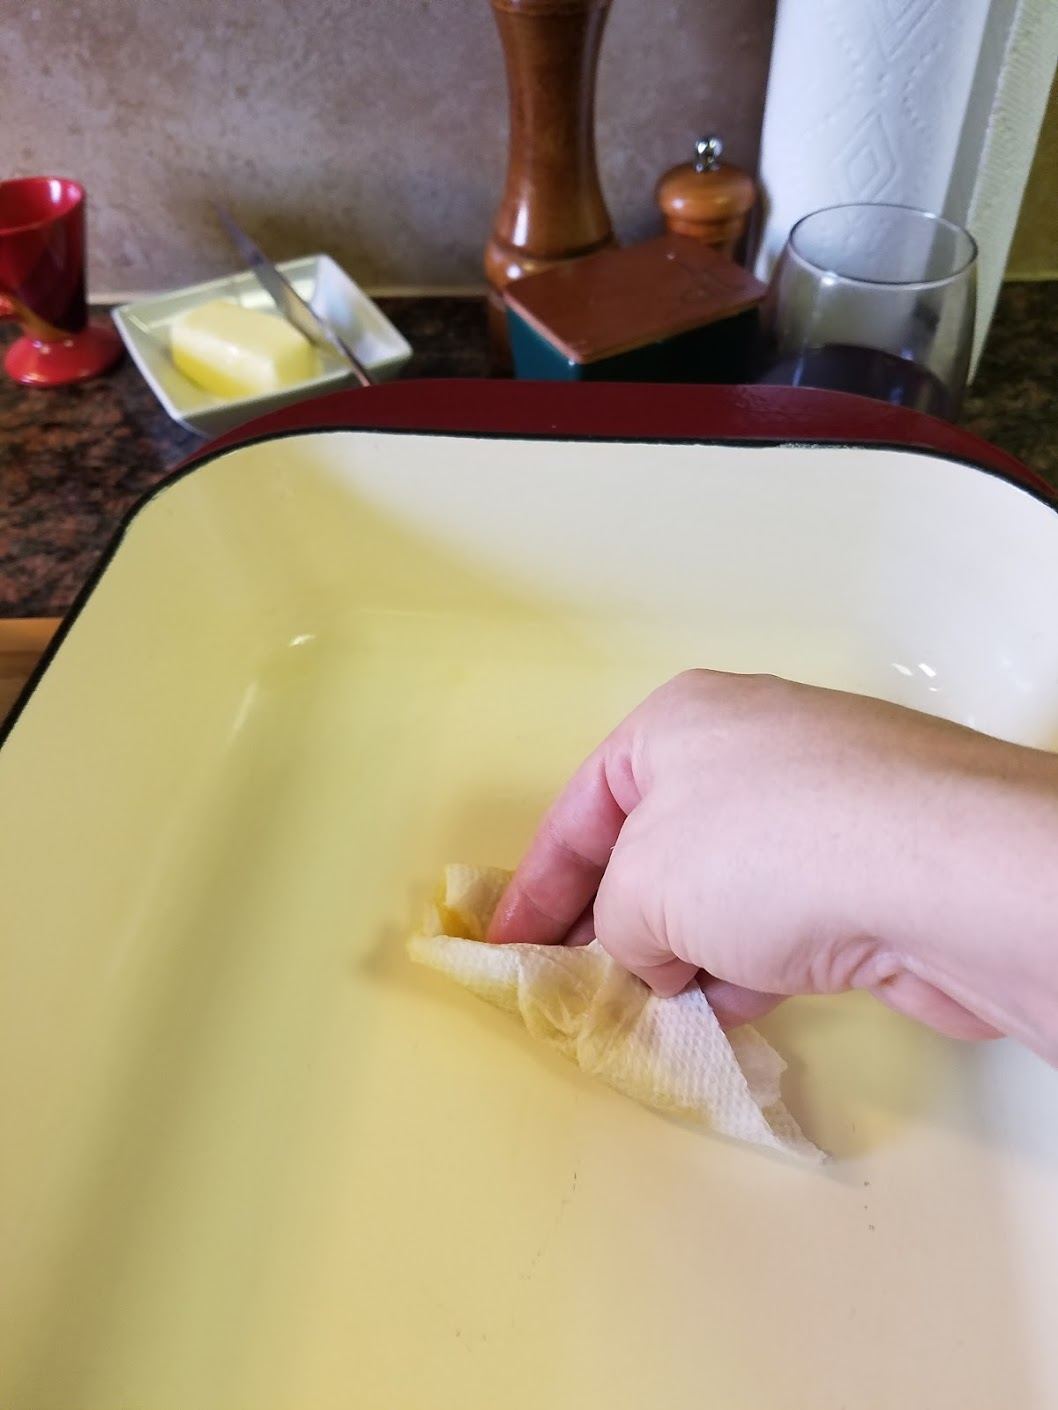
7 - Butter up Casserole Pan.  
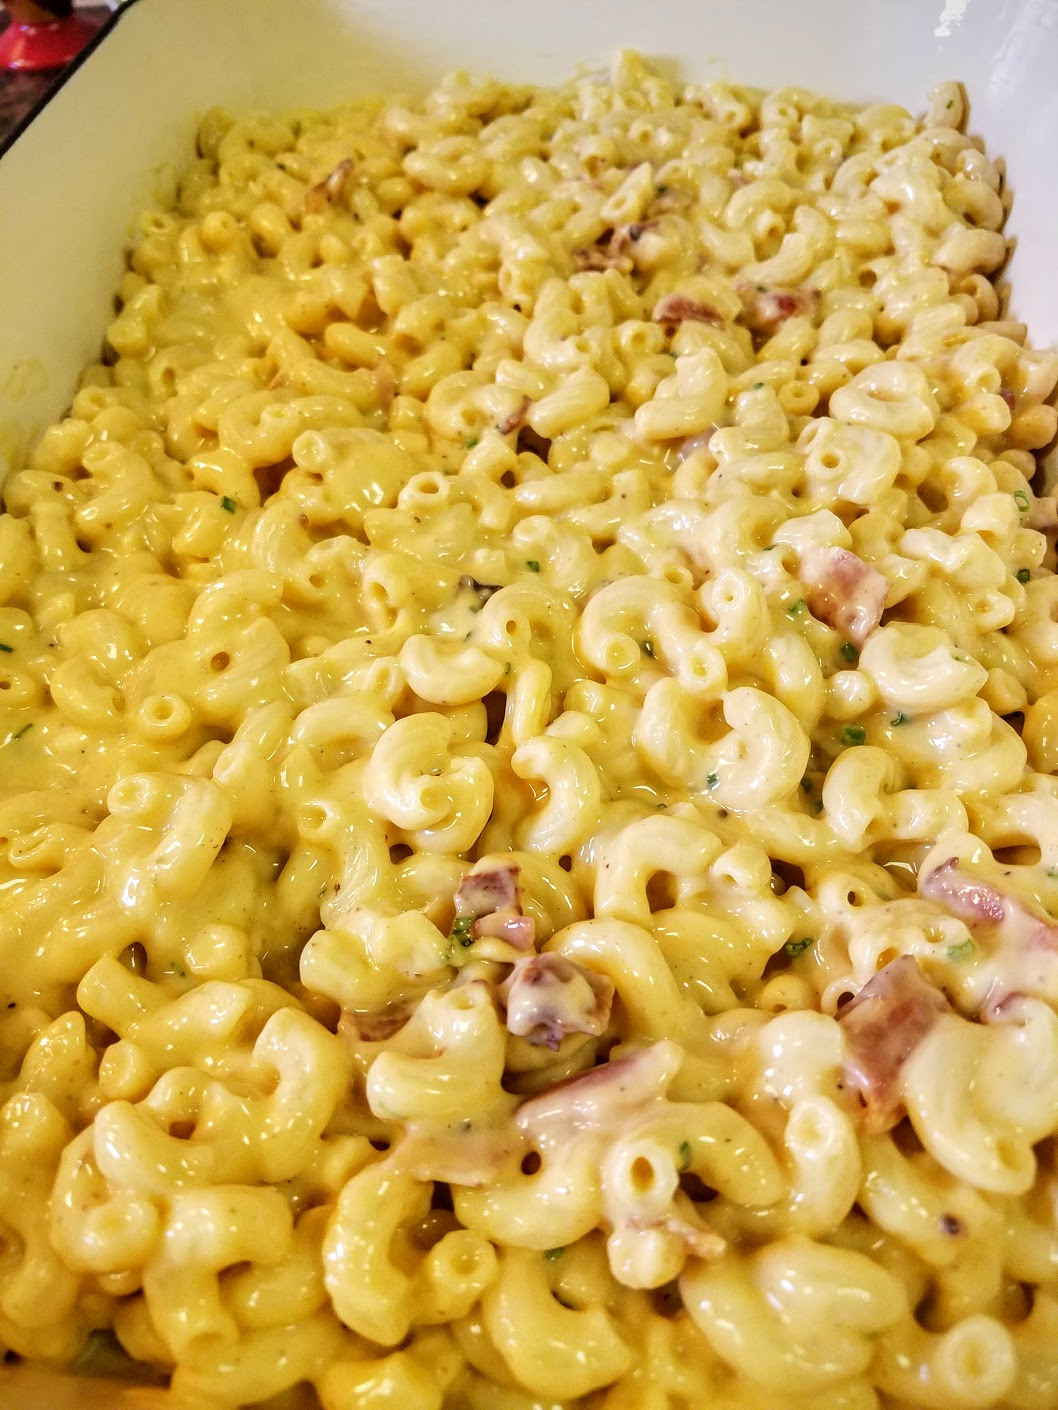
8 - Pour in Mac & Cheese and level top. It’s better for the mac to be spread out in a shallow casserole pan rather than a deep dish because it may turn mushy, plus the toppings are a great spread out.


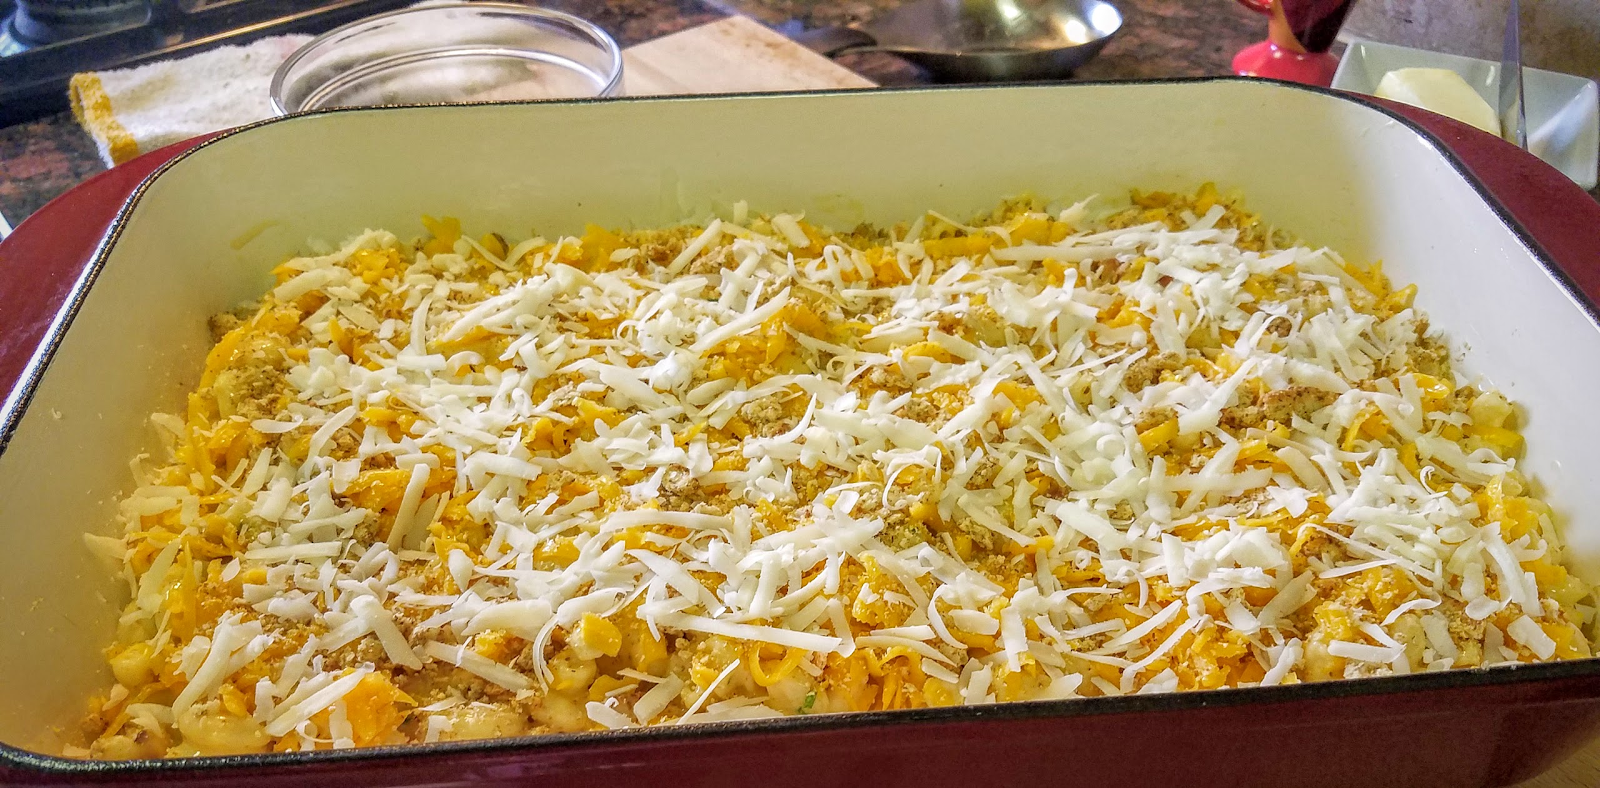
9 - Top with crushed cracker crumbs, then sprinkle evenly around the remainder of cheese.
10 - Cover in Foil.
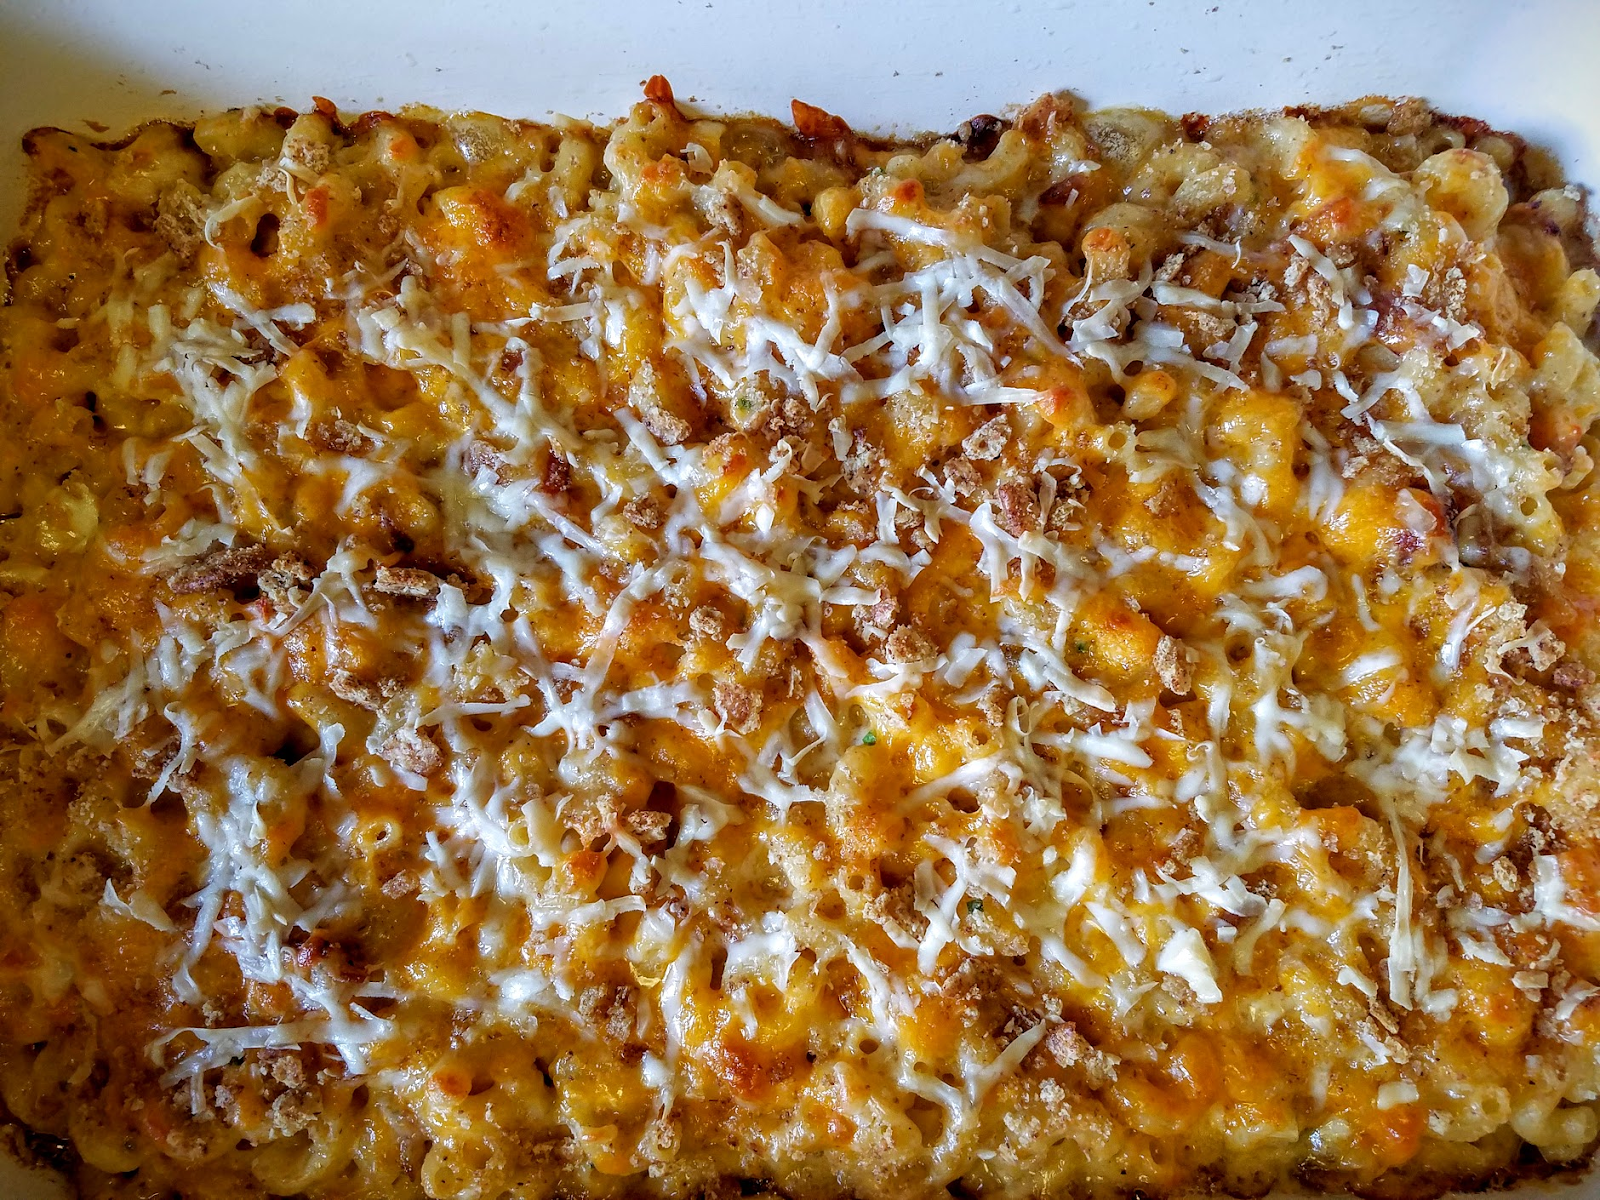
** If you’re cooking now in full - Cook 10 minutes - remove foil, cook another 10 minutes… or until it looks like this...
*It is best to let sit for 10-15 minutes before breaking into or serving to let the cheese sauce thicken back up!


Again this is a stunning dish for summer or any weather really… the Soft Shell Crabs of summer with the spice of Old Bay really complement each other. Of course as a side dish, or after a hangover - it’s the most perfect of brunches to bring you back to that happy place!
You can get as adventurous as you’d like, add whatever you want, serve with ever you would like… but this way, is simply perfection.
Enjoy!!!     


#MemorialDayWeekend #MacNCheese #EggSlut #SummerEats #SoftShellCrab #Brunch #Cheese #ElivatedComfortFood #ComfortFood #KidEats #EasyCooking #CuisinArt