Showing posts with label Homemade. Show all posts

Saturday, June 18, 2016

Vanilla Bourbon & Coconut Egg Custard!
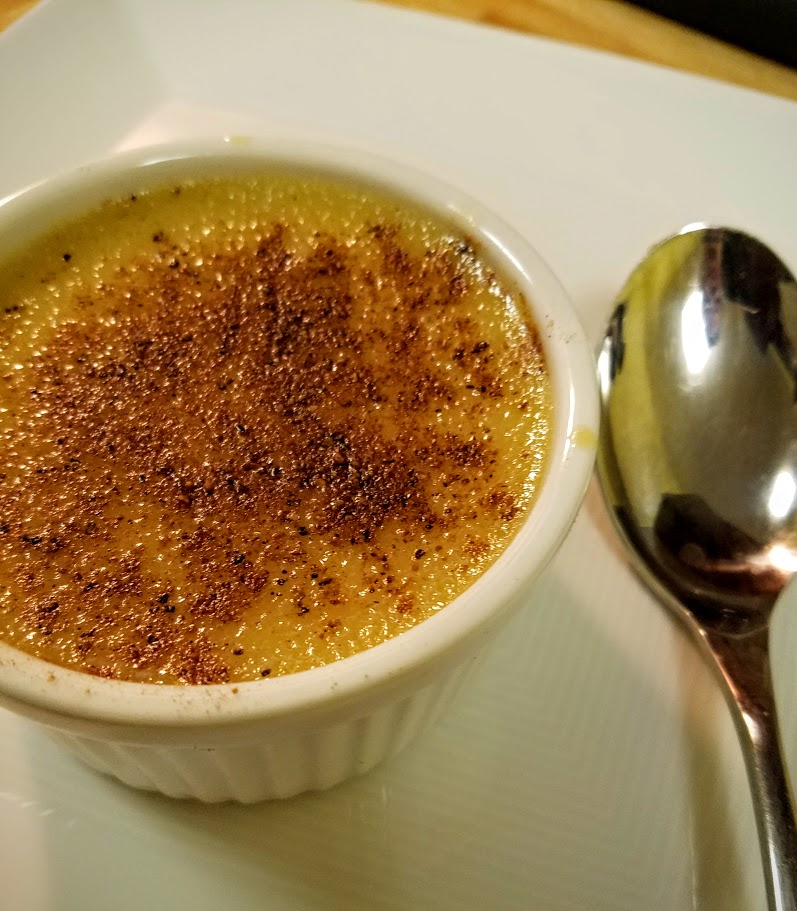


Vanilla Bourbon & Coconut

Egg Custard!

This is a super easy dish to prepare! It’s super affordable! This a lovely spin on a classic custard that always is a stand out because of it’s simplicity and sophistication… great for a dessert and yet the kids will devour it (not to mention can make themselves.) And most importantly it’s delicious and light enough for the current summer heat wave!
A Must Try!
This will take 15 minutes of prep, 35 minutes in a low temp oven of 325F, and rests for at least 2 hours. Eaten chilled.
You will need 6 ramekins -or- coffee cups that are oven safe.


Ingredients:
  • 1 cup Evaporated Milk - or 2% Milk
  • 1 ½ cup Coconut Milk - Cream of Coconut
  • 3 whole Eggs
  • 4 Egg Yolks only
  • ⅓ cup Sugar
  • ¼ cup Powder Sugar (Confectioners)
  • 1 Tbsp Bourbon Vanilla Extract
  • Ground nutmeg for top


Procedure:
  1. Preheat oven to 325F
  2. Boil a pot of water, let steam out while you prepare. You want it hot not boiling when use.
  3. In sauce pan - bring milks to a simmer over med-high heat. (take off heat if it starts to boil or foam up.)
  4. In a separate bowl, whisk eggs, yolks, bourbon vanilla, then the sugar, altogether.
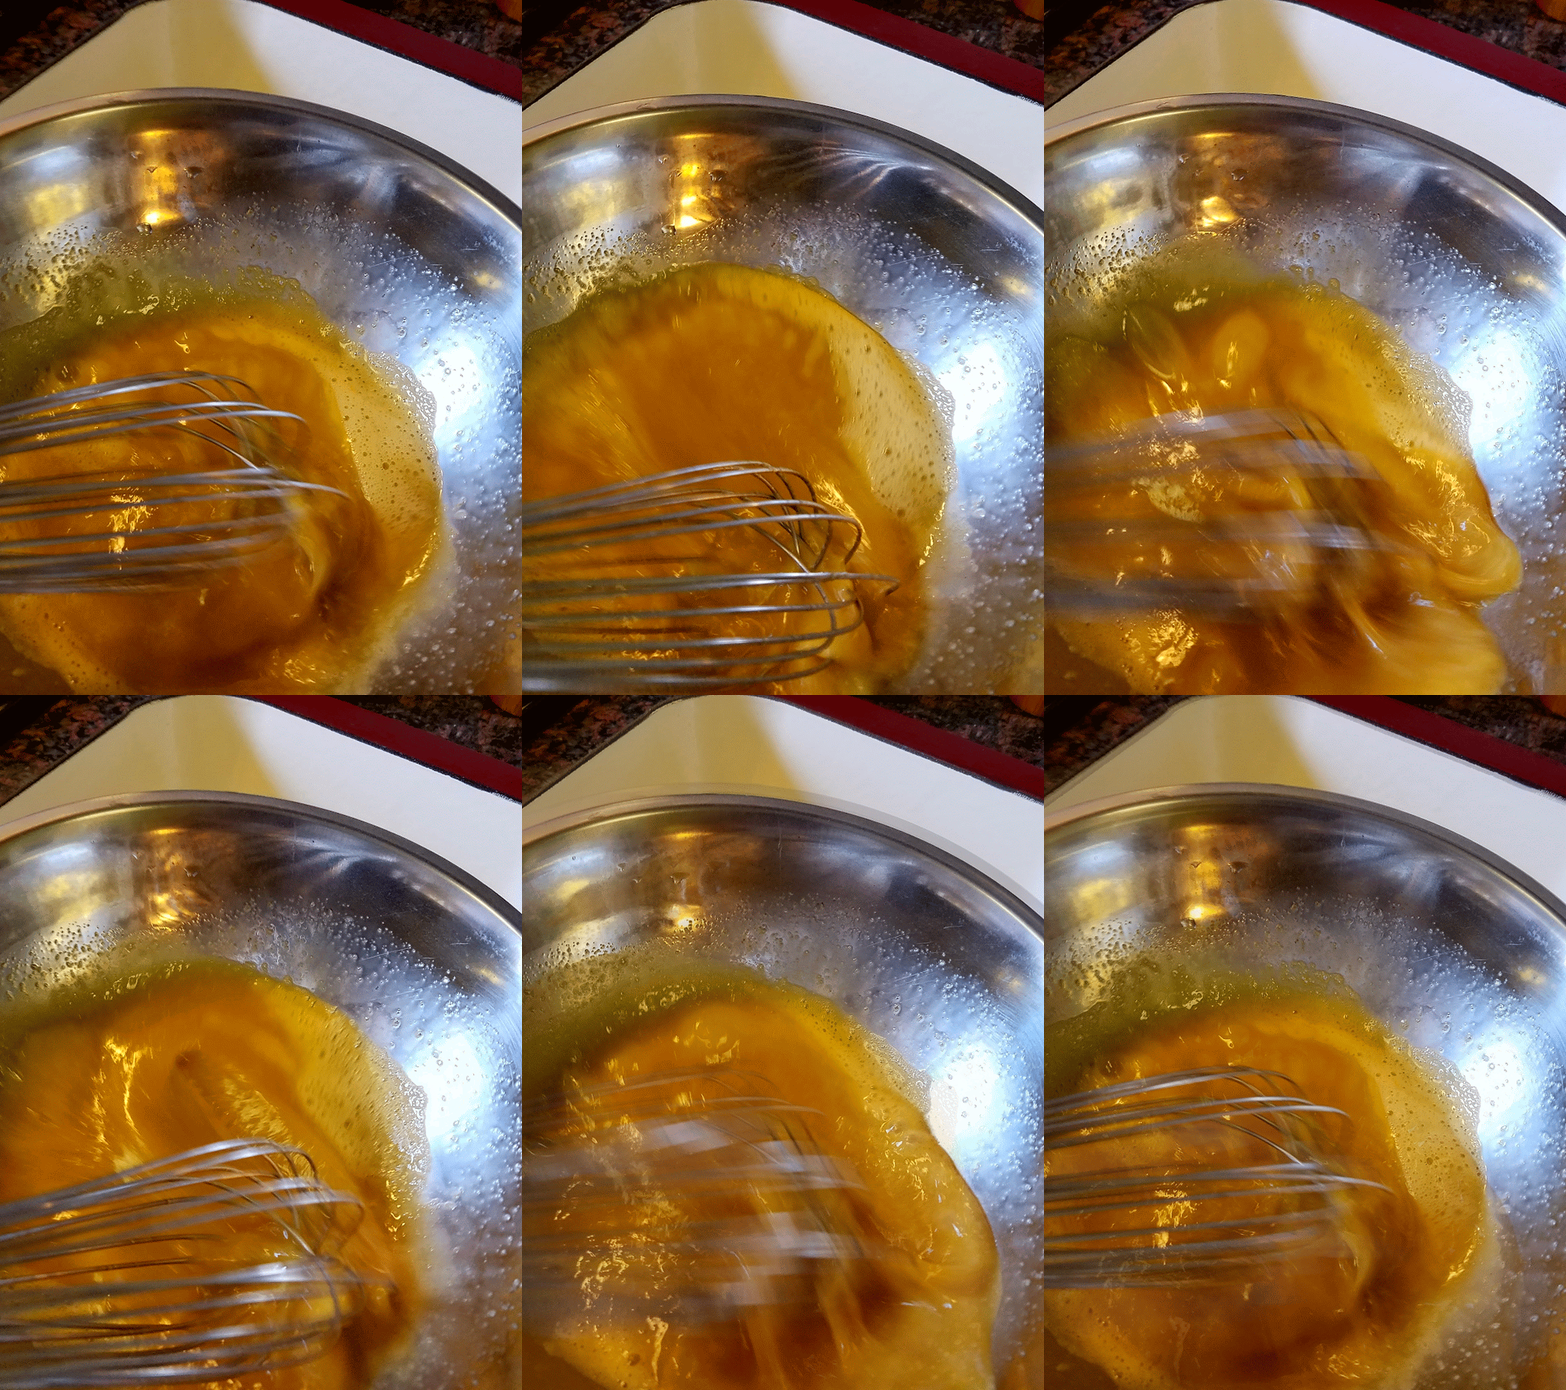
custard.gif


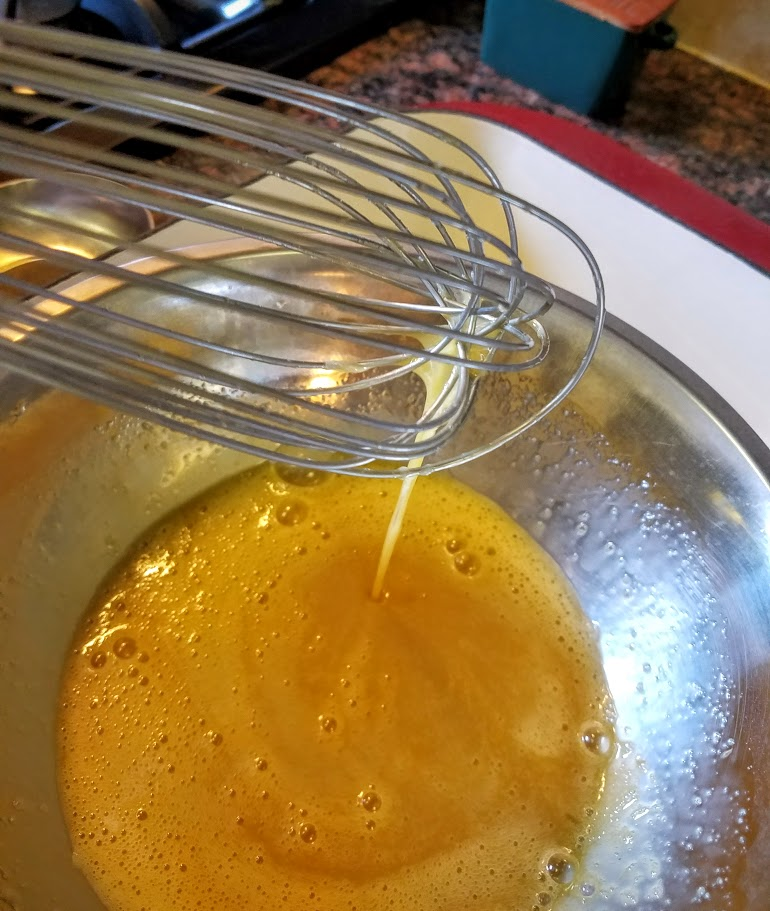
  1. Temper your eggs:
Take a measuring spoon or ladle and slowly pour hot milk into eggs while stirring. This is to raise the temperature slowly enough so they won't break nor scramble.

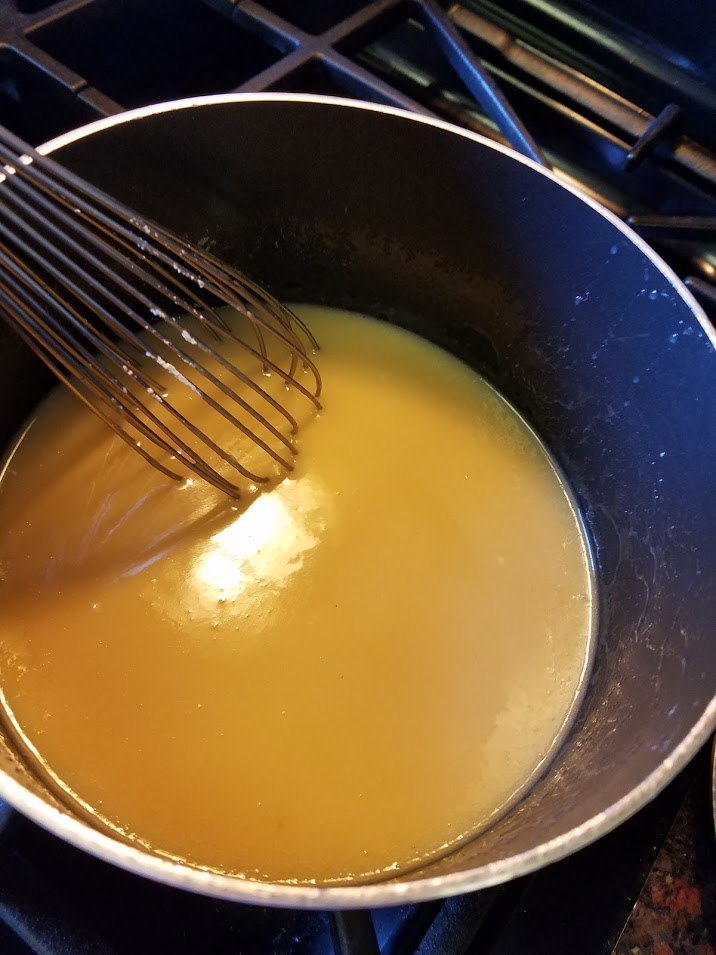
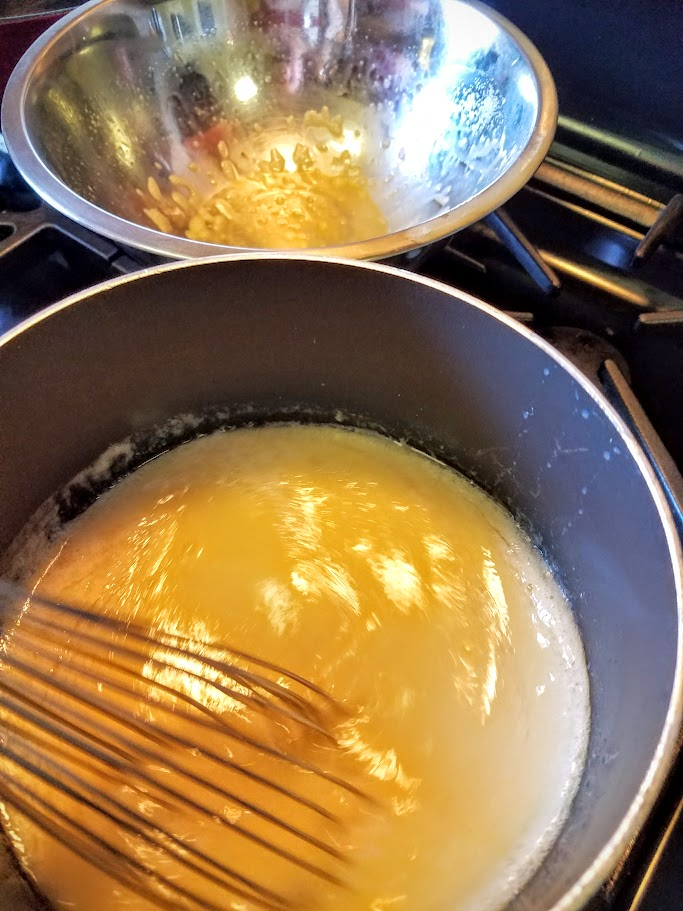
  1. Pour eggs into milk pot, whisk.
  2. Pour in Powdered Sugar slowly while whisking until smooth and lump free.
  1. Place ramekins in a deep enough baking dish.
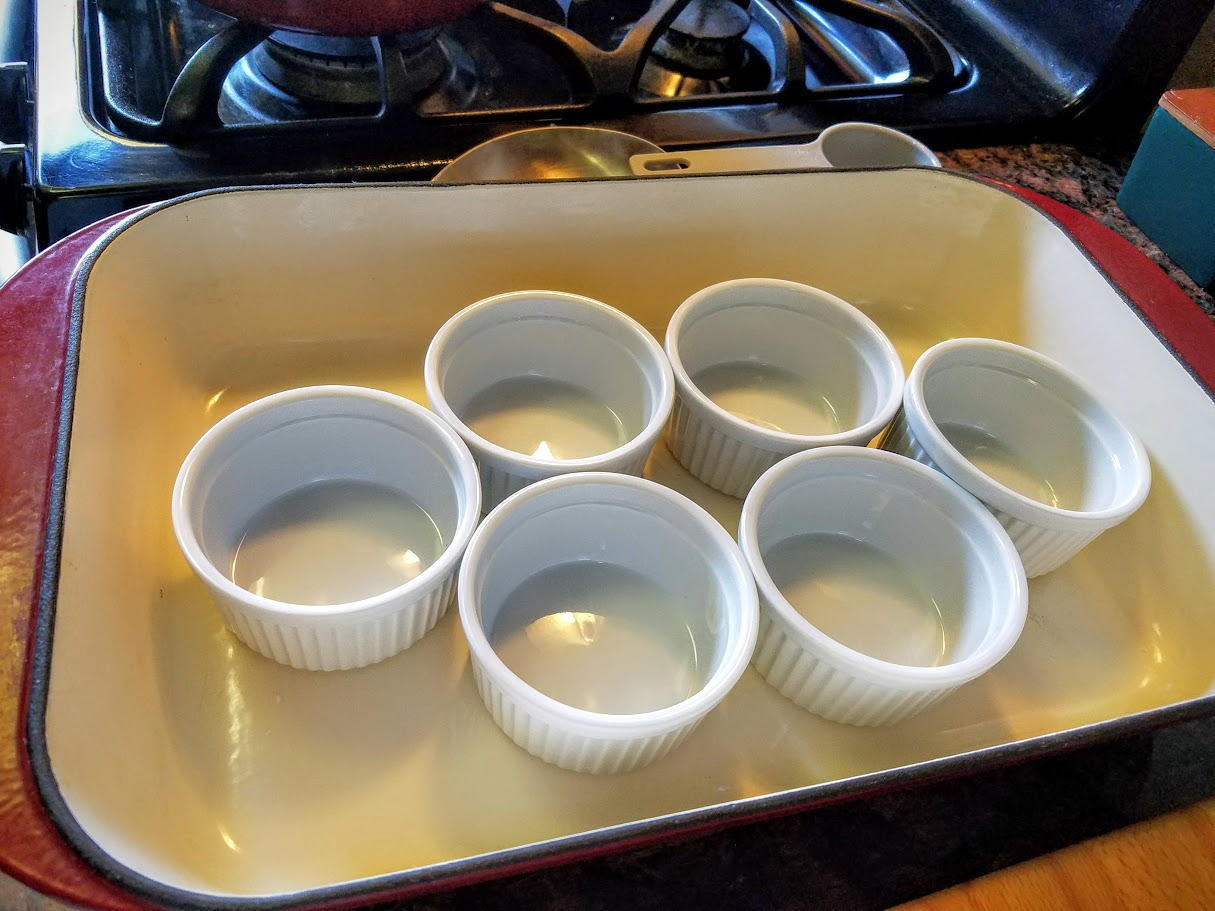
  1. Use a measuring cup and fill cups, leaving a little room so they won't spill in movement.
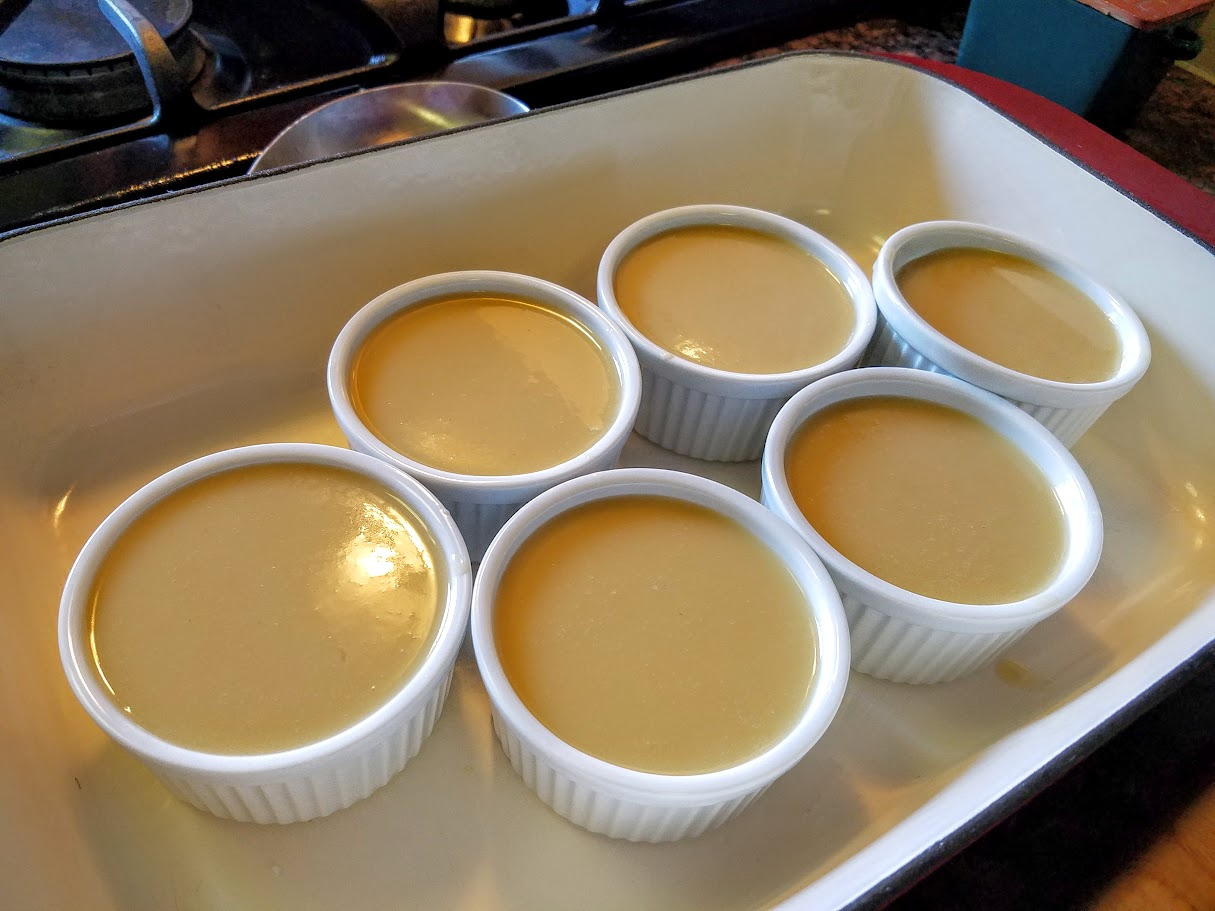
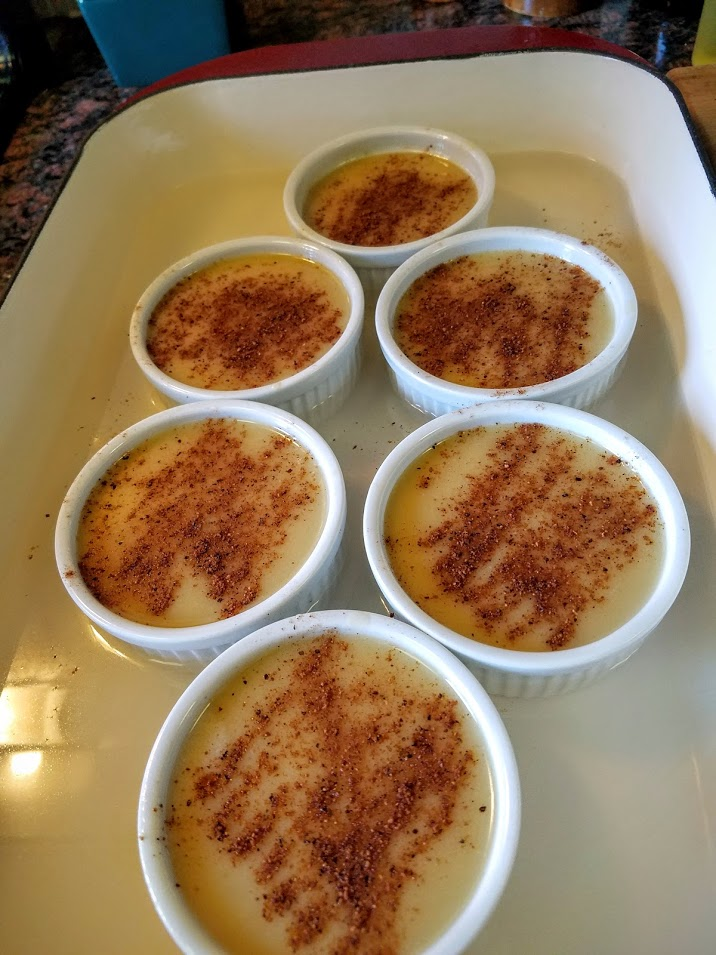
  1. Carefully pour hot water around cups (do not get in custard) until around half the ramekin.
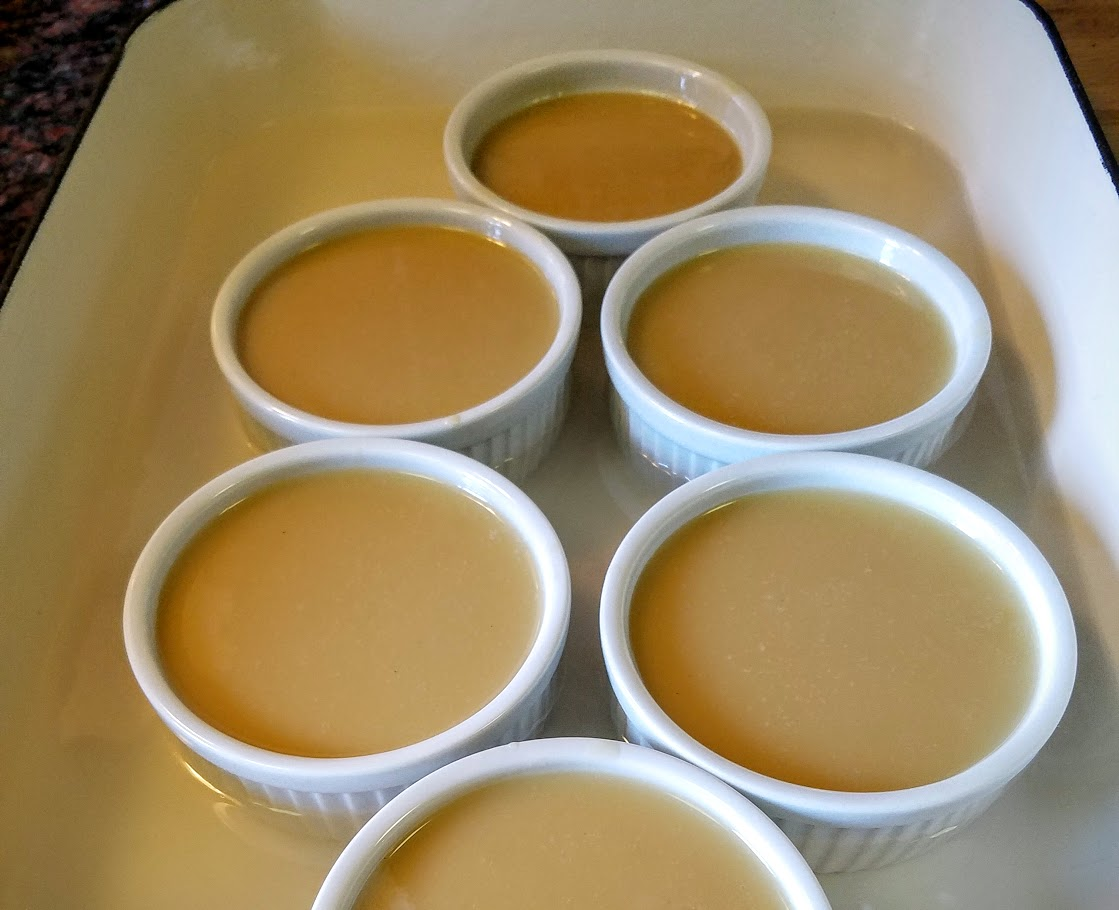
  1. Sprinkle top with Nutmeg
  1. Now ever so carefully not to Move the ramekins or spill .. anything, place in middle of oven for 30-35 minutes - if you’re using an electric oven you may need to let them cook another 5-10 minutes.
    1. They should be loose but still jiggle as if they hold together, you can touch the top and feel it slightly firm.
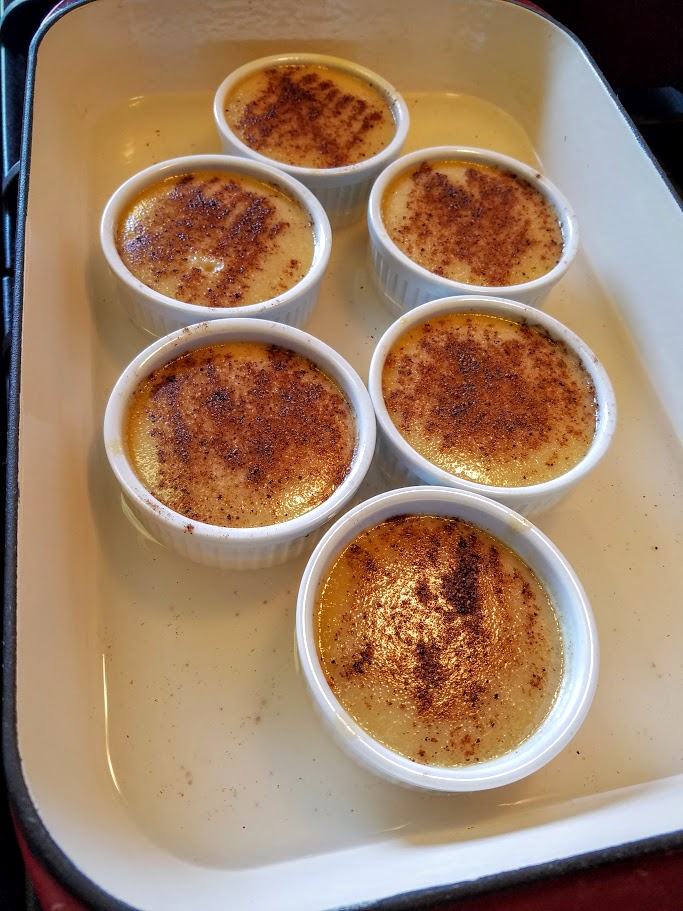
Now that’s it! Simple and easy! Just let sit at room temperature in the water bath for at least ½ hour - hour. Then take individually and place in refrigerator for 1 hour (up to 3 days.)
Serve as is! Enjoy!


You can serve with berries or anything you’d like, but it’s really creamy and nice just as.


#SummerDessert #BeatTheHeat #SummerEats #EggSlut #CheapEats #ChicEats #EasyCooking #EasyDessert #Pudding #TraderJoes #CuisinArt #EggCustard #SummerBaking #FathersDay #Coconut #KidFriendly #KidsCook  

Friday, May 27, 2016

Chocolate Truffles!

#TimeCrunch #Dessert # Chocolate!

Truffles!

Quick Easy Delicious!
Easiest impressive dessert you’ve ever made… You can wrap them in pretty much anything… and everyone is beyond impressed that you spend so much time *hehe you didn’t really* and effort!
Easy as 1, 2, 3 … you can bang it out yourself or get the kids in the kitchen! The only thing this requires is a bit of time, and it’ll be your ‘go-to’ from here on, because you’re not spending the time or effort - your refrigerator is.  


Time: active 30 min split & 2 (plus) hours chilling time.   Difficulty: EASY
Ingredients Ganache:
  • 3 cups chopped Dark Chocolate
  • ½  cup Heavy Cream
*- Pick your toppings - I chose shaved Coconut & Crushed Cashews.


1 - Simmer the cream. In a metal bowl pour cream over Chocolate and whisk until melted.
  • let cool enough to put in refrigerator for few hours - until firm.
2- once firm, using a melon baller or even large spoon, carve out chocolate and shape into balls with hand. Then take immediately to the toppings, coat completely, and place on wax paper lined tray. (anything non-sticky.)
3- put in refrigerator for several hours until firm to bite. Serve how you’d like… I recommend the baby cupcake holders so people’s fingers aren't sticky. Also try to keep them cool until you serve!
VOILA… Elegant French Dessert!  You’re a Chocolatier!


Monday, May 16, 2016

A Robust & Divine Chicken Stock

A Robust & Divine

Chicken Stock

A Simple and Cheap version anyone can do, and You’ll never buy pre-made again.
Chicken Stock is the first thing everyone should spend the time to make at home… after all there is a reason there’s a saying, “it’s Chicken Soup for the Soul,” not to mention a massive collection of books. It is as Soulful and Heartwarming as anything you will ever make and it has a ripple effect to everything it touches.
I didn’t grow up with a lot of money or food in our house. We made due where we could and ate whatever we could find. It was almost always bad and undefinable, it was certainly expired and hardly ever nutritious. However some of my fondest memories were all my brothers and sister sitting together, eating at the table on special days, where we’d have a proper meal. We were together, we laughed, talked, and devoured the food. As I’ve gotten older, I understand how wonderful and important those moments are, as well as how powerful and special a beautiful meal can mean.
This Chicken Stock is more robust, and, the most divine, I’ve ever had. It’s taken me a couple of years to get it just perfect, now, you can even savor it alone. Chicken Stock can be universally used and in substitution for both Beef - if you want more subtle, or Vegetable - if desiring more intensity (and aren’t a vegetarian of course).
I highly recommend making this when you have an extra minute- you really just let it cook itself so you can perfect it between commercial breaks or laundry loads - throw it in the freezer for up to 6 months, and you're always prepared. It will save you when everyone suddenly comes down with the flu, and you need Soup pronto - such as my Chicken Tortilla Soup - or Chicken Dumpling (which I’ll add soon). 

More so you just elevated every dish you intend to make using Stock in the future! It’s that extra factor that ‘they’ won't be able to pinpoint, but know there is something special and beautiful about your cooking.


Chicken Stock
Easy / 2-3hrs /Serving 6-7 Qts
*Note - if you make in NYC 6 qts should cost you $16-$18 from Scratch!
That’s $24 if you buy pre-made  in the store!
*The rest of the world! $$$ NICE SAVE!!! And Organic without crazy Additives!

Ingredients:

All veg are cut large and quick - you’re not eating them later.
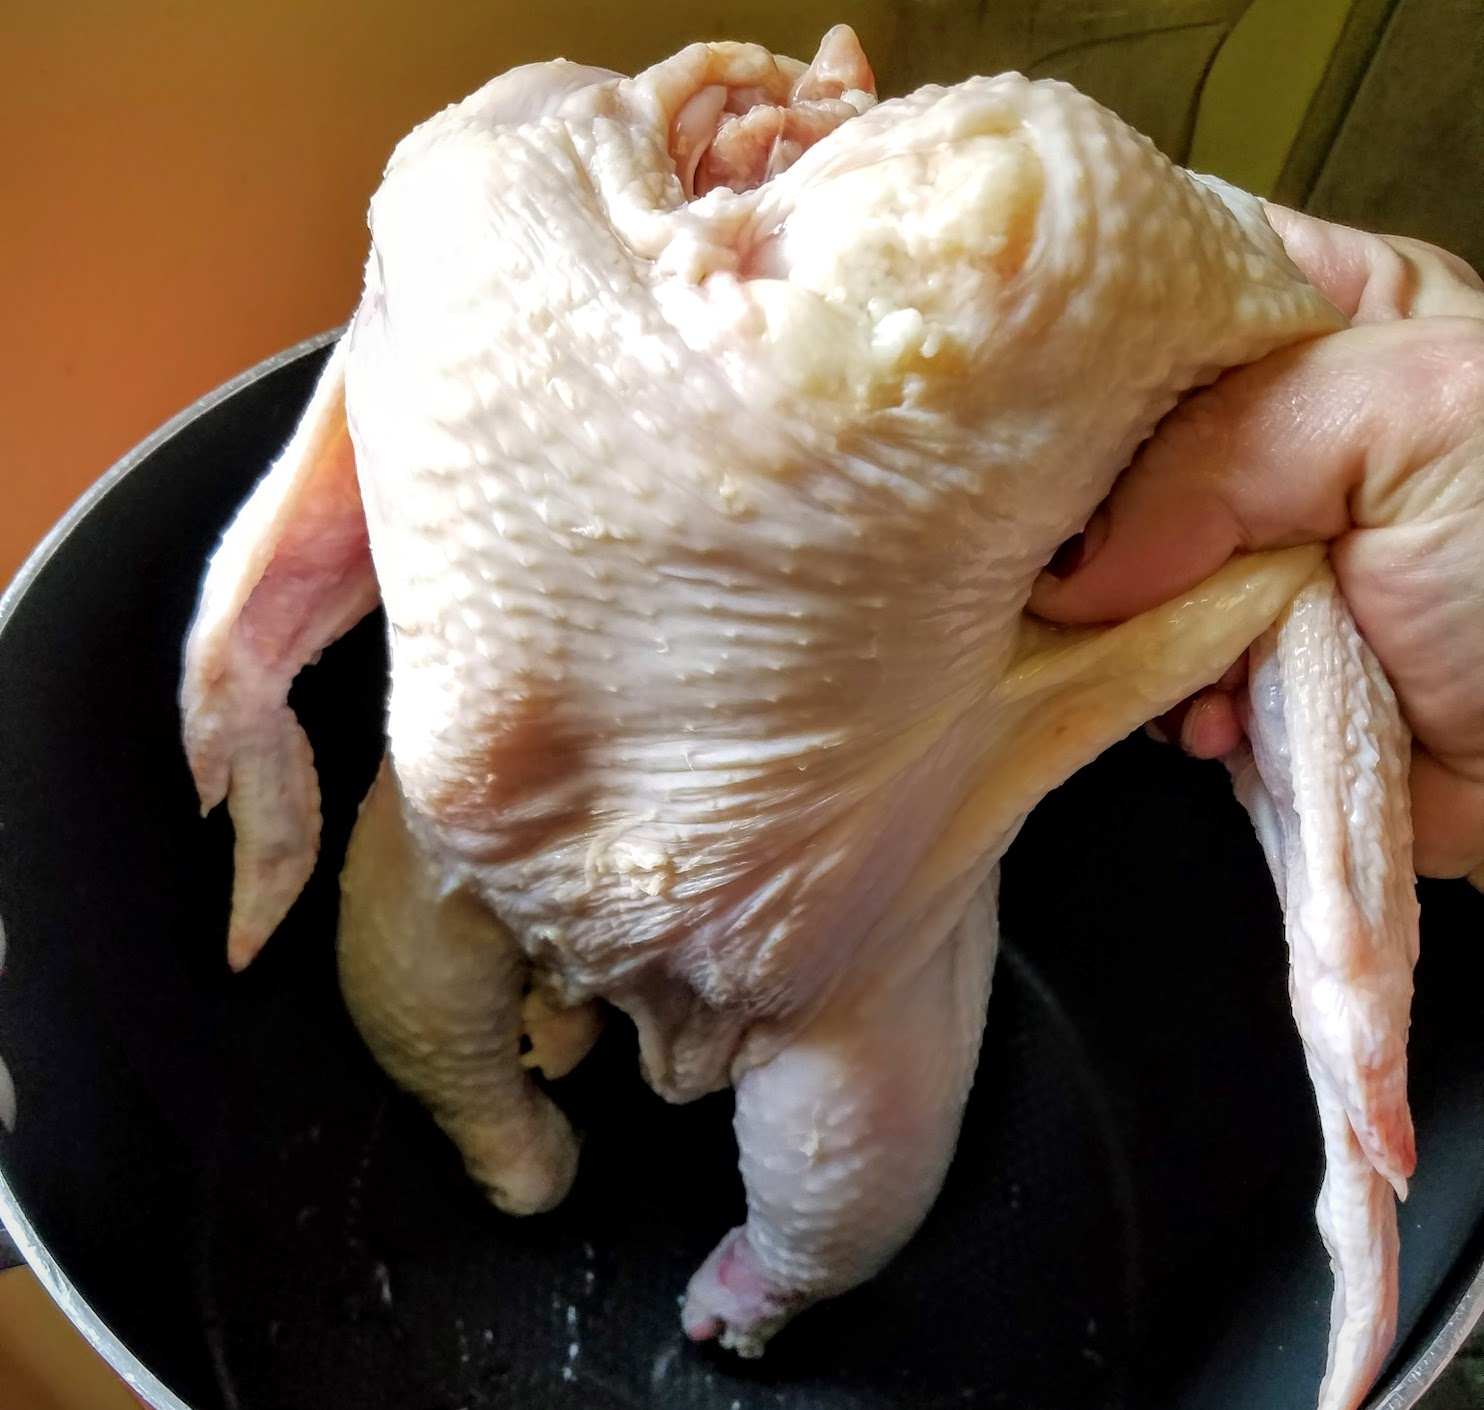
  • 3lbs chicken - rinsed, innards discarded
  • 6 Celery stalks (1 medium-bunch) -(including leaves & Rib)   
  • 3 Large Carrots (No need to shave just clean)
  • 1 White onion  (if you have left over green onions, shallots… you can use just not Red onions)
  • 1 Large or 2 Small Leeks (CLEANED very well!-it’s easier after cut)
  • 2 cloves garlic - crushed
  • 1 handful Parsley still whole -rinsed well
  • 4 Bayleaf
  • 1 Tbsp Fennel seeds
  • 1 Tbsp Thyme -or handful fresh
  • 5 cloves (whole, if powder - 1 tsp)
  • 1 tsp whole peppercorns
**NO SALT**

EASY 10 STEP by STEP with Pictures:

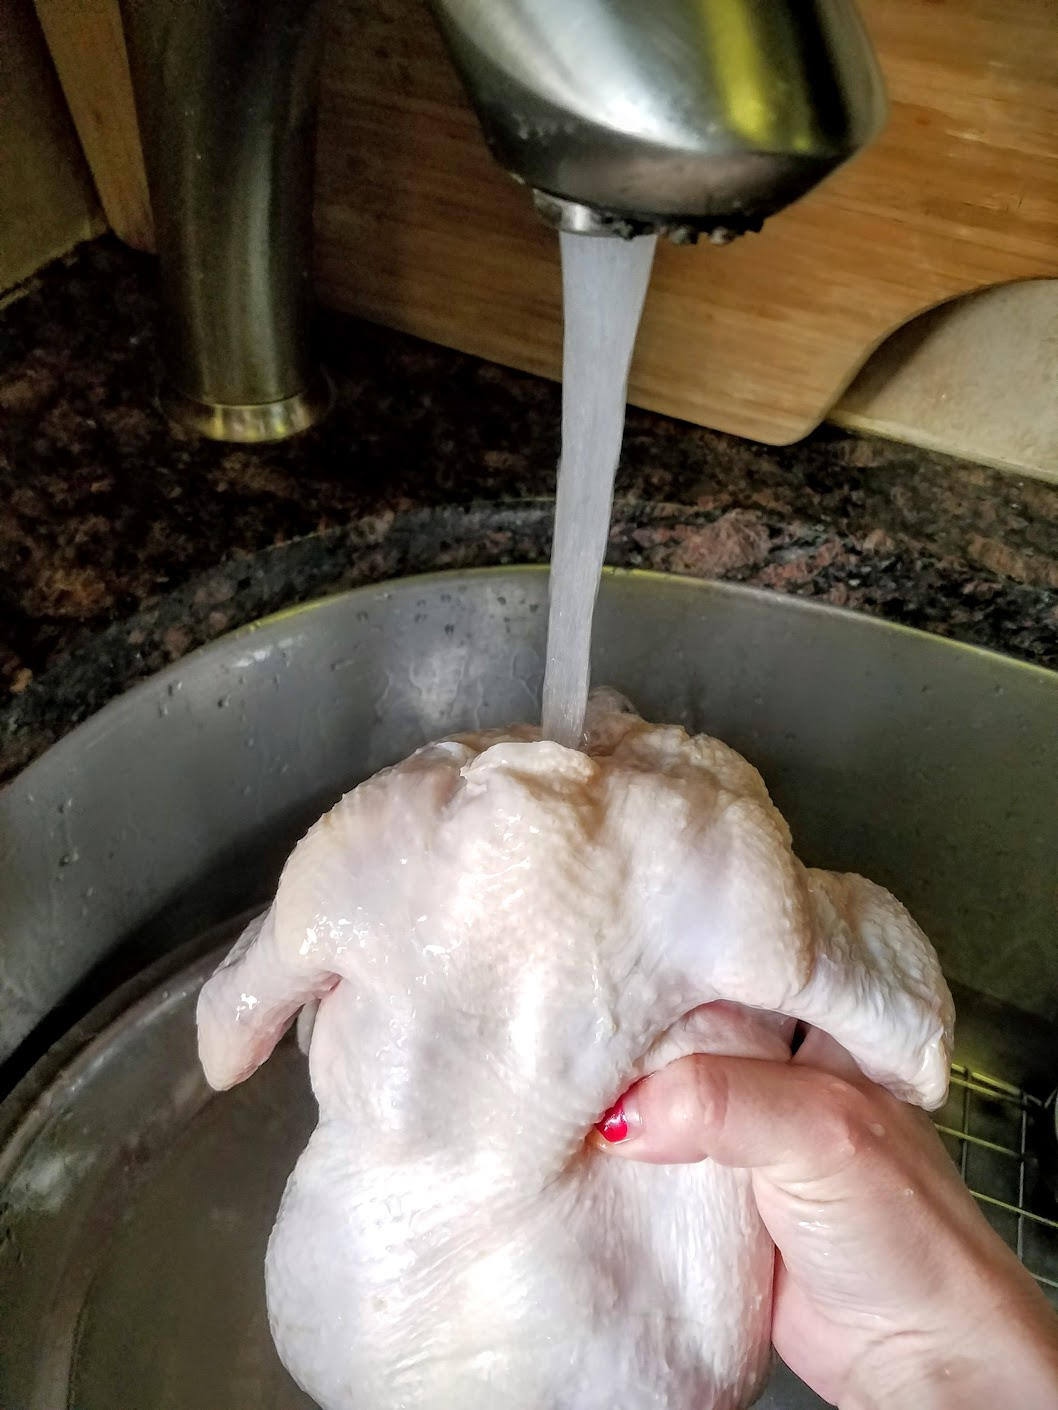
  1. RINSE CHICKEN WELL. Inside and out.
2) Put whole Bird in pot minus insides. Don’t worry about clipping wings off - though you can if you want to fry those up.
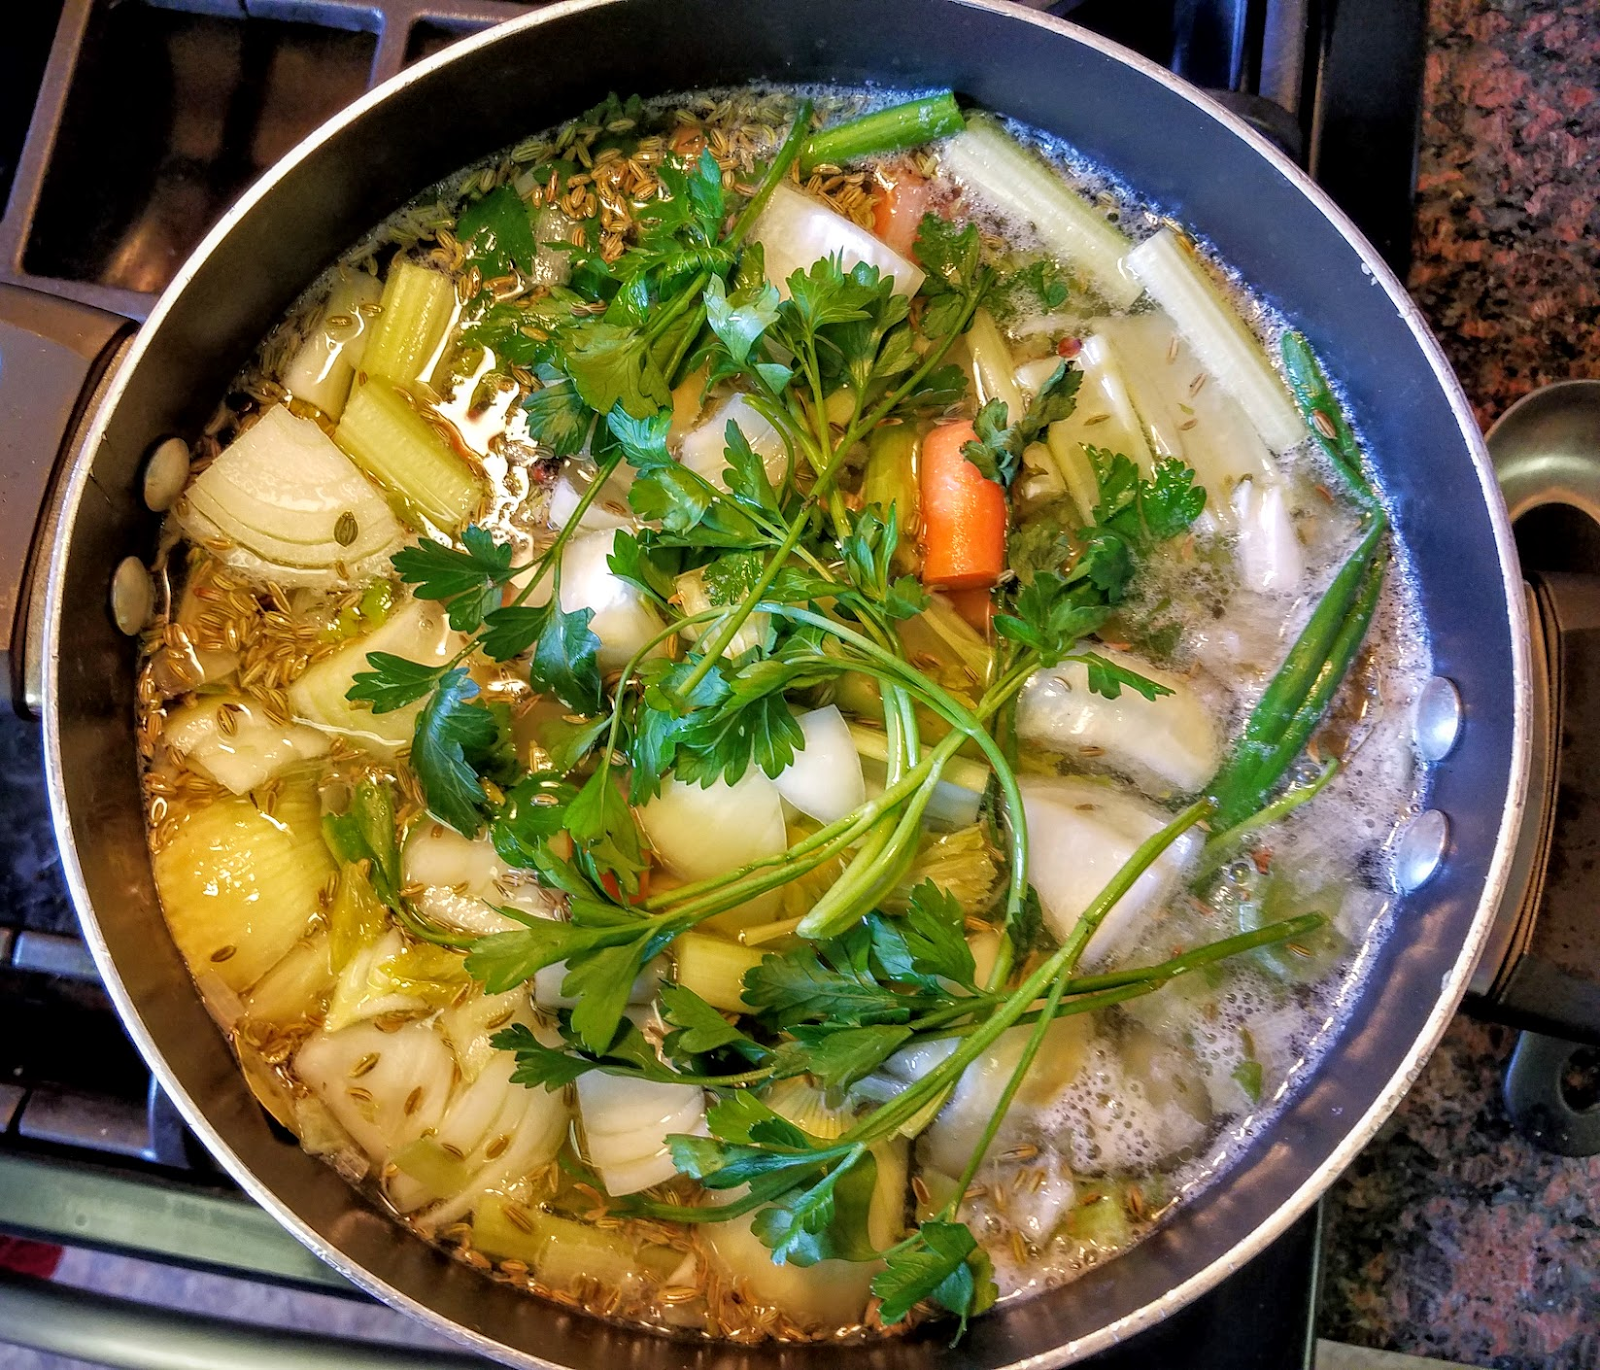
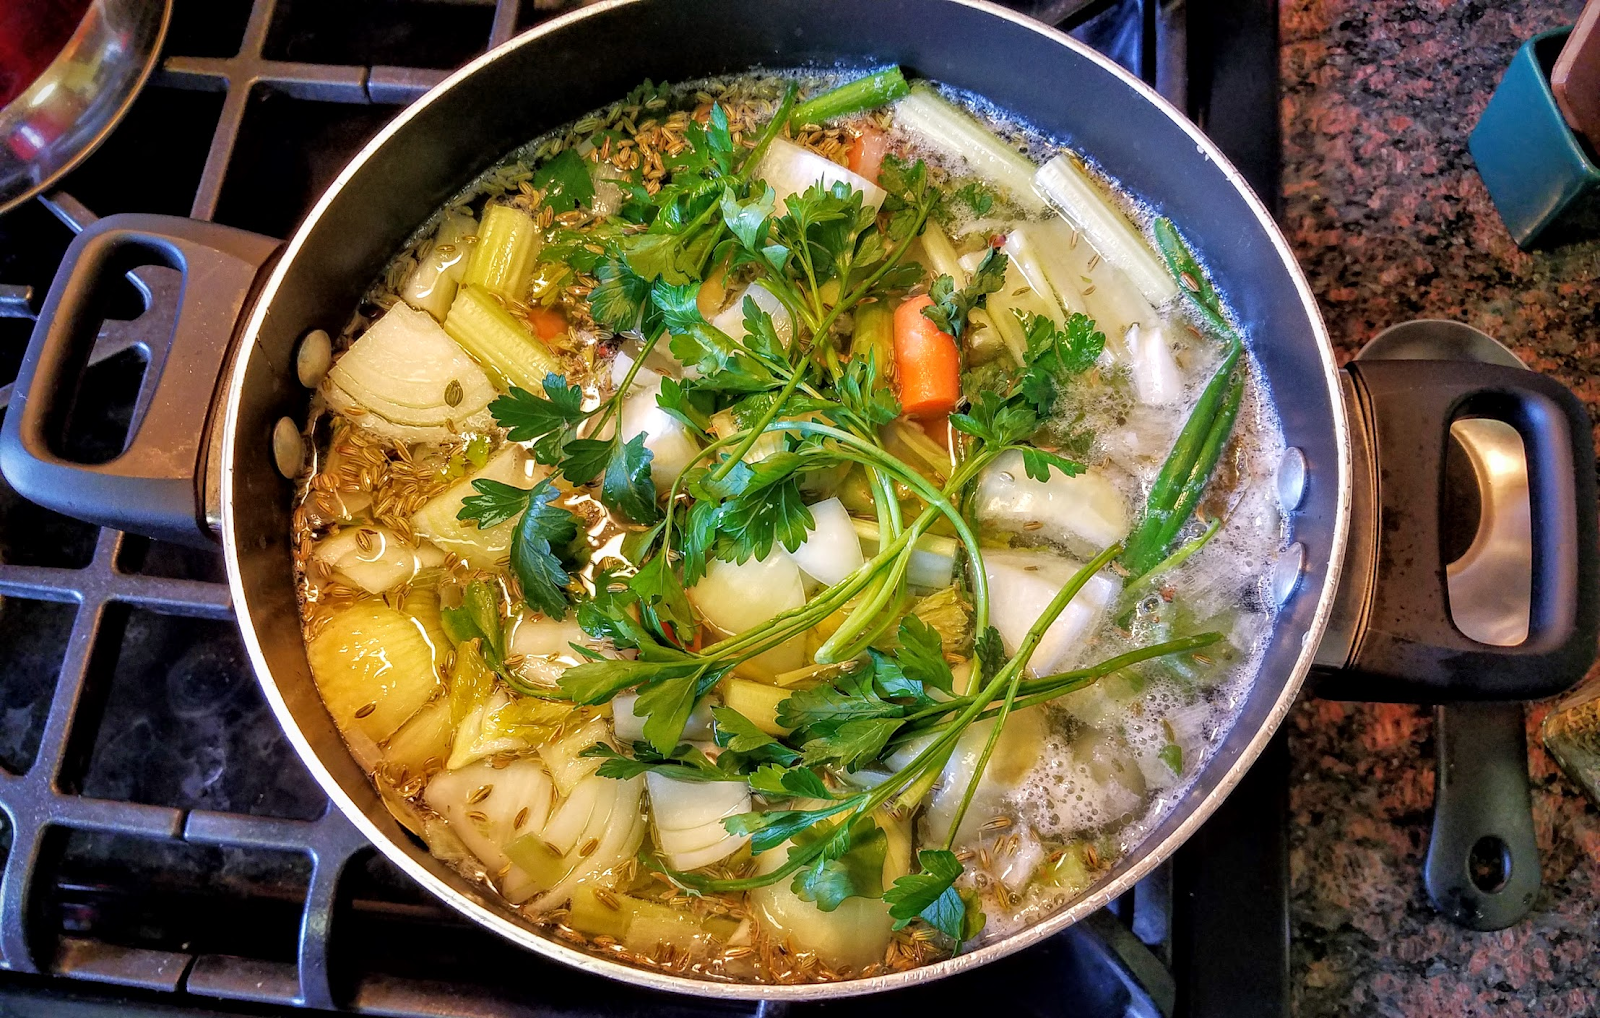
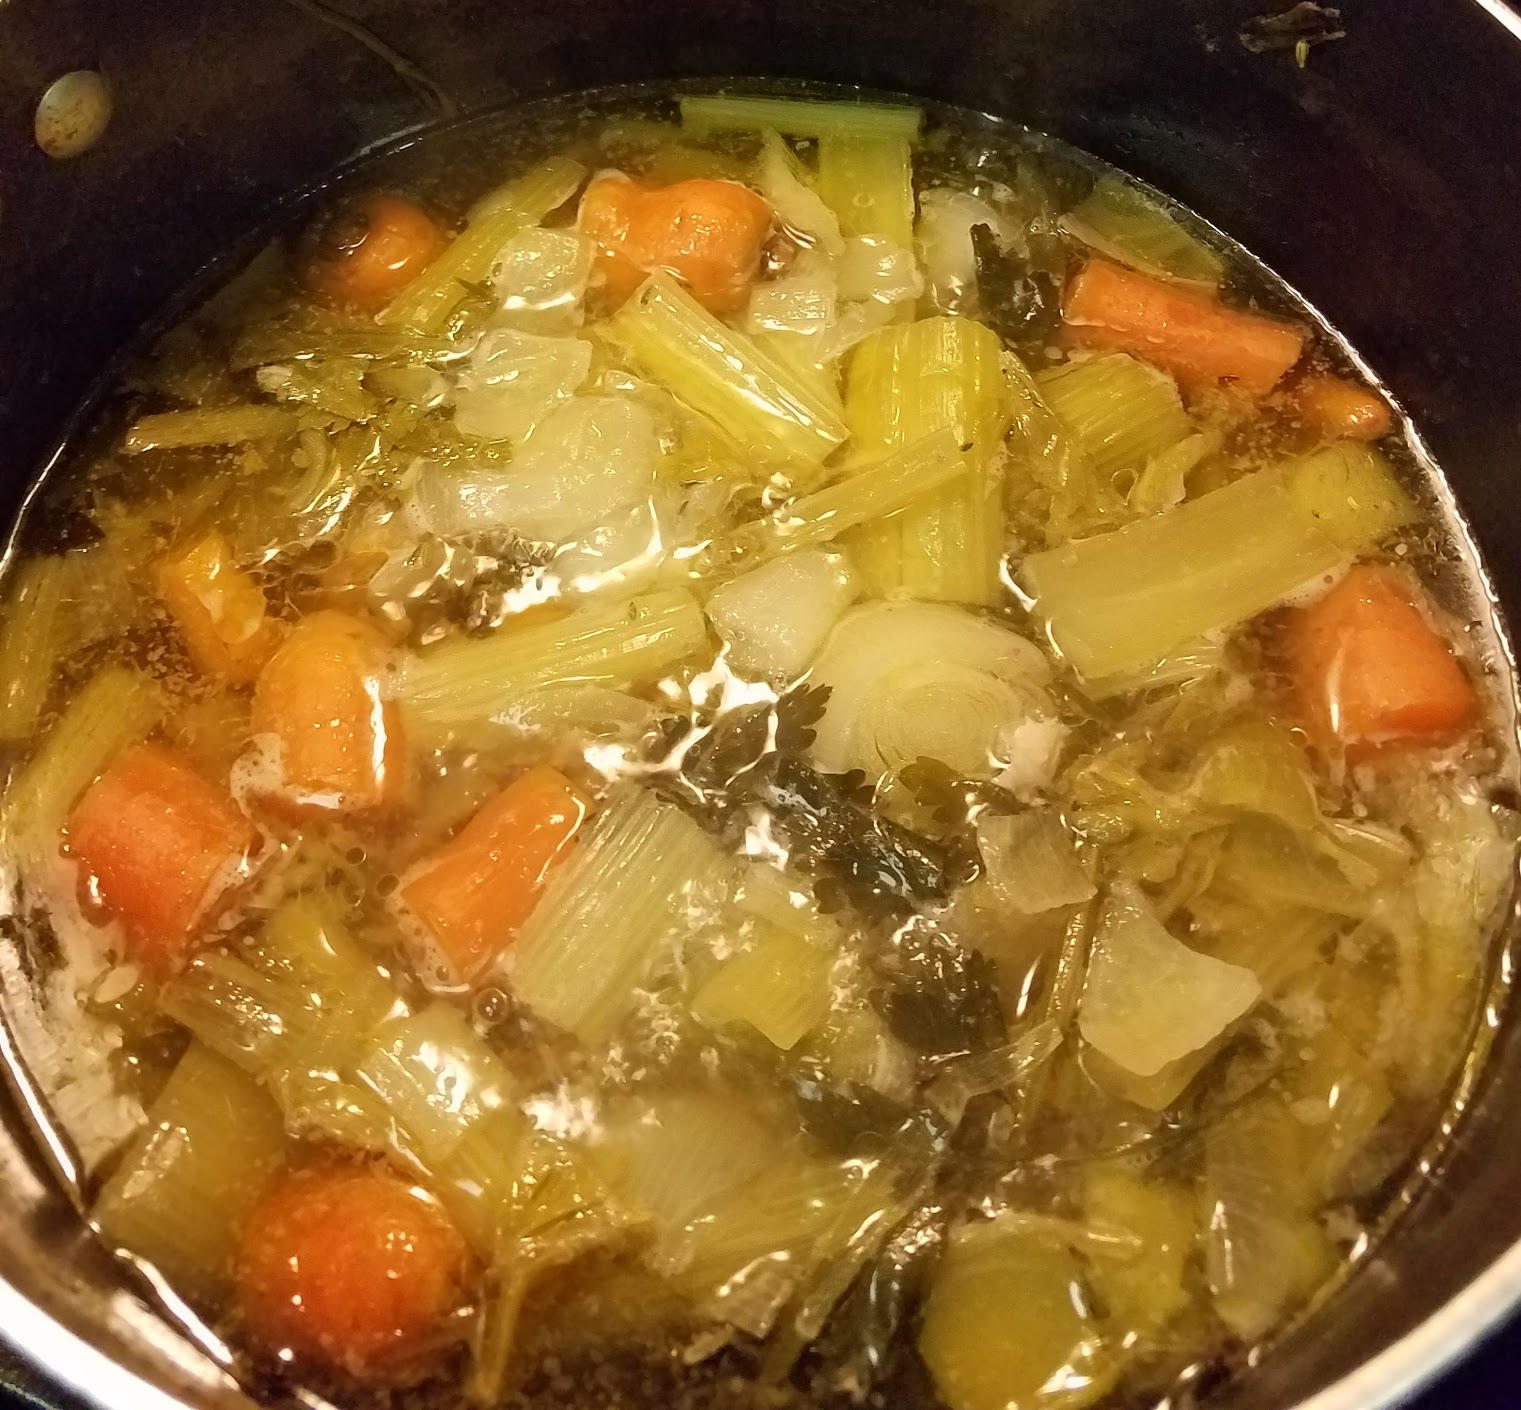
3)Put everything in the pot, fill to top with cold water & room for the boil.
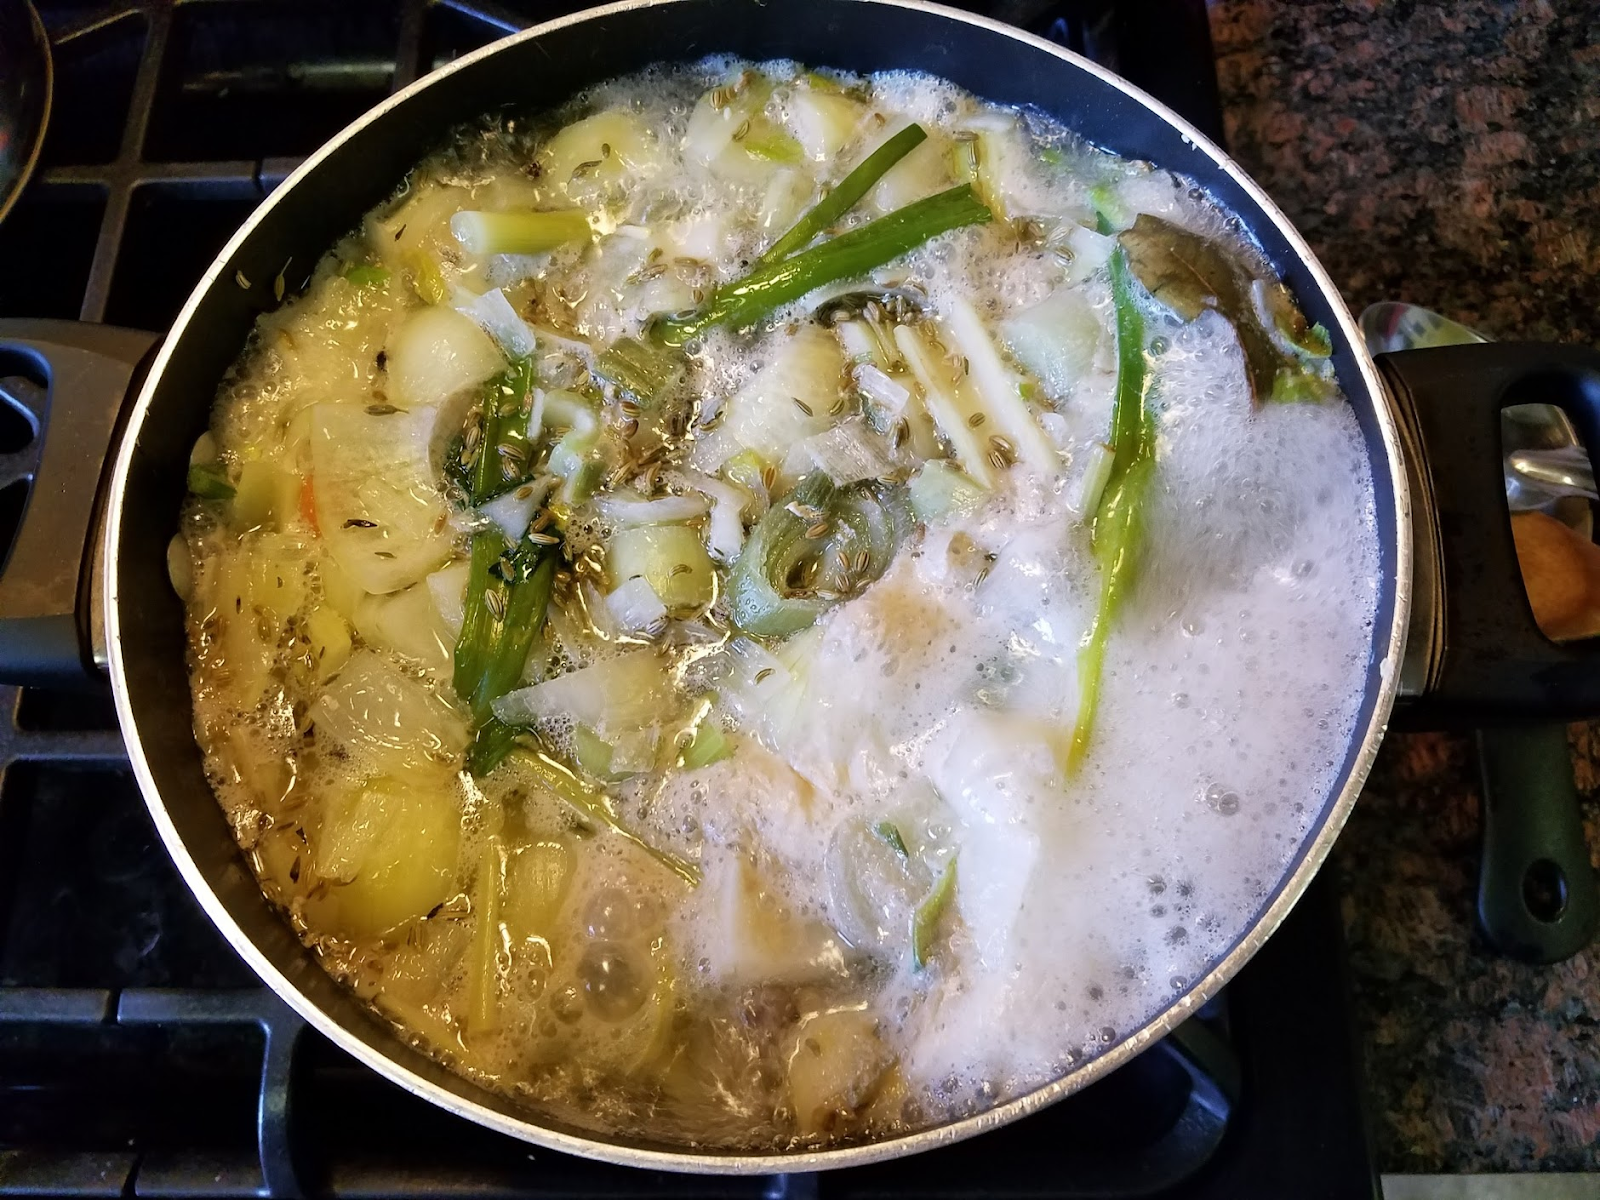
4)Bring boil - without lid on.
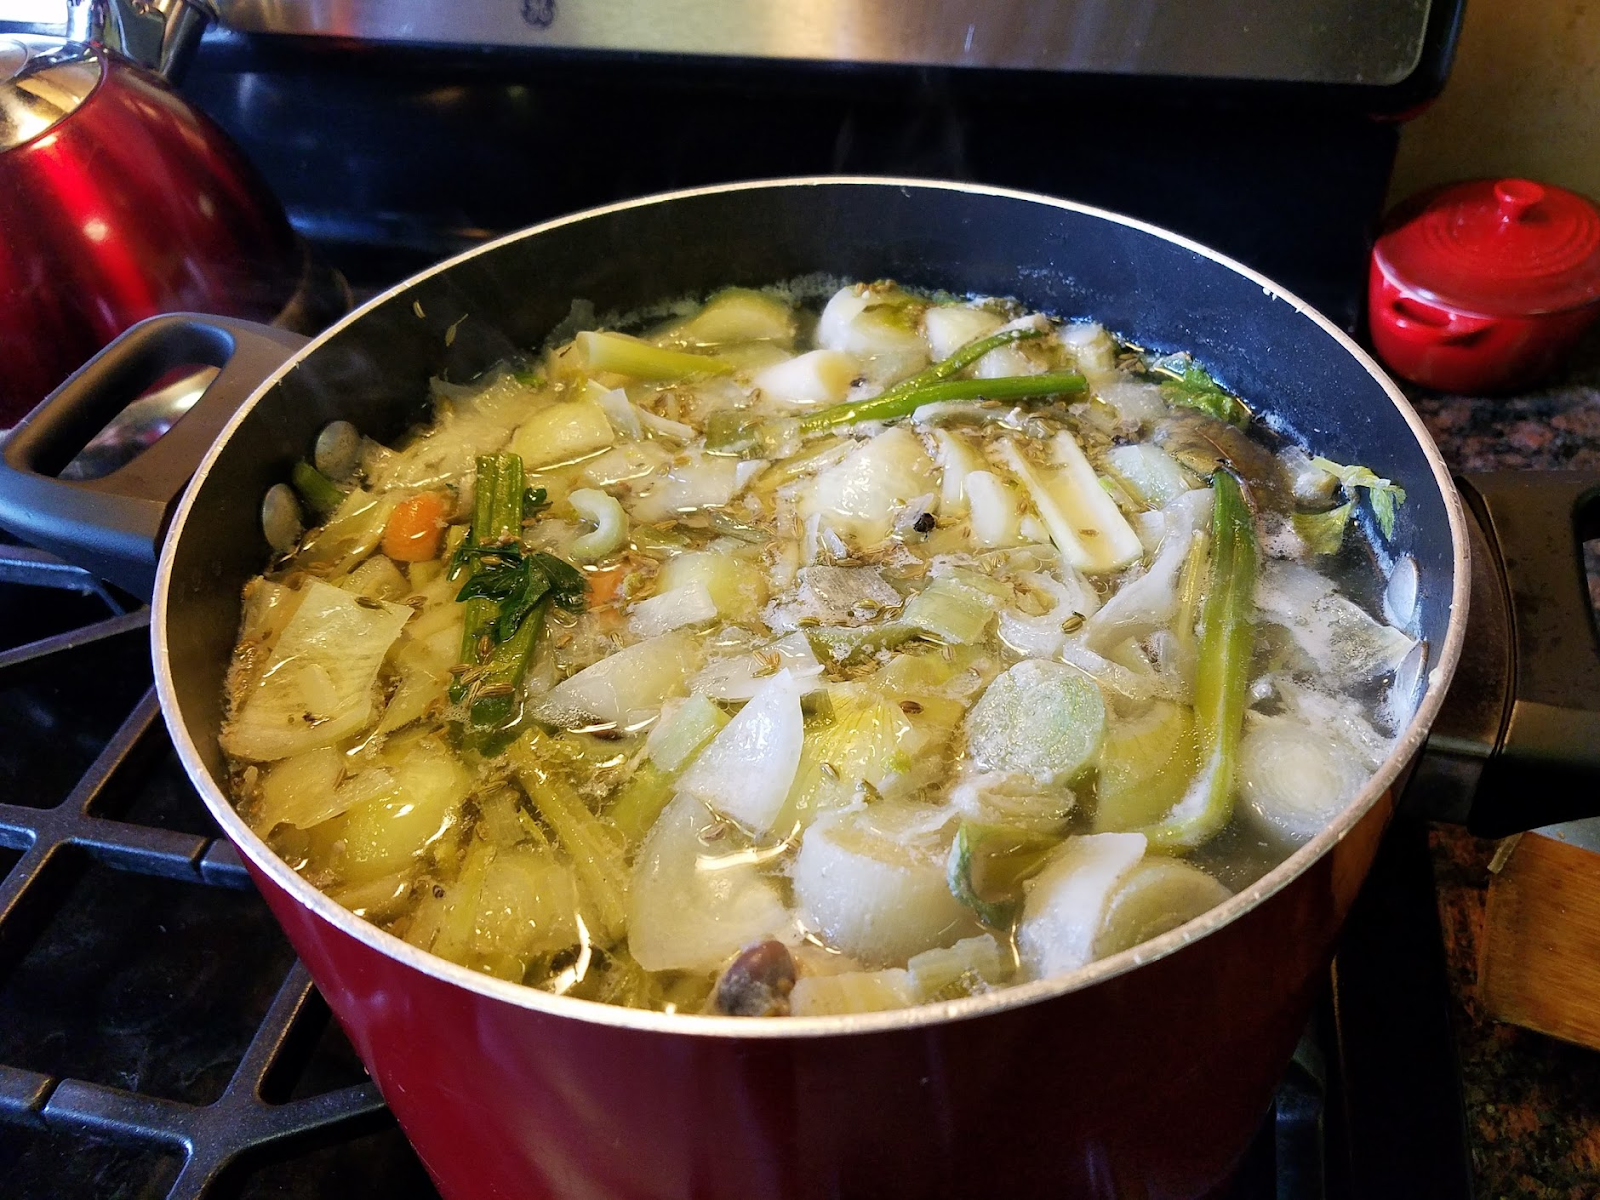
5) Drop to a simmer 2 hours. Skim scum off as go. Don’t worry if Chicken is bobbing on top, just roll her over every so often.
Add water as needed, including at end.
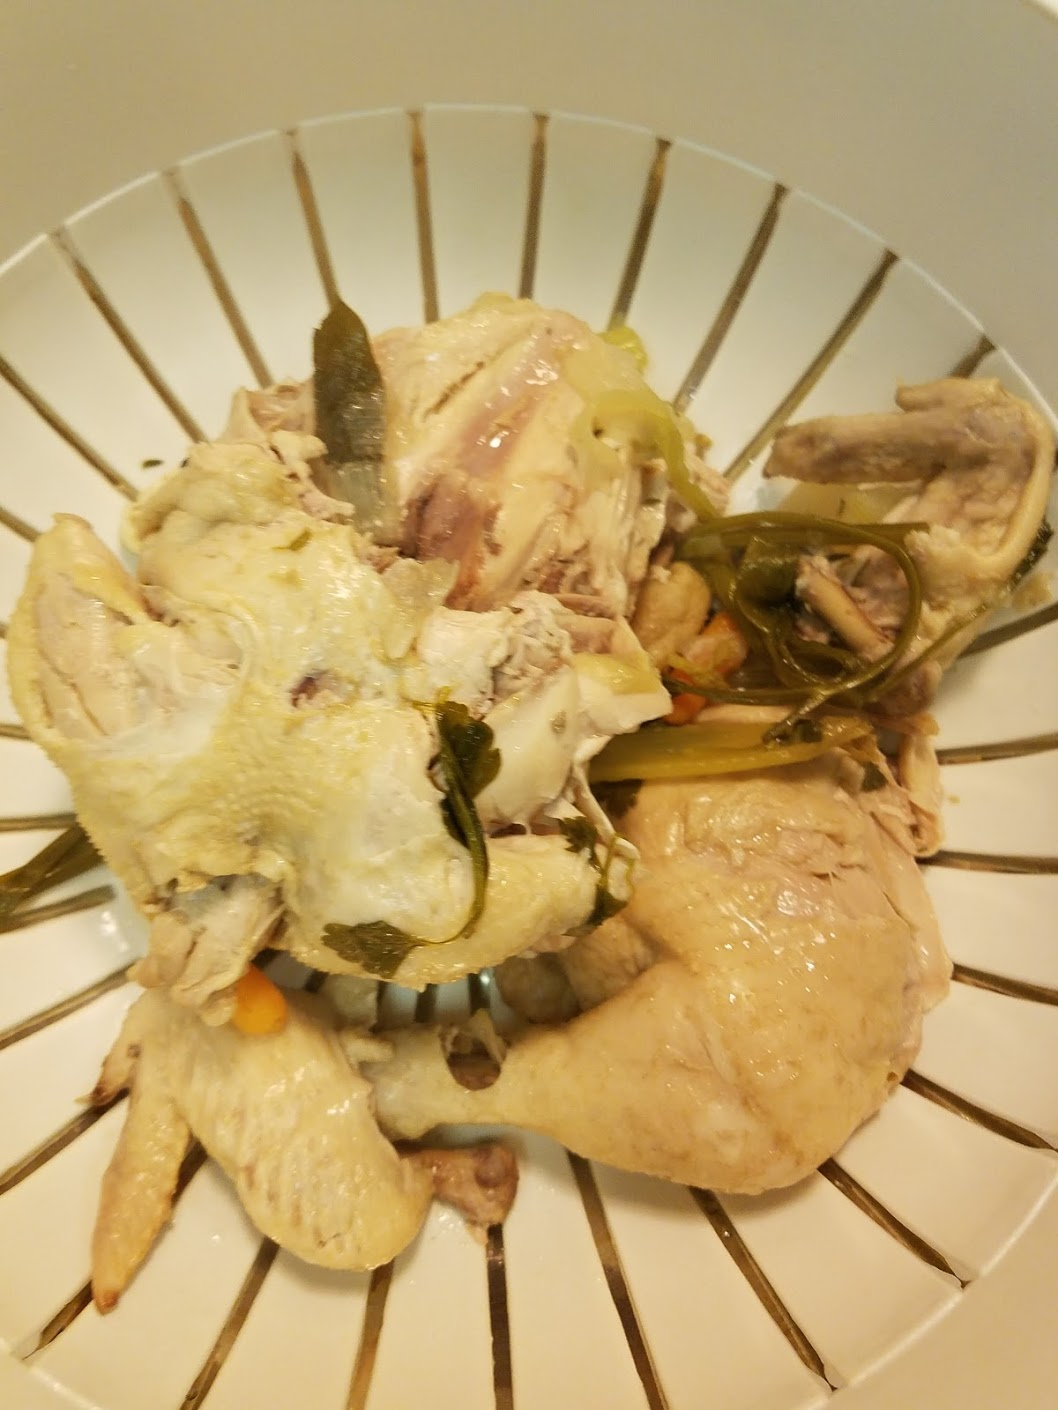
6)Once Chicken is cooked thru, pull out. (Check on this at 1 hour if you’re planning to eat the chicken -ie soup or enchilada, so that you can cool it and shred now, otherwise leave it in.)
If you’re using your meat, you can put in freezer for 15 minutes to cool enough to take skin off and shred meat, with out melting everything in the freezer.
7) If you have time - you can let this stock go for another hour to really get the flavor of the vegetables. Or pull it when you’re ready.
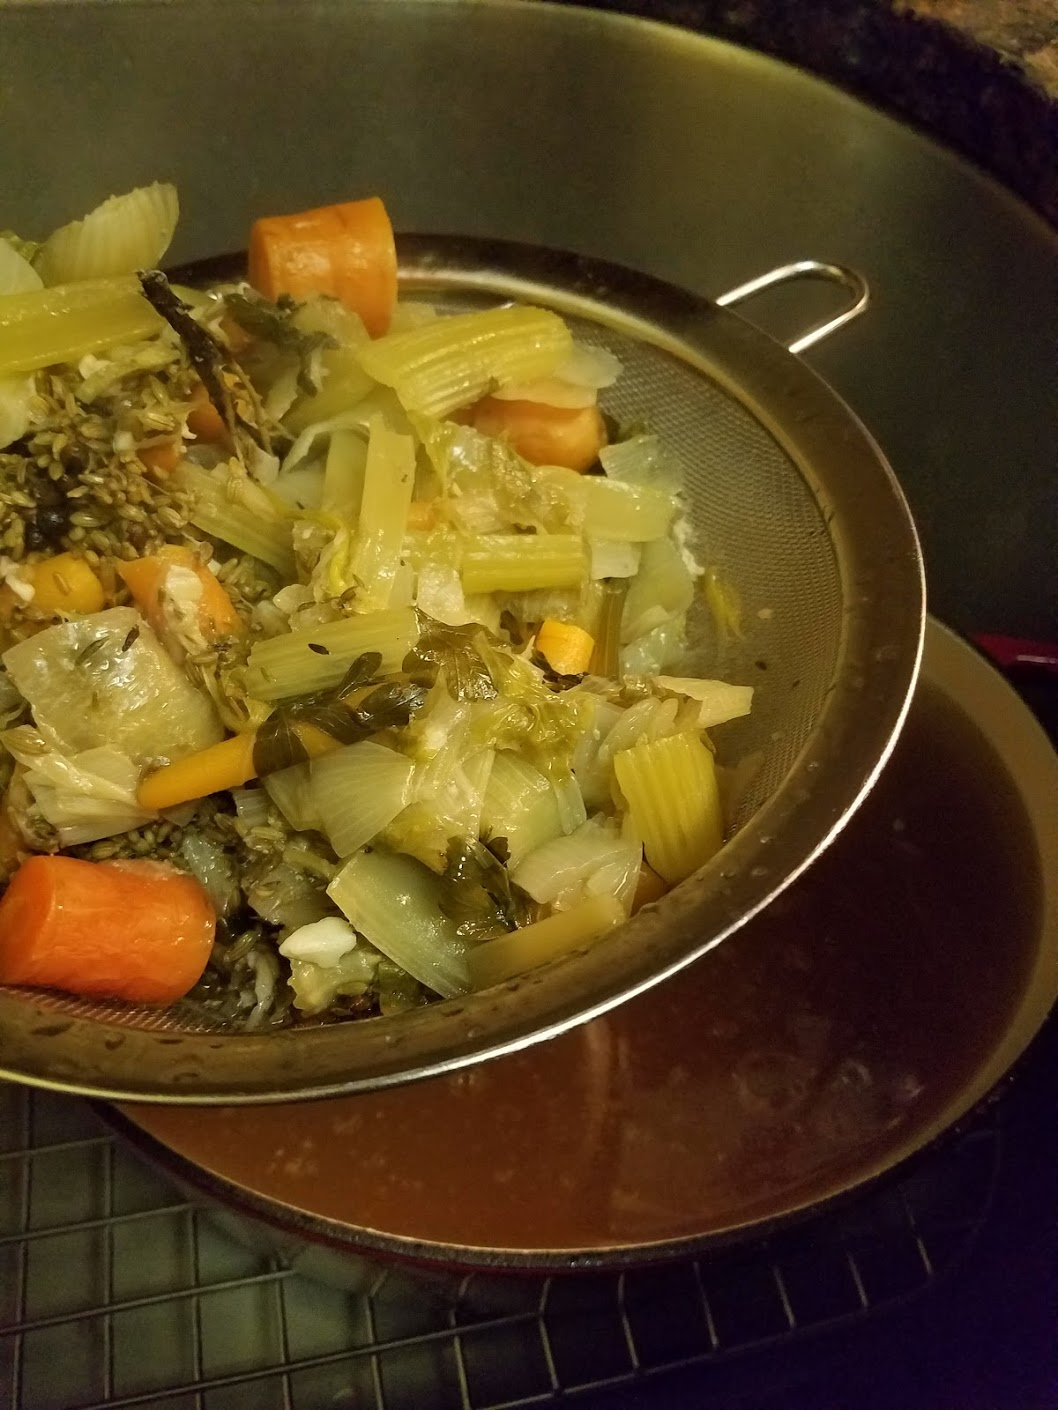
8)Pull out the vegetables and discard. (easier this way than dumping.)
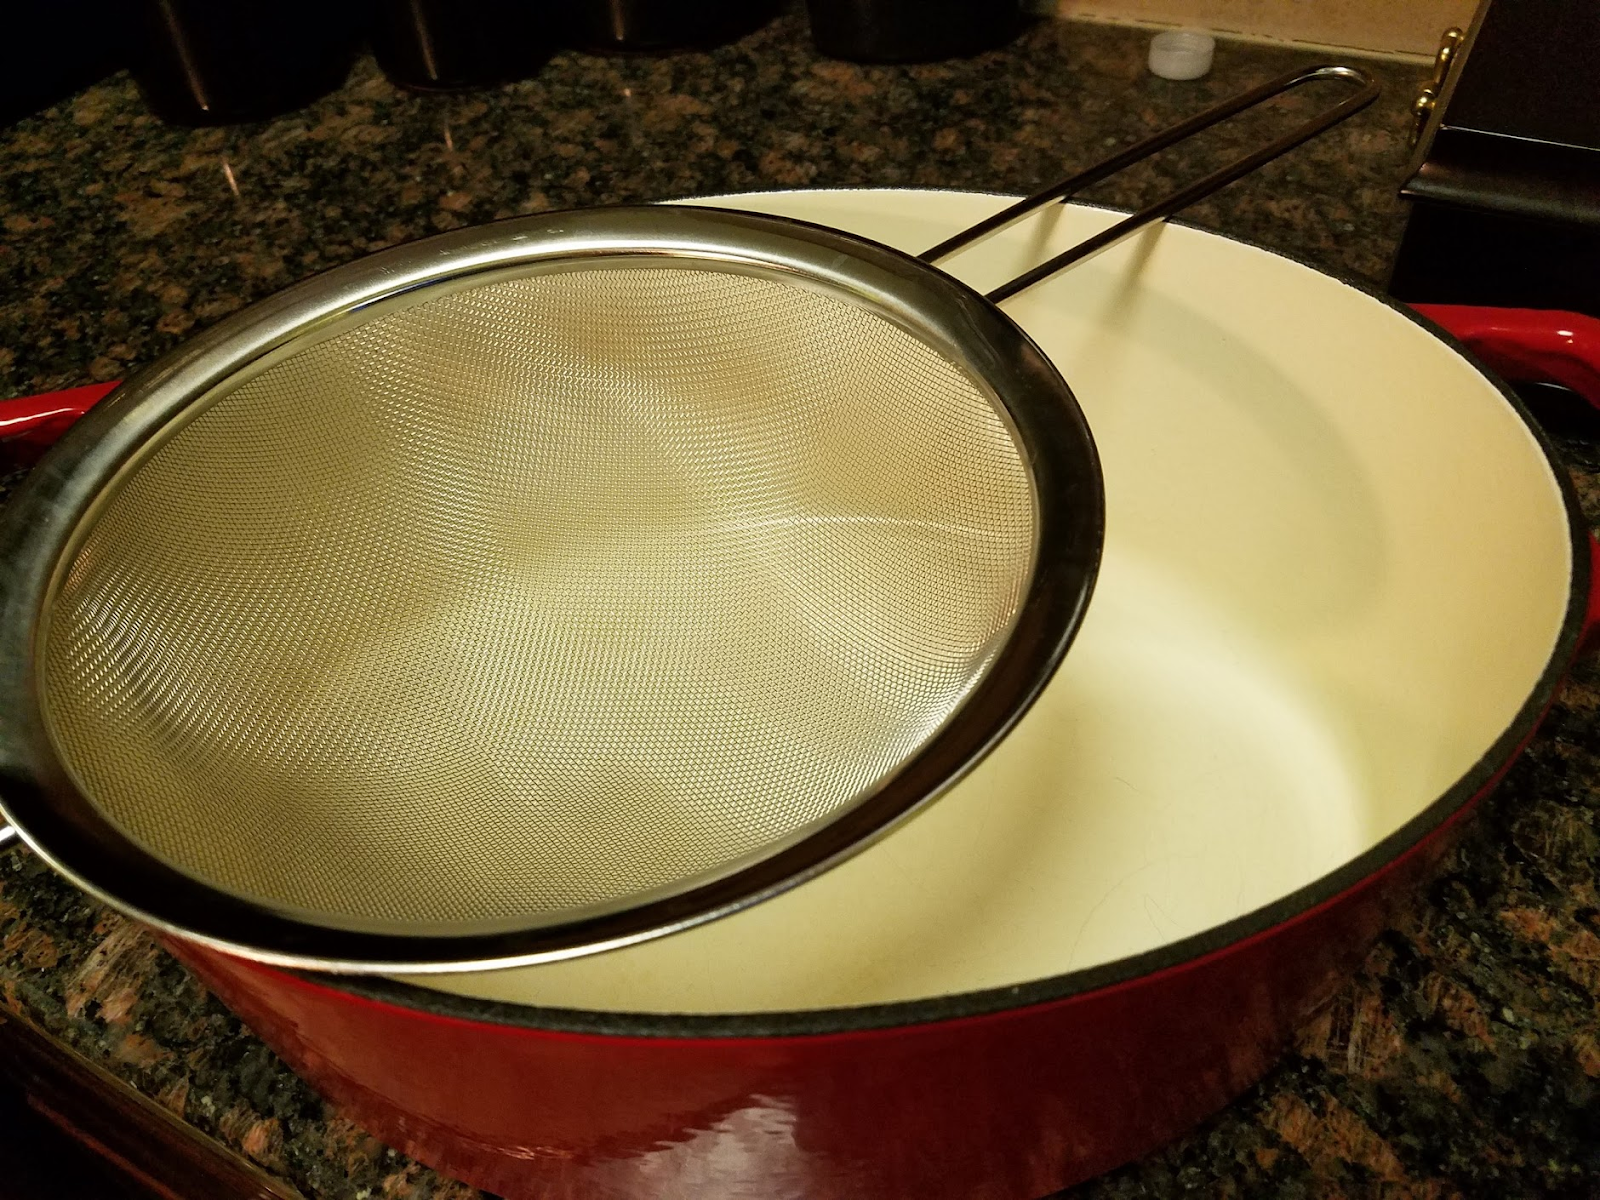
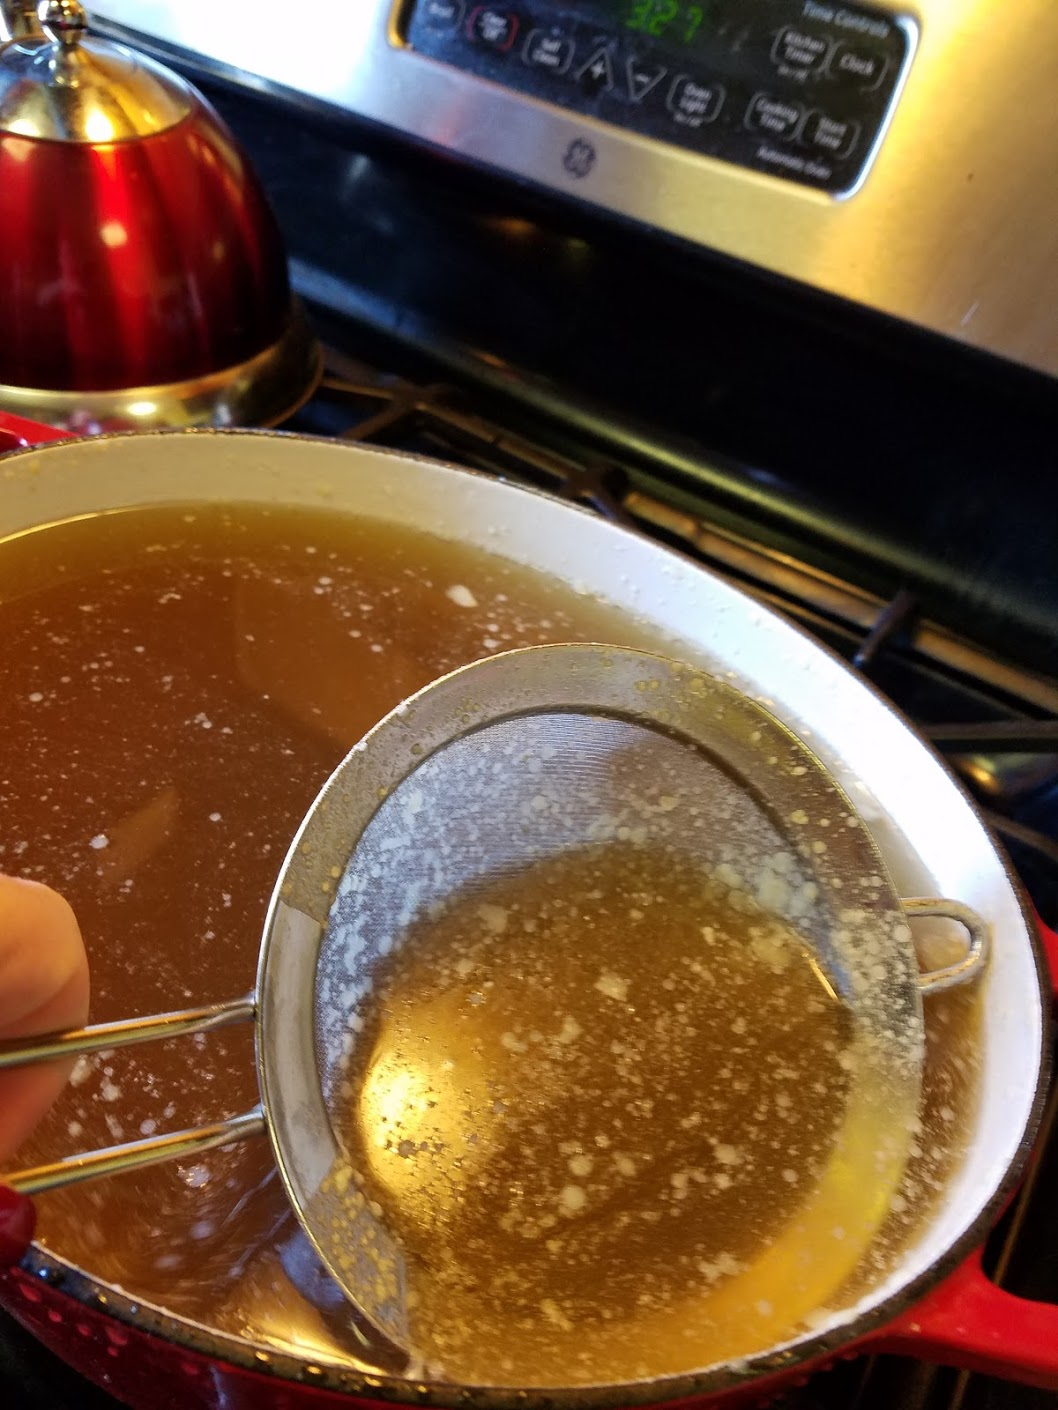
9)Strain the broth thru fine sieve
10)Degrease… You have two options. I do both, you can do either or…
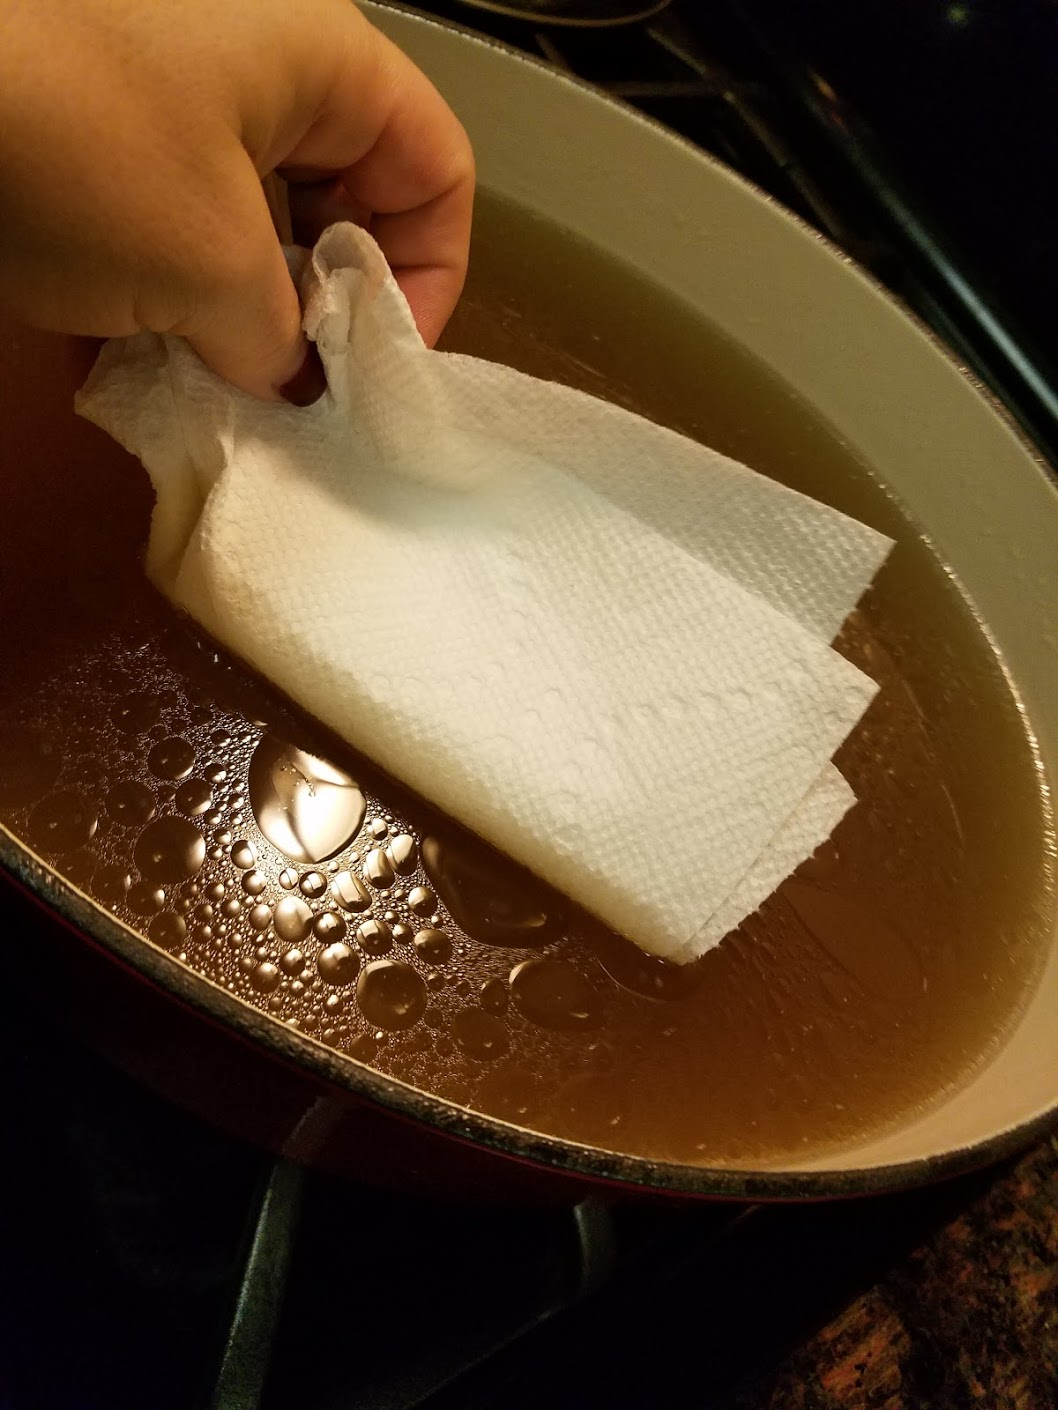
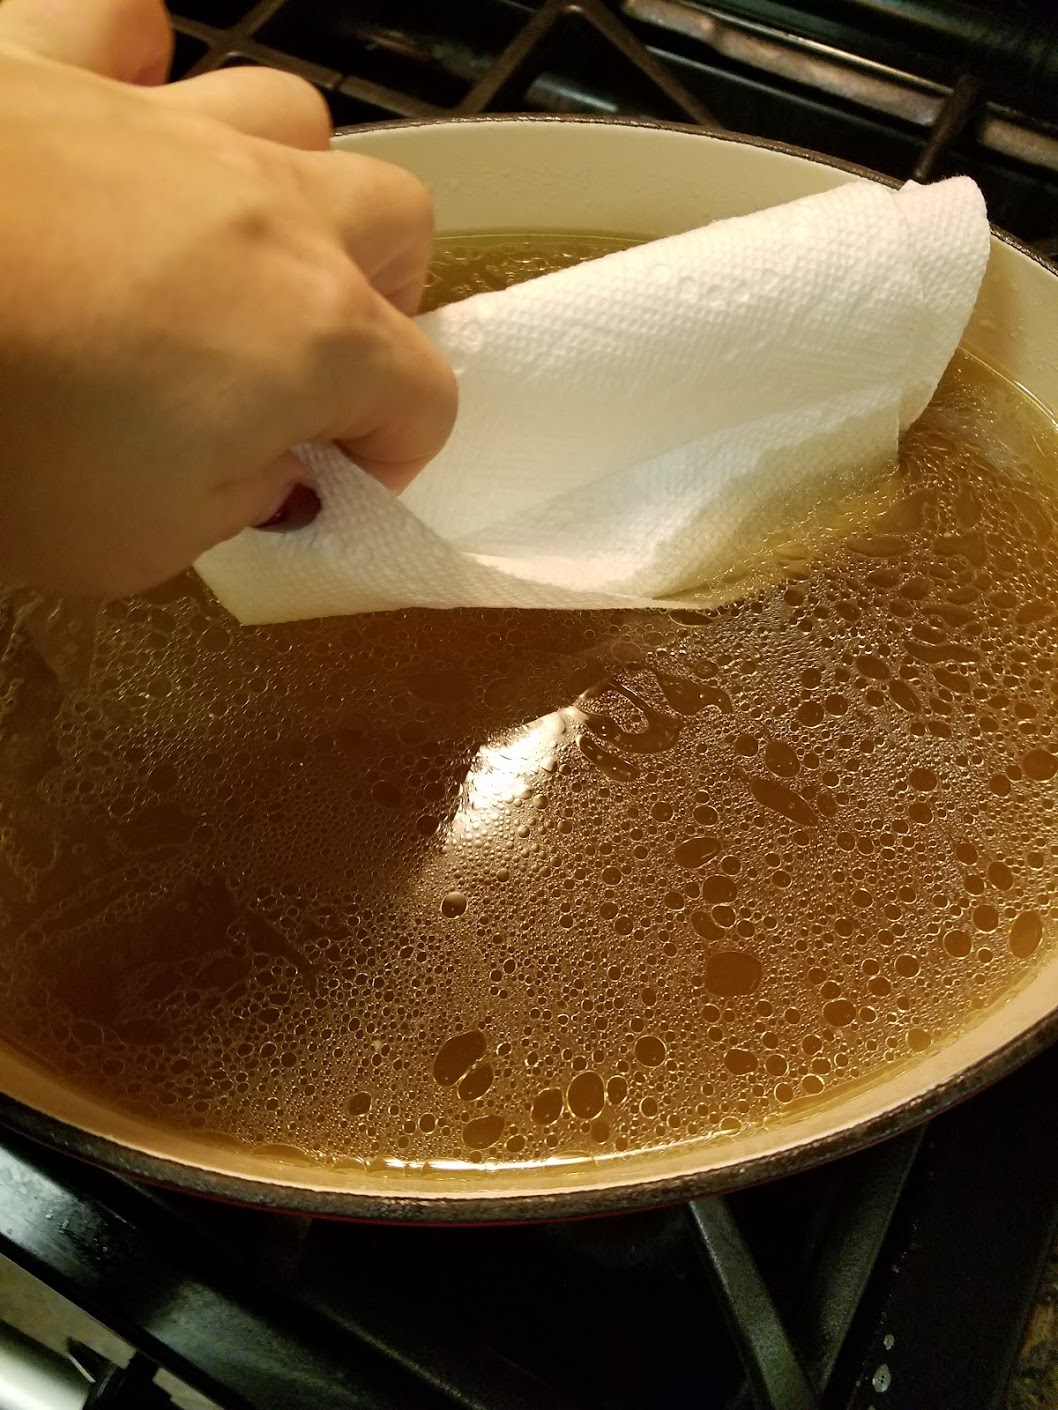
a)if you want to use broth right away use a paper towel to pat top and pull grease off. Don’t worry about the juice, it’ll fall off, mostly the fat will stick to towel if you keep the towel on the surface.
b) if your not using right away let it cool off, chill it, and the fat will have solidified and floated. Easier to remove.
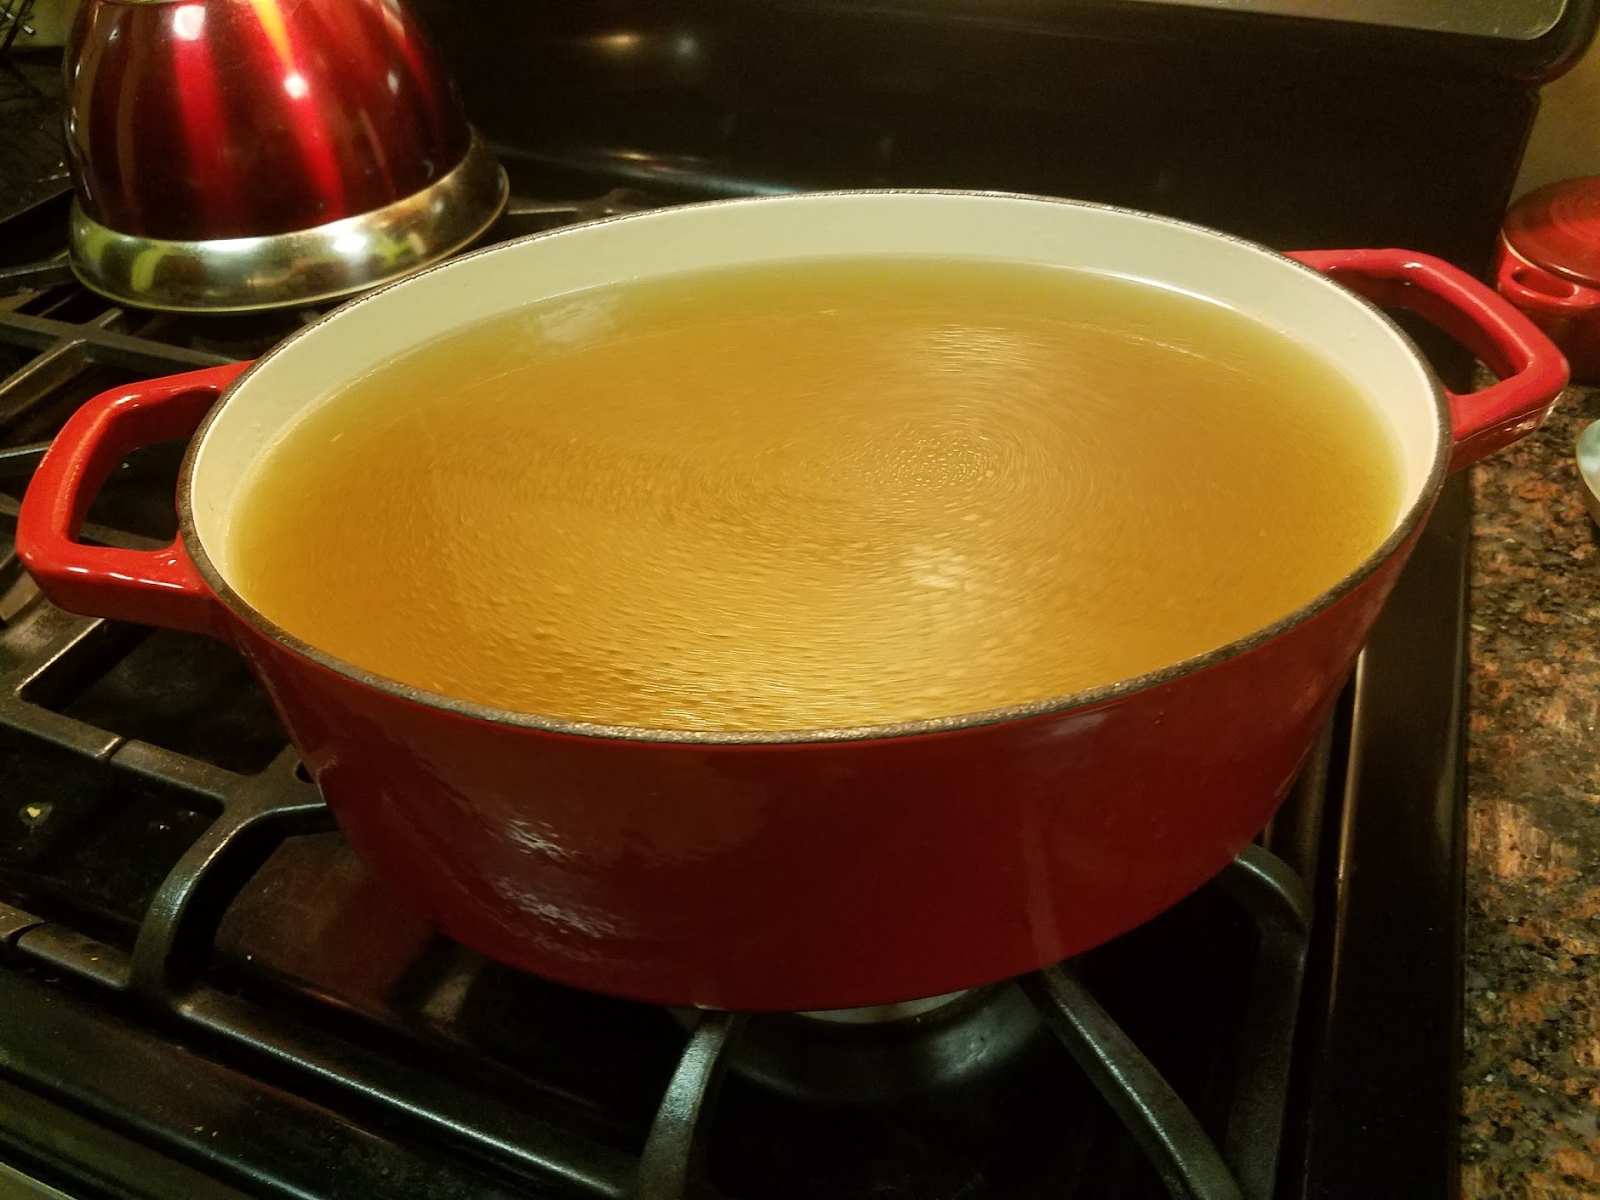
Now you’re finished! You have a gorgeous stock!
Freeze it in portions that make sense for your household. I keep them in quarts and one in the fridge but I cook everyday. I keep the ends of my parsley, carrots, onions, & celery from everything else I make, I freeze it and then -- Stock or Braised dish always ready to go, and those cents all add up!
This stock is incredibly easy to make and you can make substitutions - though I’ve made Gallons and Gallons of stock in different restaurants, and many different ways at home… this one is richer, and simply divine!