Showing posts with label seafood. Show all posts

Friday, July 22, 2016

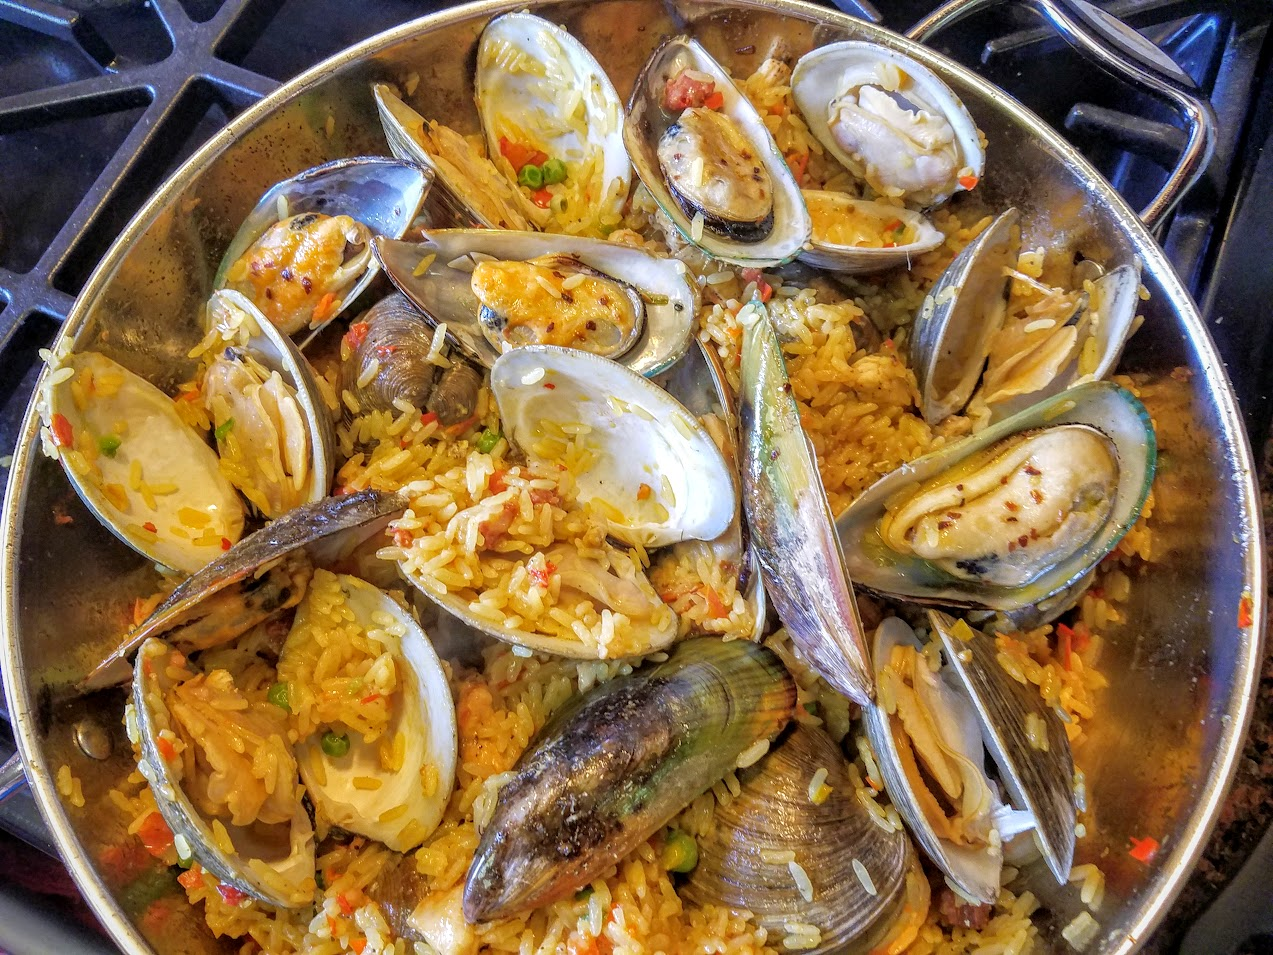
Paella Valenciana


Paella Valenciana!


Summer eating like Spain and beyond.
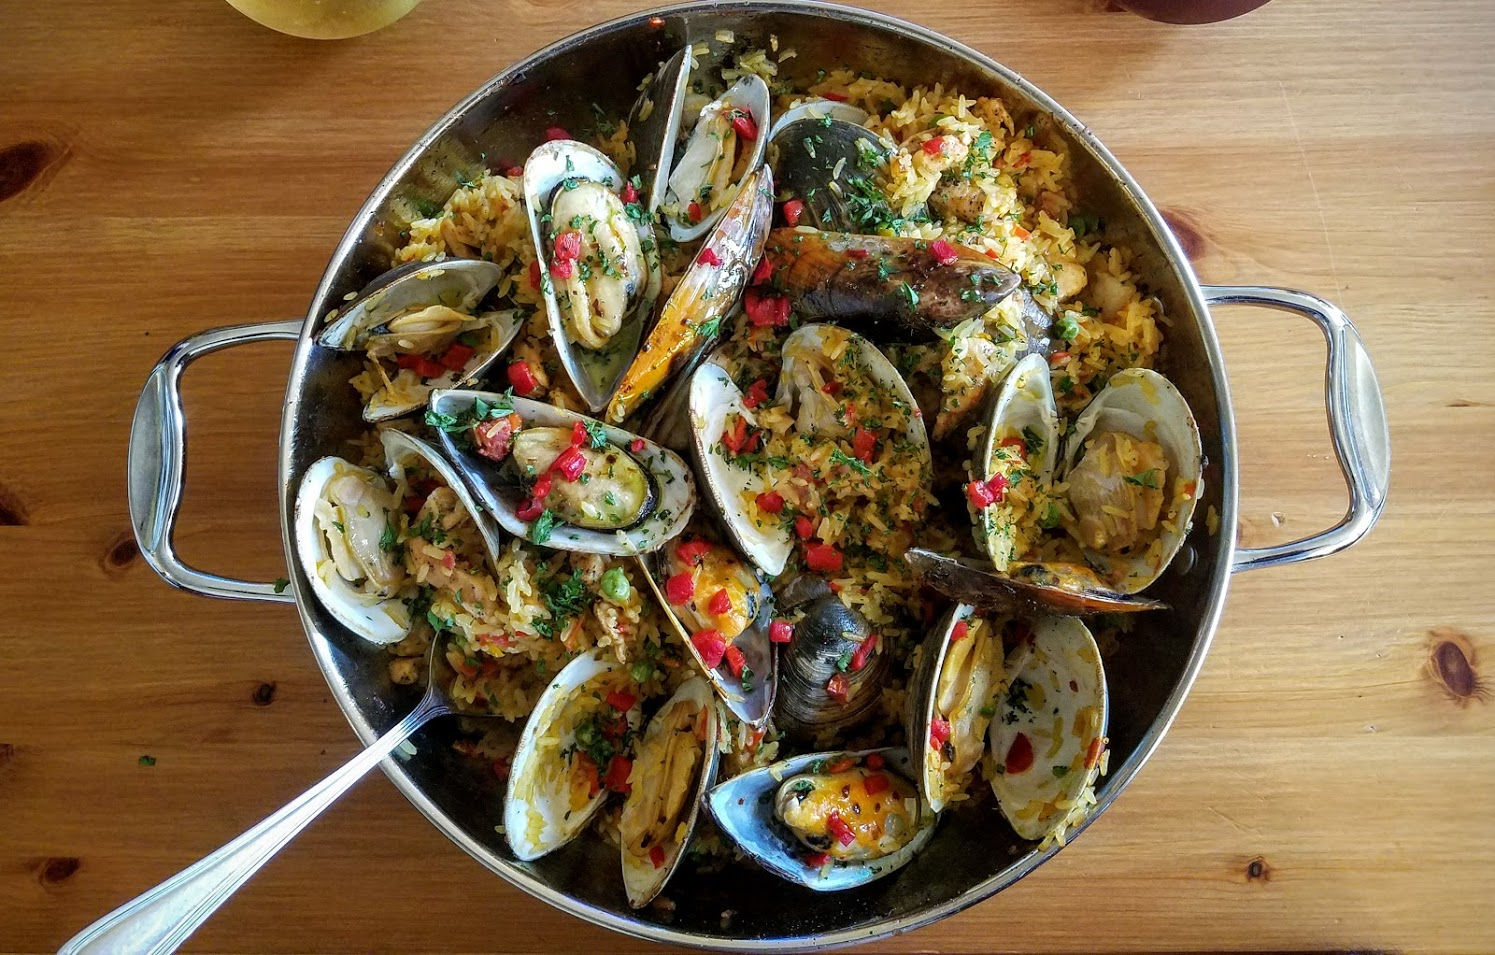

The ever transcending Paella. Most are delicious, few sublime, and all are breathtaking! Embrace the summer like the Spaniards with an awe inspiring seafood and meat dish, don’t forget the Sangria!
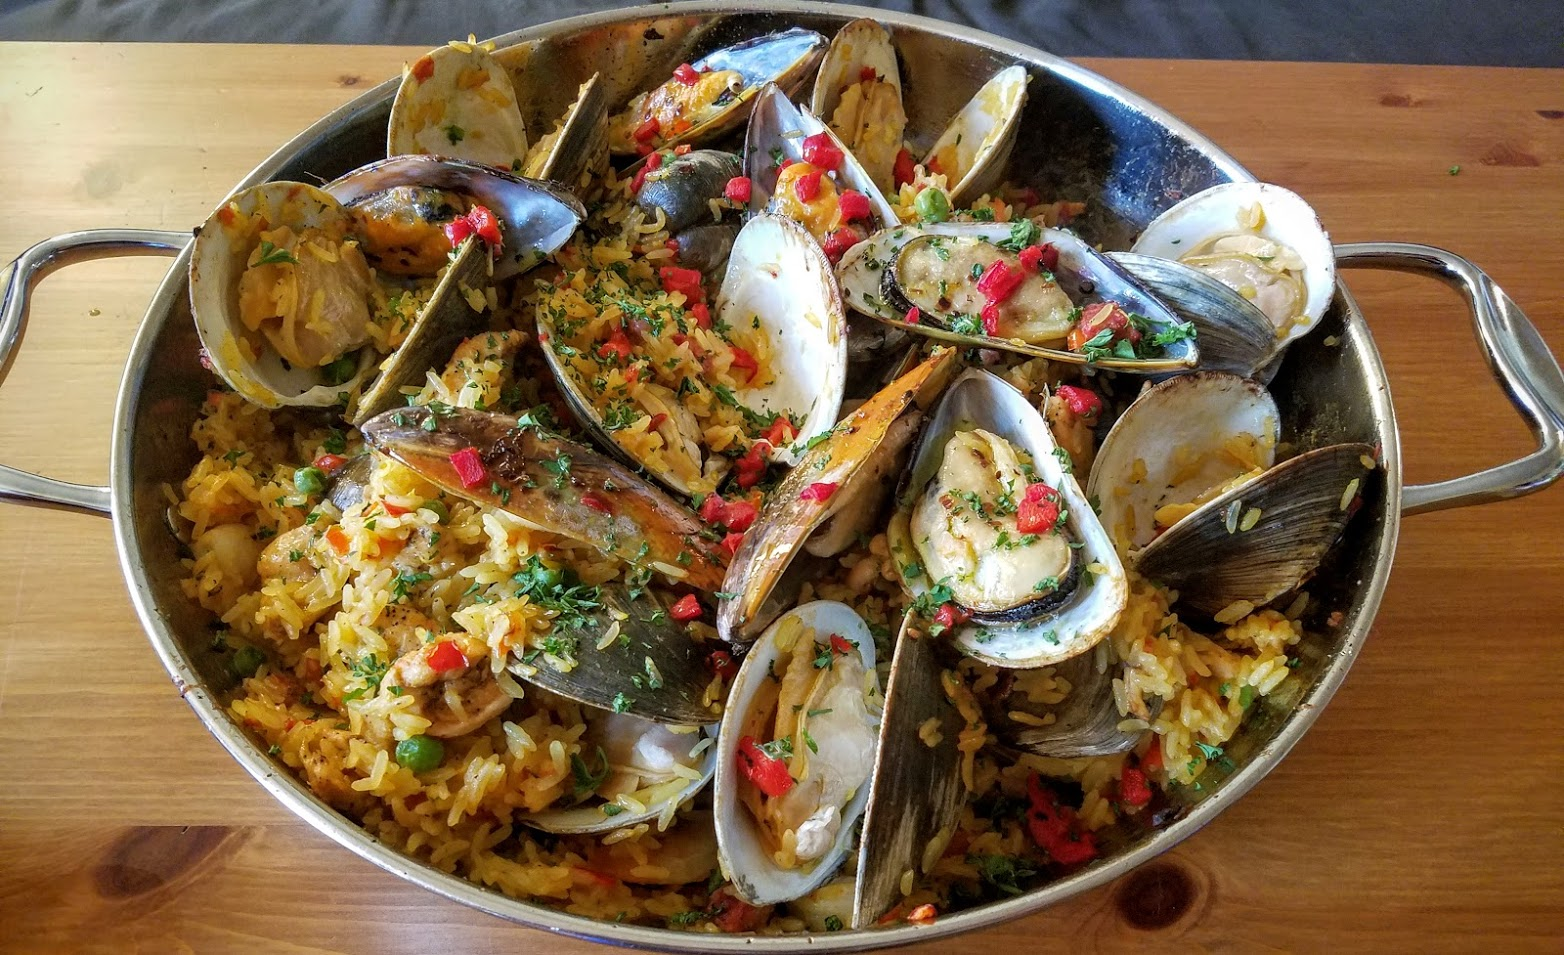

Tinkering is as fundamental of the culture of paella, as the original Valenciana, start with this, and explore from here. This one pan dish is easier than it appears, and has a gorgeous presentation - serve in the pot you created it in.
Ingredients (serves 4 -6 *add more protein to serve more)


  • 12 Shrimp
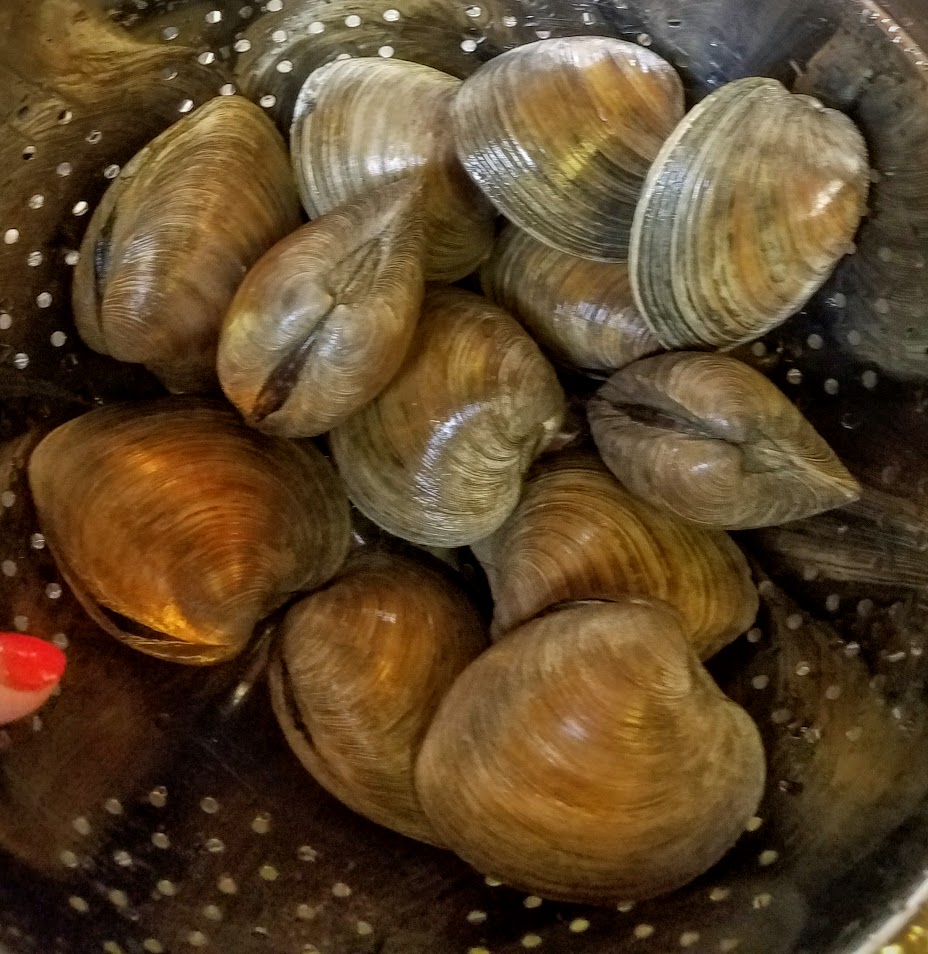
  • 12 Clams
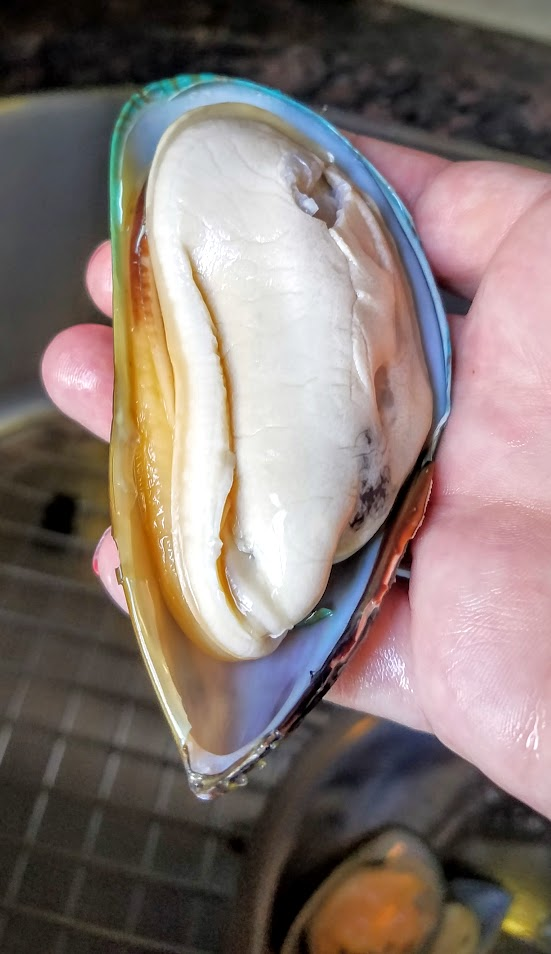
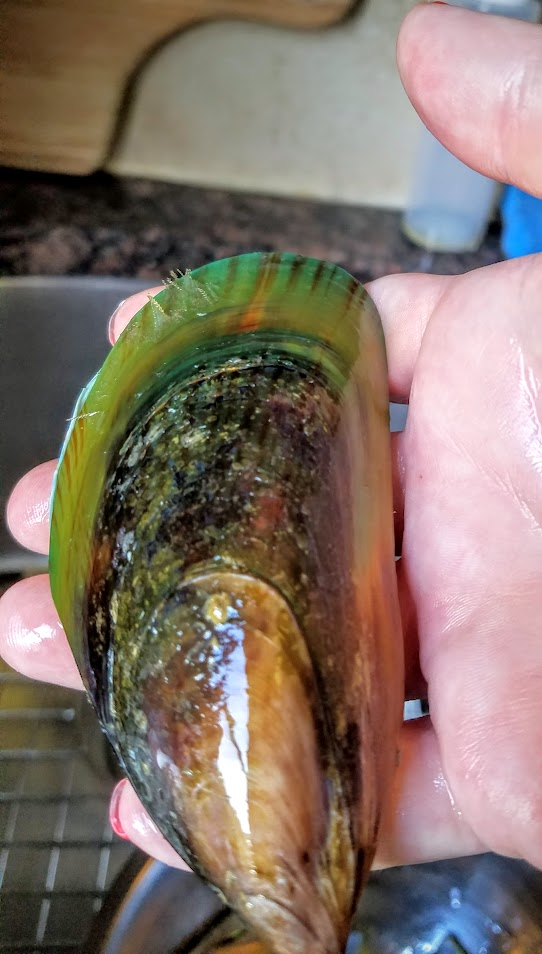
  • 8- 12 Mussels (cleaned & debearded)


  • 2 Chicken breast
  • 6 oz dry Chorizo - cubed
  • 2 cups Spanish Rice
  • 1 ½ fl oz Olive Oil

     
  • 1 ¼ tsp Saffron


  • 32 fl oz (1 L) Chicken Stock (or Seafood)
  • 1 cup mixed peppers - small dice   *This is important because they’re visually appealing as well as to the palate  

  • 1 Cup frozen cooked Peas - thawed

  • 1 ½ Cup small diced Fresh Tomato

  • 2 Shallots - finely chopped
  • 1 tsp crushed Garlic
  • 4 piquillo chilies (from jar) -diced
  • Parsley - chopped
  • 1 tsp of Smoked Paprika
  • 1 pinch Chili pepper flakes
  • Salt & black pepper as needed - *be careful because the seafood liquor & chorizo will bleed a great deal of salt!
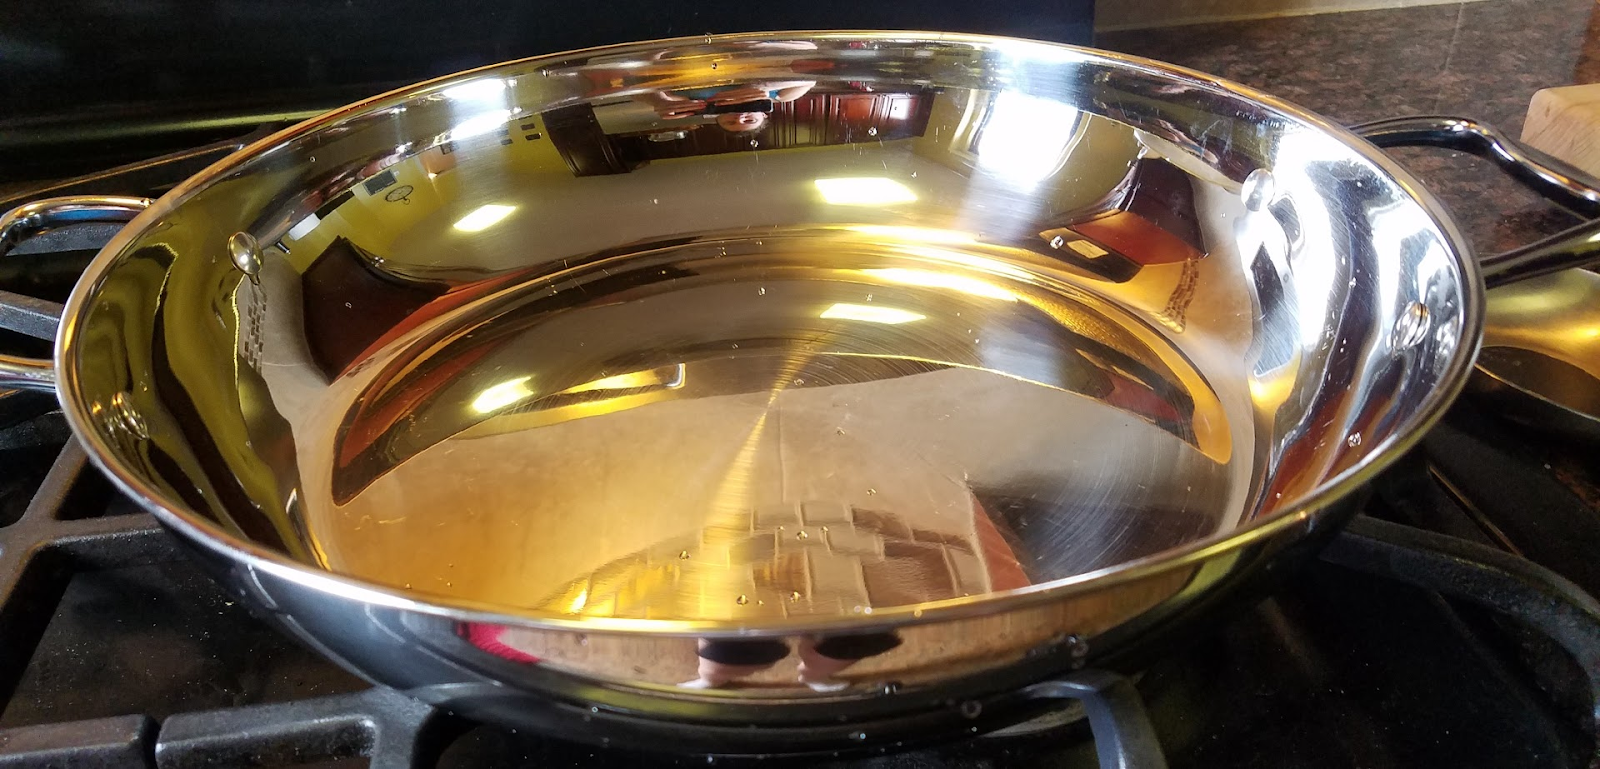

*If you do not have a traditional Paella pan - use a shallow stainless steel pan with a fitting lid! Most important! I use 32.5 in/32 cm

Procedure


    • Peel & devein shrimp.
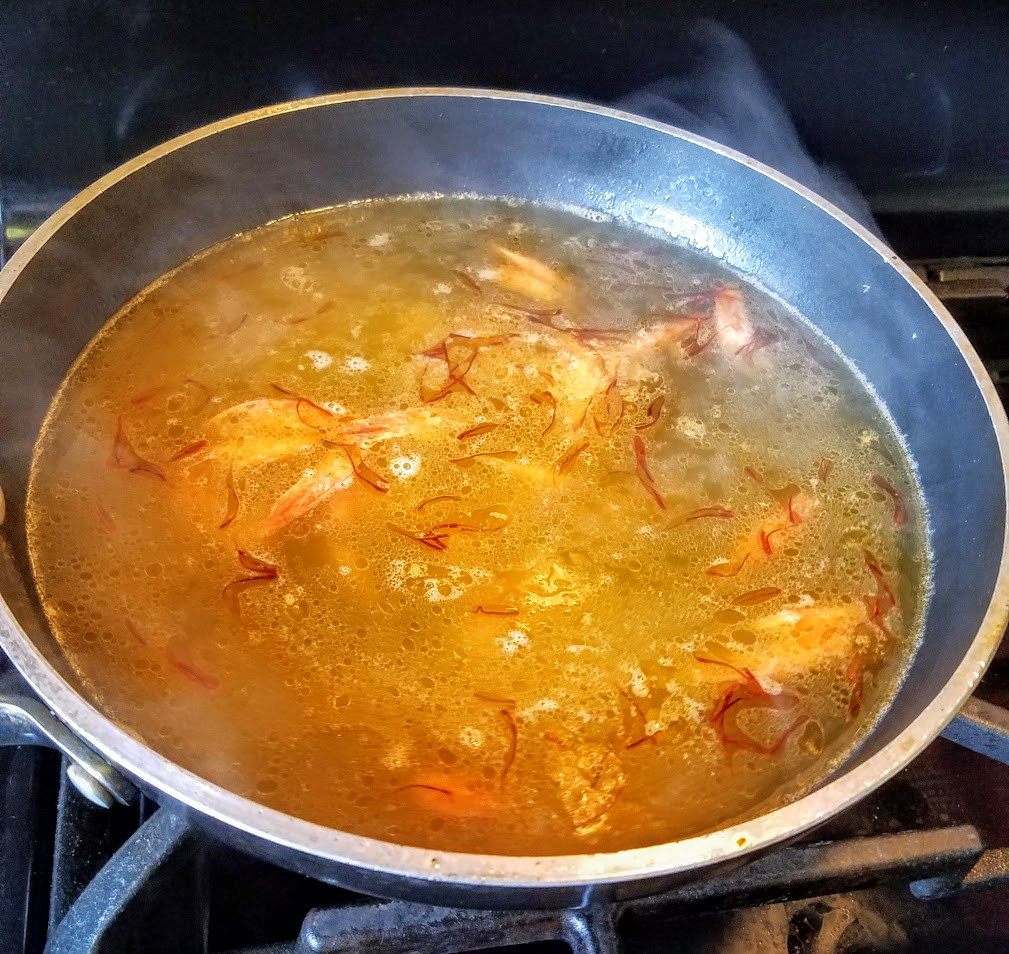
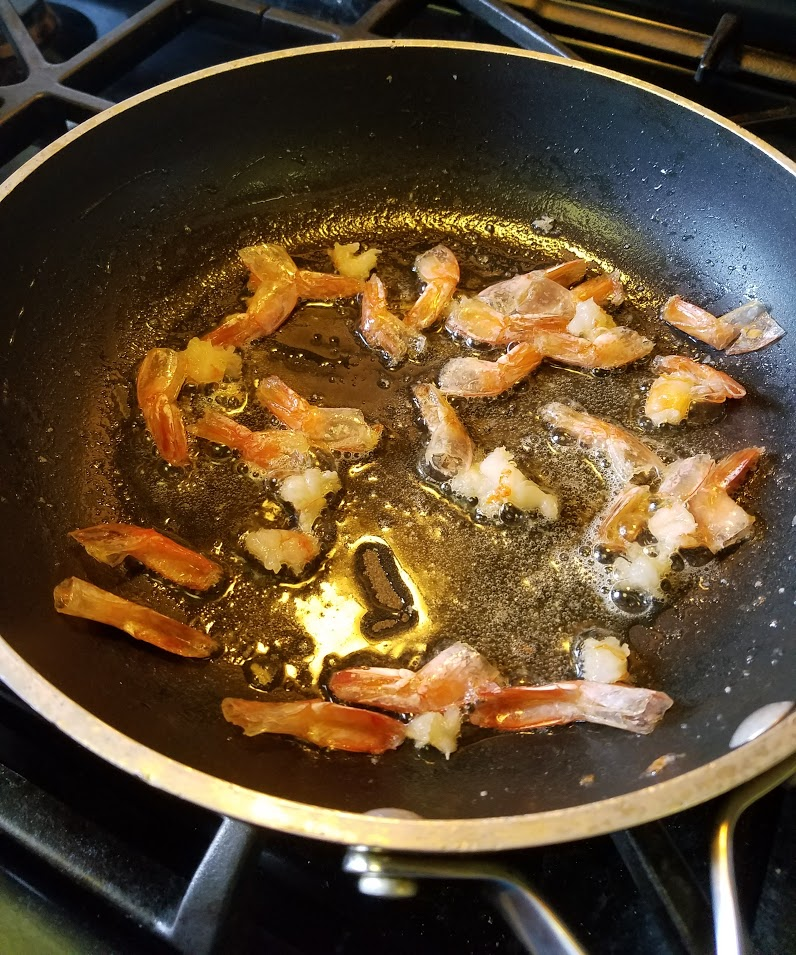
    • Saute the shells in 1 oz of oil until they turn pink.
    • Add Saffron & Stock - simmer for 30 minutes. Strain, set aside.  


  1. The Chicken
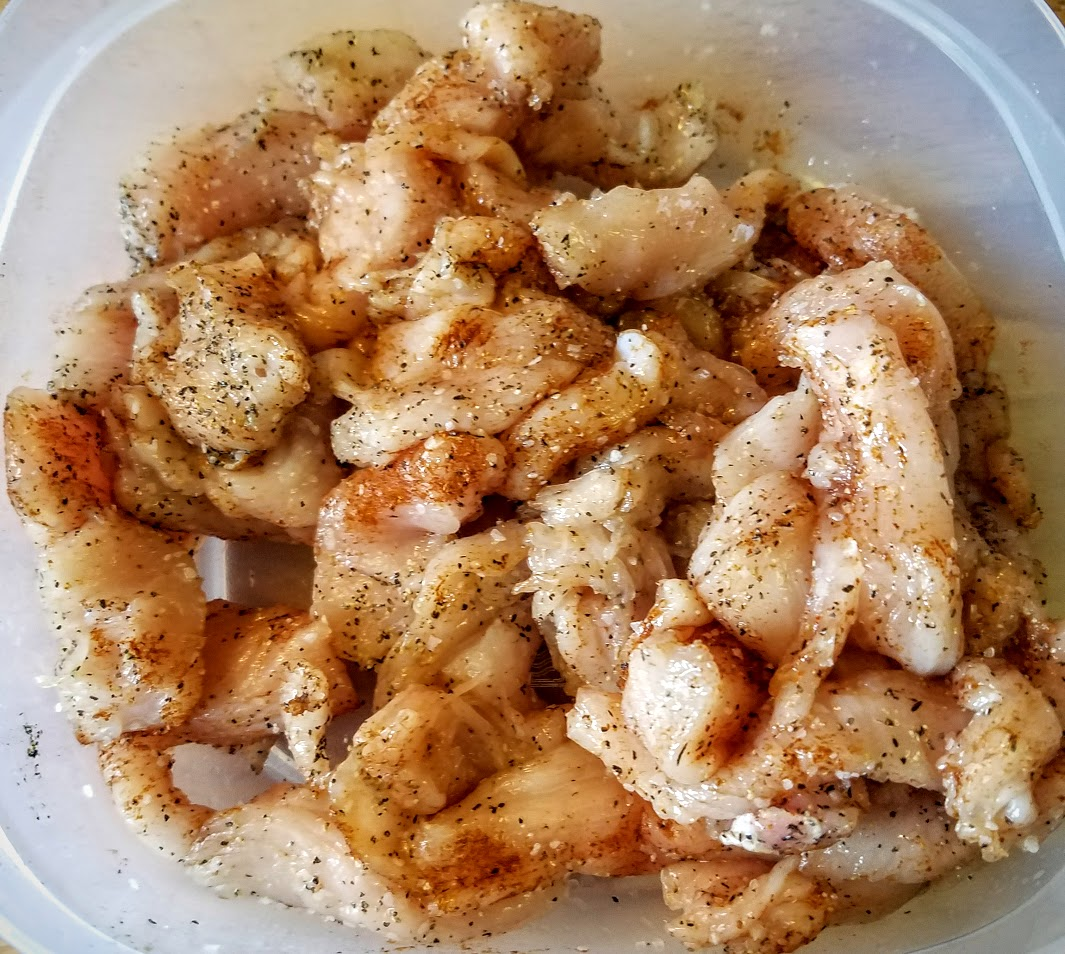
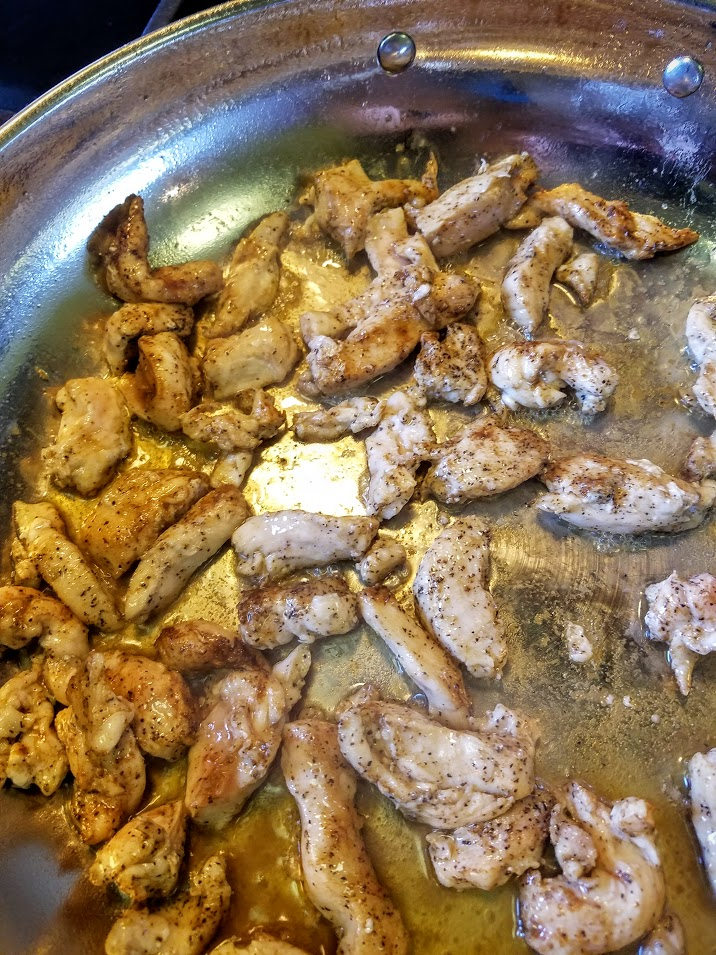
    1. Cut into small strips, season well with salt, pepper, & paprika.
    2. Add 1 fl oz oil to the paella pan and heat to smoke point - Med High. Add Chicken and brown on all sides.
    3. Remove from pan, set aside.


  1. Turn stove off while adding veg - pan is hot enough & you don’t want to burn!
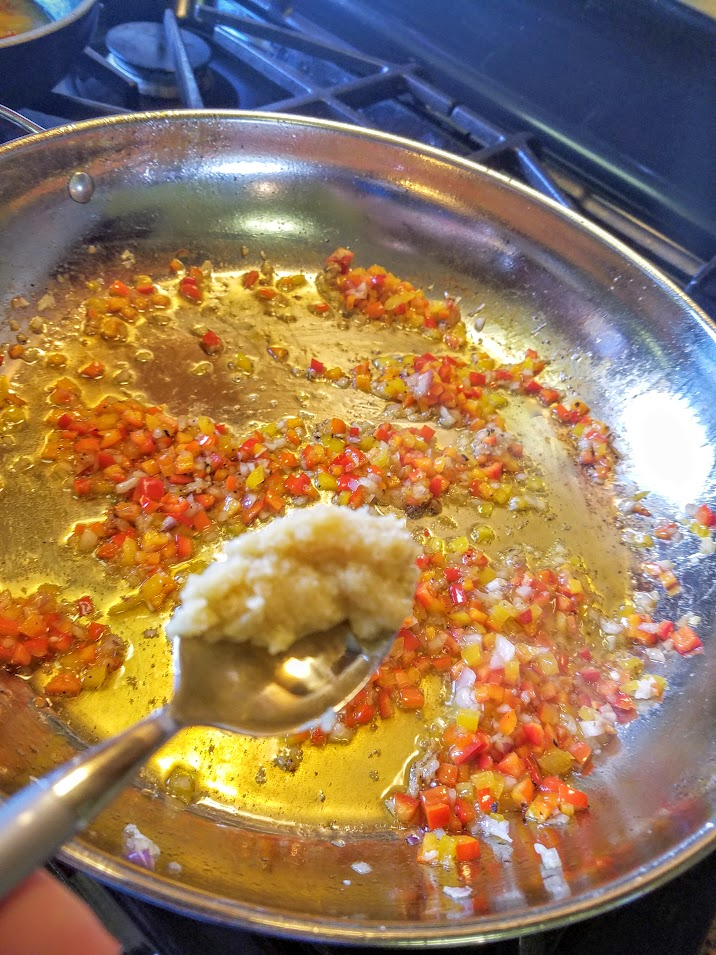
    1. Add remaining oil, then peppers, shallots, salt, pepper. *NOT chili peppers flakes.
    2. Saute 1 min., then add garlic.
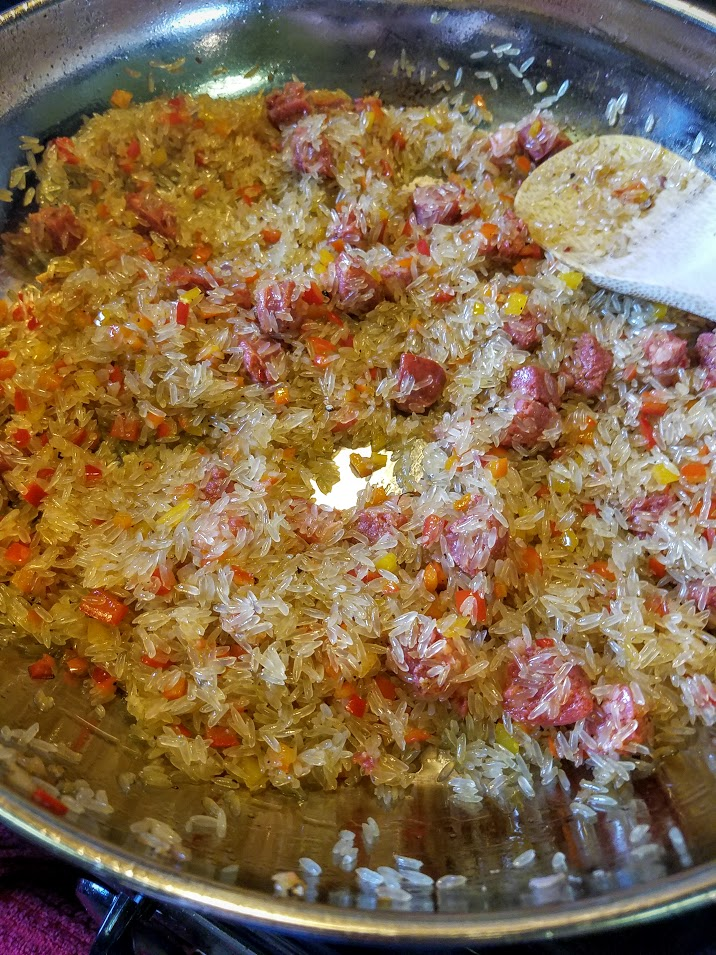
  1. Stir in chorizo & rice - coating the rice in the oil.
    1. Turn stove back on to Med- High.
    2. Saute 3 minutes - stirring.

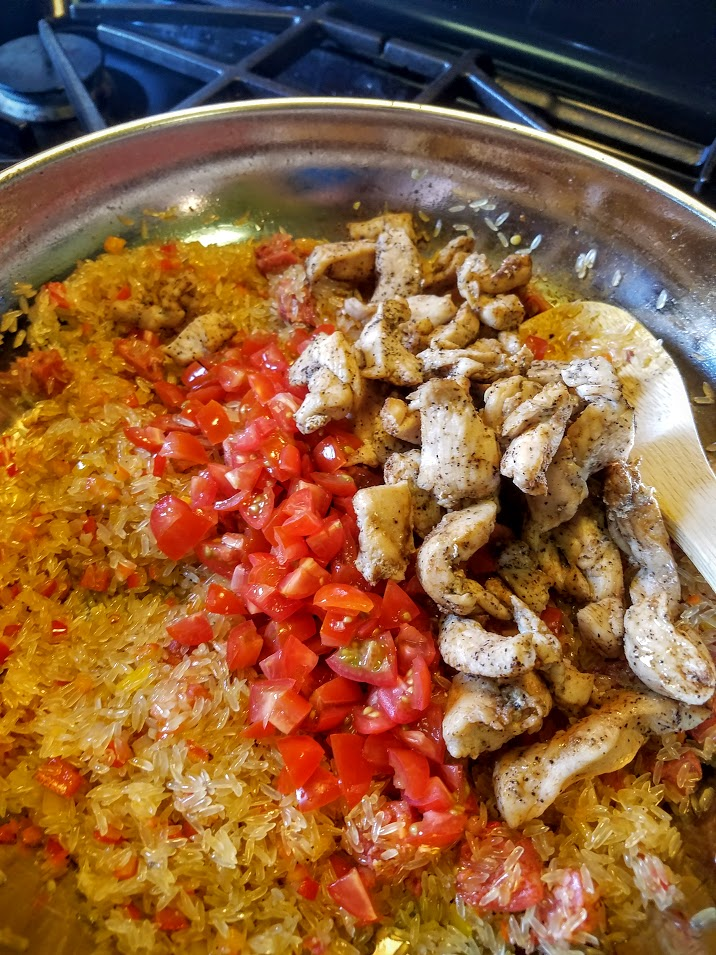
  1. Add tomatoes & chicken
  1. Pour in half the stock - stir. Wait 1 minute, then add rest of stock & chili pepper flakes. Stir.
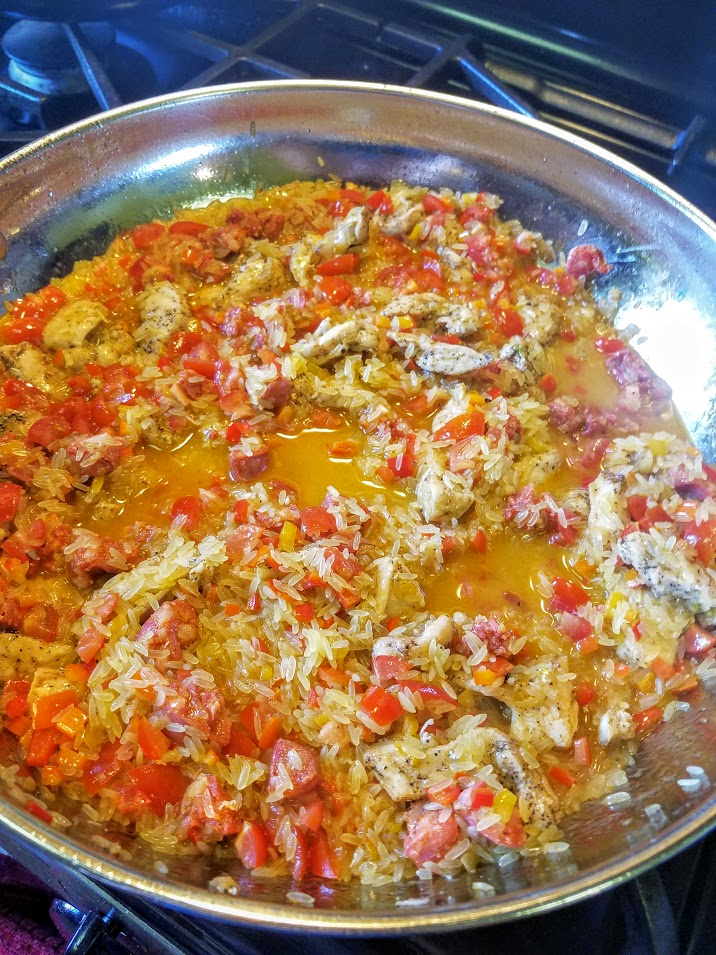
  1. Place the clams on top, Cover.

  2. Reduce heat to Medium. Cook 5 minutes. -or until clams open.
  3. Add the mussels and shrimp to the pan. Cover cook another 5-7 minutes.
  4. With a minute to go - add the peas. *** Check first that you are in fact finished…
    1. If steamy & liquid still present - Stir rice to absorb. Then arrange for presentation.
    2. Add more stock during cooking if necessary so the rice doesn’t dry out.
    3. The consistency is firm in shape though soft in texture like a pilaf. -Not a risotto.


You've done it!
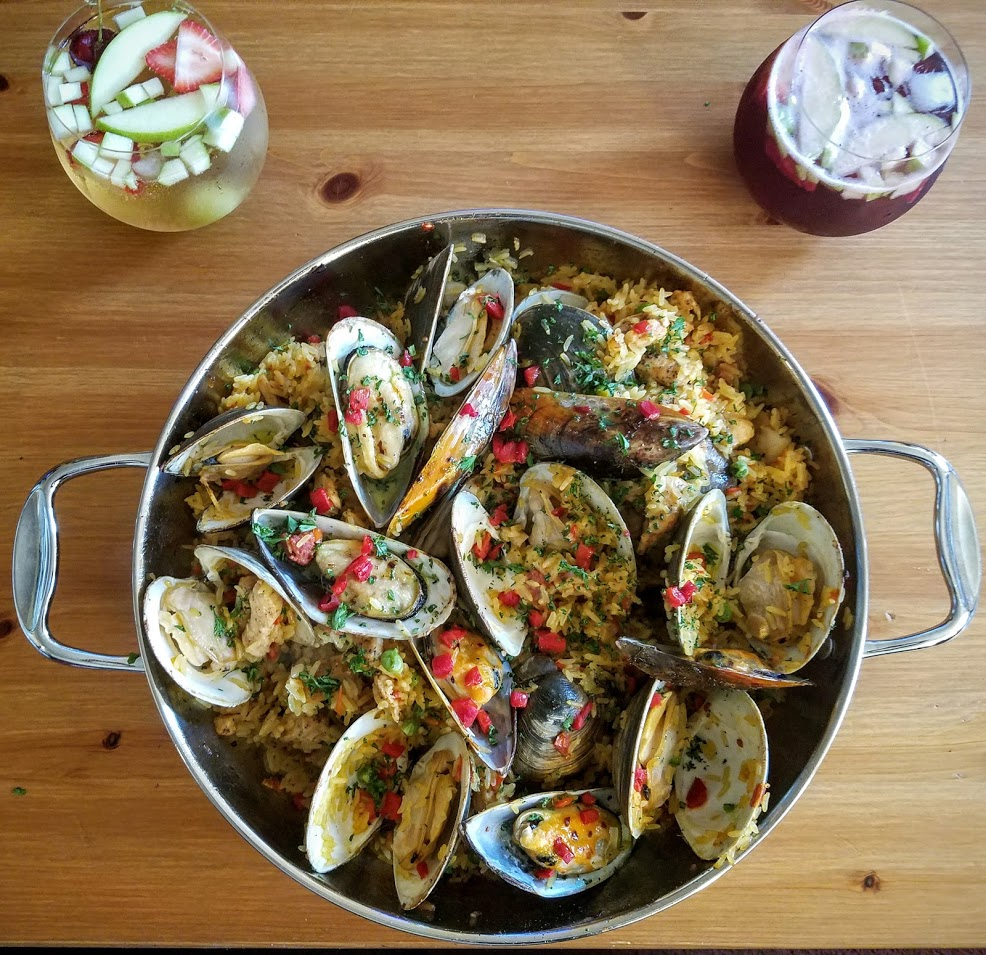
Final Touches: Arrange the shells in upright open position, since you’re serving in this same dish.
Garnish with piquillo chiles & parsley. Serve Immediately.
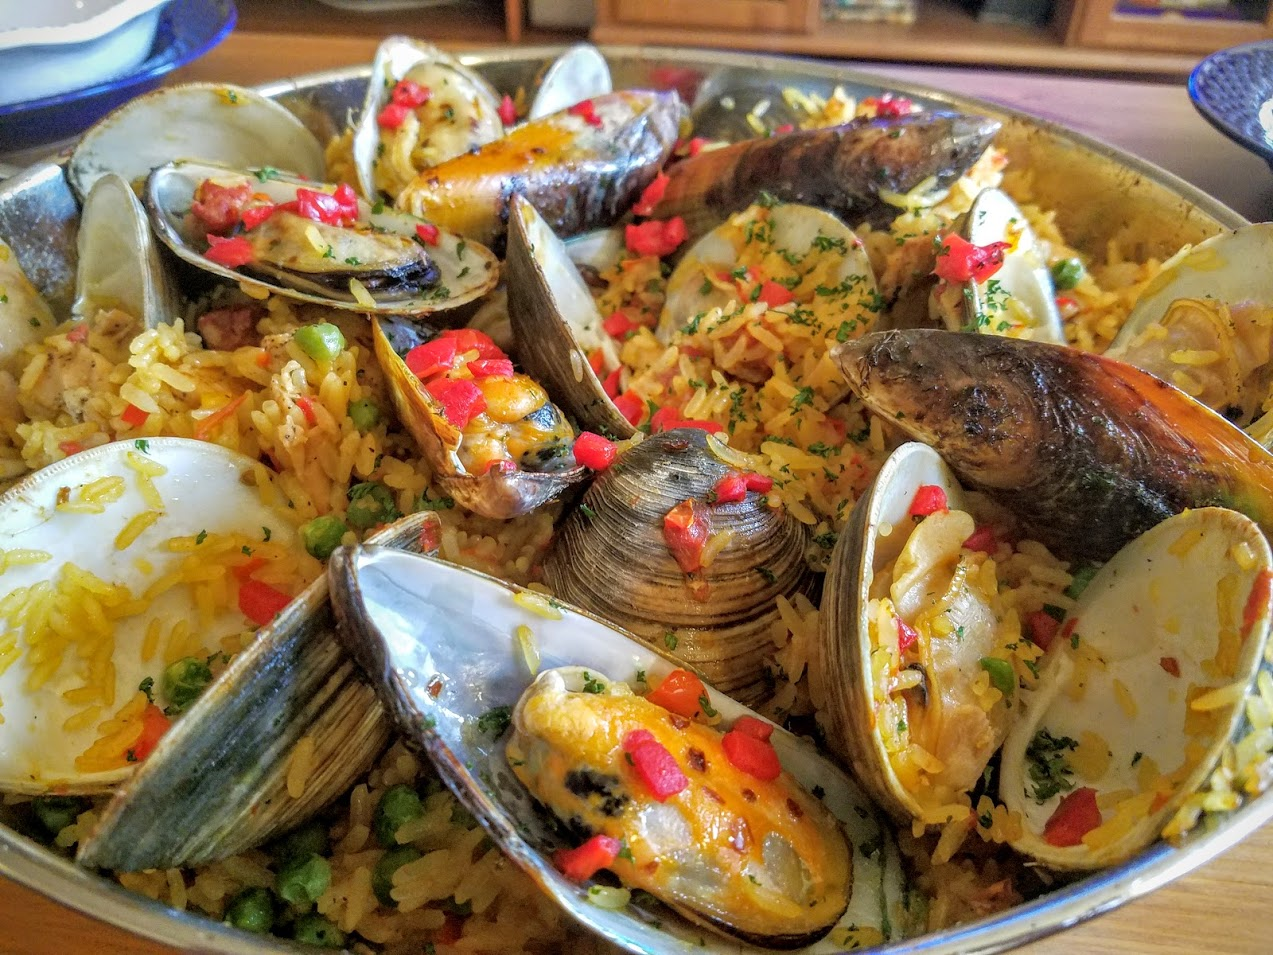

Take pictures and boast to everyone that wasn't there for your greatness!
(Including me! I want to see!)

#SummerTomatoes #Paella #SpanishCuisine #Seafood #Shellfish #SummerEating #HauteCuisine #1Pan #SummerRomance #RomanticFoods #SexySummerEats #WinePairing #MeatAndSeafood #AphrodisiacFood  #DIYGourmet #ChefCaylenaCourses #ChefCaylena #PaellaValenciana #SummerEntertaining #EntertainingHosting #SeafoodDinner #SeafoodLover


Monday, June 27, 2016

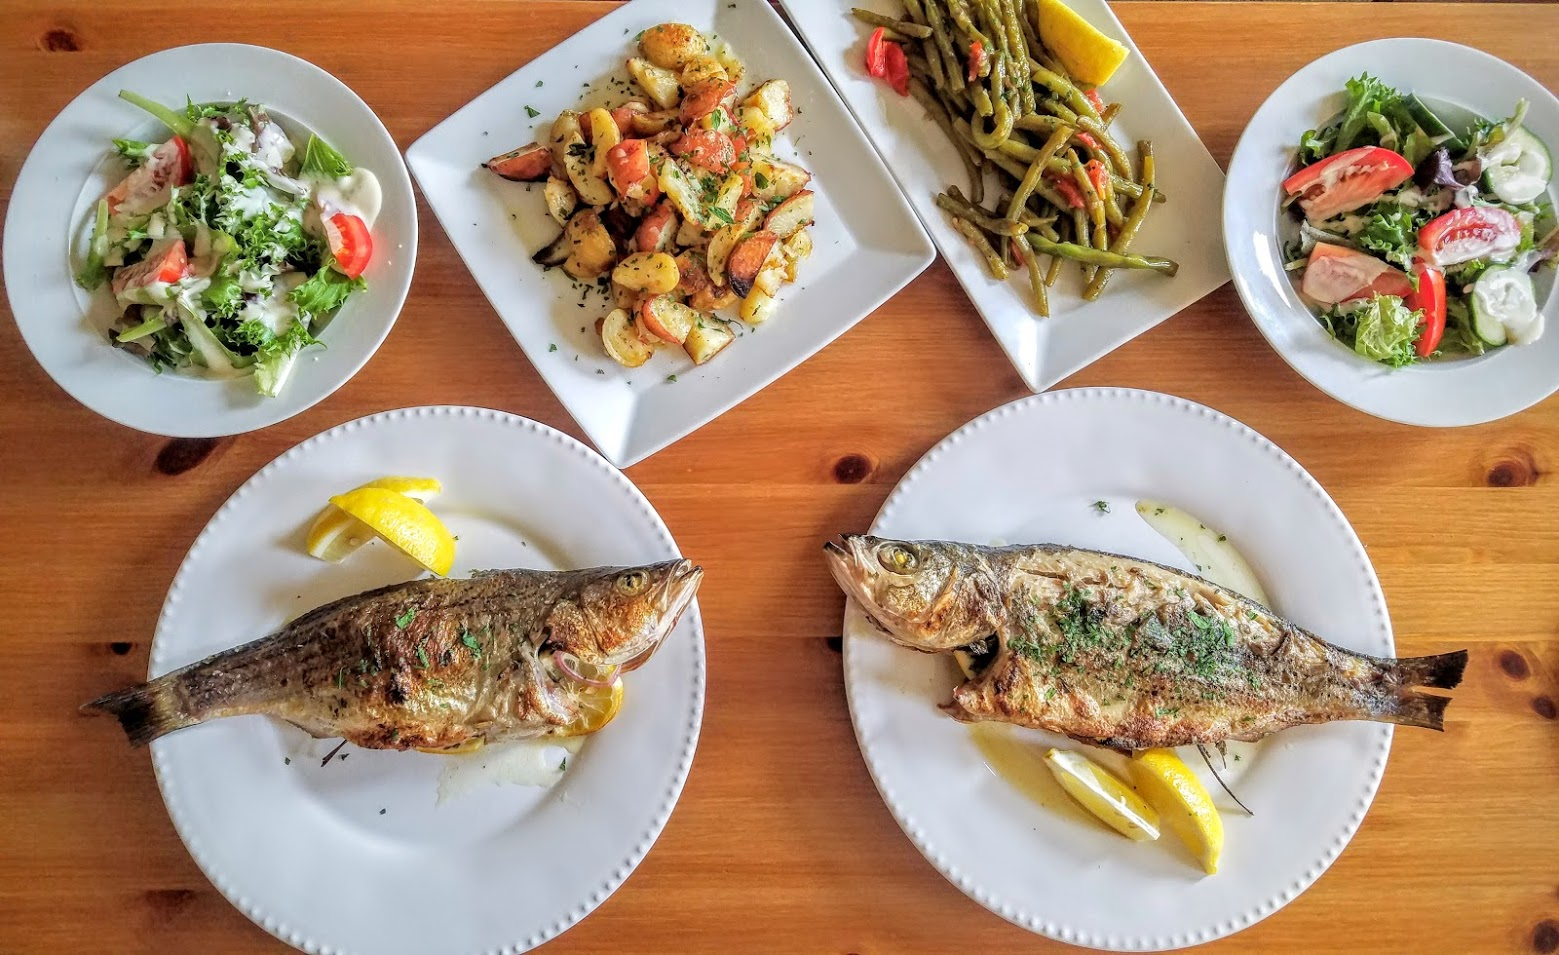
STRIPED BASS


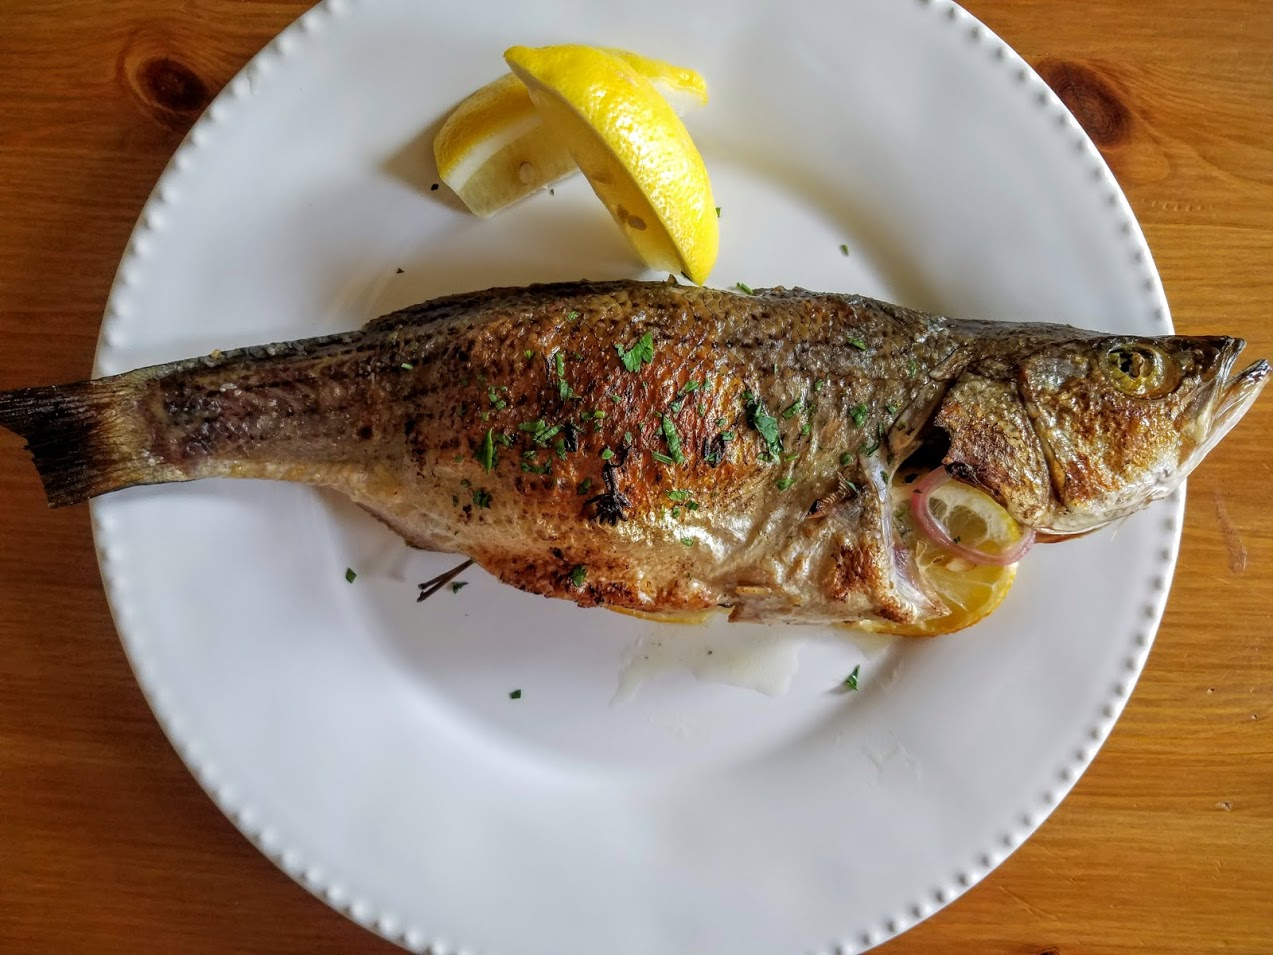
Striped Bass


There is nothing better than properly cooked, fresh seafood, in season! From the fun energetic fish markets, to the time everyone gathers around to marvel and the beautiful feast in front of them… I love seafood in the summer! 


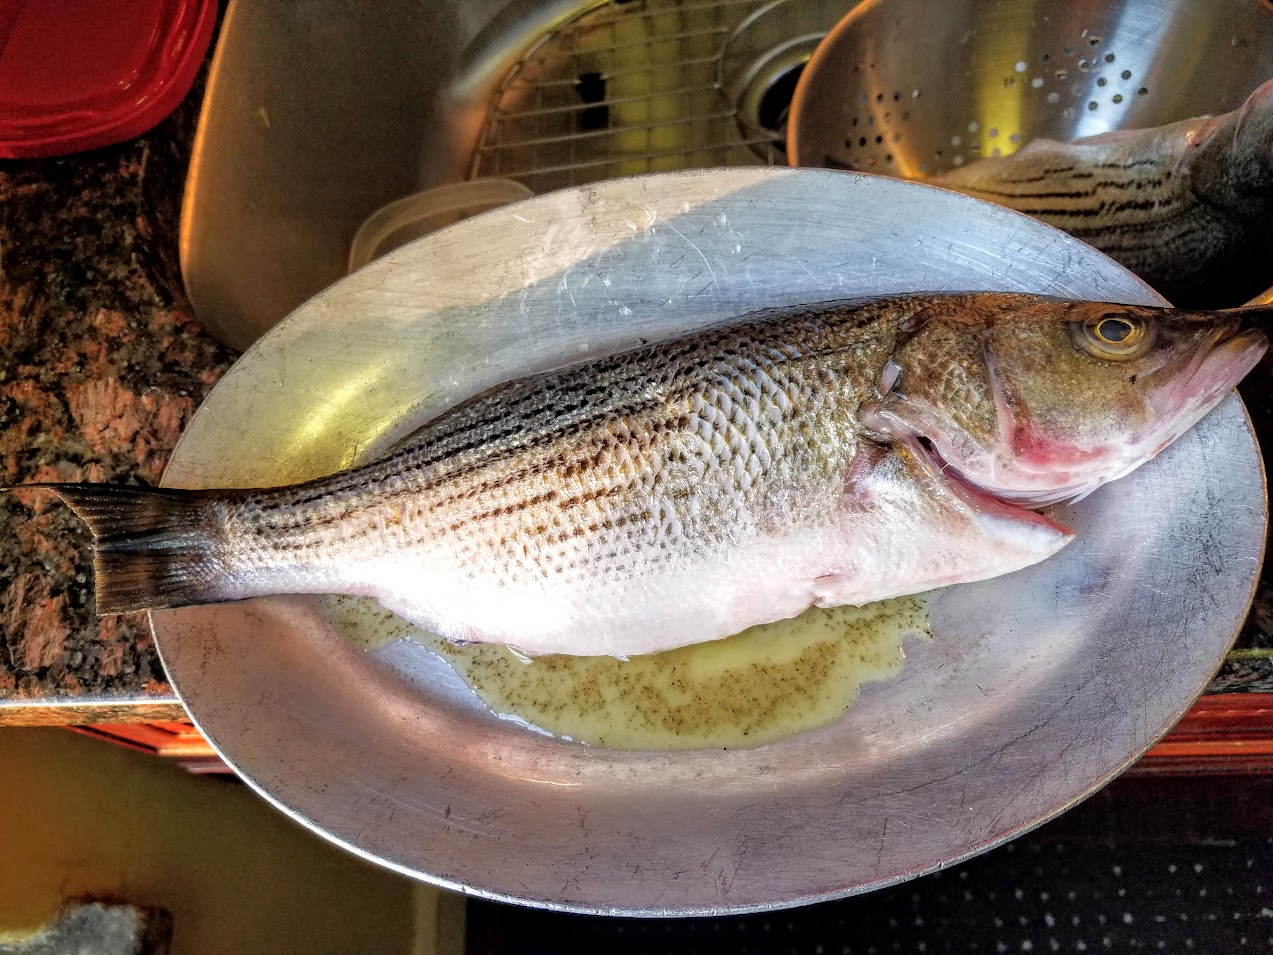
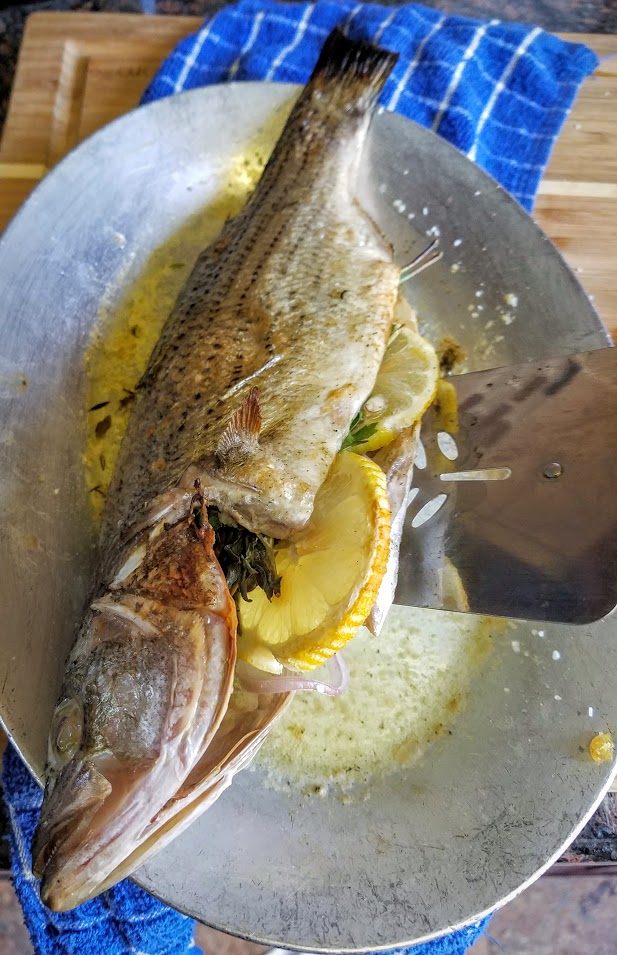
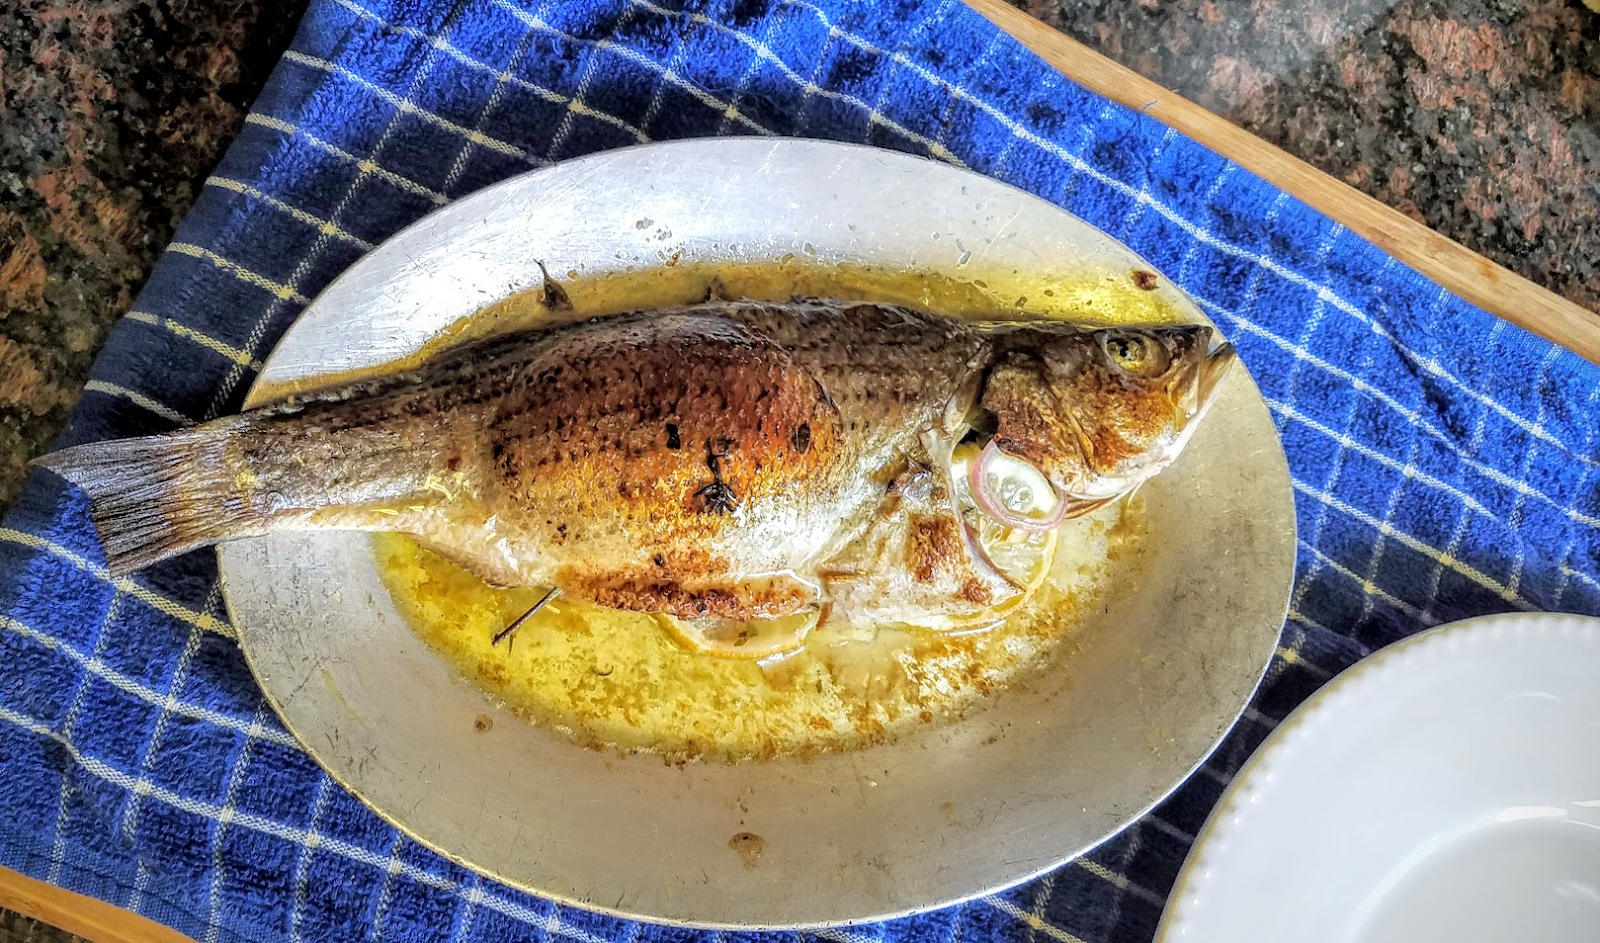
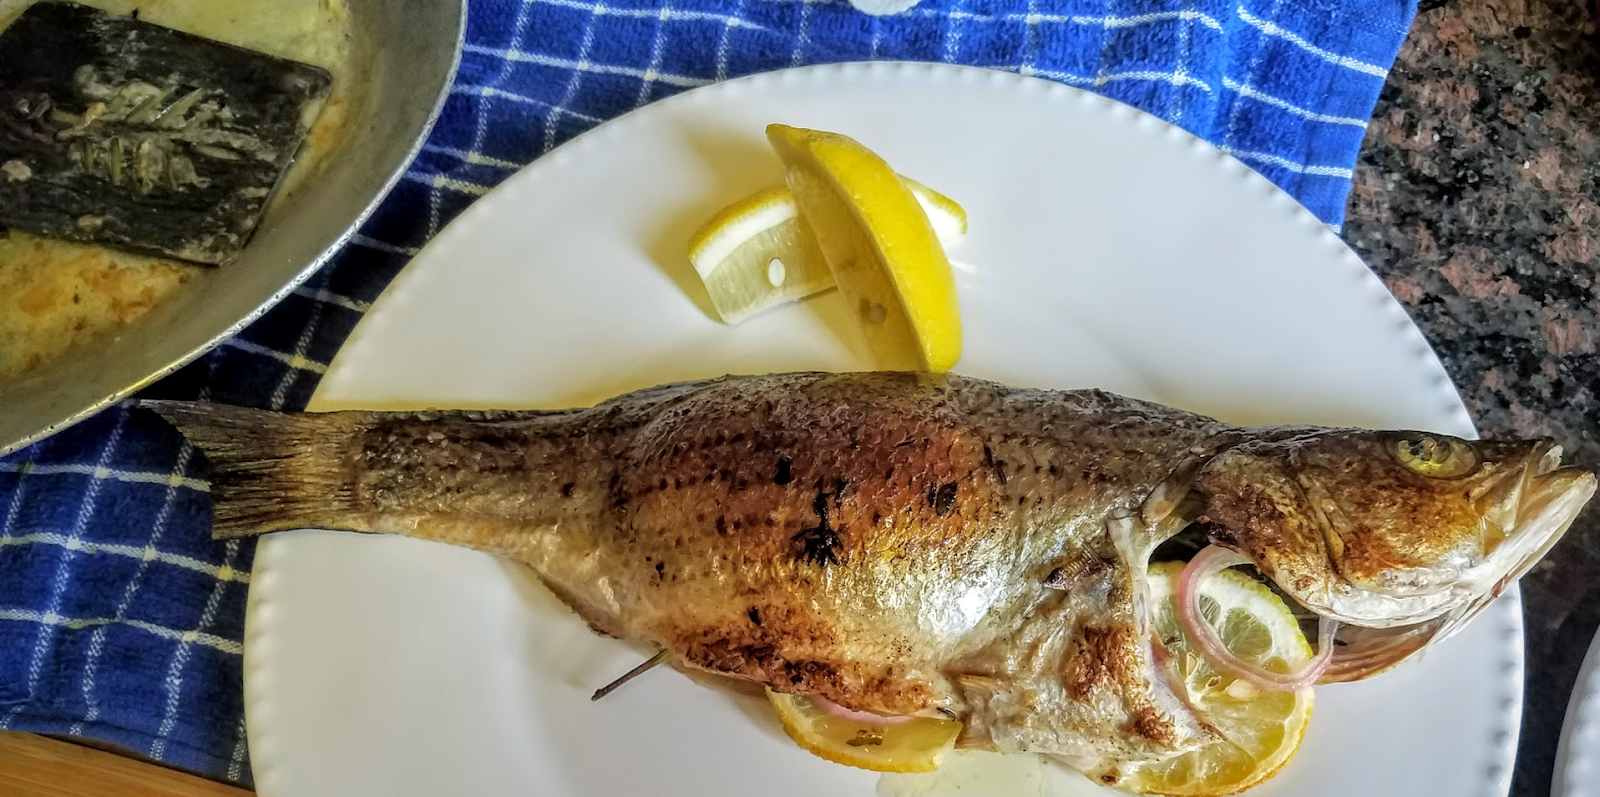
Grills and BBQ's are working overtime right now, for a beautiful fish to accompany them at your gathering, or elegant enough for a sit down dinner, this is a perfect Summer fish course. Present the whole fish as above to really impress, and with a fish spatula if it’s a communal dish, letting your guest serve themselves, in awe.


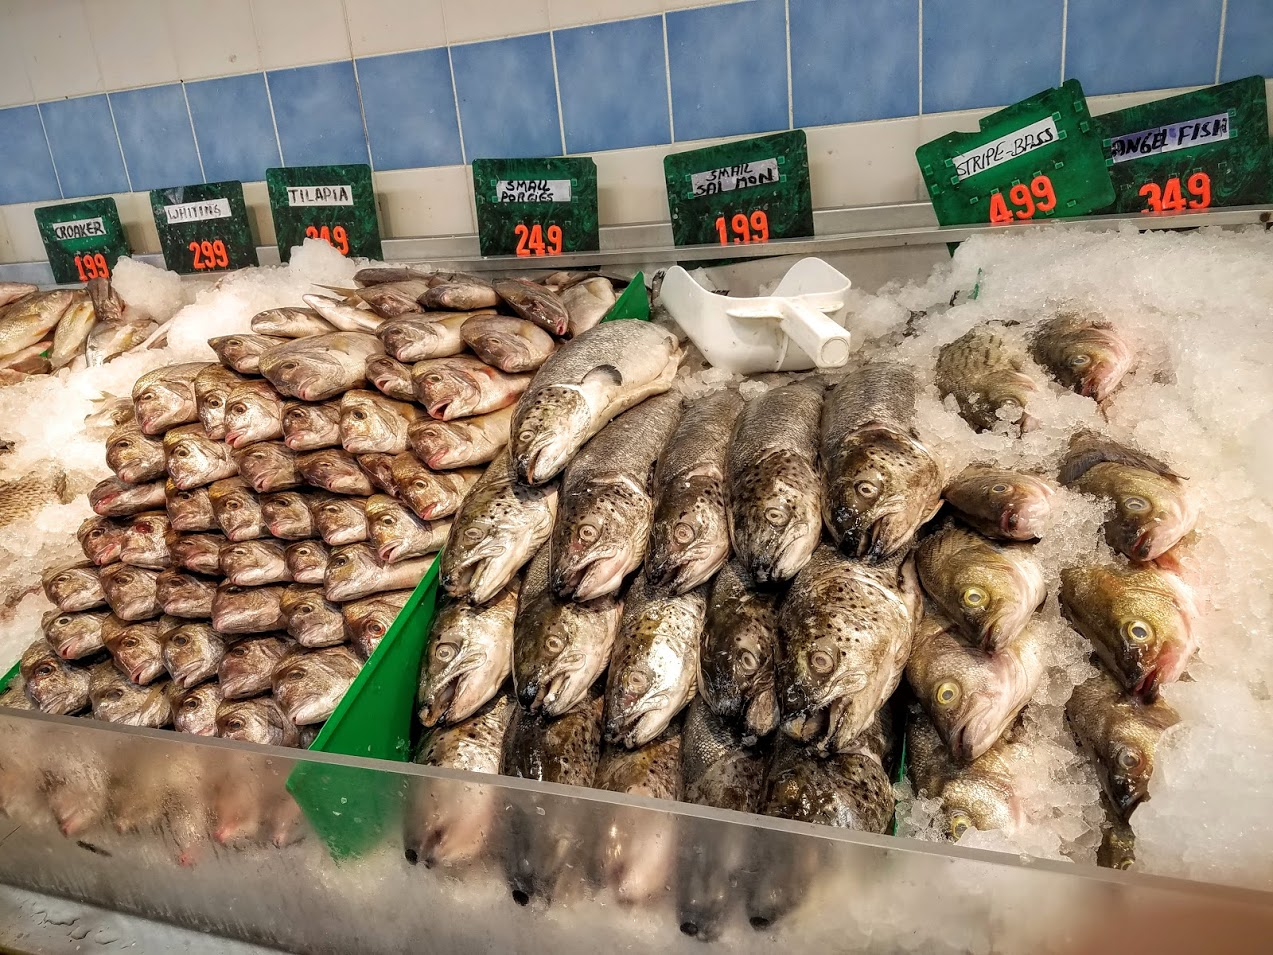
Although buying fish is a bit overwhelming if you’re not sure what you’re looking for, how to buy,  how to properly filet, how to prepare it, cook it, and serve it, and a million other concerns, like, what exactly is a fishmonger?


A simplified outline for those of you who need it:
  • Buy local and a place you trust that knows where their fish comes from.
  • Have any questions - ask your fishmonger - the one who sells, debones (not today), and cuts your fish.
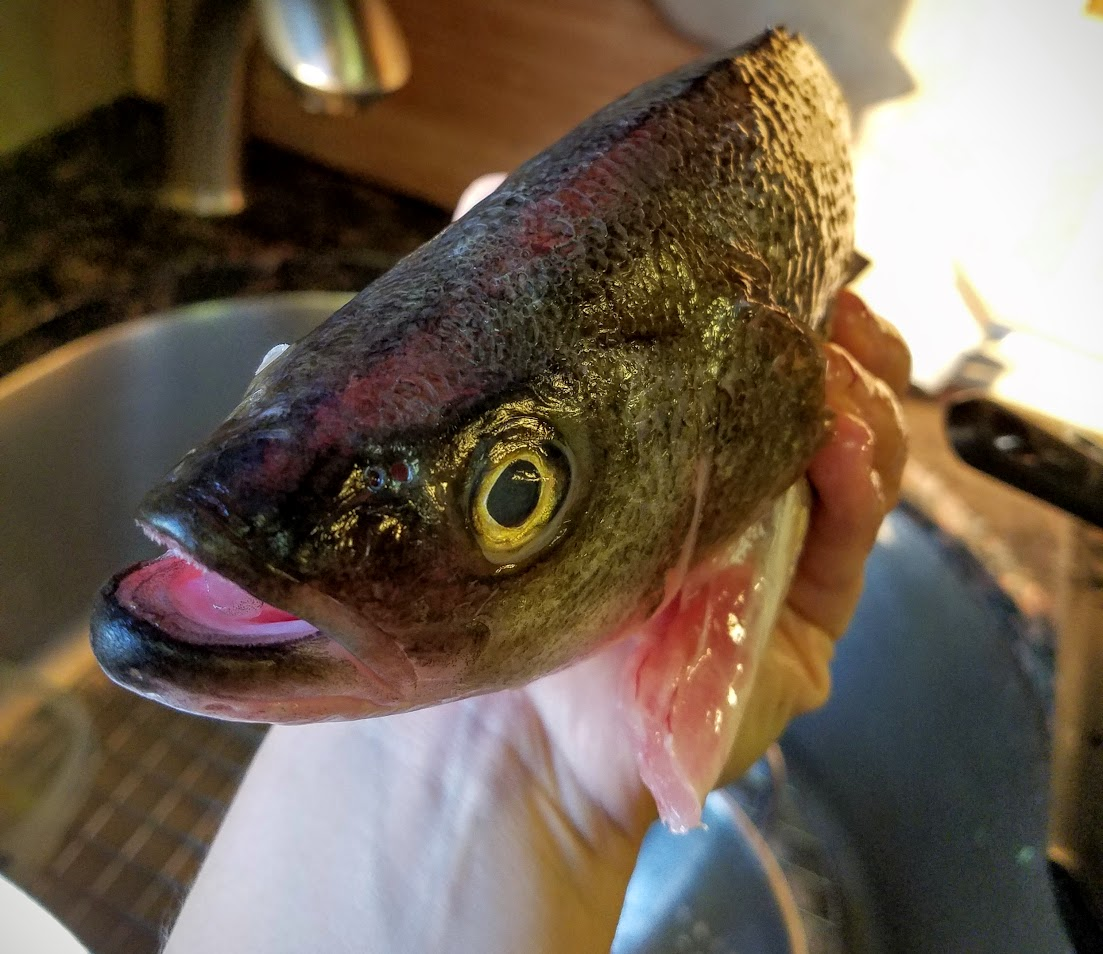
  • Buy the fish where you can physically get close enough to touch it, more importantly smell it!


What you’re looking for:
  • Shiny and bright. Firm scales and skin that bounces back after you touch it - does not sink or take to long to plump back up.
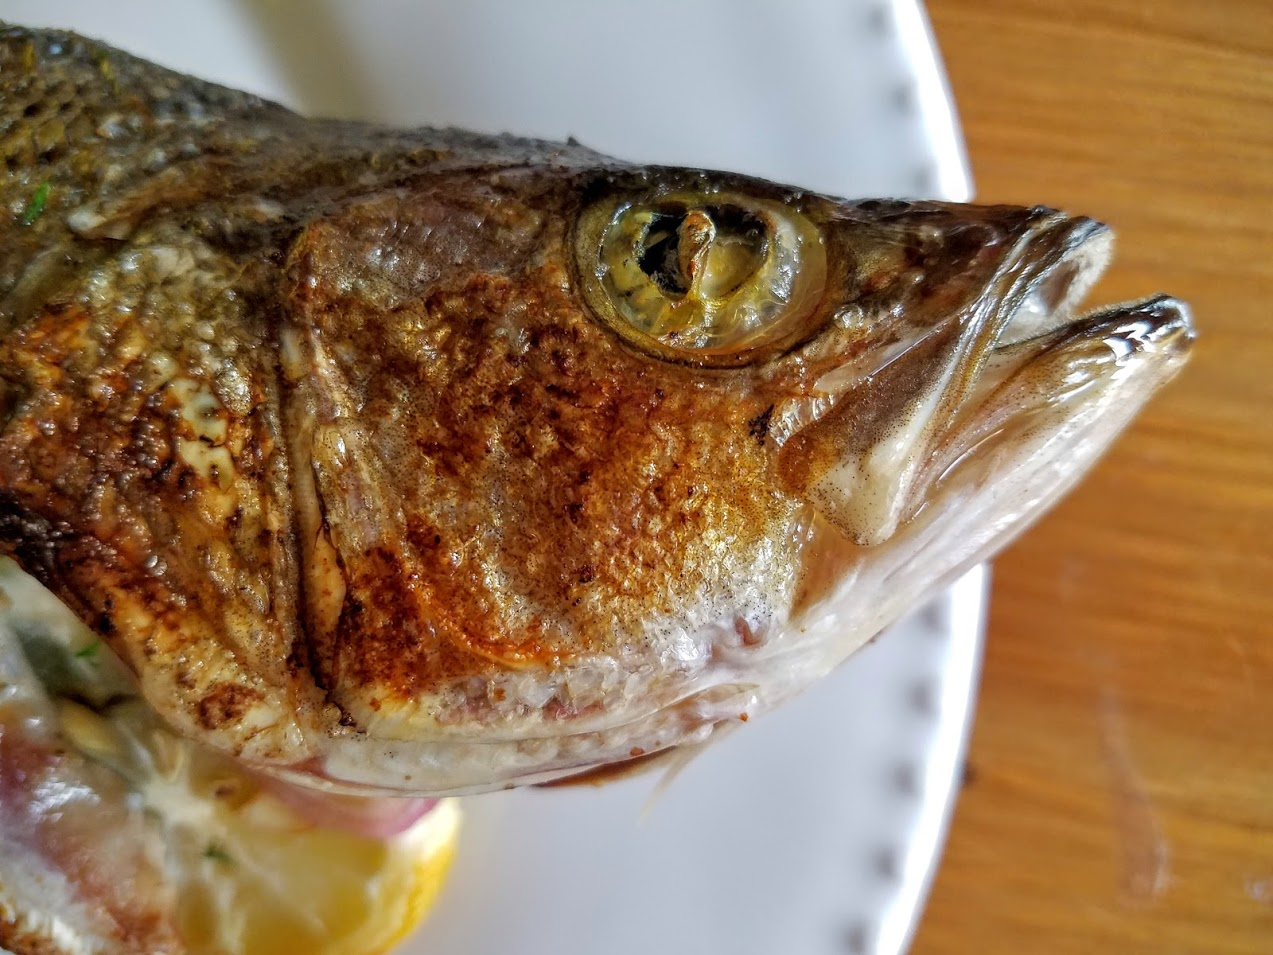
  • Bright and shiny eyes - not sunken in or decay.
  • Brightly colorful gills, full of blood - you want to see them because they’ll cut them off before you take it home.
  • Same for the stomach; you want to see that it is full and intact before they remove it - not punctured in any way.
  • Of course the most obvious - odor free! It should smell like the ocean and of fresh fish - Not funky fishy nastiness.


Striped Bass with Sperma!
-Yes Sperma! Follow the link for the recipe… and the story behind the name. Simple, Fast, Divine!


Difficulty: Moderate Time: 10-14 min per fish, 10 min prep Clean Up: easy!


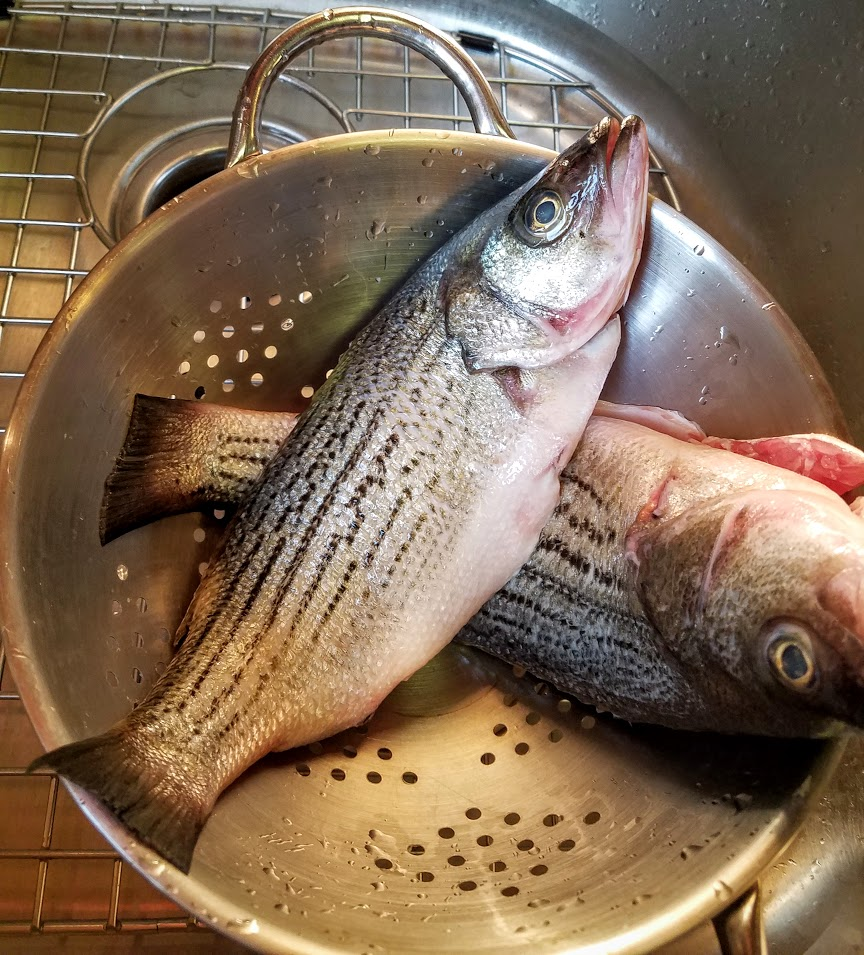
  • Striped Bass - scaled, fins & stomach removed only; leaving tale, head, skeleton in tact.
  • Salt & Pepper - plenty
  • Olive Oil & tsp butter per pan - for searing
  • Shallot - sliced 2-3 pieces per fish
  • Lemon - sliced 2-3 pieces per fish & more for garnish
Thyme, Oregano, Parsley- couple sprigs each (same you use for Sperma)


You’ll have had your fishmonger scale and take off all the fins but the tale, and empty the stomach. (Unless you feel comfortable doing this yourself.) They aren’t going to debone this fish, you’ll be cooking with the skeleton in tack, as well as the head!  So just the guts, fins, and scales. Always double check with your hand when your home to make sure the scale are all removed, or take the back of a knife and wipe the rest off. Clean the inside and out of the fish - they did not do this before handing it to you and it most likely was the same knife to do both, amongst many others.
The sizzle platter is one of my most important essentials in the kitchen. A knife, tongs, and sizzle platter is really all you need. When you’re broiling fish, you want something that is individual so that you can control everything, especially if you’re making a few, or serving a lot! Not everyone has these readily at home, so use an aluminum pan - oiled up- and don’t over crowd.
(Side Note: sizzle platters are what we use in the professional kitchen & and I at home, for EVERYTHING! They’re around $6 each- rediculously easy to clean! So considering grabbing a few.)

  • Use the Sperma to coat the pan and both sides of the fish. 
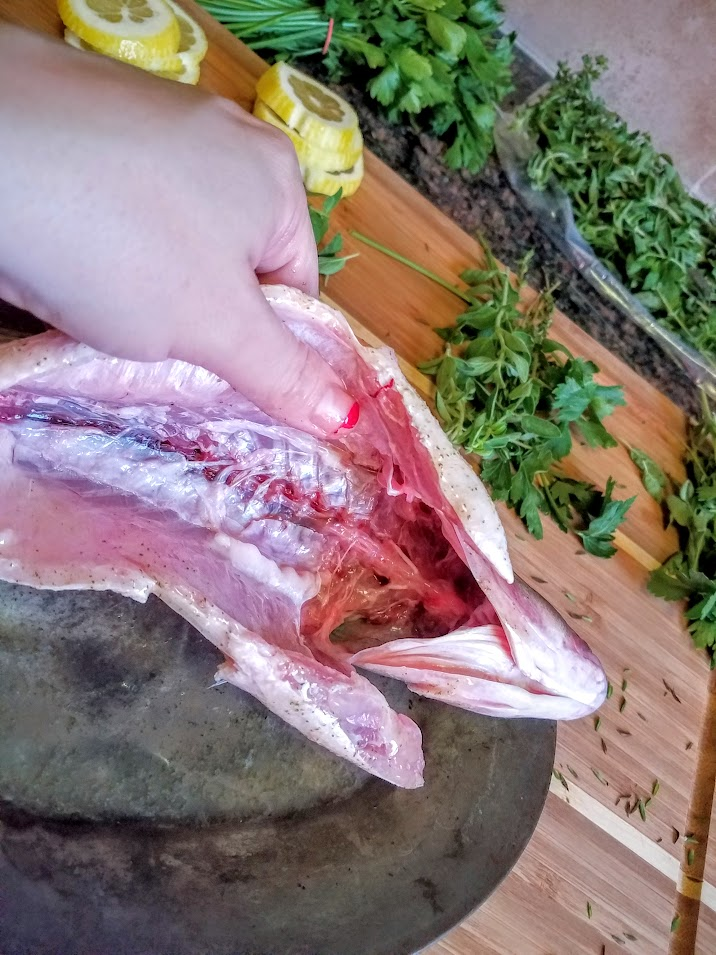
  • Open cavity and season both sides with salt & pepper.
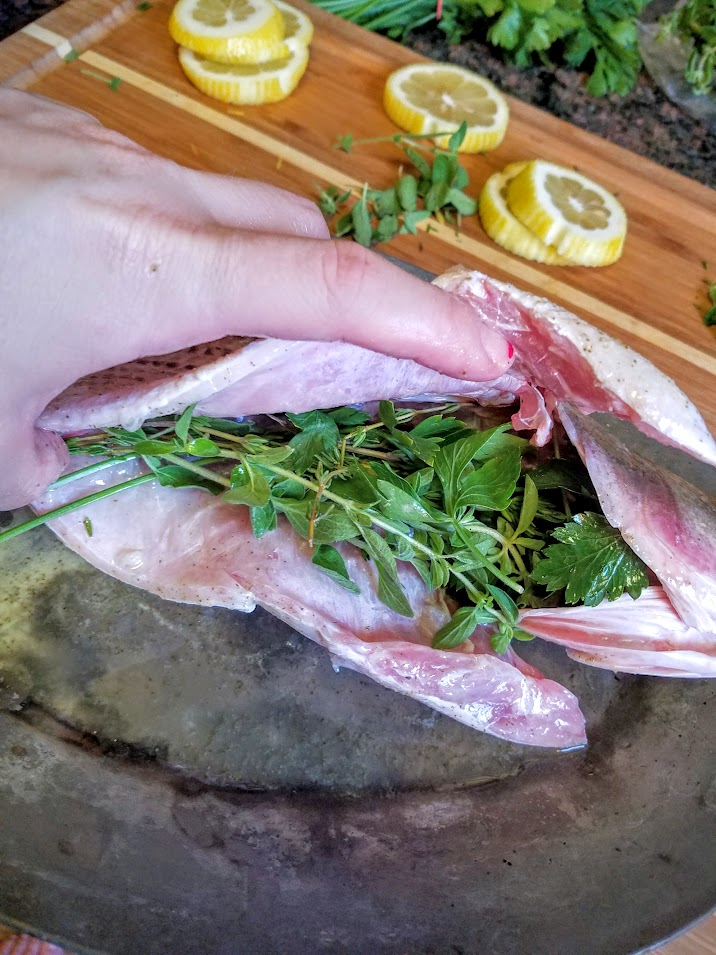
  • Stuff the herbs, lemon, and shallots. (Refrigerate until ready to cook!)


  • Turn Broiler on High. Place rack 6” from top.


  • Make sure pan is well coated with Sperma or Olive Oil so skin will not stick to pan. Coat top of fish as well.

  • Salt skin sides of the fish well.
  
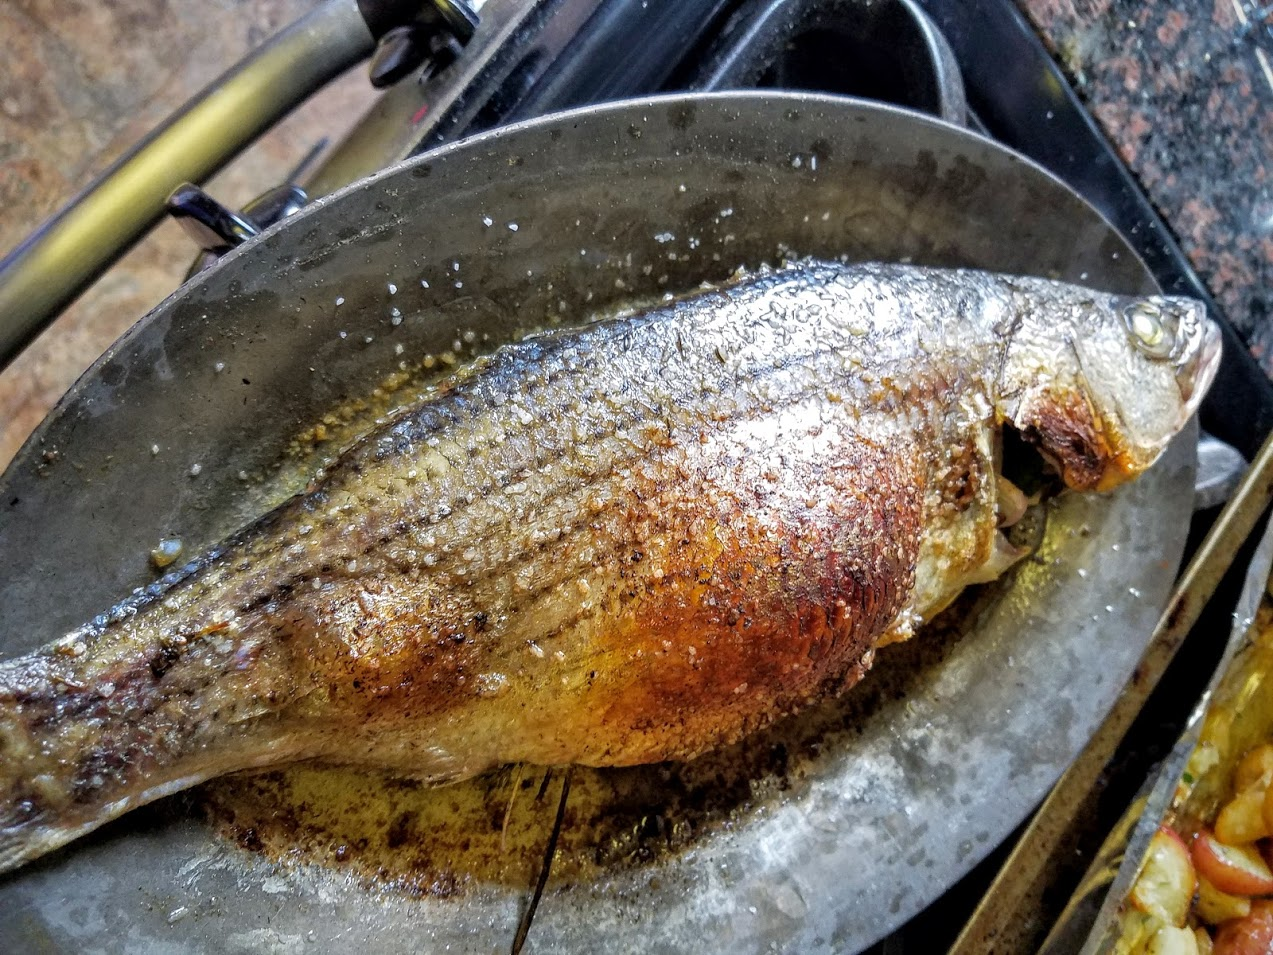
  • Place fish in oven for 6 minutes. Check to make sure it’s golden brown, may need a minute or two longer pending on oven.


  • Take the entire pan out of the oven.
  • More Sperma! You want to make sure it’s coated so the skin will stay on when finished!
  • Gently and carefully use fish spatula to edge under fish until it’s sliding easily, and a clean flip is available. Use fingers if have to but make sure you gently flip, not like pancakes.

  • Add more Sperma on the top of the fish showing.
  • Put back in the broiler for another 6 or so minutes.
  • Have plates ready because you’ll be serving immediately.
  • Take a spoon and use the juice from the pan to base fish before plating.

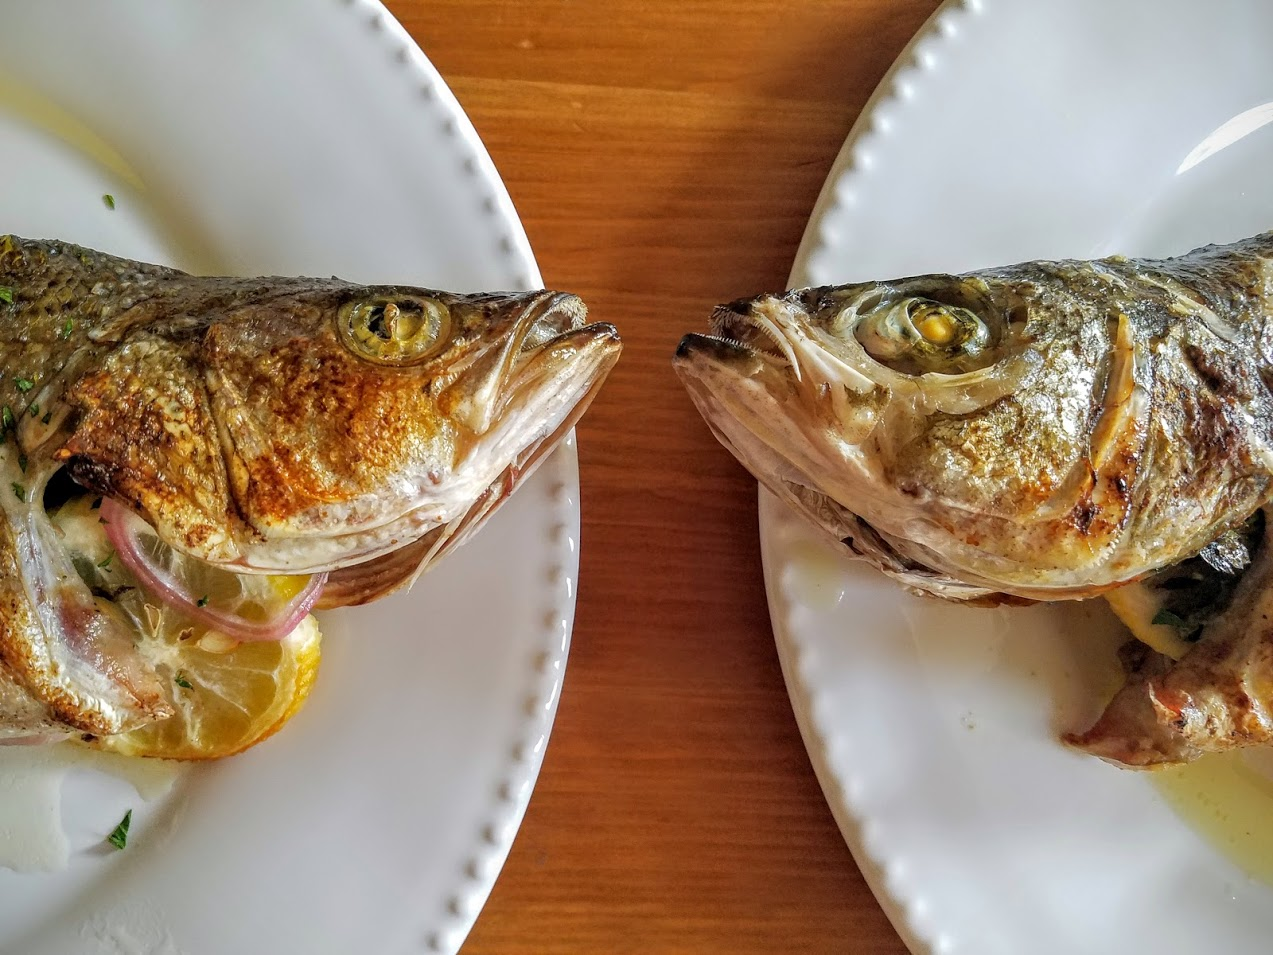
You may leave the filling or remove. I leave it in for that extra beautiful aroma that escapes when it’s opened on the table. I also serve it all by itself with only lemons because it looks beautiful and this way you won’t need a separate plate for the herbs and bones once you remove.
Careful of the bones when eating. Flip open the fish, after breaking neck off with spoon, the spine/skeleton of fish should easily lift right out, though there will be bones throughout so eat carefully.


Now that was Simple, Quick, and Divine! Go enjoy!
#StripedBass #Organic #LocalFarming #GourmetCooking #DIYGourmet #IndependenceDayMeal #Hosting #Entertaining #GlutenFree #DiabeticDiet #Paleo #FoodandWine #Seafood #Broiling #4thOfJuly #PicNic #HealthyDelicious #SeasonalFish #AllAmerican #ChefCaylena

Tuesday, May 17, 2016

Shrimp Fajitas! #TimeCrunch

*Time Crunch!*

Shrimp Fajitas

Quick & Easy
“I’ll be home in 20 minutes… and I’m starving.”  There are so many reasons people want and need faster meals; we never seem to have enough time, and want wholesome and home cooked meals, that taste like we’ve spent hours. We want healthy and easy...
I'll start doing a Time Crunch addition for leftovers or the quickies with ingredients everyone can make on the fly as a beautiful meal. Healthy and fulfilling so you're not running off to the local deep fried joint. Easy to follow and a quick read with pictures so it doesn't take you longer to figure the recipe out than to make it!
Easy as 1, 2, 3…


  • Shrimp -3 per Fajita
  • Old Bay Seasoning - to cover shrimp
  • Mixed Bell Peppers - sliced lengthwise
  • 1 Jalapeno, - diced or sliced
  • Onions and Scallions - Whatever's in the fridge
  • Small flour Tortillas
  • Mix Greens or Lettuce
  • 4 Tbsp Olive Oil
  • Salt & Pepper
Garnish : the skies the limit
  • Lime, cilantro, etc.
  • Hot sauce, sour cream, Guacamole


  1. Slice up the bells, onions toss over 2 tbsp Olive Oil, Med-High heat. Toss in Salt & Pepper.


2) Toss the Shrimp in a bowl and coat with Old Bay seasoning.
3) In another Skillet coat with rest olive oil, toss shrimp in over Med-High.
Cooking and tossing for 5- 6 minutes, until cooked thru.
4) Pull Veg off and train on paper towel if need.  They should take no longer than shrimp- until Al Dente.
5) Fastest way to heat the tortillas is on the stove top, just flip and stick with them should be done in seconds.
That’s it!  Now let’s assemble…
Voila. Now You can serve with any condiments you have available, but with the flavors of the mixed peppers and Old Bay on the shrimp… These are pretty awesome as is!


That’s what I call a 20 minute meal! And it’s about a 5 minute Clean up! Not bad!


Not to mention you can feel great about eating this healthy full of antioxidants, vitamins, high in protein, low in calories.