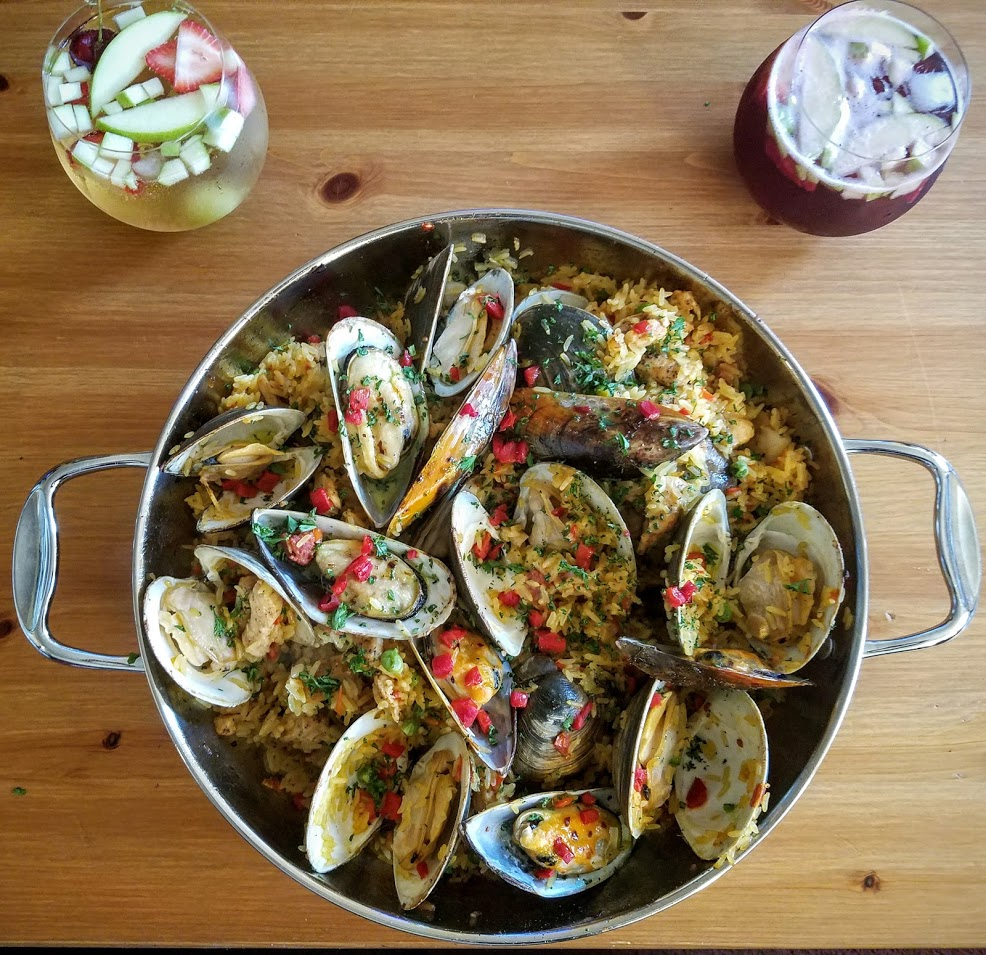
Ricotta Gnocchi!
 Enjoy a lite and delicious Gnocchi this summer with sweet corn, arugula, and truffle oil!
Take the pride in serving something you completely made from scratch and rolled out by hand. You can make the Gnocchi up to 3 days in advance or even freeze it until ready to use. And then the cooking process is very quick and easy, and well simply beautiful.
Enjoy a lite and delicious Gnocchi this summer with sweet corn, arugula, and truffle oil!
Take the pride in serving something you completely made from scratch and rolled out by hand. You can make the Gnocchi up to 3 days in advance or even freeze it until ready to use. And then the cooking process is very quick and easy, and well simply beautiful.

Ingredients for Ricotta Gnocchi
Yields: 4-6 entree
-
-
2 large eggs
-
1 1/2 cups grated Parmigiano
-
Pinch Cayenne pepper
-
Pinch salt
-
1 tsp grated nutmeg
-
1 1/4 cups all-purpose flour
-
½ cup all - purpose flour to roll out and coat dough
-
NOTE: If using fresh Ricotta - this might be dryer than store bought. Add ¼ cup milk to mixture. See image below to see if necessary.

2 large eggs
1 1/2 cups grated Parmigiano
Pinch Cayenne pepper
Pinch salt
1 tsp grated nutmeg
1 1/4 cups all-purpose flour
½ cup all - purpose flour to roll out and coat dough
- NOTE: If using fresh Ricotta - this might be dryer than store bought. Add ¼ cup milk to mixture. See image below to see if necessary.
 Ingredients for Dinner
-
½ stick unsalted butter
-
2 cups Sweet Corn kernels - Cooked. (canned or frozen is just fine.)
-
4 cups Arugula
-
1 cup shaved Parmesan (plus more for garnish)
-
Salt & Pepper to taste
-
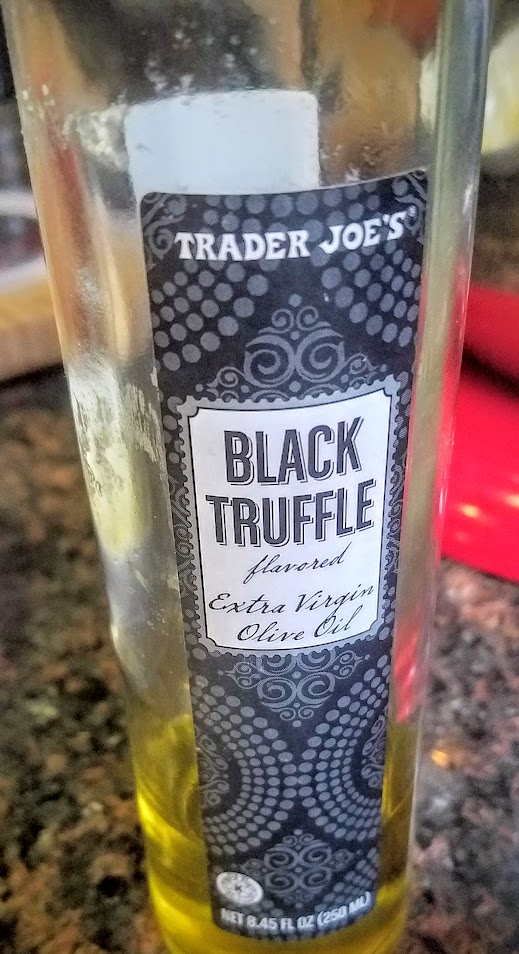
Black (or white) Truffle Oil for finishing. (flavored olive oil is fine.)
-
Parsley for garnish
½ stick unsalted butter
2 cups Sweet Corn kernels - Cooked. (canned or frozen is just fine.)
4 cups Arugula
1 cup shaved Parmesan (plus more for garnish)
Salt & Pepper to taste
Black (or white) Truffle Oil for finishing. (flavored olive oil is fine.)
Parsley for garnish

For the Gnocchi
This is a two part process. First you boil the rolled out dough, then you finish cooking in a pan. You can make in advance and freeze, or hold in refrigerator for 3 days after the boil process.
-
Start with mixing all ingredients together until completely incorporated forming a Wet Dough. (Get your hands dirty!)

-
Coat cutting board with flour. Coat hands.

-
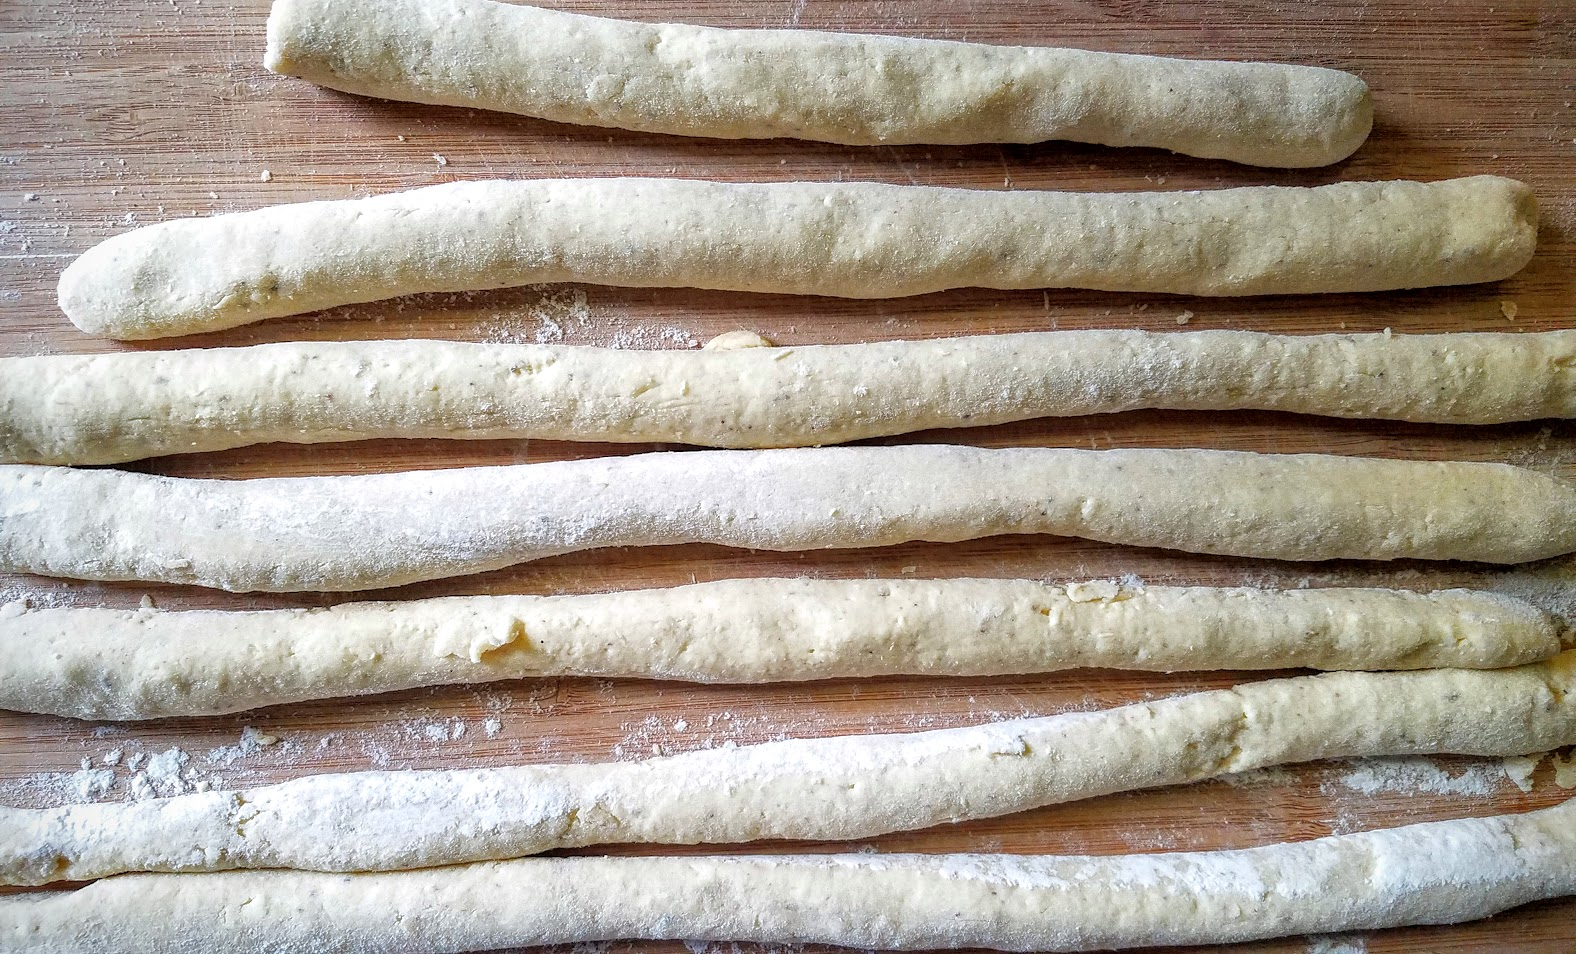
Work dough in small batches. Start with a ball, coat in flour so it’s dry enough to roll out into ropes. -Using hands for whole process. Keep covered in flour.
-
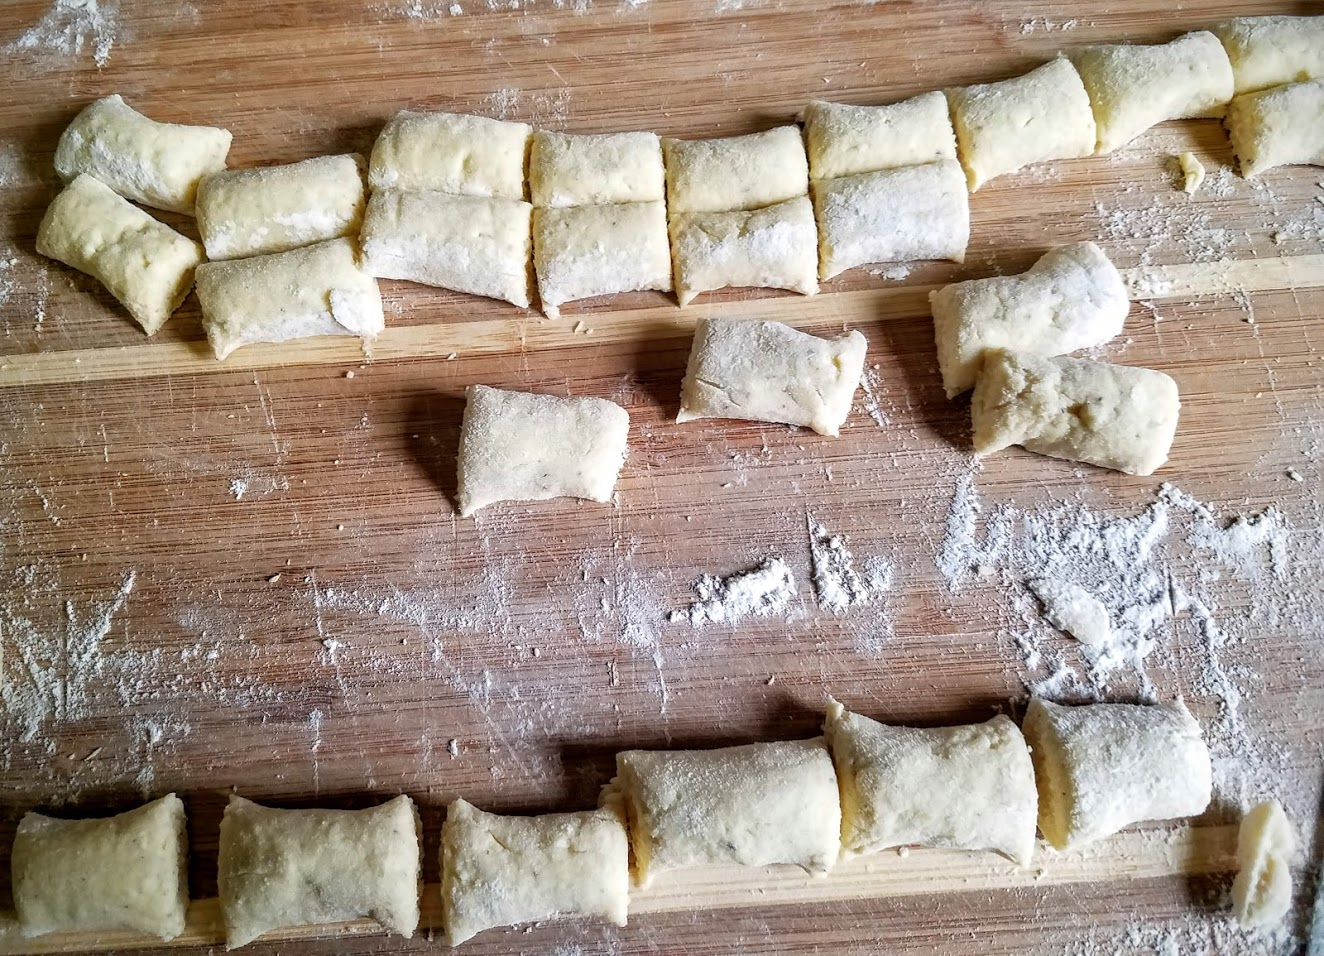
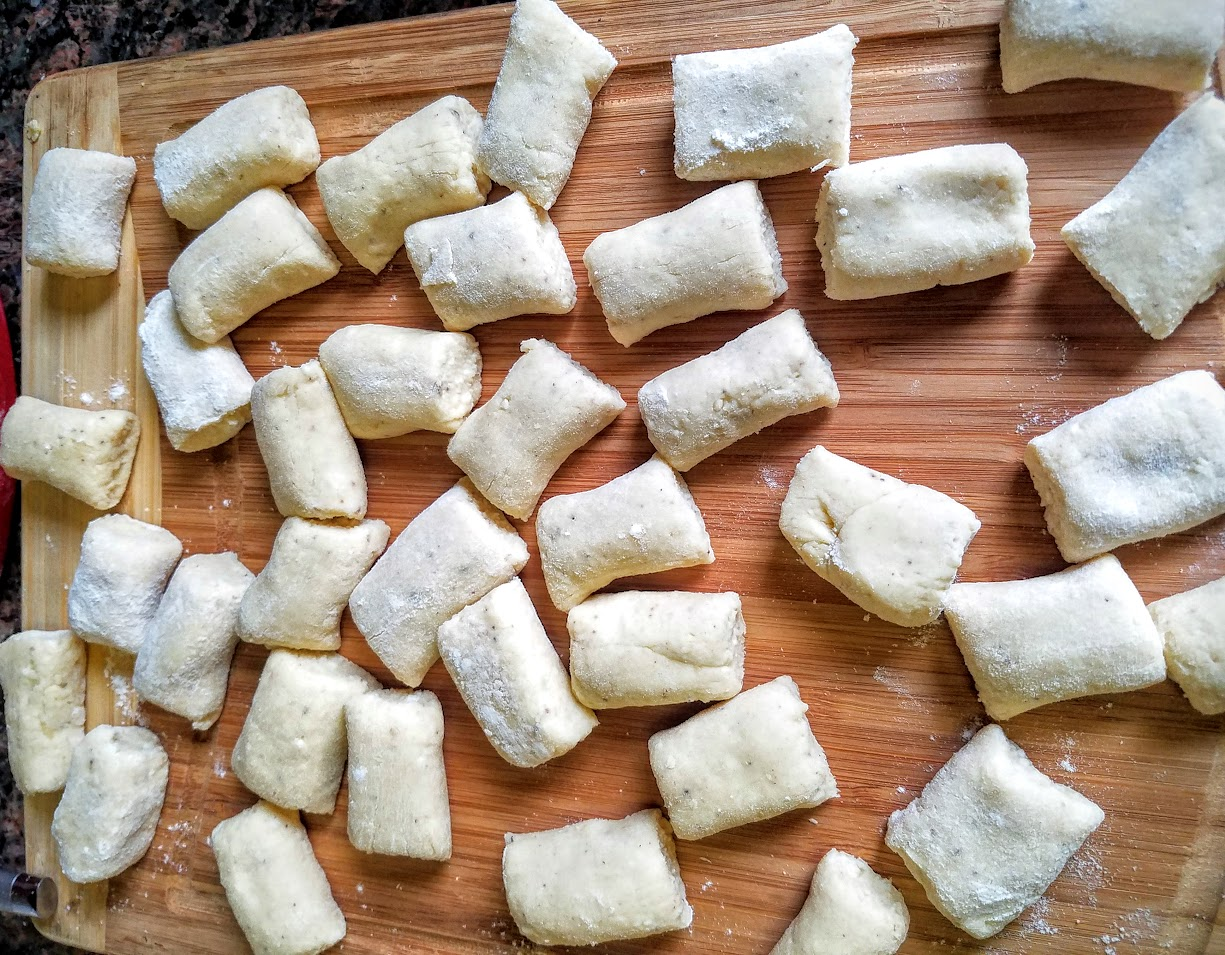
Cut to desired size - no more than 1 inch because these will swell and get larger rather than smaller when cooked. Use knife or bench scraper to keep clean edges.
-
Boil large pot of water with Tons of salt - salty like the sea.
-
Drop in batches, swirl at first so they won’t stick, then leave them be for a couple of minutes. The timing is different on sizes, basically the dumplings are going to float when finished, let float for no longer than 30 seconds.
 You can bite into it, and will be soft and delicious.
-
Use a slotted spoon to pull out as ready, set aside in refrigerator until ready to use.

Start with mixing all ingredients together until completely incorporated forming a Wet Dough. (Get your hands dirty!)
Coat cutting board with flour. Coat hands.
Work dough in small batches. Start with a ball, coat in flour so it’s dry enough to roll out into ropes. -Using hands for whole process. Keep covered in flour.
Cut to desired size - no more than 1 inch because these will swell and get larger rather than smaller when cooked. Use knife or bench scraper to keep clean edges.
Boil large pot of water with Tons of salt - salty like the sea.
Drop in batches, swirl at first so they won’t stick, then leave them be for a couple of minutes. The timing is different on sizes, basically the dumplings are going to float when finished, let float for no longer than 30 seconds.
Use a slotted spoon to pull out as ready, set aside in refrigerator until ready to use.
For the Dish
For this dish you can cook in batches. But don’t worry - it goes very quick, so you can still serve all at the same time. The trick is to build as you go, and have all your plates, and mise en place.
-
Take a large frying pan and melt butter over High heat. Turn down to Medium once the butter starts to foam and brown - Noisette: when the milk produce separates and browns.

-
Put in Gnocchi - don’t over crowd pan but enough to brown all sides of Gnocchi. -Great time to practice your pan flipping skills. Make sure the brown butter bits coat Gnocchi & Do Not Over Cook- gently pan sear.


-
Add cheese. Toss

-
Add Corn Toss - Do not let this pop and turn into popcorn! Just enough to reheat the corn.
-
Salt, Pepper, and handful of Arugula - Toss and turn off heat instantly. You do not want to wilt the lettuce.


-
Plate: pouring excess butter as dressing. Drizzle truffle oil, cheese, and parsley - serve immediately.

 #Ricotta #RicottaGnocchi #Gnocchi #SummerCooking #SummerCorn #SummerGnocchi #FoodPorn #Foodie #FoodStylist #FoodPhotography #DIYGourmet #ItalianCuisine #FromScratchCooking #HomemadeGnocchi #ChefCaylena
Take a large frying pan and melt butter over High heat. Turn down to Medium once the butter starts to foam and brown - Noisette: when the milk produce separates and browns.
Put in Gnocchi - don’t over crowd pan but enough to brown all sides of Gnocchi. -Great time to practice your pan flipping skills. Make sure the brown butter bits coat Gnocchi & Do Not Over Cook- gently pan sear.
Add cheese. Toss
Add Corn Toss - Do not let this pop and turn into popcorn! Just enough to reheat the corn.
Salt, Pepper, and handful of Arugula - Toss and turn off heat instantly. You do not want to wilt the lettuce.
Plate: pouring excess butter as dressing. Drizzle truffle oil, cheese, and parsley - serve immediately.