Showing posts with label Make it Yourself. Show all posts

Monday, June 27, 2016

Fudge!

#TimeCrunch #Dessert # ChocolateFudge!

Fudge!

Quick Easy Delicious!
An easy approach to a beautiful fudge! This is slightly moister than most, but it’s far from cakey… and it needs to be served chilled to give you the best results only a beautiful fudge can! Add nuts if you’d like, or a variety of different chocolate choices for the top to make it even more chocolatey heaven.
Easy as 1, 2, 3 … you can bang it out yourself or get the kids in the kitchen!


Time: 30 min & chill time.   Difficulty: EASY
PREHEAT OVEN to *350F
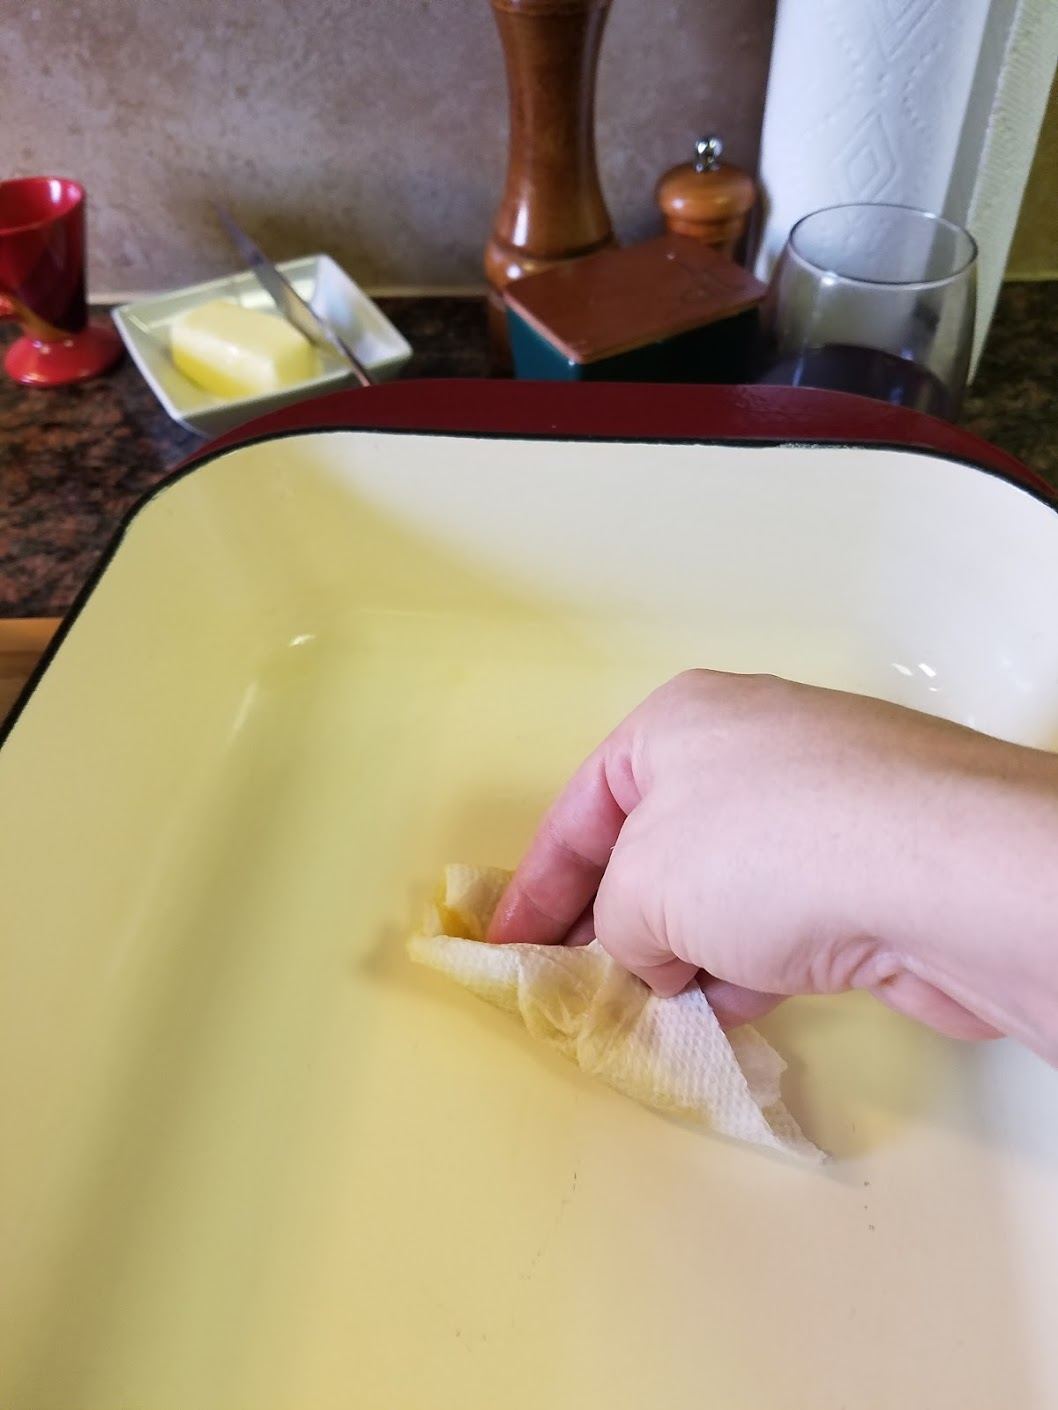
Grease baking dish:
use one with depth for fudge (I use 9x7 with 2 ½ depth)


Ingredients:
  • 1 Cup Sugar
  • ⅔ Cup Brown Sugar
  • ¾ Cup Butter - Room Temp
  • 2 whole Eggs
  • 2 Tbsp Vanilla extract
  • 1 ⅓ cups AP Flour
  • 1 Cup 100% Baking Cocoa (yep the powder stuff)
  • ½ tsp Baking Powder
  • ½ tsp Salt
*- Pick your topping - I chose Hershey's Semi-Sweet Dark Chocolate. (Nuts or even plain is fine)
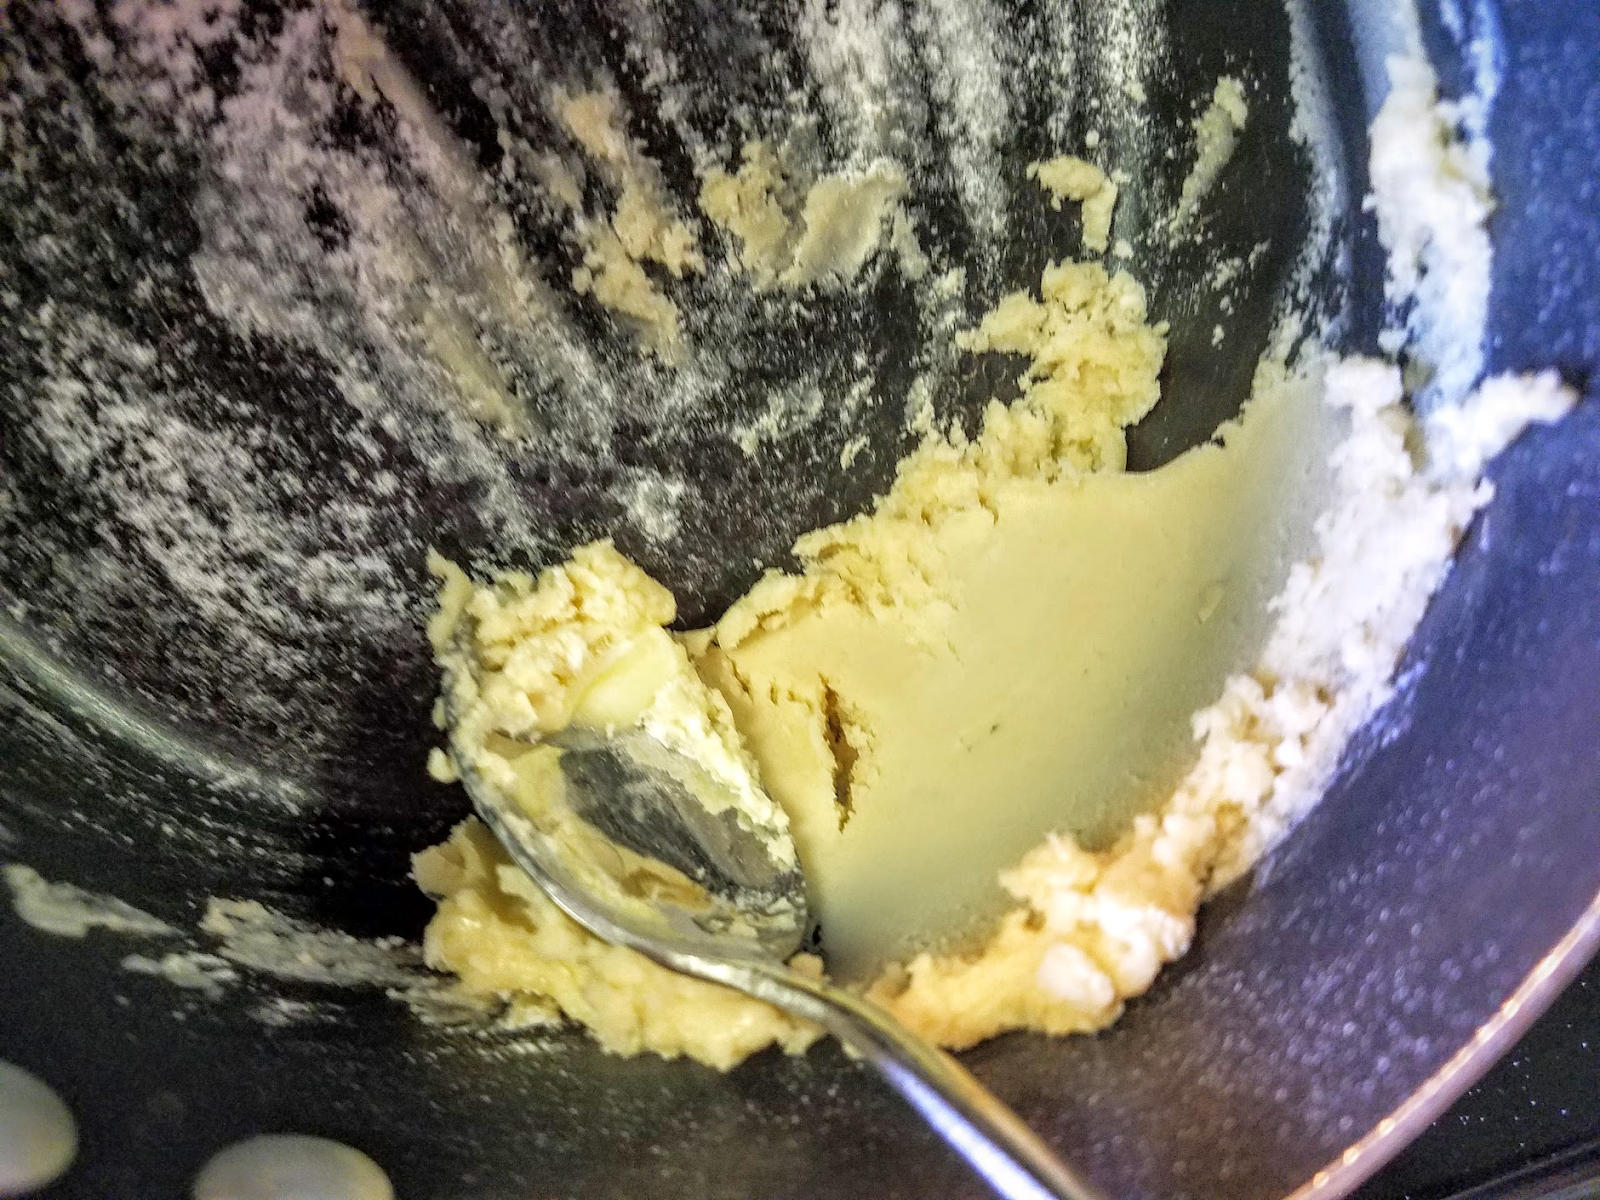
1  large Bowl - mix sugar, butter, vanilla, and eggs.
2nd Bowl - mix flour, cocoa, baking powder, and salt.  


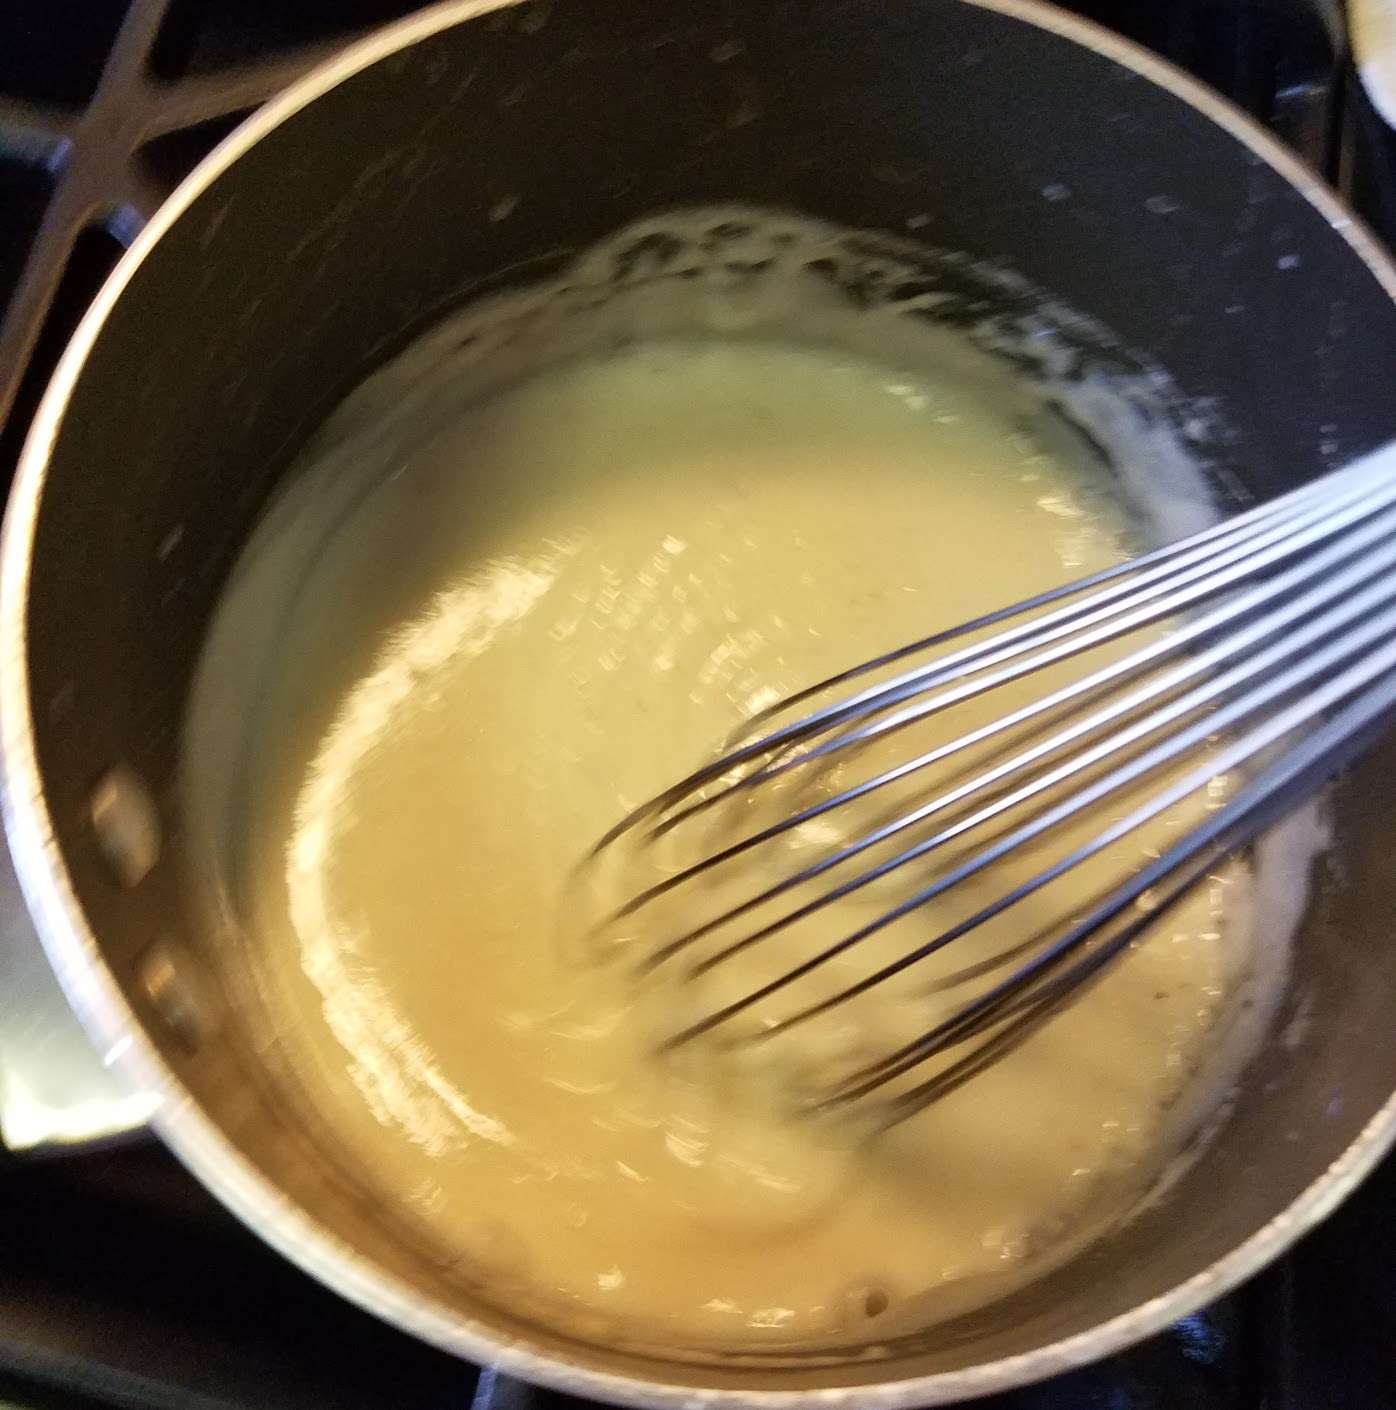
3- Mix all together, spread in baking dish
4 - If you’re adding a topping place on top. (Anything but powdered sugar)
5- Bake for 20 minutes. 2-5 minutes either way pending on your oven - so check with a toothpick - insert in center, when it comes out clear- it’s finished.
6- Let cool off as much as can before refrigerating. Cool in fridge until it is cold and rather solid through.
(If you're adding powdered sugar you can add before or after cooling.)


Cut into small squares… it’s fudge so it’s rich!!!
ENJOY!!!!
Note: This is not your usual fudge... KEEP REFRIGERATED AT ALL TIMES!


#Fudge #Chocolate #QuickDesserts #TimeCrunch #KidsCook #KidFriendly #FamilyDessert #ChefCaylena #PicNic #4thOfJuly #IndependanceDayFood

Tuesday, June 21, 2016

Chicken Piccata - A Classic Favorite!

#TimeCrunch

Chicken Piccata

Simple, Easy, Delicious.
A classic Italian dish that is perfect just the way it is. We don’t deviate too much from the traditional Italian version here. That adage “if it ain’t broke…” However I am highly aware of the awful renditions that are just horrible enough to make you steer clear…  
We’ve all had that really bad experience with a terrible Piccata, where it was too greasy, too oily, or crunchy, or just didn’t taste that great. On the other hand we will all swear by -insert your favorite experience here- and no one’s ever made it like that before. This savvy citrus sauce soaks into a slightly browned, sauteed, piece of tenderized and marinated chicken breast, leaving you craving more.  
The technique is simple, and recipe has been perfected… this is a fool’s proof, step by step, way to a 30 minute, one pan, Gourmet meal.  
This rendition should put you on the Best Ever list for everyone else to say about yours!

DIFFICULTY: Moderate $$ SERVINGS:4  TIME: 30 & marinade(time available)

Ingredients -

  • 4 Chicken cutlets, or 2 Breast sliced along the width into 4.
  • ½ Cup Chicken Stock
  • ½ Cup dry White Wine -cooking wine
  • ⅓ Cup Lemon Juice
  • ½ Cup Flour, 1/4 Cup Flour
  • 4 Tbsp unsalted Butter (divided in half)
  • ¼ Cup Capers, drained & whole
  • ¼ Cup chopped Parsley & 2 Tbsp Parsley (not together)
  • ½ Cup Olive Oil
  • 1 Tbsp crushed Garlic
  • Pinch of Cayenne Pepper
  • Salt & Pepper


Procedure

Start with the Chicken…

  1. Rinse Chicken well. (slice in half lengthwise if thick.) Drain water, pat dry.
  1. Line cutting board with plastic wrap.
  1. Place Chicken on board, then cover with plastic wrap.
    1. I wrap up the sides so raw chicken juice doesn’t escape, and easier clean up.
  1. Take your Steel, or meat mallet to pound out meat (without piercing plastic) until nice and thin but still holds together well.
The Marinade…
  1. In large bowl combine: ½ cup Olive Oil, Garlic, 2 Tbsp Parsley, Cayenne, Salt & Pepper.
  2. Place Chicken in the bowl, mix, and make sure chicken is coated. Put bowl in refrigerator until ready to cook. (10-15 minutes - can last over night it covered.)
Dredging the Chicken…
  1. Put the ½ cup Flour with Salt and Pepper in a bowl.
  2. Pour oil from marinade (not parsley) in a Large Skillet.
  3. Sprinkle with hand, and pat in flour to lightly coat the chicken.    
Lightly coating.

Cooking The Chicken…
  1. Turn Skillet on Med-High, add 2 Tbsp butter. Heat until butter foams.
  2. Place Chicken in the skillet. chicken.gif
  3. Cook 4 minutes on each side. You’re sauteing until slightly browned. You can drop your heat to Medium if chicken is browning too much, or fast.
  4. Set Chicken aside.
The Sauce…
  1. Delase pan: Pour the white wine in the pan.  Scrape all the sucs off the bottom of the pan, don’t worry about straining them, they’ll mostly dissolve, and add texture (& flavor) later on.
    1. If for whatever reason you’re pan and sucs are burnt - discard them, clean the pan and start from there.
deg;aze.gif
  1. Turn heat to high. Add Chicken Stock and Lemon Juice, bring to boil and reduce by ⅓.
  2. Take the 2 Tbsp Butter, and ¼ cup flour and mix together by hand forming a beurre manie
  1. Once reduced, turn heat to med, and add the beurre manie to the sauce.
  1. Stir until smooth and all flour is incorporated.
  2. Then stir in Capers and Parsley.
  1. Let sit 5 minutes to thicken and take on the flavors, stirring occasionally.
  2. Then Place Chicken in the sauce. Turn off heat.
  1. Let soak up the sauce on both sides for 2 minutes or until service.
*You really want to serve immediately for best sauce! It will seize rather fast, if this happens add a little bit of hot water at a time until thinned out.

Plate with pasta noodle or whatever you’d like.
Take additional sauce and top Chicken.
Or if you’re a traditionalist - after the pasta. Either way… Enjoy!


#ChickenPiccata #LemonCaperSauce #ItalianAmerican #AffordableGourmet #EasyCooking #FamilyFriendly #Pasta #CuisinArt #ChefCaylena #TimeCrunch #30MinuteMeals #EverydayGourmet

Monday, May 30, 2016

Conquering and Refining the Mac & Cheese


Conquering and Refining

the Mac & Cheese!

Without all the bells & whistles … that’s up to you.
Serve as a rich and decadent side dish, as the ultimate brunch with a poached egg...
Or as a succulent entree with Soft Shell Crabs.

A thousand ways to make Mac & Cheese… This luscious version is rich & creamy, light & fluffy, slightly smoky, and served with anything you dream off.  This is not your grandparent’s Mac & Cheese, and it’s clearly not Velveeta. This is not made with Truffles, though it’s certainly just as gorgeous, elegant, and beautiful enough to stand alone.


Total Time: 45-1 hour Difficulty: Intermediate Flavor: Gorgeous Serving Size: 6 entree / 12 side dish
*This is a great dish to serve as assemble - or can up to 2 days later.
** Preheat oven *400
Ingredients:
  • 4 cups Elbow / Macaroni Noodle - cook until Al Dente in Salty water!
  • 6 pieces Smoked Bacon - cooked


  • 2 cups Milk (sub ½ cup for ½ cup cream for super rich, but no more)
  • 2 Egg Yolks - toss whites
  • ½  lb grated Sharp Cheddar (reserve ¼ cup for topping)
  • ¼ lb grated Smoked Gouda
  • ¼ lb grated Parmesan  (reserve handful for topping)
  • 1 oz Brandy or Spiced Rum
  • ¼ cup Chives or Scallions (green parts only) chopped
  • 2 tsp Butter -Room Temperature.   & more to grease casserole dish
  • 2 tsp Flour
  • 1 tsp Mustard
  • 2 cloves Garlic - minced
  • 1 tsp White Pepper (or smoked Paprika)
  • ½ tsp Nutmeg
  • 1 Tbsp Salt - or to taste, plus more for boiling noodles.
  • ½ Cup bread crumbs from crackers
Start with Mise…
Shred your cheese, measure everything out, because it should go fairly fast once you start your Bechamel.
Cook bacon, drain excess grease, chop to bite size pieces.
Boil noodles in Salty water until fairly Al Dente - run under cold water after straining to stop cooking process.
1 - Make the Roux - Blonde.
  1. In Sauce Pan mash the Butter & Flour until light paste. Turn heat on over Med- Low to warm.
2 - Add milk and turn up the heat to high, whisking until smooth, never stopping to let the bottom burn. Once starts to foam - lower heat to Medium High while whisking vigorously until thick as a sauce. Drop heat to Low immediately. 20160527_182529-ANIMATION.gif
Keep going until thick. 2.gif
3 - Add salt, Nutmeg, White Pepper, Mustard, Garlic.
4- Add the cheese in increments - Whisk until melted. (don’t forget save some for topping.) ** If you’re sauce is getting too hot, pull off heat as not to burn!
5 - Turn off heat once Cheese is melted in.  Stir in Brandy, Bacon, & Chives.
6 - Fold in Yolks, stir gently to mix.  This will turn it very luscious and will coat noodles gorgeously!
7 - Pour and stir Sauce into cold noodles. Taste for salt now.
7 - Butter up Casserole Pan.  
8 - Pour in Mac & Cheese and level top. It’s better for the mac to be spread out in a shallow casserole pan rather than a deep dish because it may turn mushy, plus the toppings are a great spread out.


9 - Top with crushed cracker crumbs, then sprinkle evenly around the remainder of cheese.
10 - Cover in Foil.
** If you’re cooking now in full - Cook 10 minutes - remove foil, cook another 10 minutes… or until it looks like this...
*It is best to let sit for 10-15 minutes before breaking into or serving to let the cheese sauce thicken back up!


Again this is a stunning dish for summer or any weather really… the Soft Shell Crabs of summer with the spice of Old Bay really complement each other. Of course as a side dish, or after a hangover - it’s the most perfect of brunches to bring you back to that happy place!
You can get as adventurous as you’d like, add whatever you want, serve with ever you would like… but this way, is simply perfection.
Enjoy!!!     


#MemorialDayWeekend #MacNCheese #EggSlut #SummerEats #SoftShellCrab #Brunch #Cheese #ElivatedComfortFood #ComfortFood #KidEats #EasyCooking #CuisinArt