#TimeCrunch
Chicken Piccata
Simple, Easy, Delicious.
 A classic Italian dish that is perfect just the way it is. We don’t deviate too much from the traditional Italian version here. That adage “if it ain’t broke…” However I am highly aware of the awful renditions that are just horrible enough to make you steer clear…
We’ve all had that really bad experience with a terrible Piccata, where it was too greasy, too oily, or crunchy, or just didn’t taste that great. On the other hand we will all swear by -insert your favorite experience here- and no one’s ever made it like that before. This savvy citrus sauce soaks into a slightly browned, sauteed, piece of tenderized and marinated chicken breast, leaving you craving more.
The technique is simple, and recipe has been perfected… this is a fool’s proof, step by step, way to a 30 minute, one pan, Gourmet meal.
This rendition should put you on the Best Ever list for everyone else to say about yours!
A classic Italian dish that is perfect just the way it is. We don’t deviate too much from the traditional Italian version here. That adage “if it ain’t broke…” However I am highly aware of the awful renditions that are just horrible enough to make you steer clear…
We’ve all had that really bad experience with a terrible Piccata, where it was too greasy, too oily, or crunchy, or just didn’t taste that great. On the other hand we will all swear by -insert your favorite experience here- and no one’s ever made it like that before. This savvy citrus sauce soaks into a slightly browned, sauteed, piece of tenderized and marinated chicken breast, leaving you craving more.
The technique is simple, and recipe has been perfected… this is a fool’s proof, step by step, way to a 30 minute, one pan, Gourmet meal.
This rendition should put you on the Best Ever list for everyone else to say about yours!

DIFFICULTY: Moderate $$ SERVINGS:4 TIME: 30 & marinade(time available)
A classic Italian dish that is perfect just the way it is. We don’t deviate too much from the traditional Italian version here. That adage “if it ain’t broke…” However I am highly aware of the awful renditions that are just horrible enough to make you steer clear…
We’ve all had that really bad experience with a terrible Piccata, where it was too greasy, too oily, or crunchy, or just didn’t taste that great. On the other hand we will all swear by -insert your favorite experience here- and no one’s ever made it like that before. This savvy citrus sauce soaks into a slightly browned, sauteed, piece of tenderized and marinated chicken breast, leaving you craving more.
The technique is simple, and recipe has been perfected… this is a fool’s proof, step by step, way to a 30 minute, one pan, Gourmet meal.
DIFFICULTY: Moderate $$ SERVINGS:4 TIME: 30 & marinade(time available)
Ingredients -
-
4 Chicken cutlets, or 2 Breast sliced along the width into 4.
-
½ Cup Chicken Stock
-
½ Cup dry White Wine -cooking wine
-
⅓ Cup Lemon Juice
-
½ Cup Flour, 1/4 Cup Flour
-
4 Tbsp unsalted Butter (divided in half)
-
¼ Cup Capers, drained & whole
-
¼ Cup chopped Parsley & 2 Tbsp Parsley (not together)
-
½ Cup Olive Oil
-
1 Tbsp crushed Garlic
-
Pinch of Cayenne Pepper
-
Salt & Pepper

Procedure
Start with the Chicken…
-
Rinse Chicken well. (slice in half lengthwise if thick.) Drain water, pat dry.


-
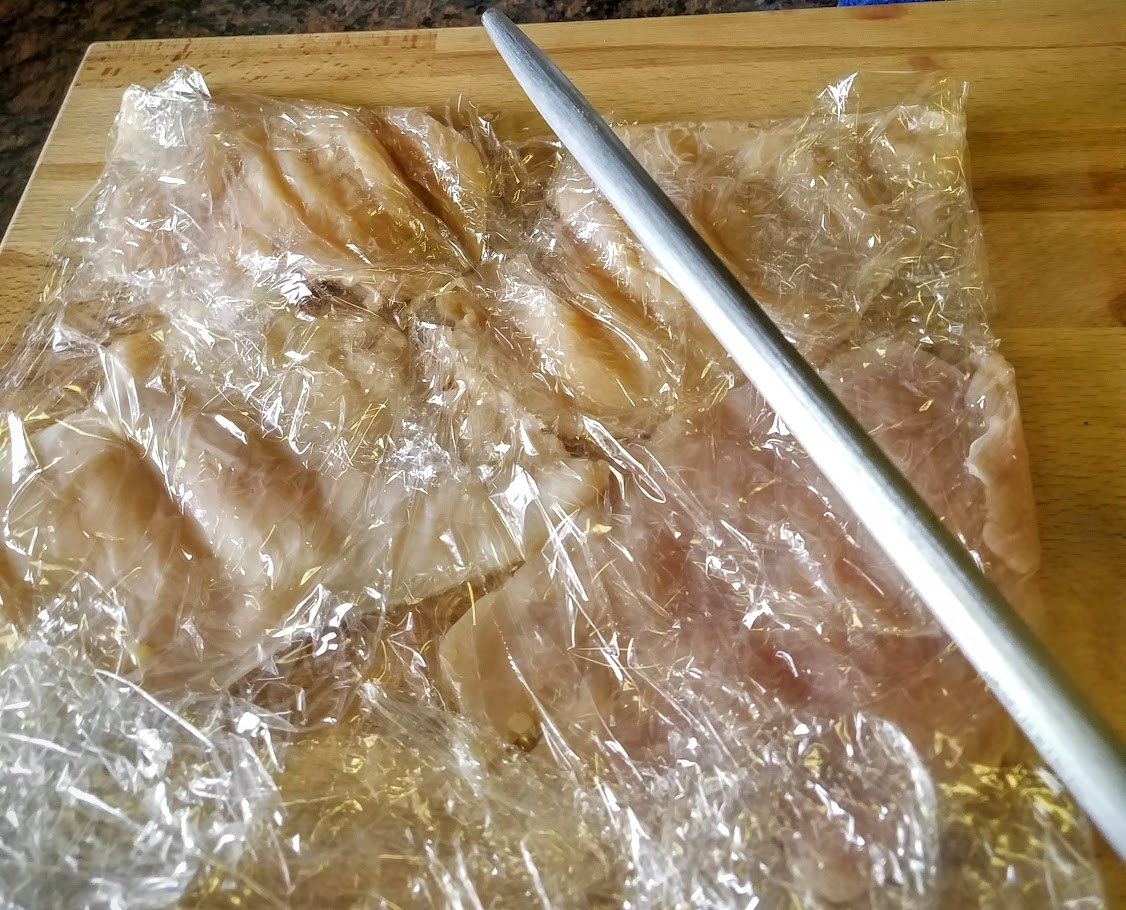
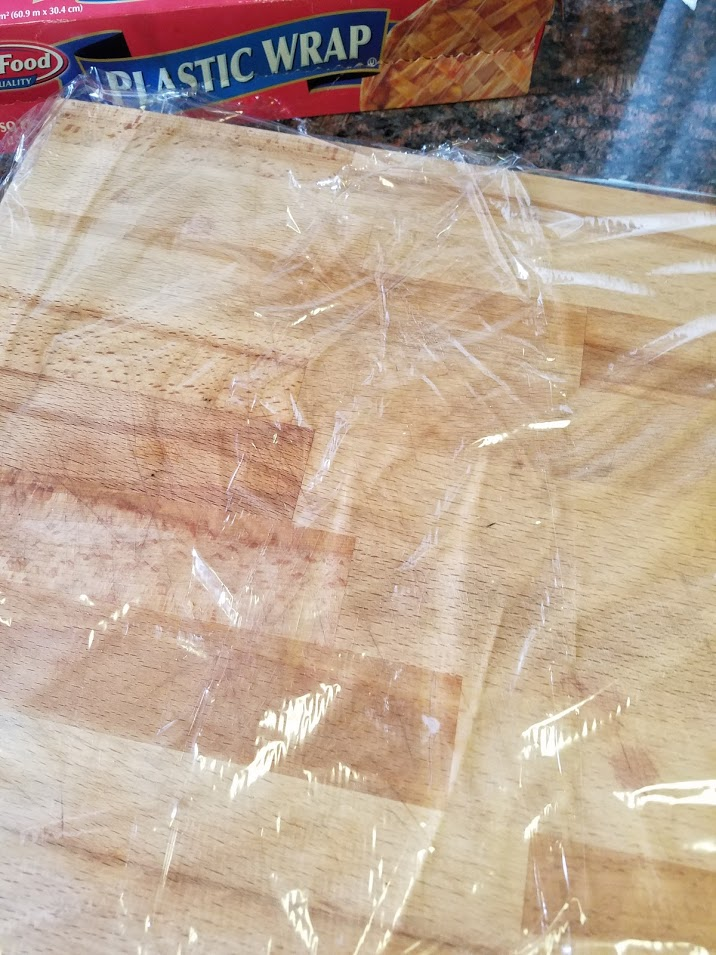 Line cutting board with plastic wrap.
-
Place Chicken on board, then cover with plastic wrap.
-
I wrap up the sides so raw chicken juice doesn’t escape, and easier clean up.

-
Take your Steel, or meat mallet to pound out meat (without piercing plastic) until nice and thin but still holds together well.
 The Marinade…
-
 In large bowl combine: ½ cup Olive Oil, Garlic, 2 Tbsp Parsley, Cayenne, Salt & Pepper.
-
Place Chicken in the bowl, mix, and make sure chicken is coated. Put bowl in refrigerator until ready to cook. (10-15 minutes - can last over night it covered.)

Dredging the Chicken…
-
Put the ½ cup Flour with Salt and Pepper in a bowl.
-
Pour oil from marinade (not parsley) in a Large Skillet.

-
Sprinkle with hand, and pat in flour to lightly coat the chicken.

 Lightly coating.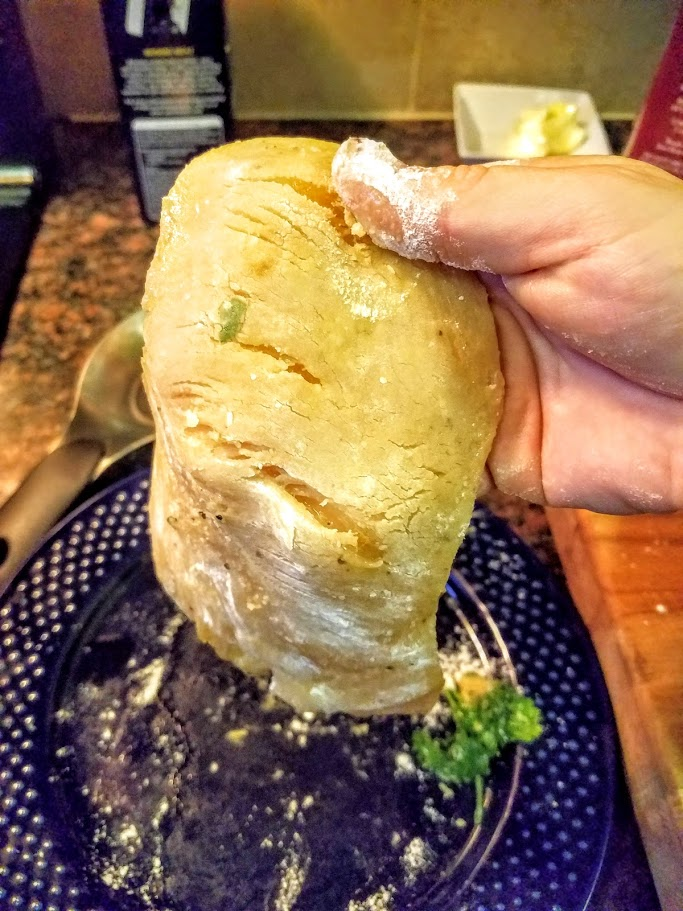
Cooking The Chicken…
-
Turn Skillet on Med-High, add 2 Tbsp butter. Heat until butter foams.
-
Place Chicken in the skillet.

-
Cook 4 minutes on each side. You’re sauteing until slightly browned. You can drop your heat to Medium if chicken is browning too much, or fast.

-
Set Chicken aside.

The Sauce…
-
Delase pan: Pour the white wine in the pan. Scrape all the sucs off the bottom of the pan, don’t worry about straining them, they’ll mostly dissolve, and add texture (& flavor) later on.
-
If for whatever reason you’re pan and sucs are burnt - discard them, clean the pan and start from there.

-
Turn heat to high. Add Chicken Stock and Lemon Juice, bring to boil and reduce by ⅓.
-
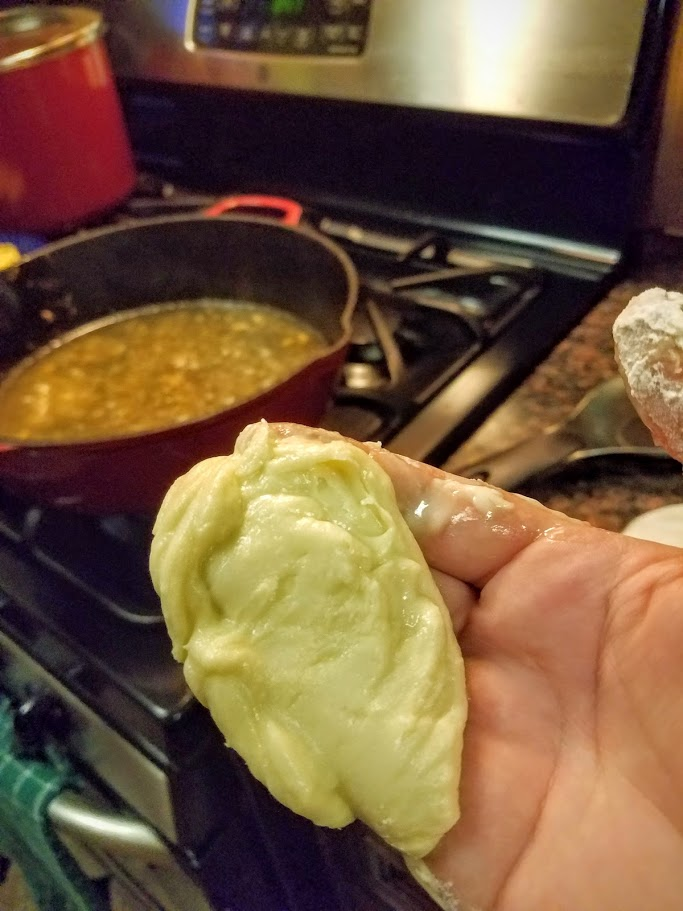
Take the 2 Tbsp Butter, and ¼ cup flour and mix together by hand forming a beurre manie

-
Once reduced, turn heat to med, and add the beurre manie to the sauce.

-
Stir until smooth and all flour is incorporated.
-
Then stir in Capers and Parsley.

-
Let sit 5 minutes to thicken and take on the flavors, stirring occasionally.

-
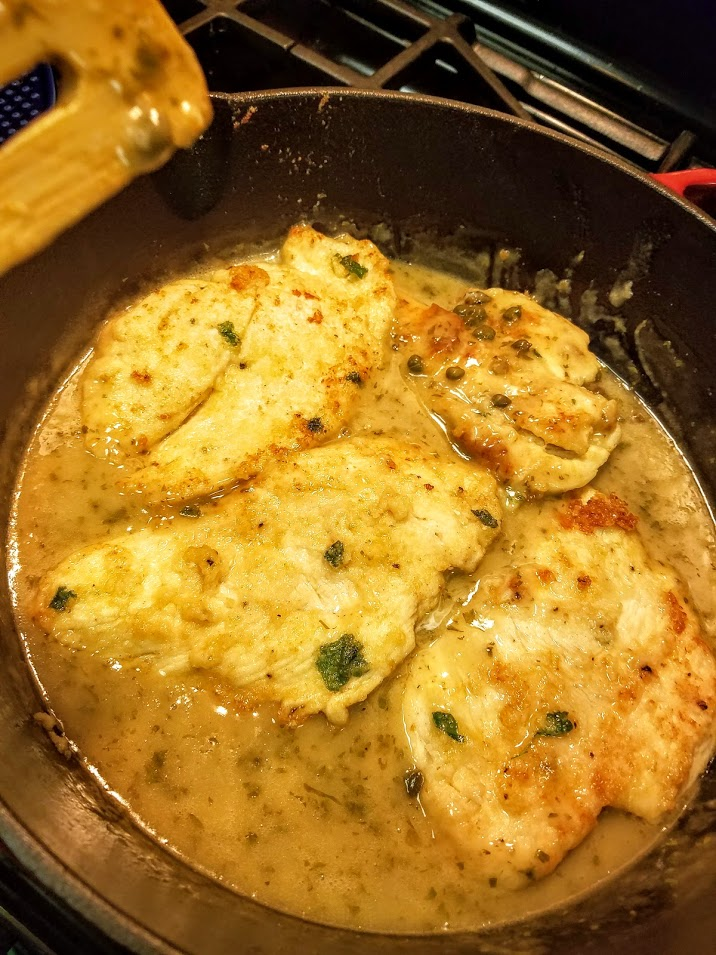
Then Place Chicken in the sauce. Turn off heat.
-
Let soak up the sauce on both sides for 2 minutes or until service.
*You really want to serve immediately for best sauce! It will seize rather fast, if this happens add a little bit of hot water at a time until thinned out.
Plate with pasta noodle or whatever you’d like.  Take additional sauce and top Chicken.
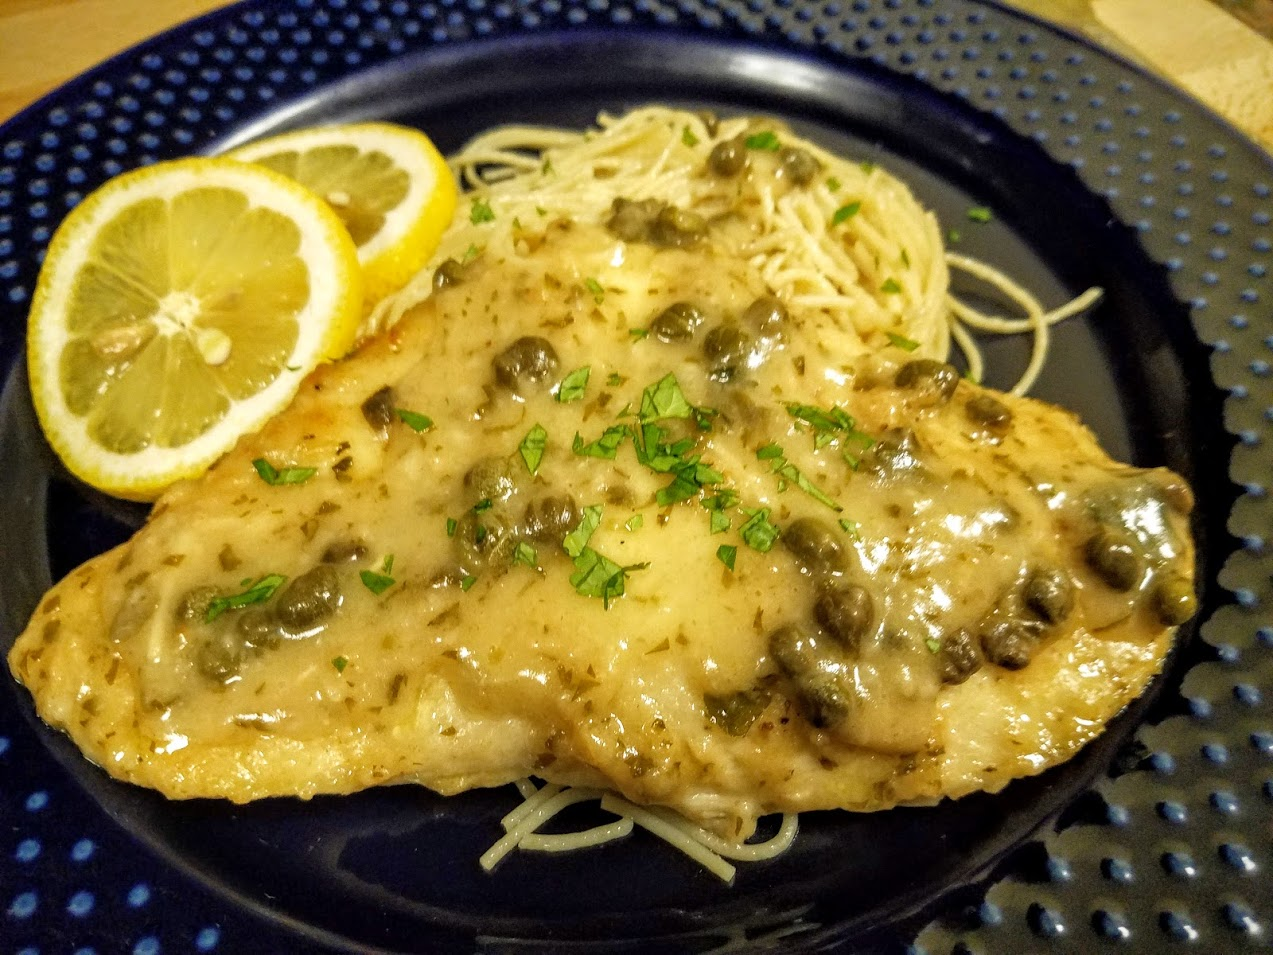 Or if you’re a traditionalist - after the pasta. Either way… Enjoy!
#ChickenPiccata #LemonCaperSauce #ItalianAmerican #AffordableGourmet #EasyCooking #FamilyFriendly #Pasta #CuisinArt #ChefCaylena #TimeCrunch #30MinuteMeals #EverydayGourmet
4 Chicken cutlets, or 2 Breast sliced along the width into 4.
½ Cup Chicken Stock
½ Cup dry White Wine -cooking wine
⅓ Cup Lemon Juice
½ Cup Flour, 1/4 Cup Flour
4 Tbsp unsalted Butter (divided in half)
¼ Cup Capers, drained & whole
¼ Cup chopped Parsley & 2 Tbsp Parsley (not together)
½ Cup Olive Oil
1 Tbsp crushed Garlic
Pinch of Cayenne Pepper
Salt & Pepper
Procedure
Start with the Chicken…
Rinse Chicken well. (slice in half lengthwise if thick.) Drain water, pat dry.
Line cutting board with plastic wrap.
Place Chicken on board, then cover with plastic wrap.
- I wrap up the sides so raw chicken juice doesn’t escape, and easier clean up.
Take your Steel, or meat mallet to pound out meat (without piercing plastic) until nice and thin but still holds together well.
The Marinade…
In large bowl combine: ½ cup Olive Oil, Garlic, 2 Tbsp Parsley, Cayenne, Salt & Pepper.
Place Chicken in the bowl, mix, and make sure chicken is coated. Put bowl in refrigerator until ready to cook. (10-15 minutes - can last over night it covered.)
Dredging the Chicken…
Put the ½ cup Flour with Salt and Pepper in a bowl.
Pour oil from marinade (not parsley) in a Large Skillet.
Sprinkle with hand, and pat in flour to lightly coat the chicken.
Cooking The Chicken…
Turn Skillet on Med-High, add 2 Tbsp butter. Heat until butter foams.
Place Chicken in the skillet.
Cook 4 minutes on each side. You’re sauteing until slightly browned. You can drop your heat to Medium if chicken is browning too much, or fast.
Set Chicken aside.
The Sauce…
Delase pan: Pour the white wine in the pan. Scrape all the sucs off the bottom of the pan, don’t worry about straining them, they’ll mostly dissolve, and add texture (& flavor) later on.
- If for whatever reason you’re pan and sucs are burnt - discard them, clean the pan and start from there.
Turn heat to high. Add Chicken Stock and Lemon Juice, bring to boil and reduce by ⅓.
Take the 2 Tbsp Butter, and ¼ cup flour and mix together by hand forming a beurre manie
Once reduced, turn heat to med, and add the beurre manie to the sauce.
Stir until smooth and all flour is incorporated.
Then stir in Capers and Parsley.
Let sit 5 minutes to thicken and take on the flavors, stirring occasionally.
Then Place Chicken in the sauce. Turn off heat.
Let soak up the sauce on both sides for 2 minutes or until service.