Showing posts with label DIY. Show all posts

Thursday, July 14, 2016

TRI TIP - Santa Maria Style


TRI TIP
Santa Maria style

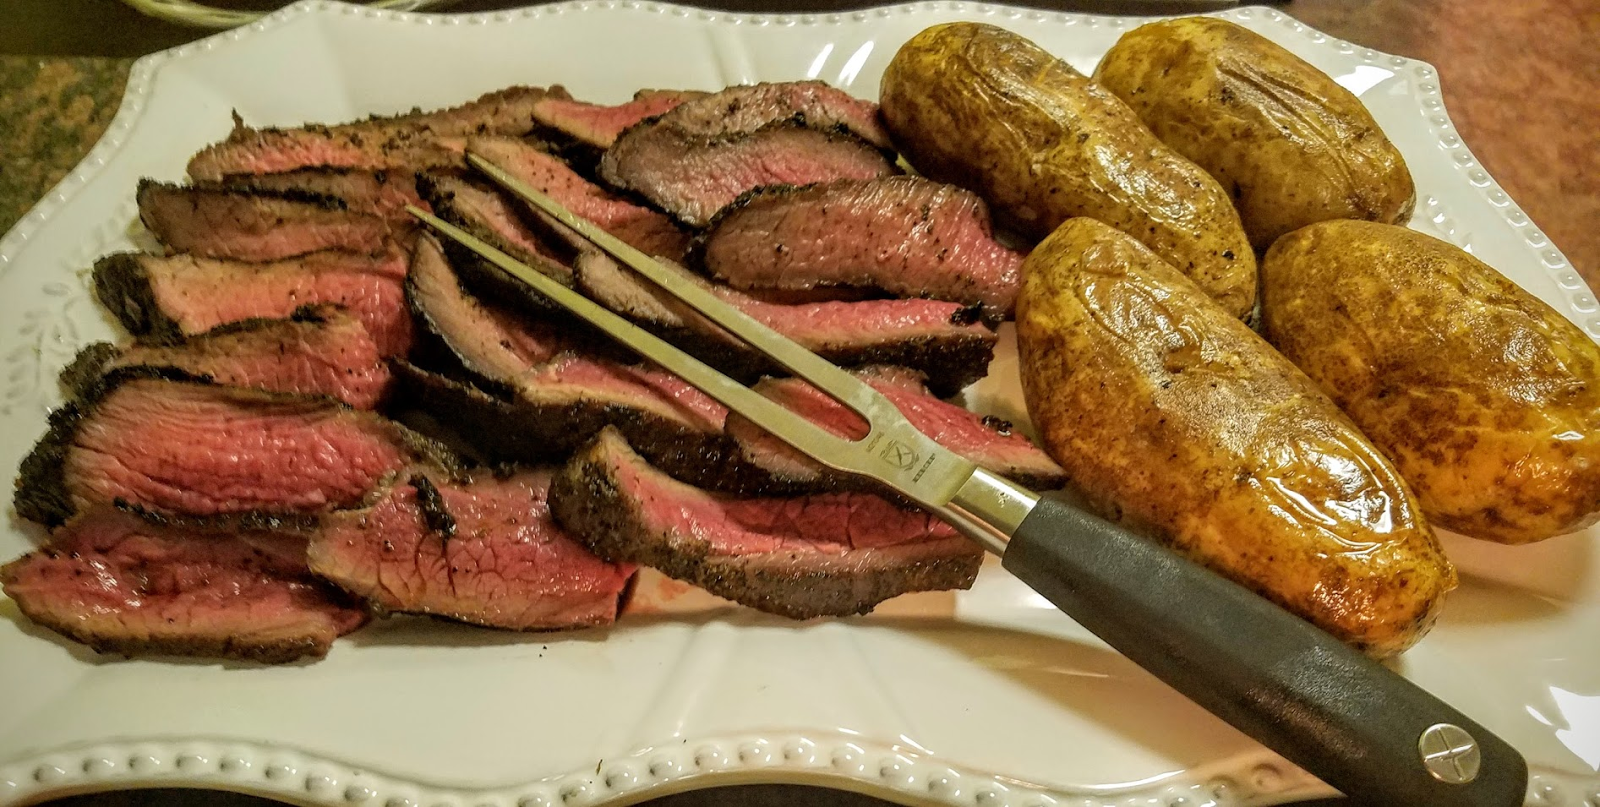
I have lived North, South, East, West, and even in Hawaii. Everything is different in every region when it comes to food though one thing remains the same...

The Primal and (not so) Basic Instincts regarding meat! I say not so basic, because there is absolutely nothing more appalling than wrongfully prepared meat! This is really simple to avoid: pay attention, season well & only before cooking, don't burn or dry out meat, and you MUST let it REST.

However, no two places do their BBQ the same, and that is all about preference, though all have a “Claim to Fame.” I can truly testify to the Santa Maria style Tri Tip.  

My only caveat - No BBQ pit in my NYC apartment - you?

No problem, you won’t notice.

Those of you that do… Perfect this is for you too.


Note: I said Santa Maria Style…of course this is my version… and it is Damn Good!

Step By Step

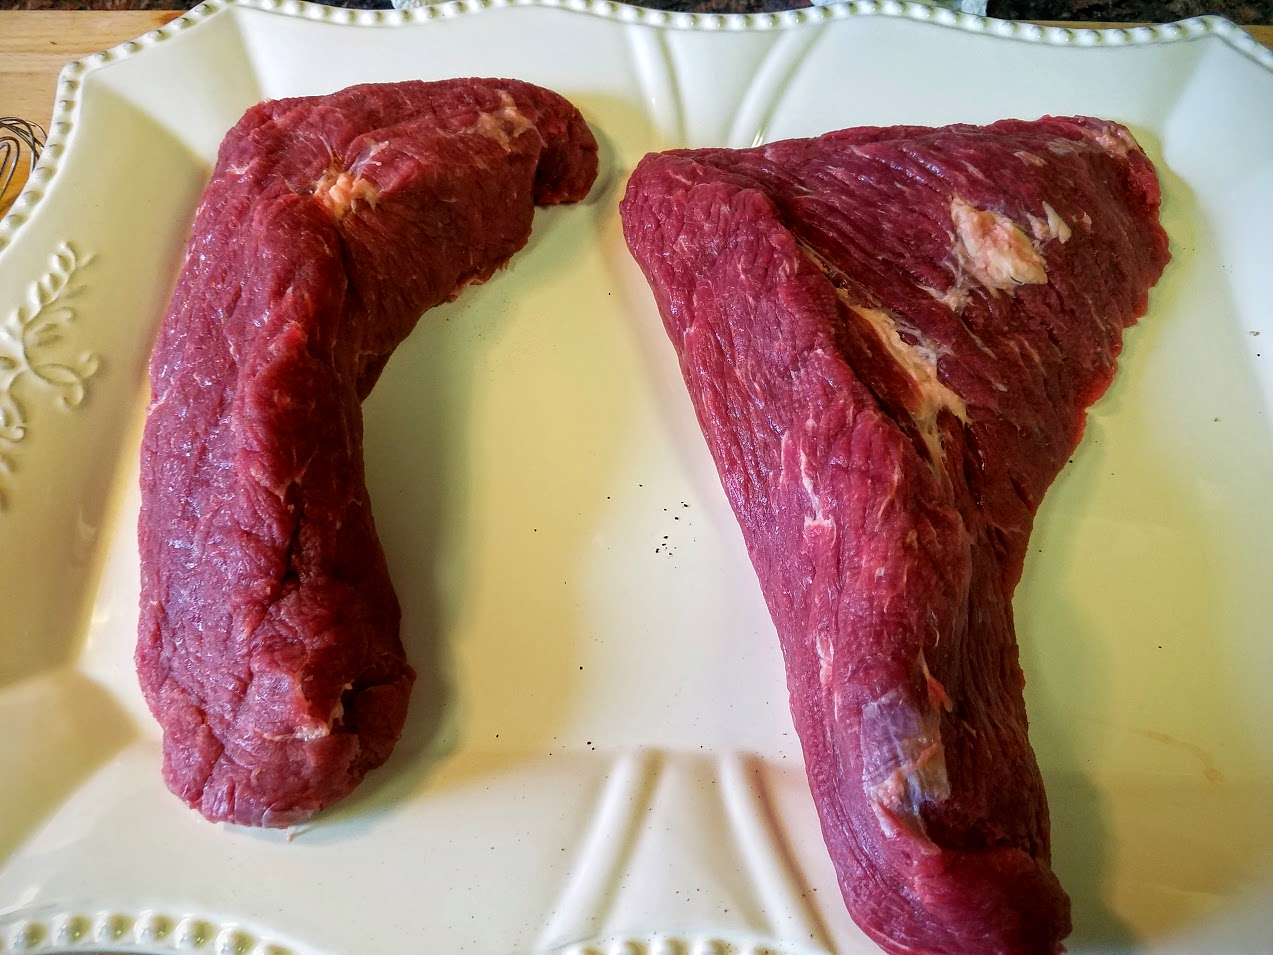
  1. Tri Tip - try to get 2 lbs (serves 4-6 easily)
      • I have 3 lbs here in 2 pieces.
    • Tri Tip is a very lean meat so you don’t want to trim it up, if there's a little extra fat just leave it.
    • Rinse well, and pat dry with paper towel.

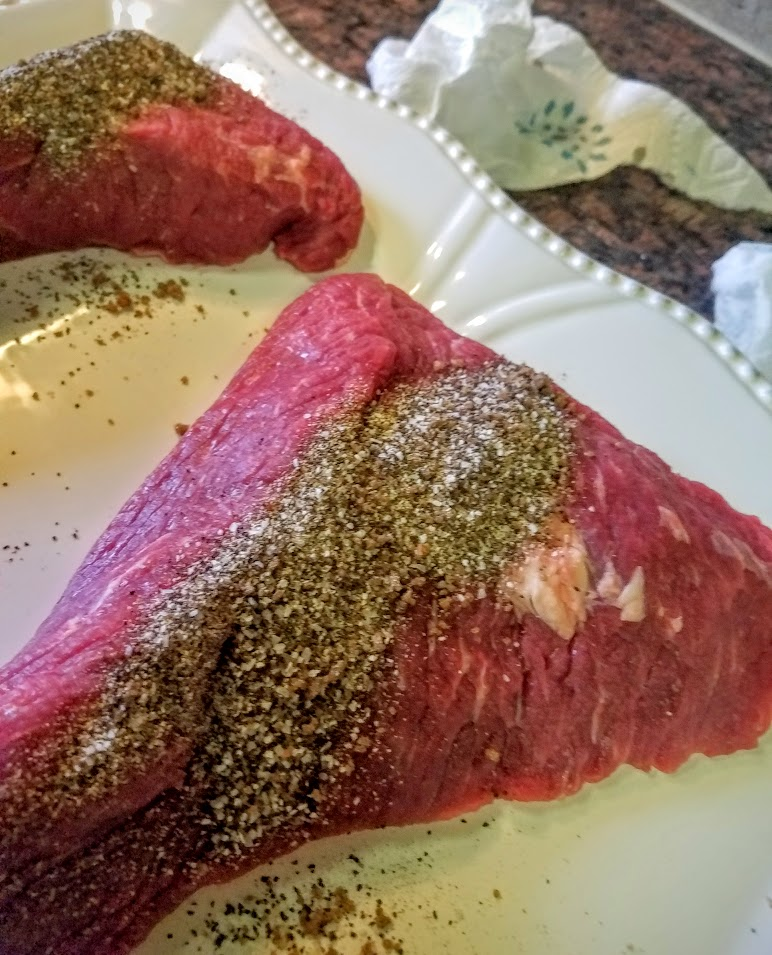
  1. The Rub:
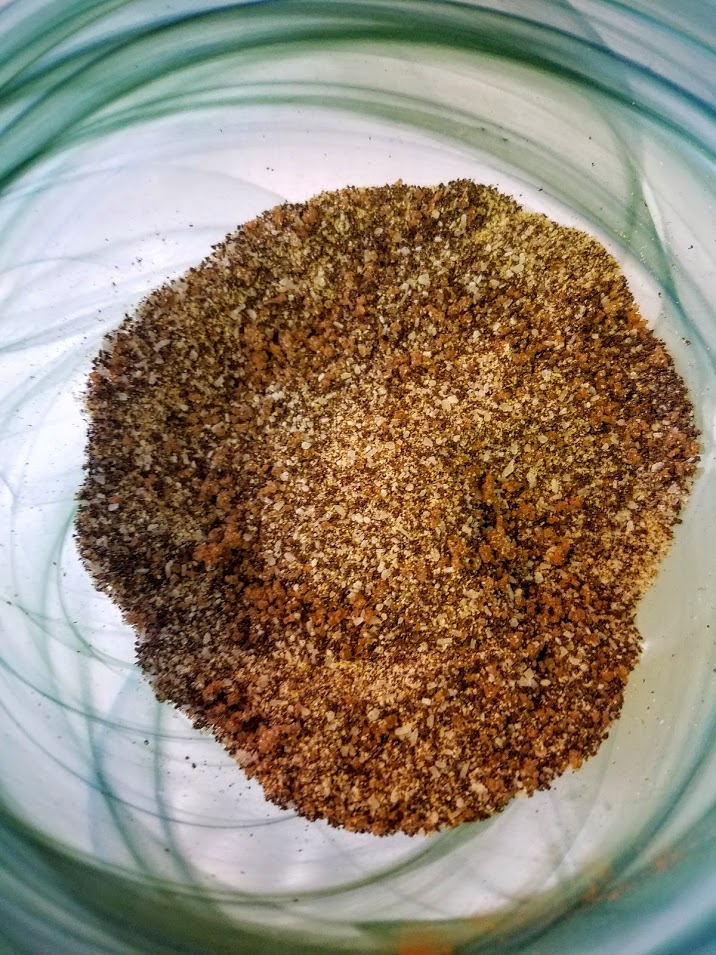
    • 2 Tbsp Ground Coffee    
    • 1 ½ Tbsp Kosher Salt
    • 1 ½ Tbsp granulated Garlic
    • 2 tsp ground Black Pepper
    • 1 Tbsp Brown Sugar
    • ¼ tsp Cayenne Pepper
    • ½ tsp Allspice


Smells Amazing!!!
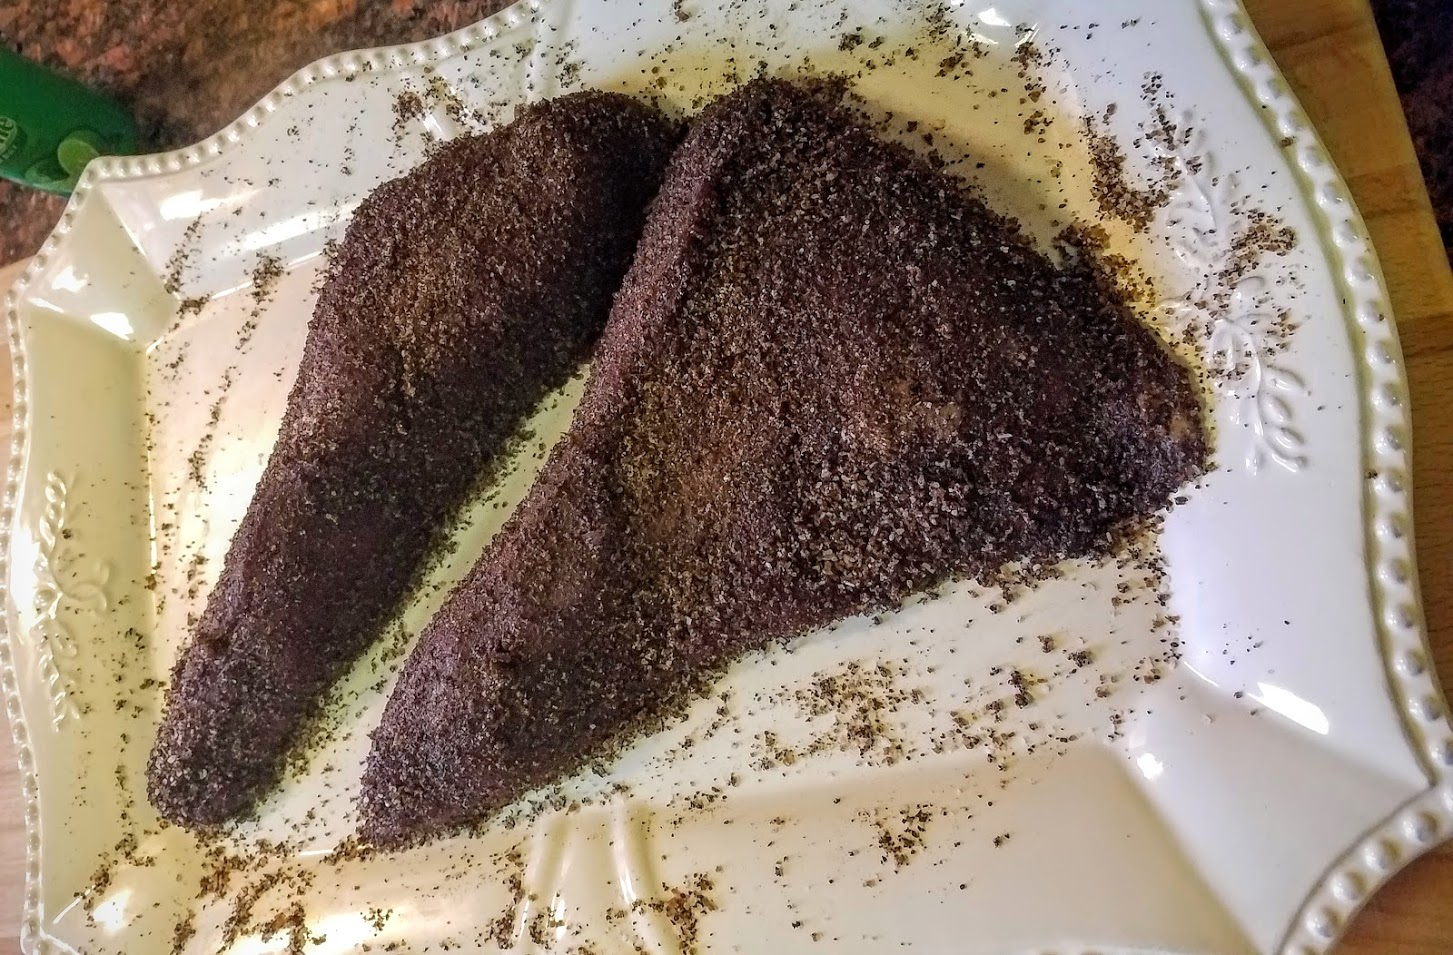
  1. Get your hands dirty! Make sure the entirety of the stake - top, bottom, sides, everything - completely coated so a nice heavy crust forms.

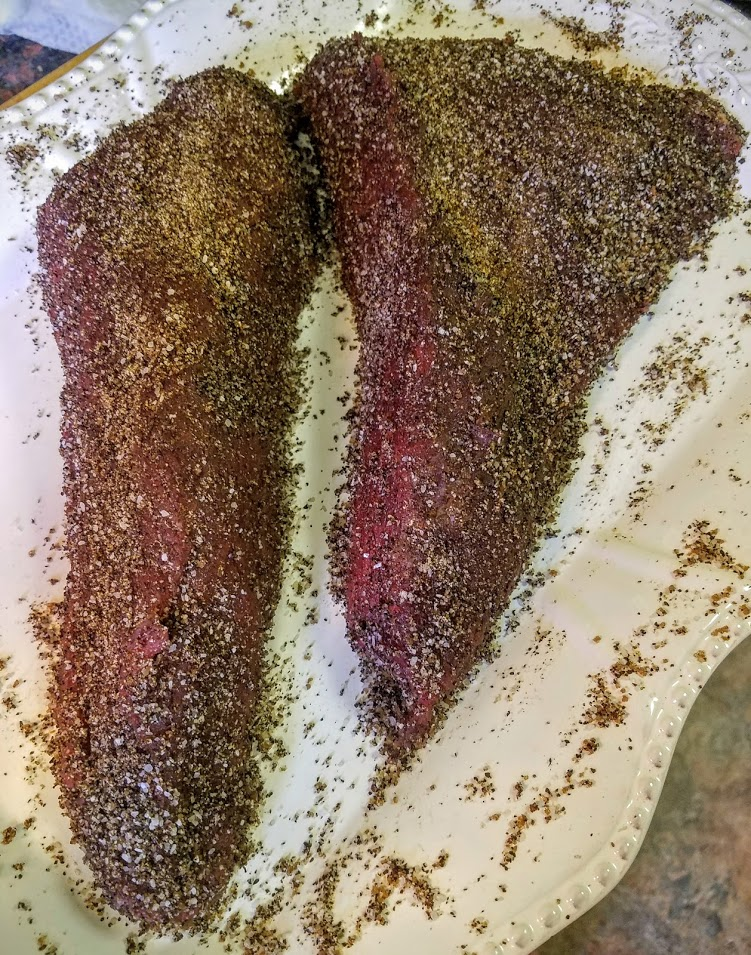


  1. Put it in the refrigerator as is, for at least 1 hour, 3 is good, overnight is fine but not necessary.
    • Note the coffee stains and beautiful crust formed.

5. Pull the meat back out and let it sit for half hour before cooking so that it’s not cold.

  1. Heat a Cast Iron pan with enough olive oil to coat- OR - your grill, until oil is near smoking.
  2. Sear meat on all sides well.
    • You’ll pay attention to the browning of the meat, and the coating isn’t burnt.
    • 4-5 minutes on both sides, 2-3 on thin sides.
  3. Turn heat to Medium (or move to cooler part of grill), and finish cooking - about 6 minutes for for Rare to MR.
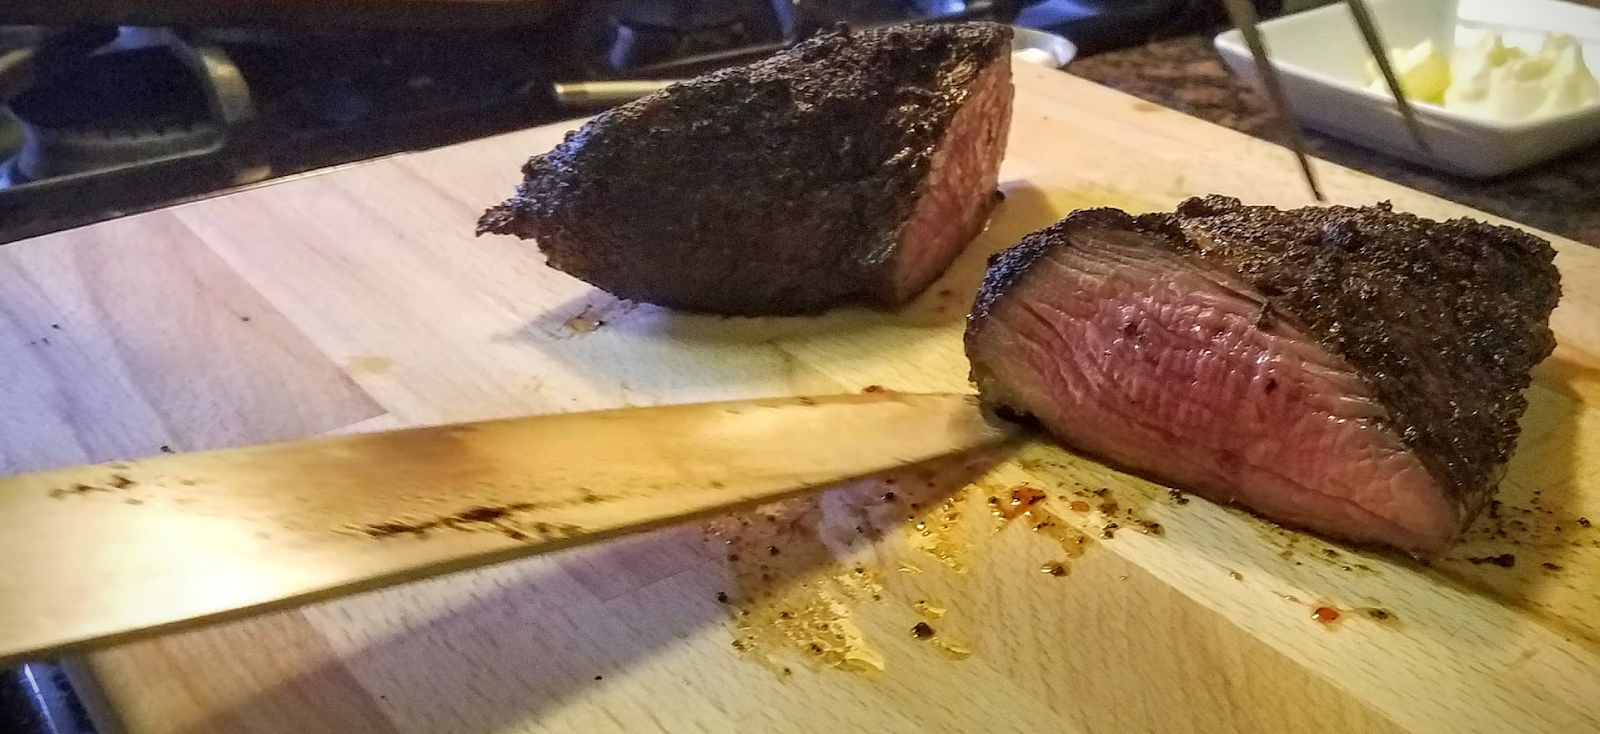
    • Use an electric thermometer. You want to probe the very center, entering from the side, reaching 140*F for Rare - MR (Which is what I did so you can see.) 150, 165, and so on. At 140*F it takes about 20 minutes per stake.
NOTE: Because this steak is a very lean meat, cooking at a very high temperature - the outside will be cooked well and less and less towards the center.
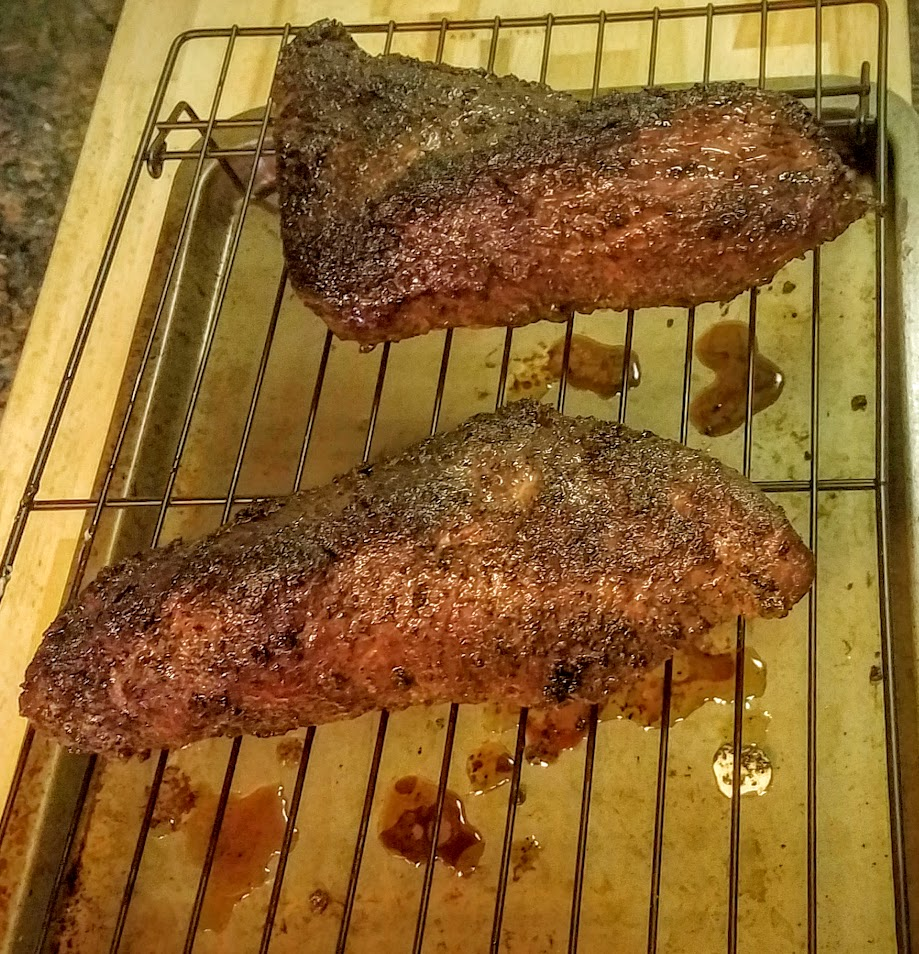
  1. REST your steak! Just put it aside and let it rest for at least 15 minutes! This is a complete must! You want the meat to rest, and absorb all those juices back in the meat so it will be super juicy rather than all over your cutting board when you cut.  
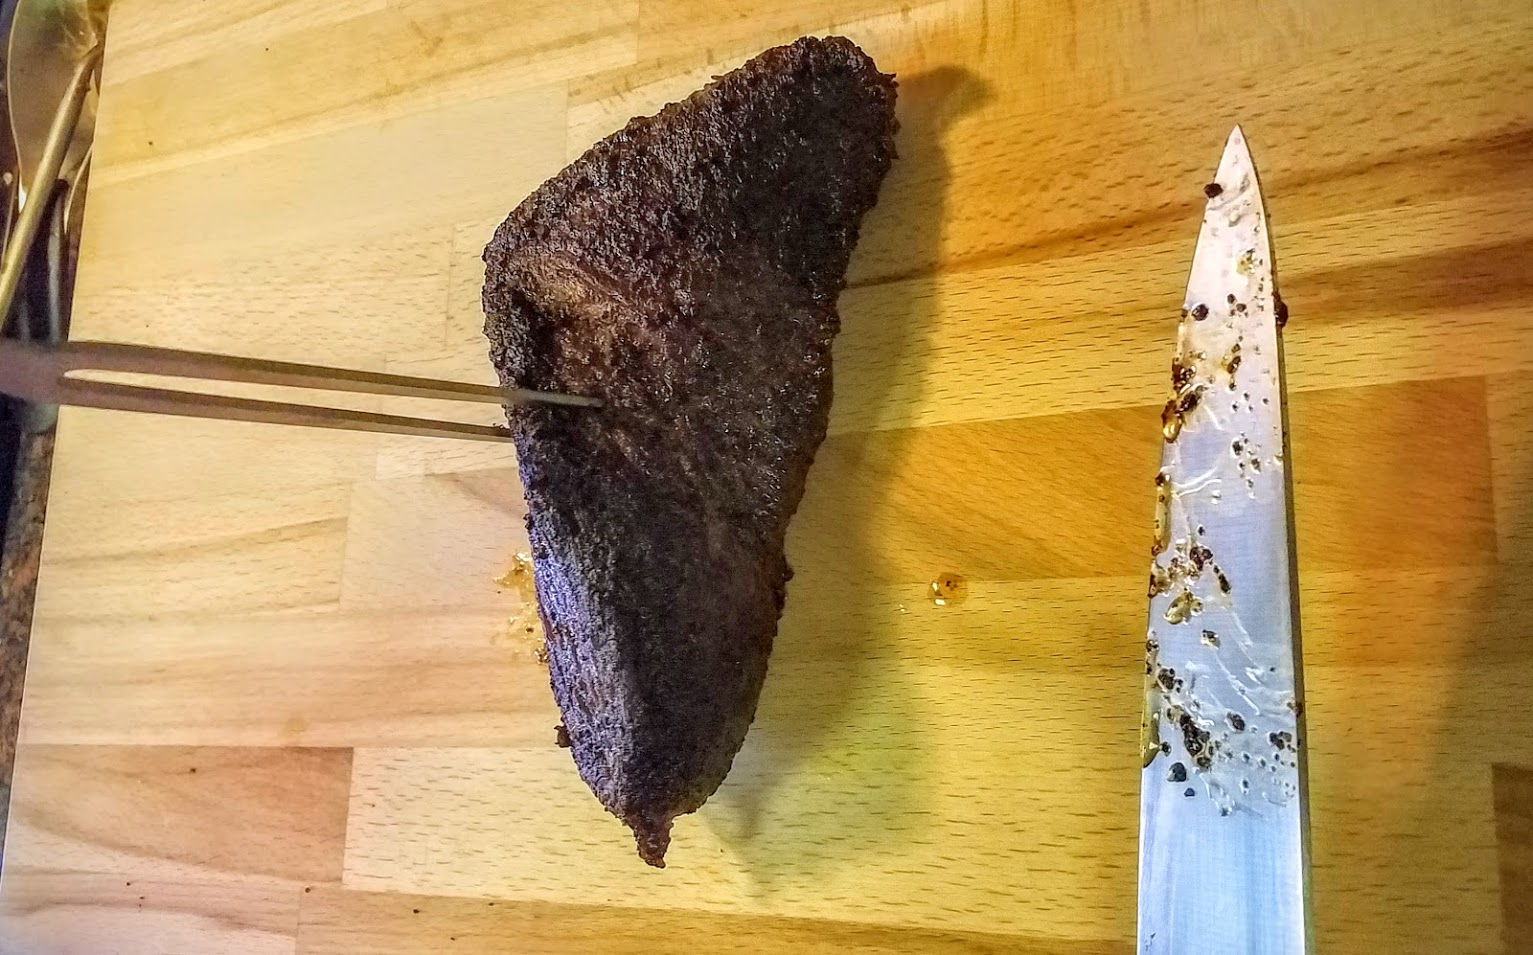

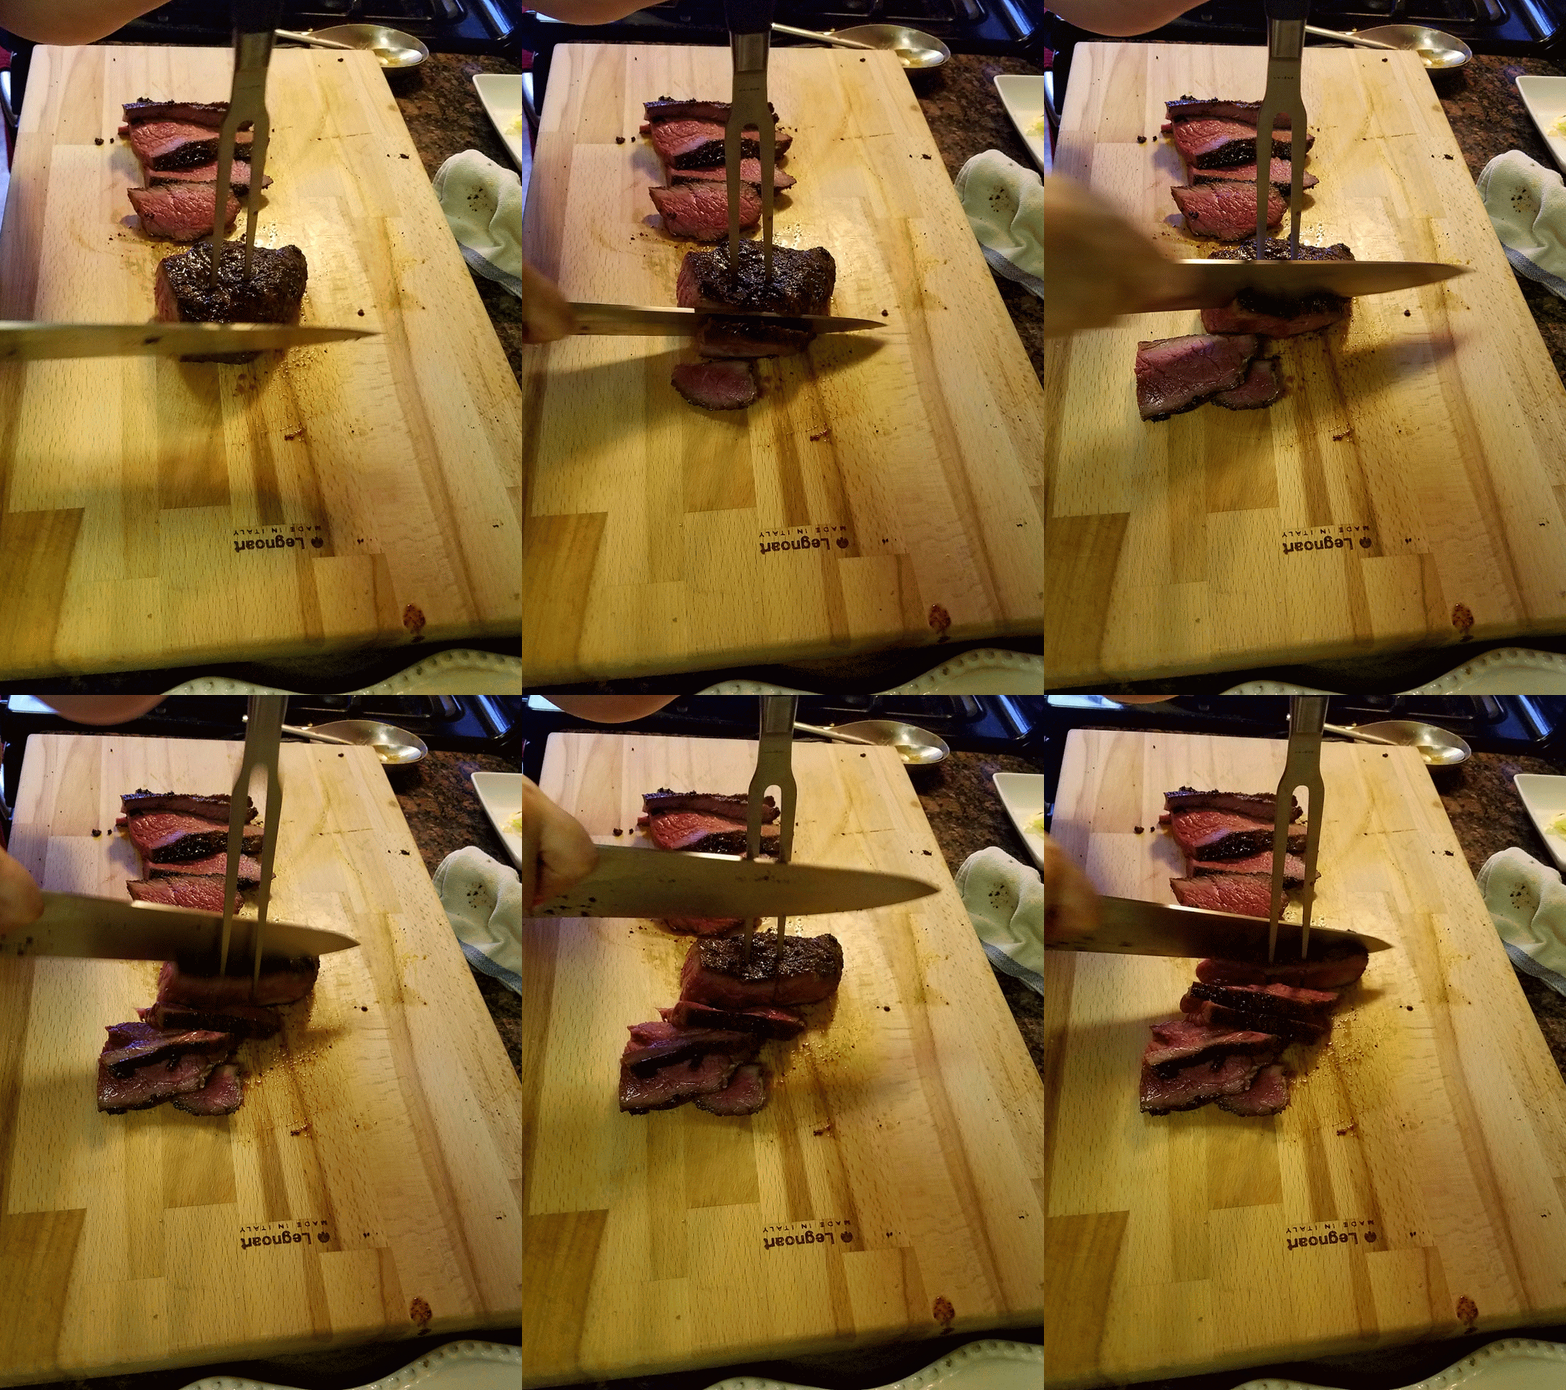
  1. Once rested Cut your meat in half. The Tri Tip is called that because it’s shaped like a triangle. The Tri Tip needs to be cut against the grain. It goes one way at the triangle, and another way at the length - so you cut along those lines…
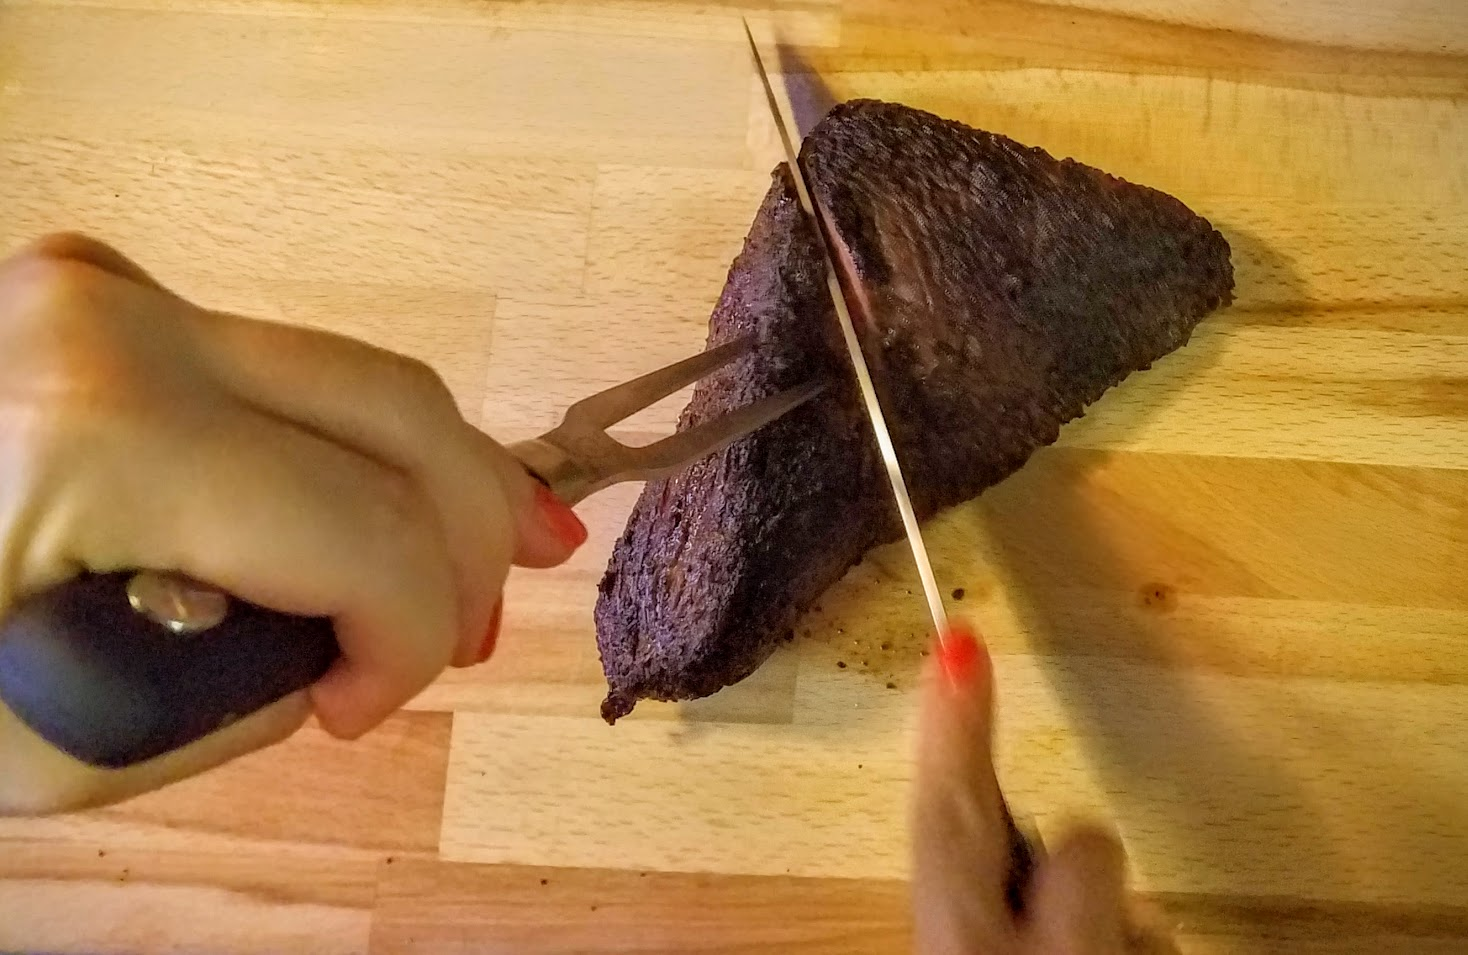
See the lines, you want to cut opposite direction of this.
tritip.gif

Tri Tip is cut rather thin because of the texture, though you'll appreciate it's very rich in flavor.
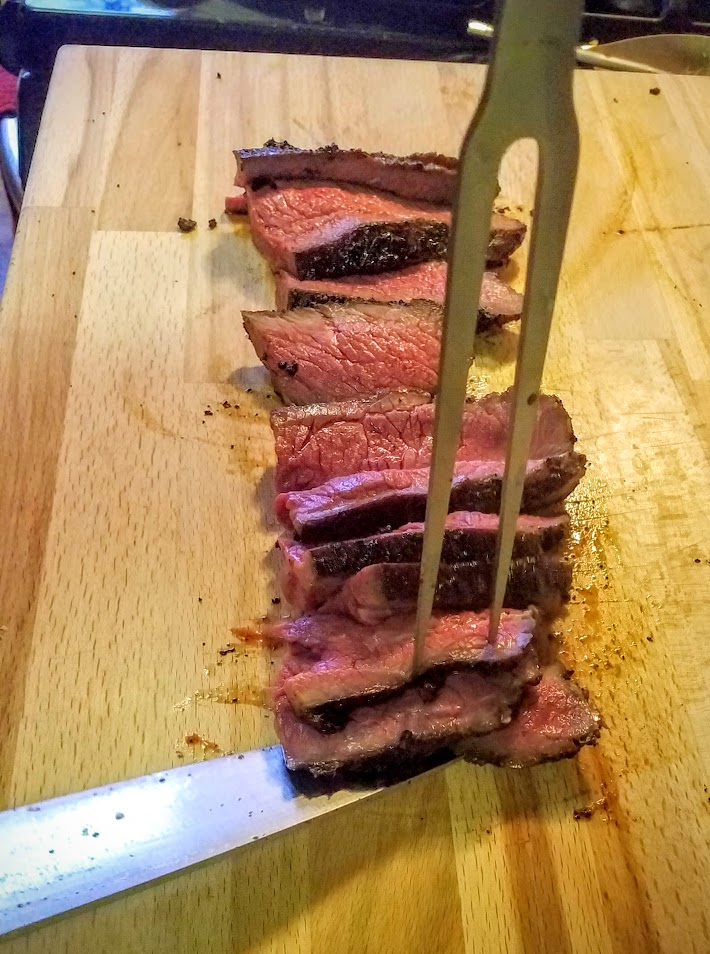
I absolutely loathe people who put salt on a dish before tasting it! It’s cretinous!!!
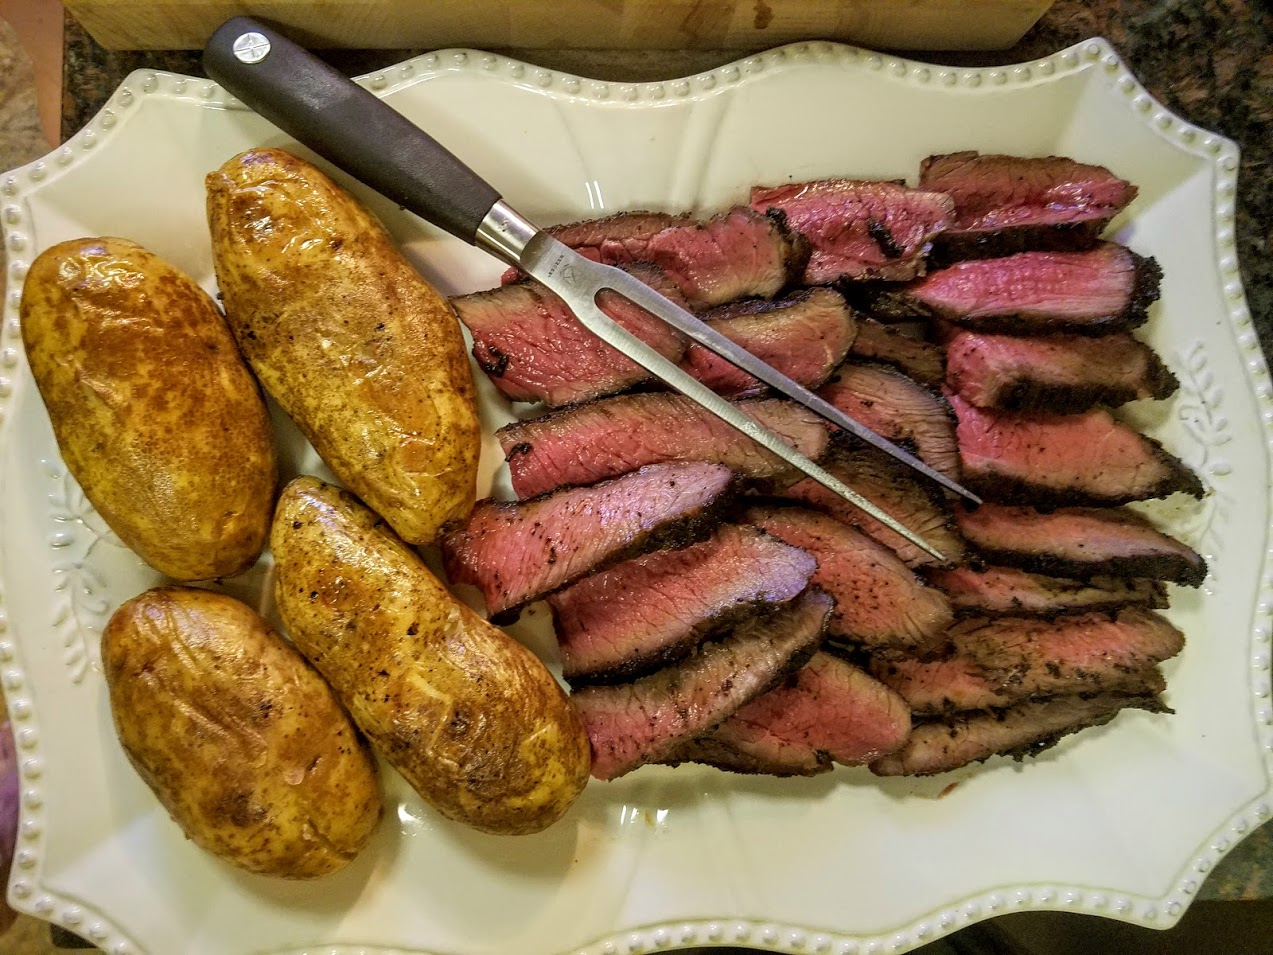
This dish is perfectly seasoned from the dry rub! You’re ready to serve!
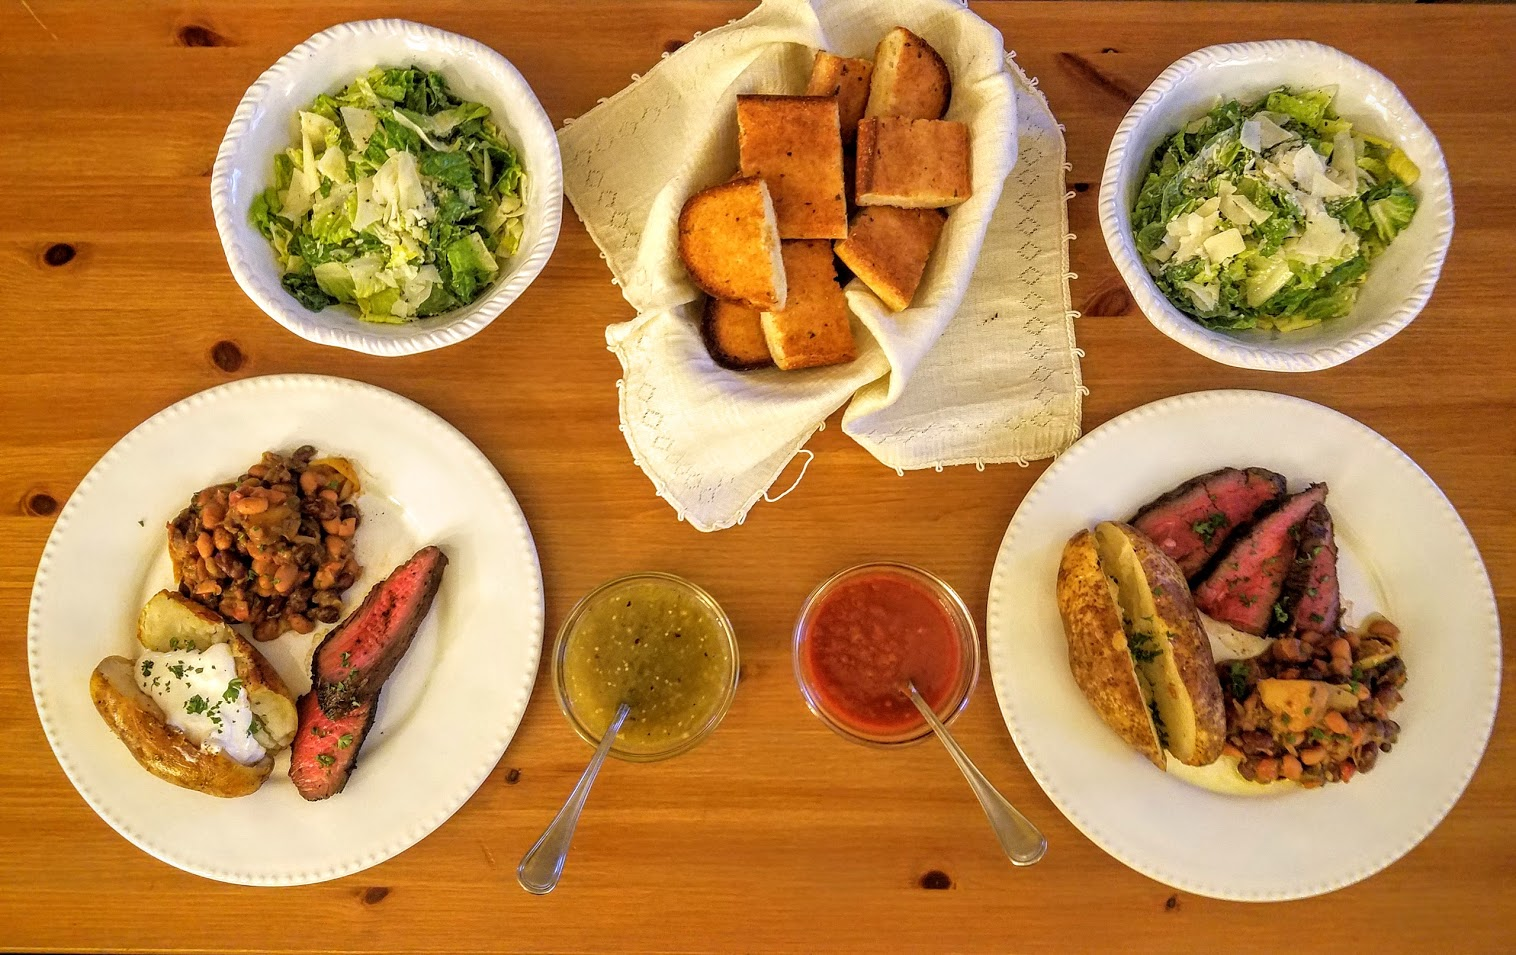
If you truly want to do it Santa Maria Style - serve it with salsa instead of a steak sauce and some kickin chili!


#SantaMariaBBQ #TriTip #SummerCooking #SummerEats #BBQ #Grilling #ChefCaylena


Wednesday, July 6, 2016

THE CHEESE SOUFFLÉ

THE CHEESE SOUFFLÉ

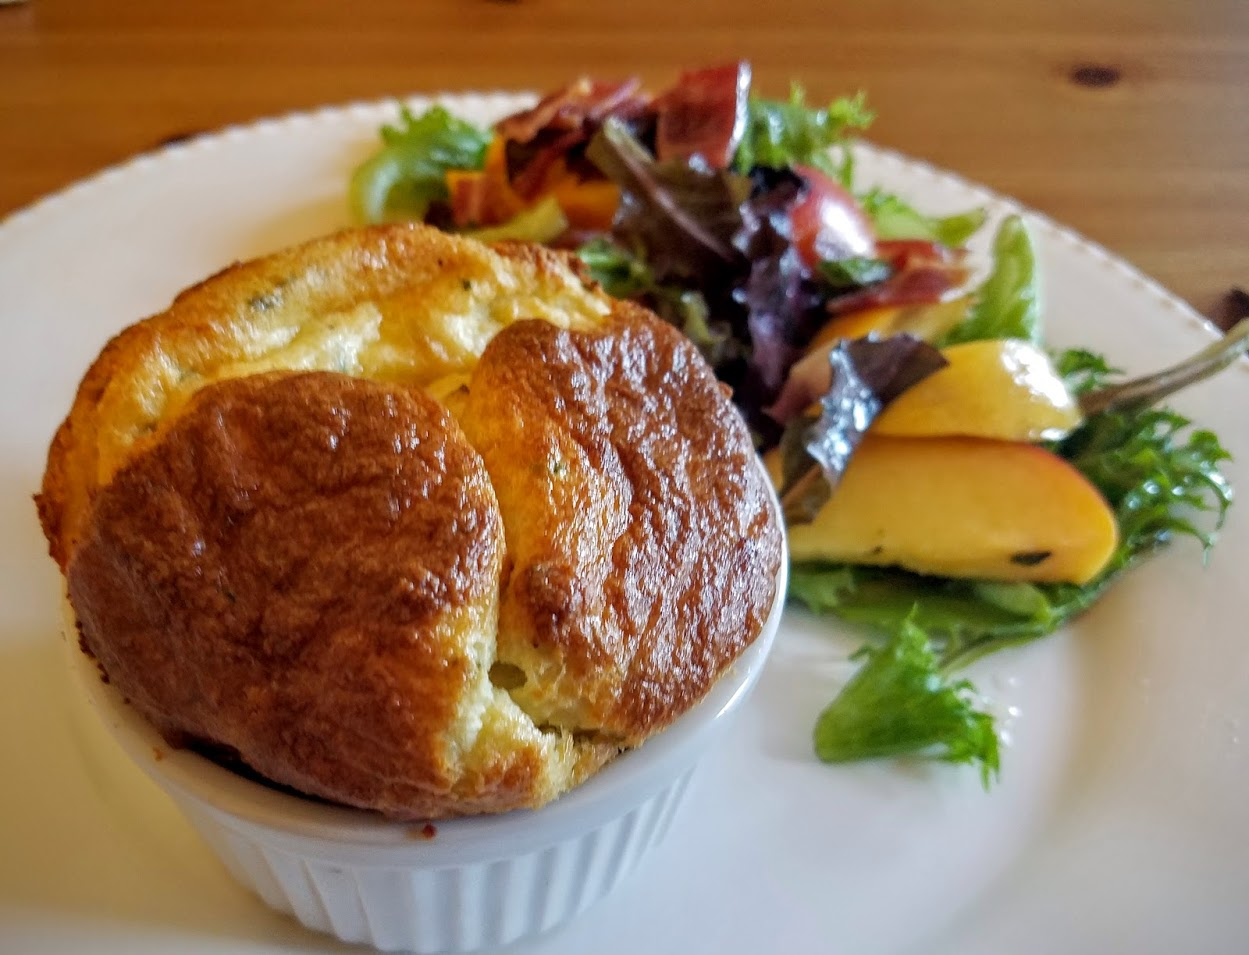
The elegant and decadent souffle - the most pretentious and intimidating of haute cuisine.  I make this look easy - and now, so will you!
Most dramatically puffed up right out of the oven, and will deflate rather fast - so be prepared to serve immediately. This is why they are rather complicated to make for the masses, or why restaurants insists you let them know exactly when they are to be served, that, and the glorious fact that they are made to order.

This is a rather magnificent way to inspire awe out of your brunch guests! What they wont know is how incredibly easy and stress free this dish actually is to make!
Shown here with Peaches & Bacon Salad


Difficulty - moderate / somewhat hard (Just pay attention & you got this!)
Time -  40-45 minutes TOTAL
Clean up - Easy, you’re eating straight out of the cooking dish!


*Mandatory:  Electric Mixer & 10 oz-Souffle cups / ramekins.
(you can buy for $2 each or the aluminum one time use ones at grocery stores.)
*Preheat Oven to 400*F

Ingredients

  • 4 Tbsp unsalted butter, plus more for ramekins
  • ¼ cup Parmesan cheese - grated
  • ¼ cup all-purpose flour
  • 1 cup Evaporated Milk (Lactaid, or whole Milk)
  • 1 cup grated Gruyere or Swiss cheese
  • 2 Tbsp chives - chopped
  • Pinch of Cayenne Pepper
  • Salt & pepper
  • 4 large eggs, room temperature, whites and yolks separated

Procedure

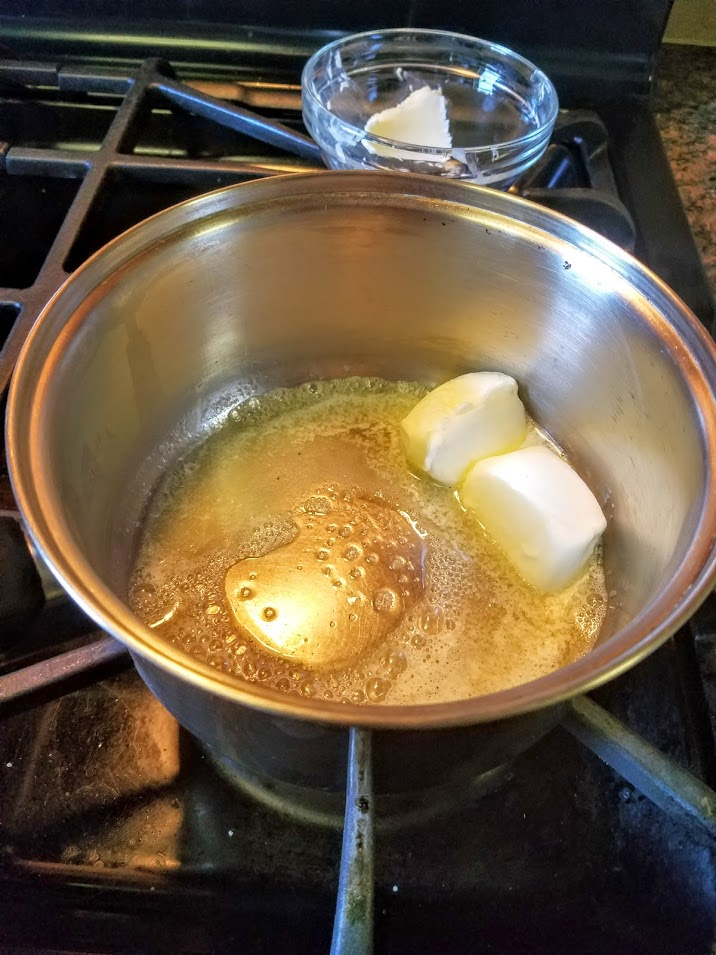
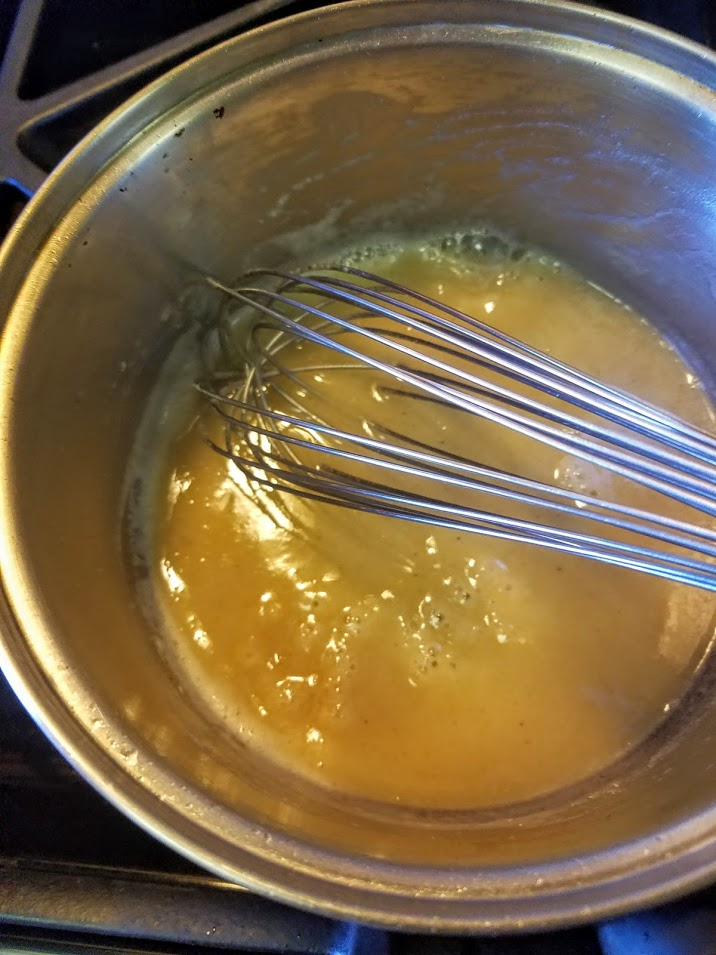
1) Melt butter in a saucepan over medium heat.
Add flour; stir 1 minute.
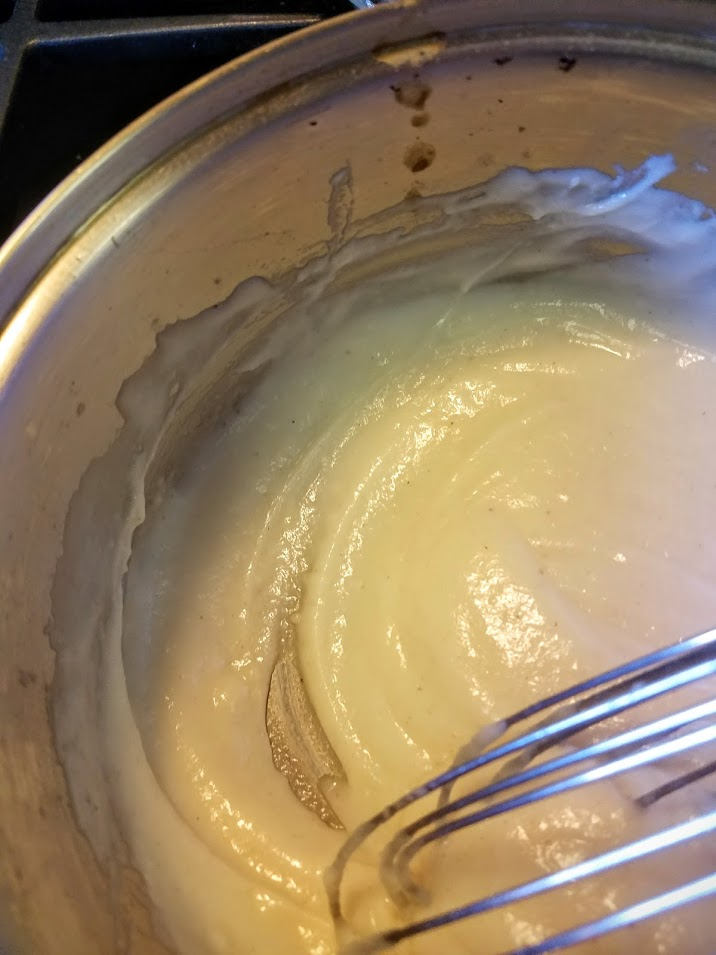
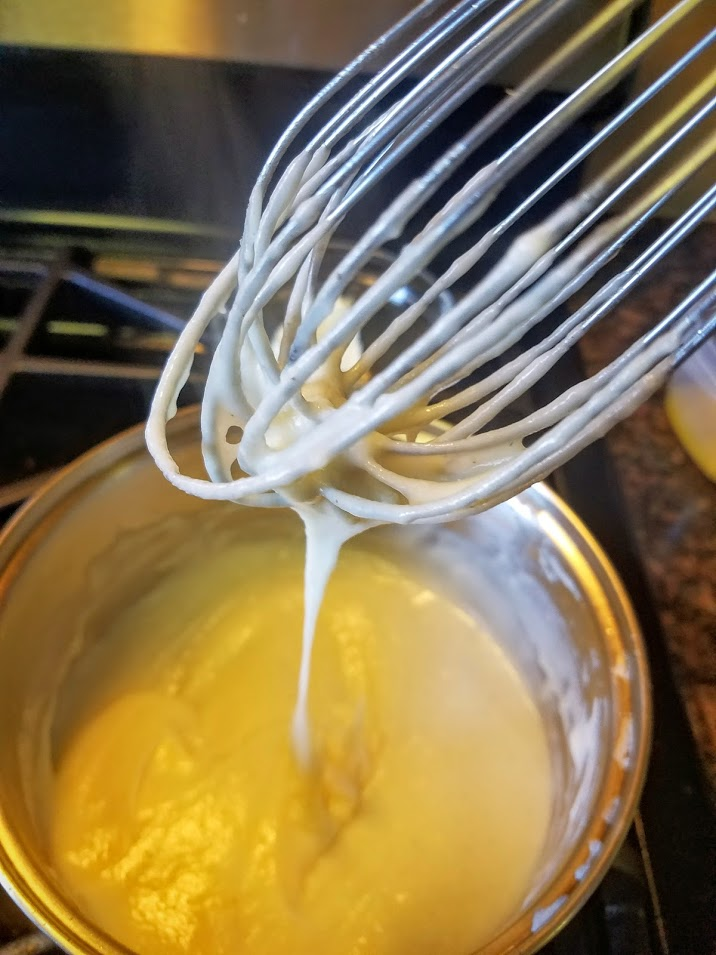
Add milk, whisking until thickened.
  
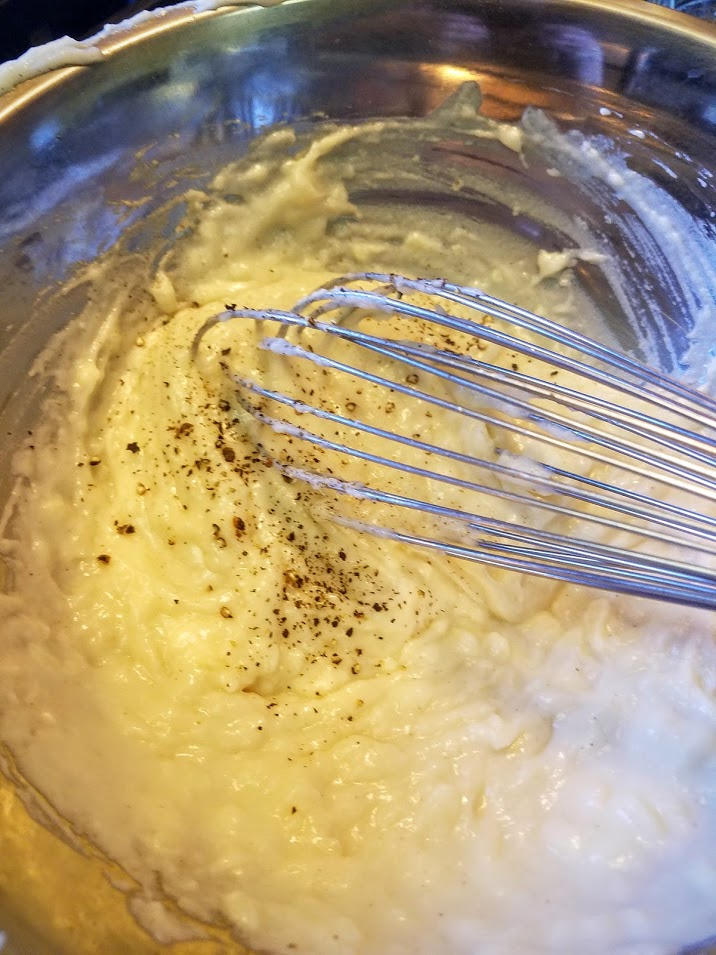
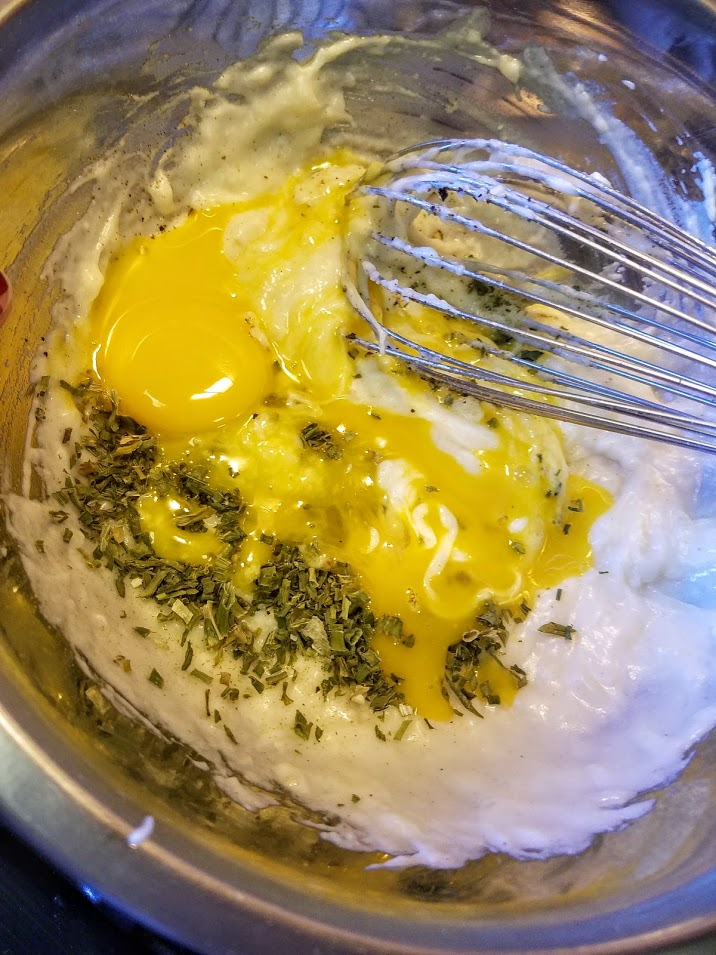
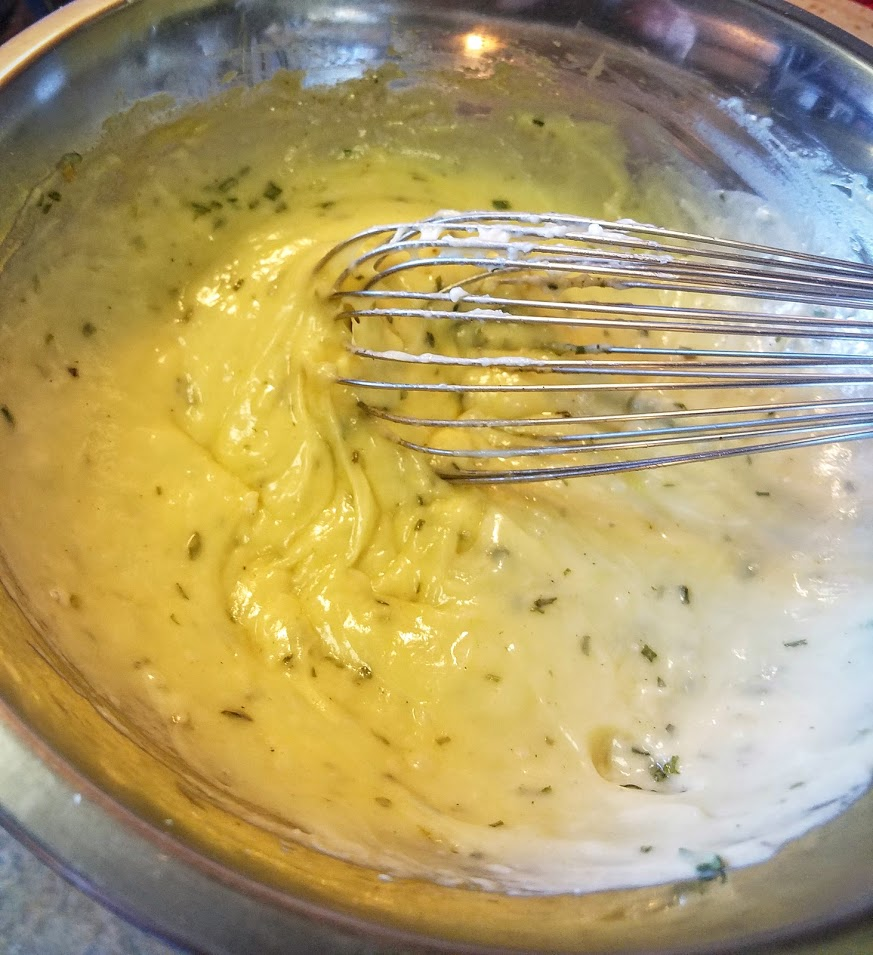
Transfer to a large bowl. Whisk in Gruyere / Swiss cheese, salt & pepper.

Then egg yolks & chives.
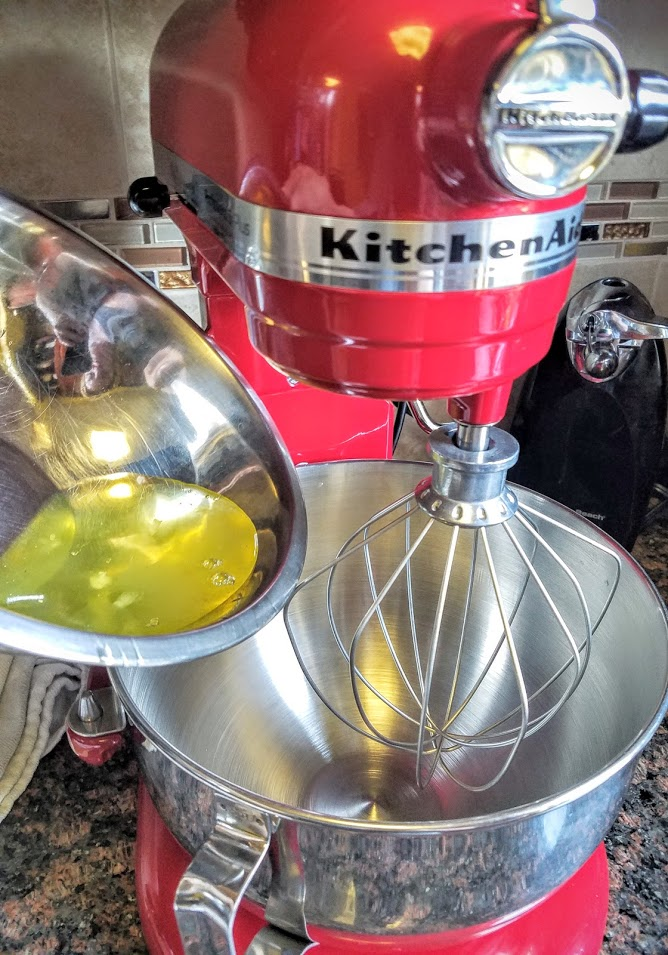
2) Making the Meringue…
*It is very important not to have ANY yolks mixed with the whites, or it simply WILL NOT work. This is a crucial detail. If you think it’s working… wait until you try to get those souffles to rise… nada!
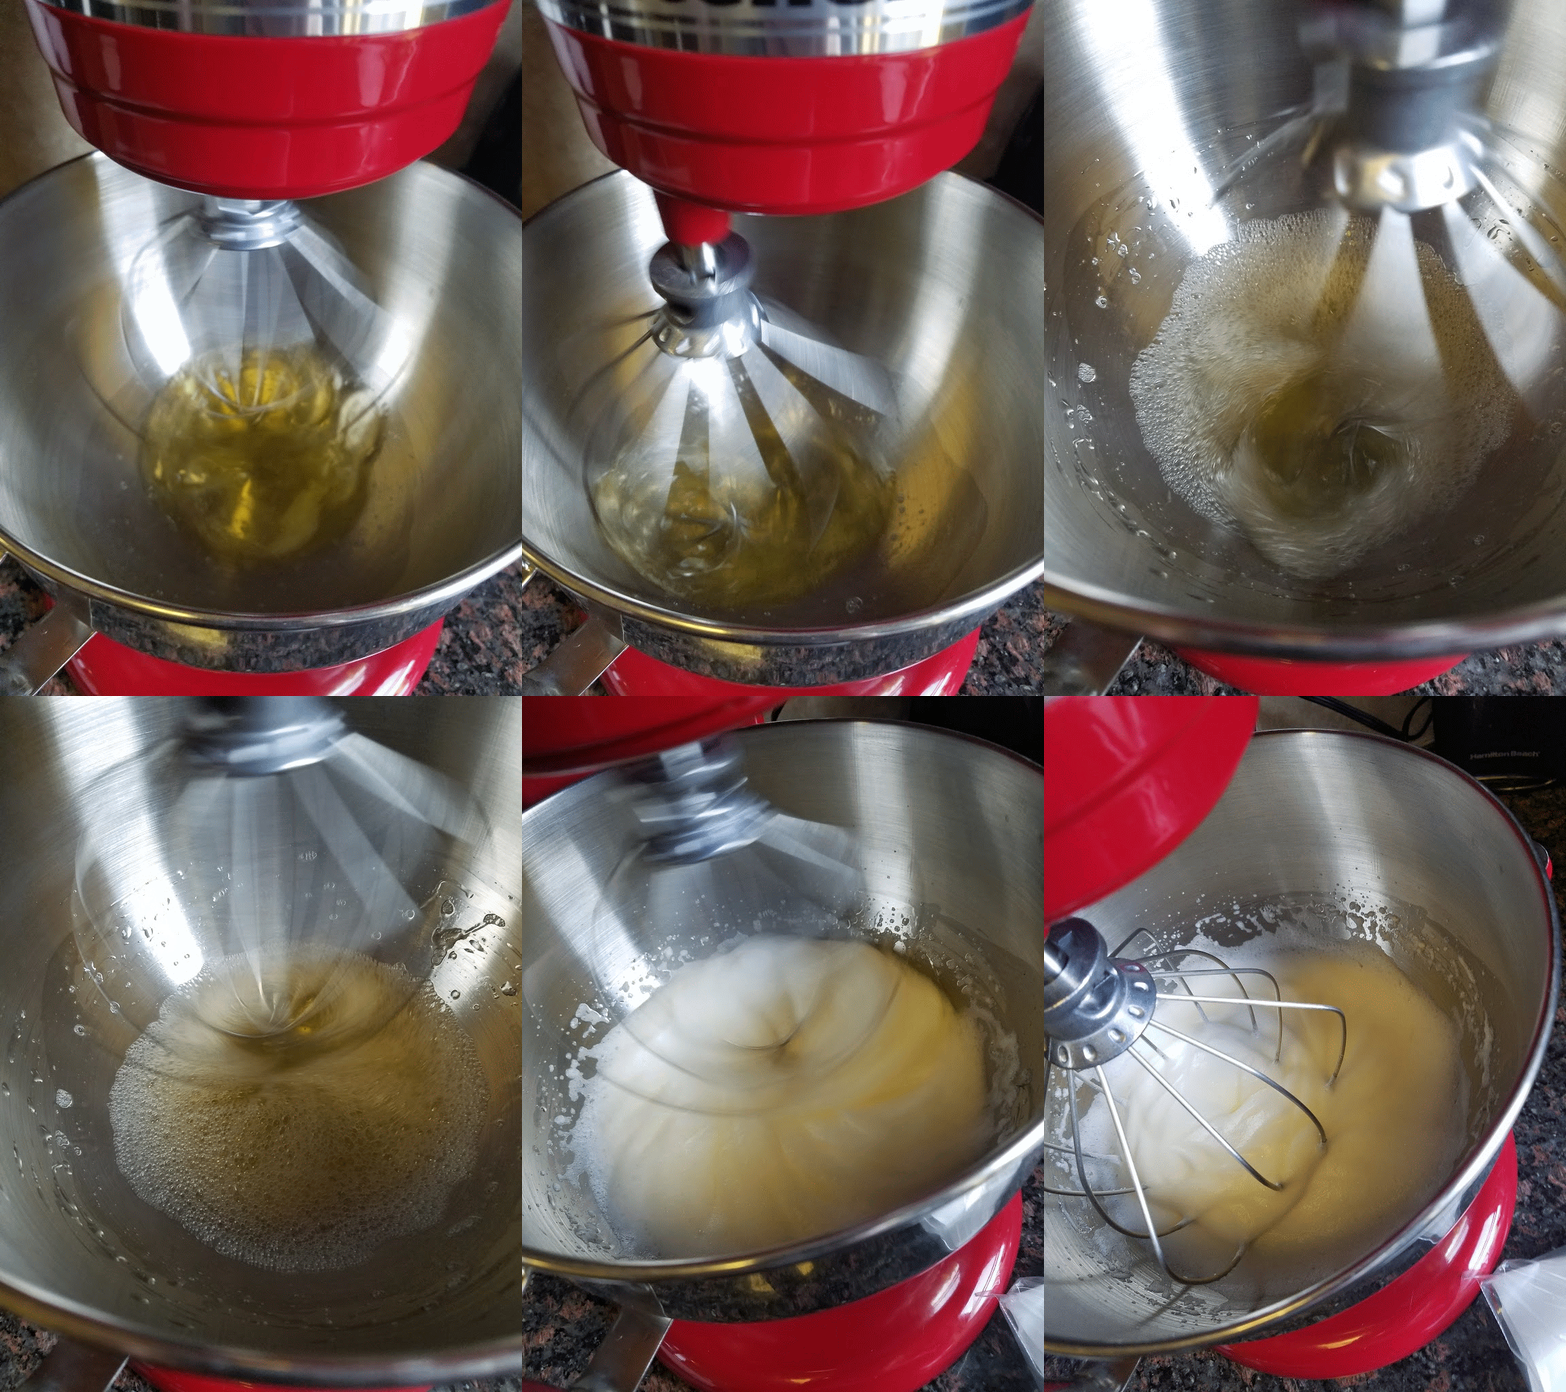
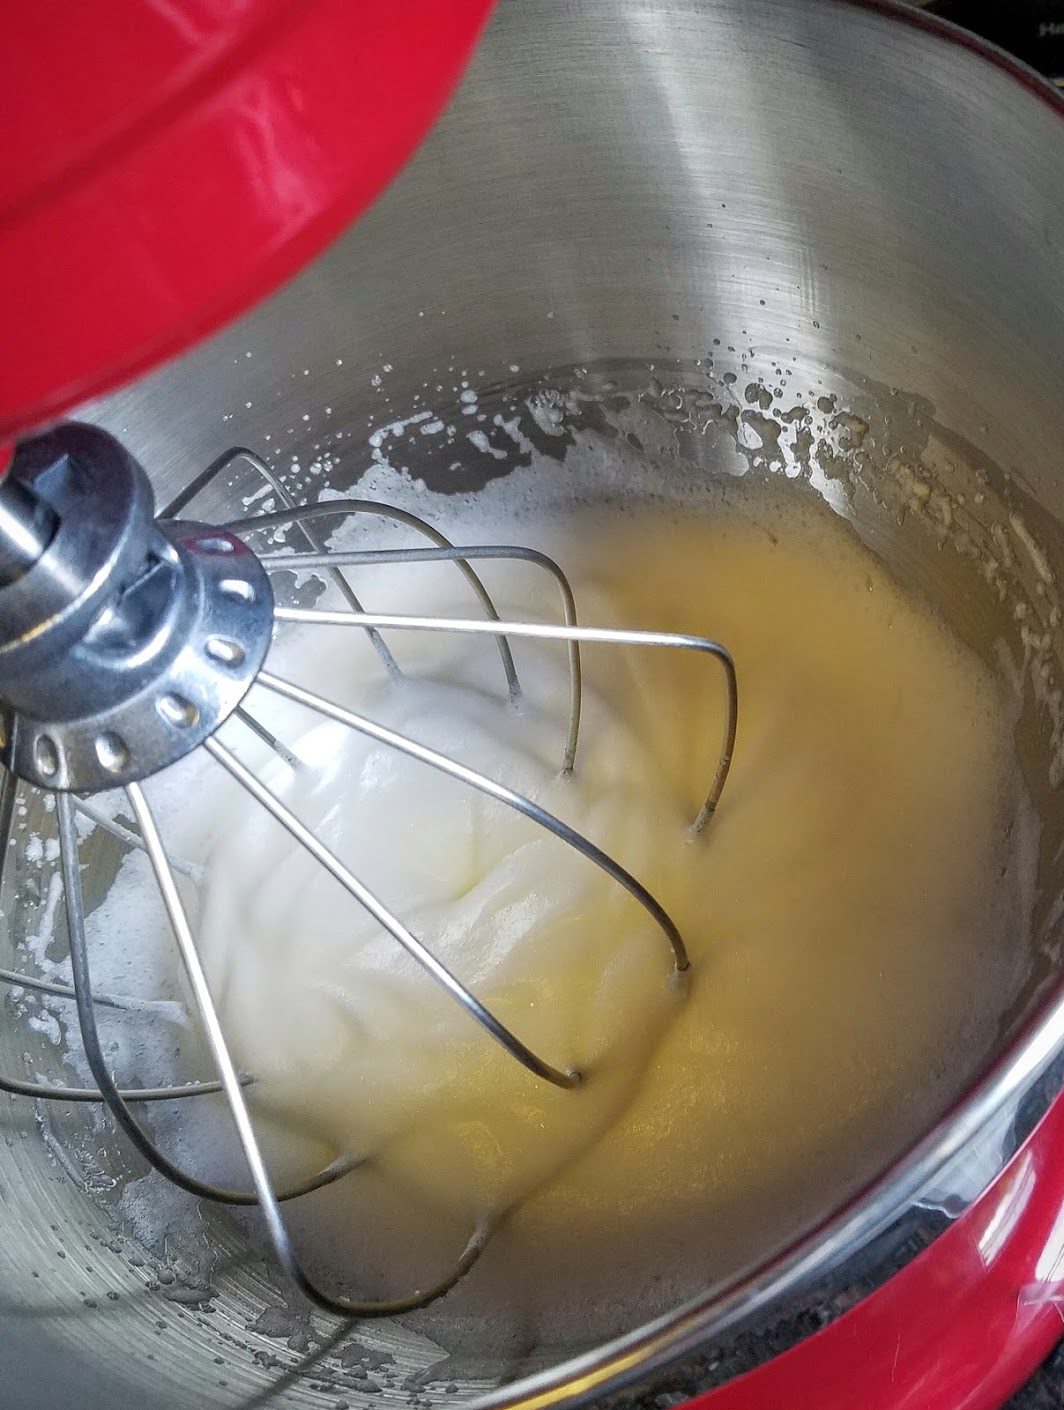
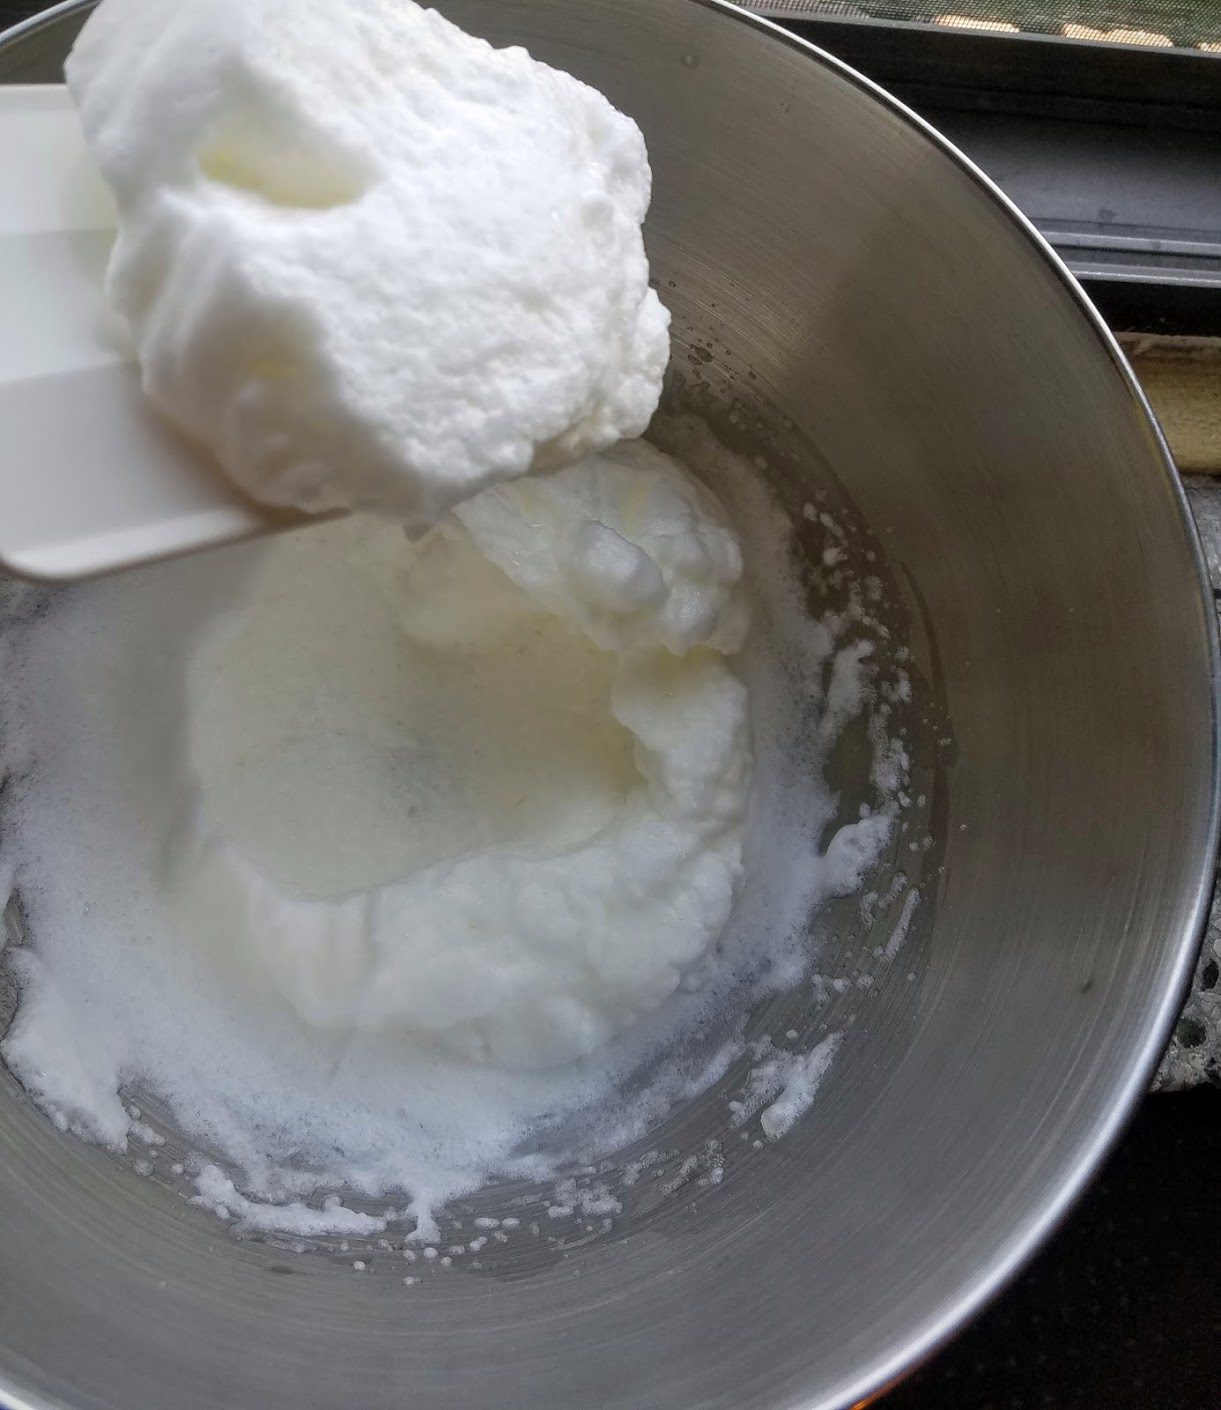
Whisk Egg Whites until soft peaks form.
merg.gif
Notice how thick you want it to be, before it’s finished.
*if you’re using a stand mixer - start at medium until start to foam & thicken, then turn to full speed until finished. This will take a couple of minutes, but don’t go too far.
In the meantime...
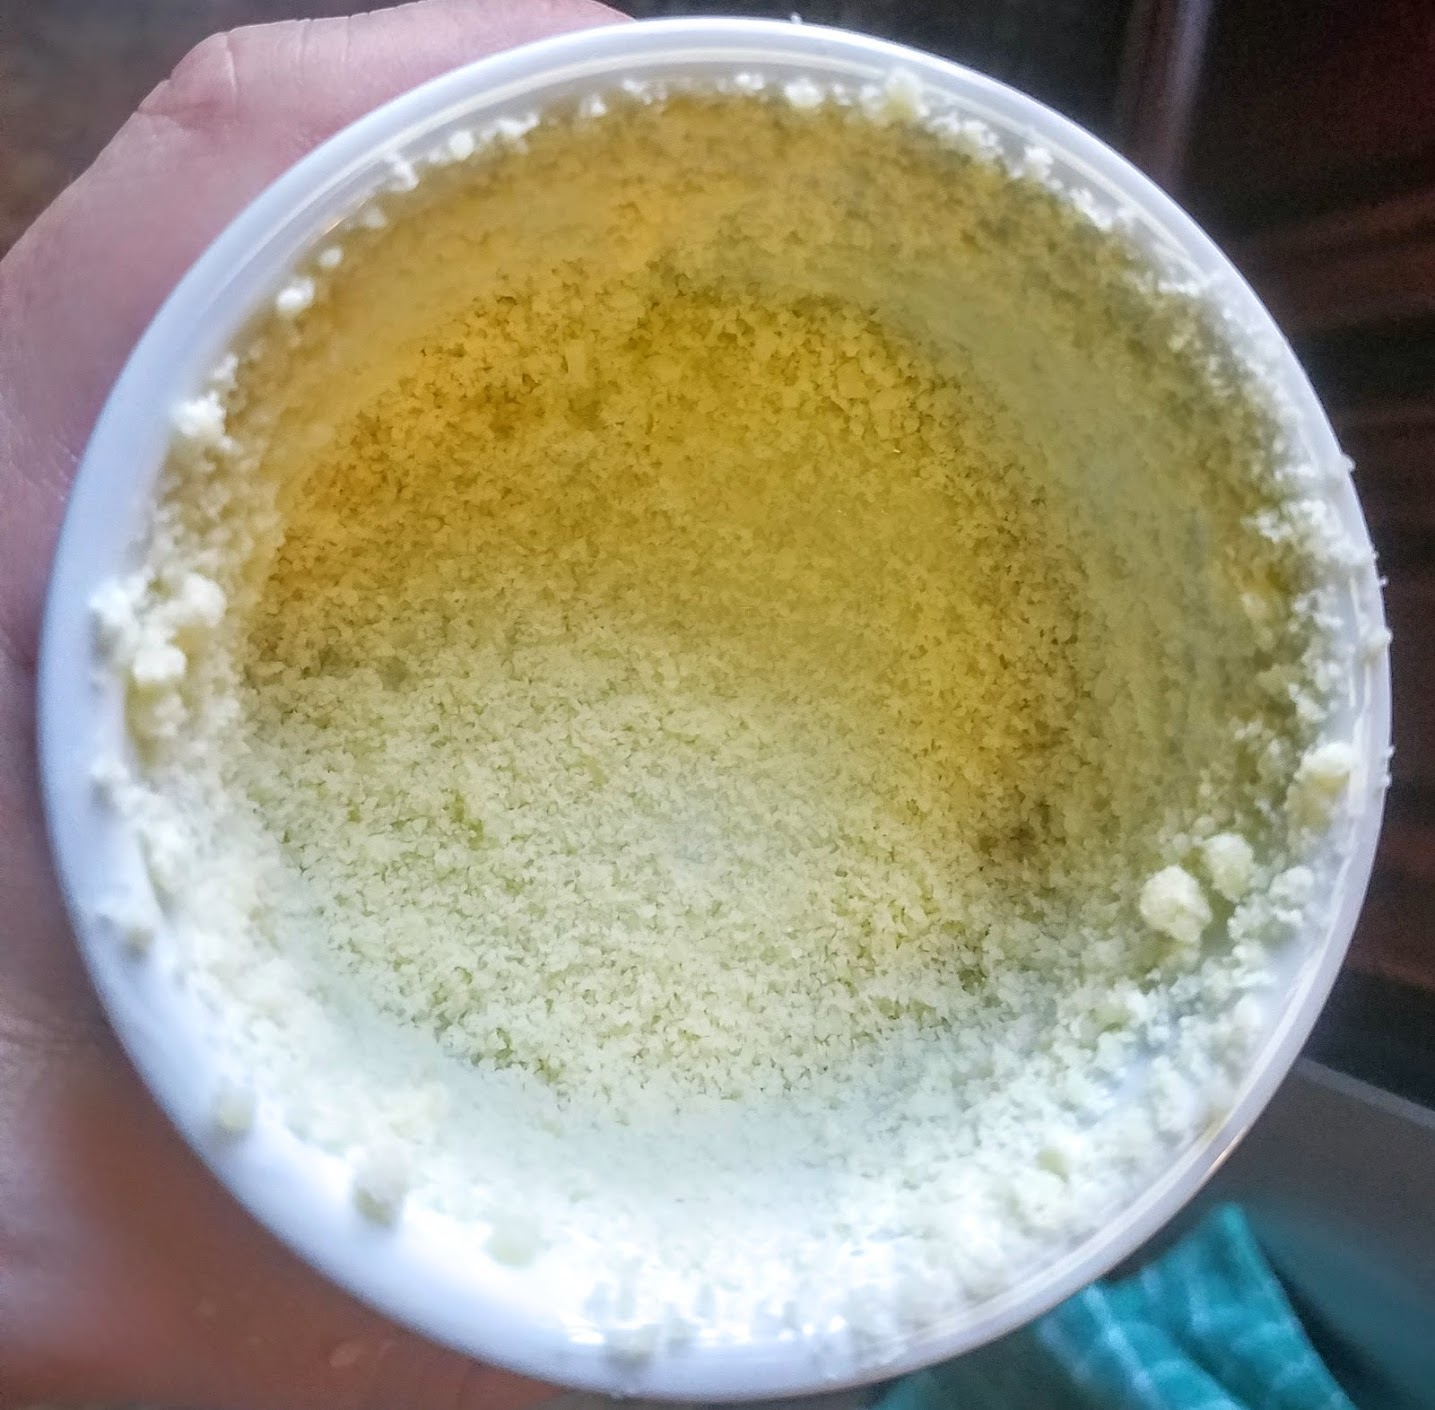
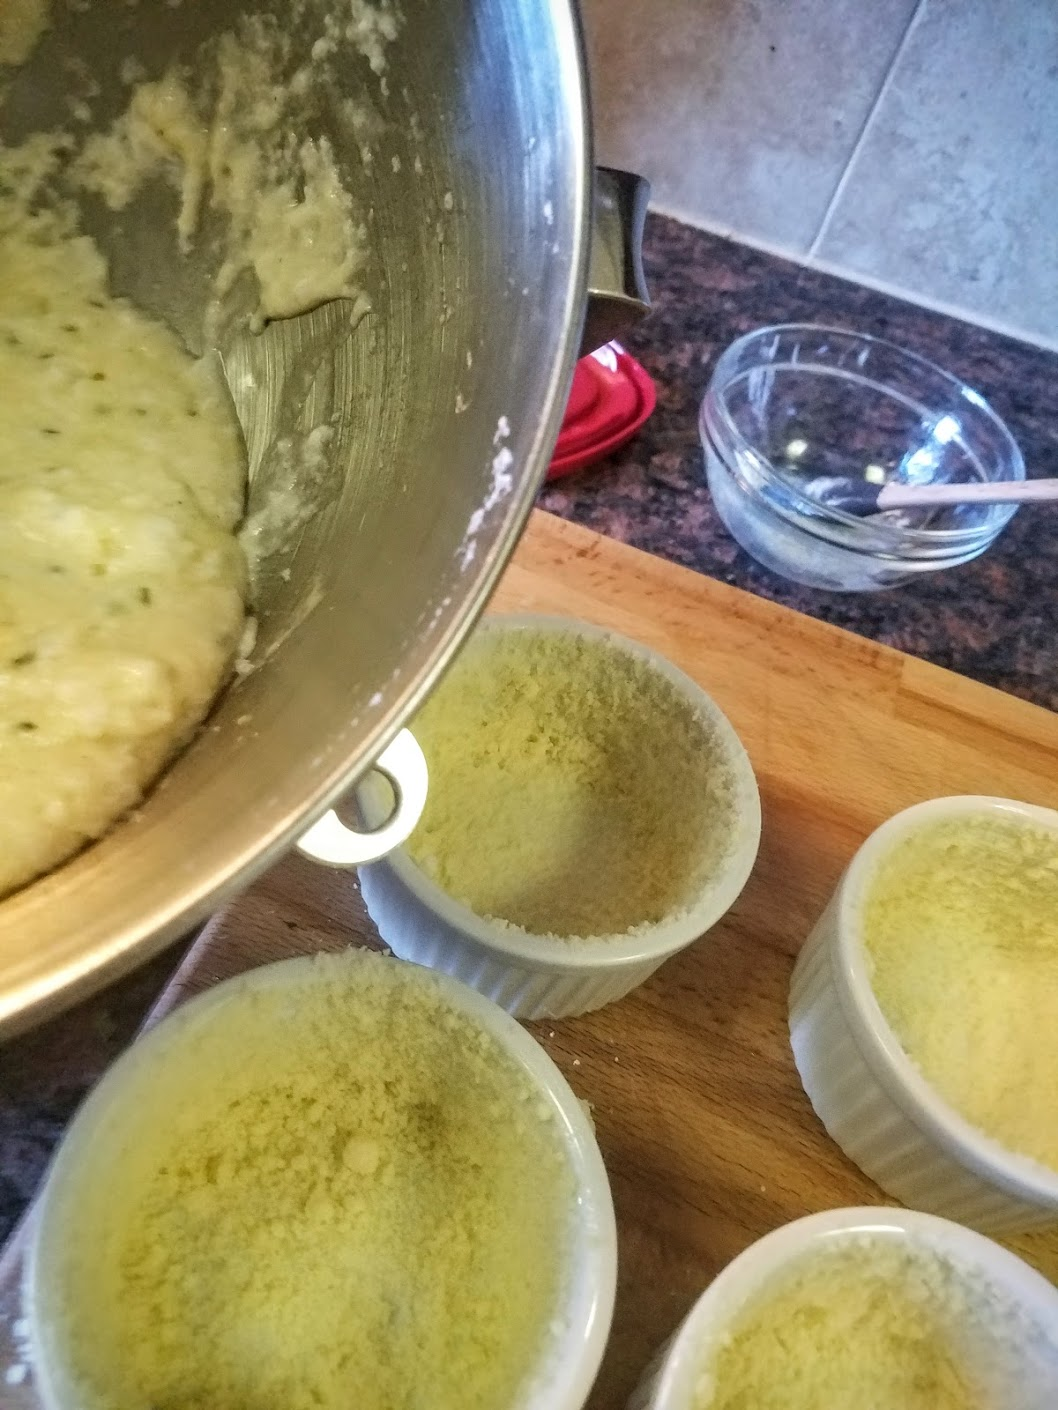
3)  Smear the butter inside the ramekin entirely. Then coat with the Parmesan.  
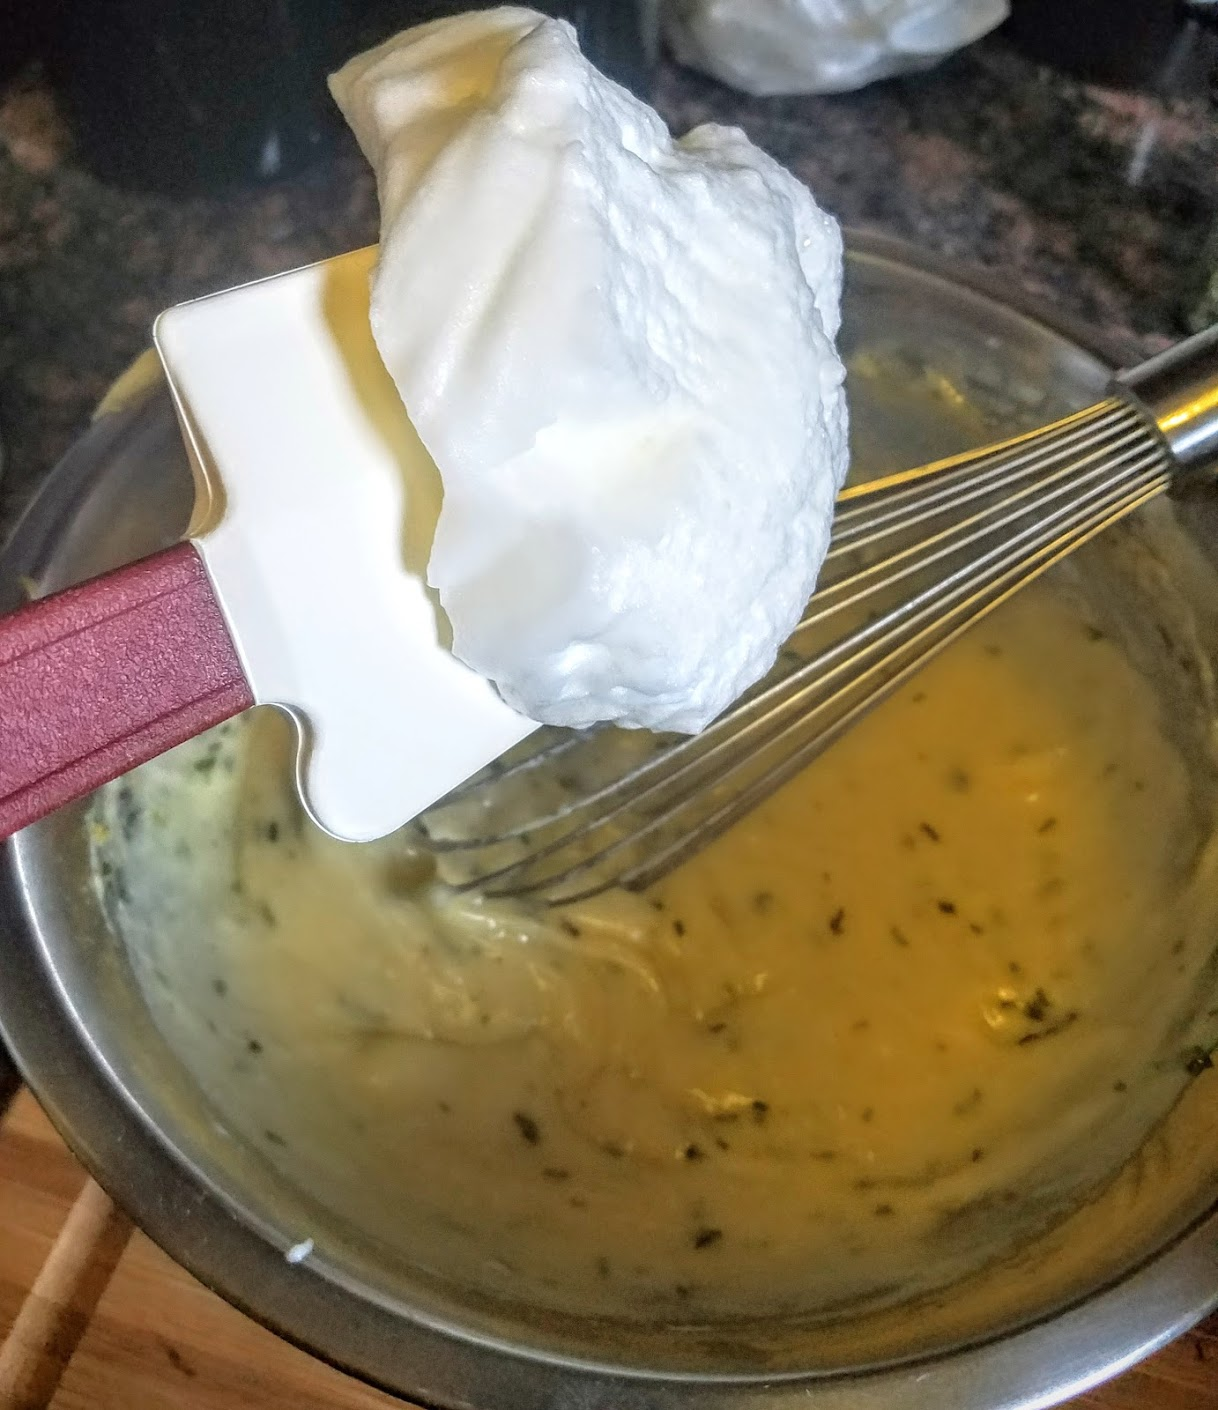
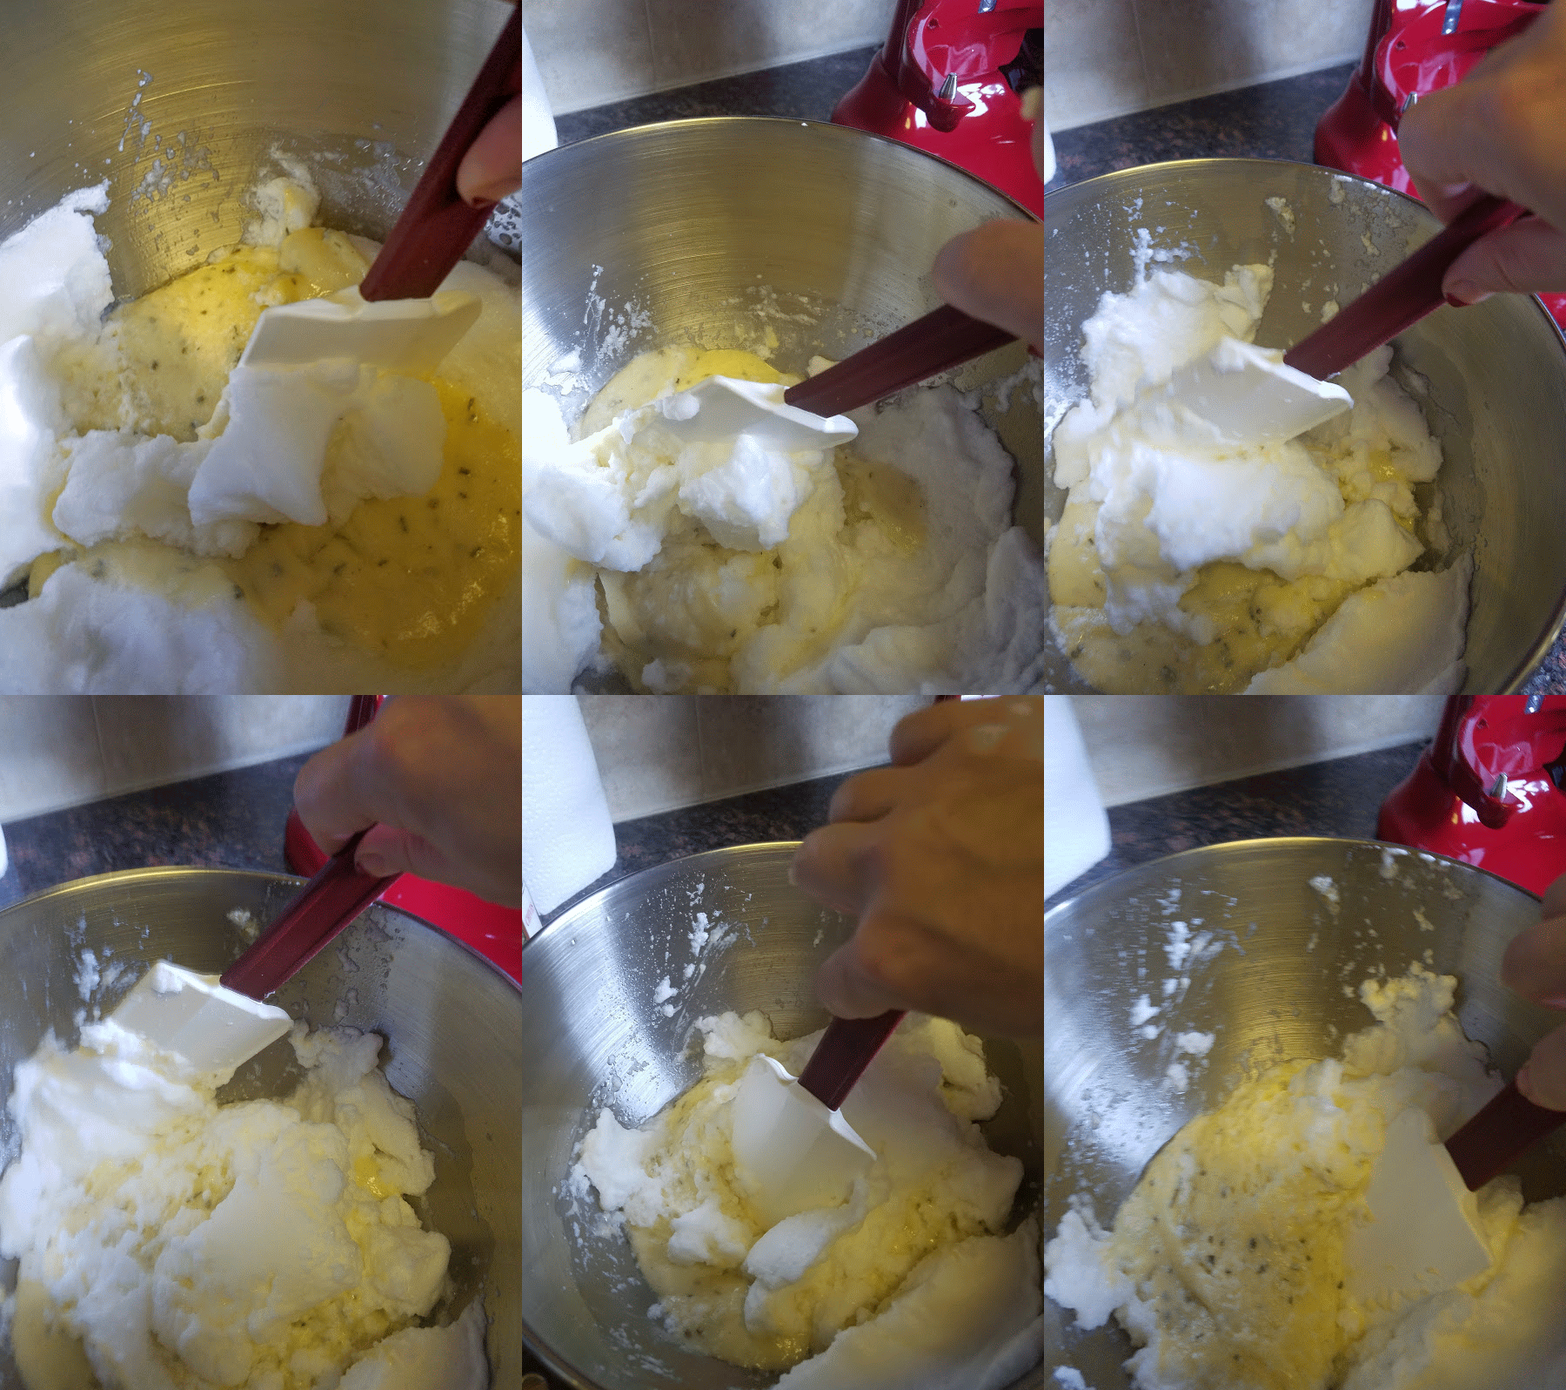
4) Fold Meringue into cheese mixture in thirds.
*Folding literally and gently. You do not want to break the meringue or make runny… you want to incorporate the two with working mixture as little as possible.
folding.gif
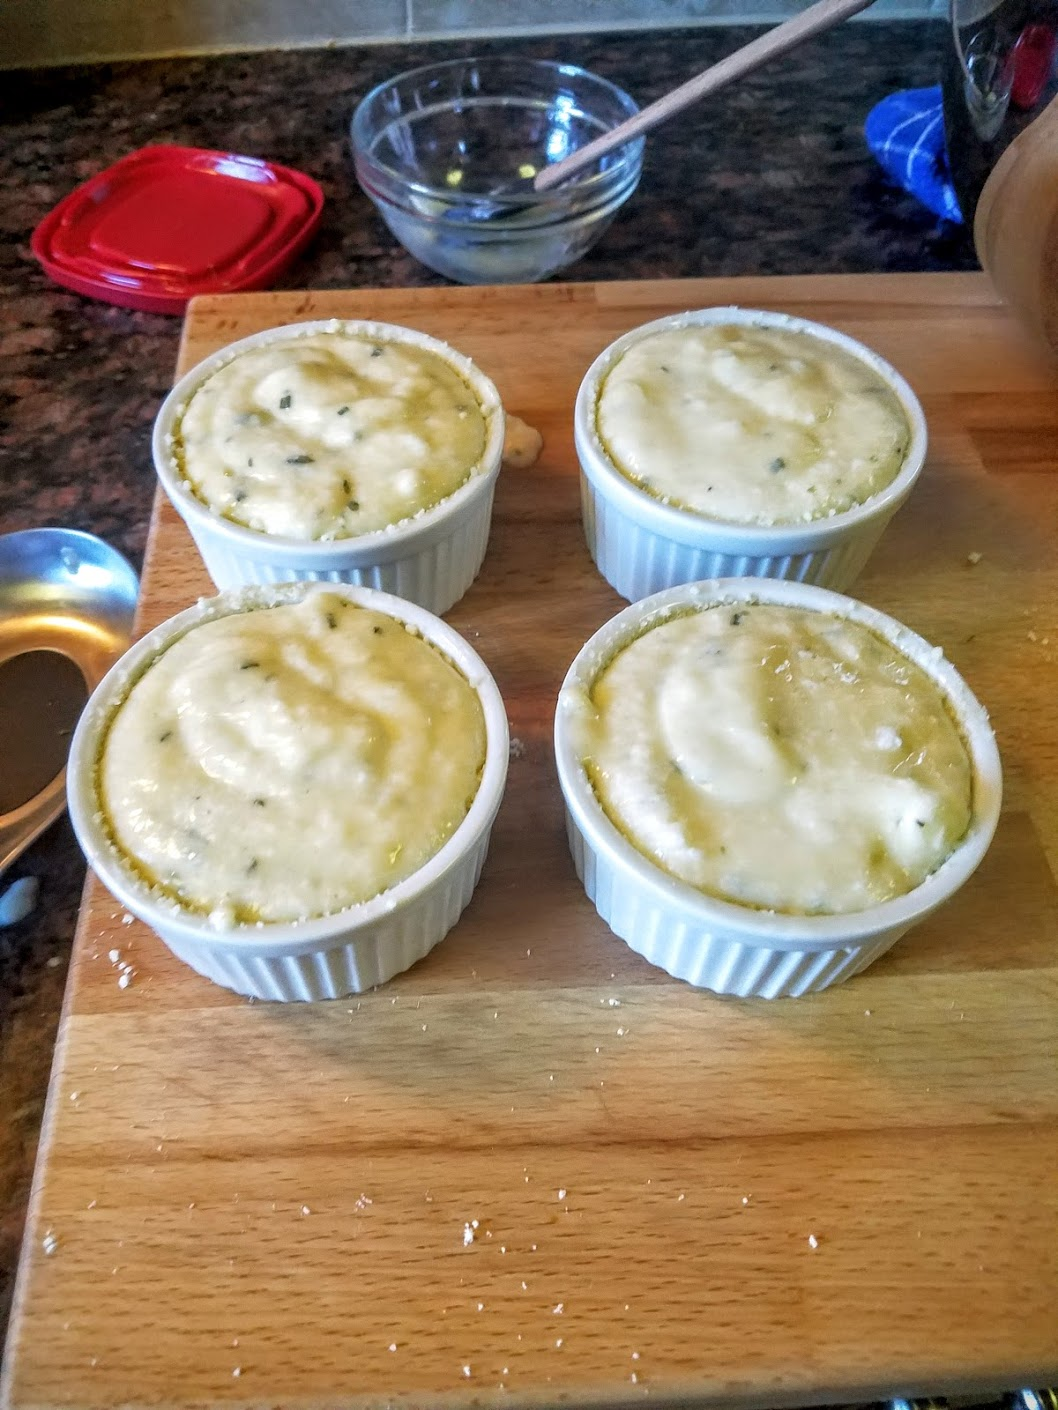
Divide between ramekins.
Bake on a baking sheet 15 minutes.
Reduce heat to 375 degrees.
*BE GENTLE around the oven space not to jumble stove, or ground… this is where souffles sink, along with your heart to the pit of your stomach… so be careful!

Bake until puffed, about 15 minutes.
Now remember to have your dishes, silverware, and whatever else ready because they will fall fast!
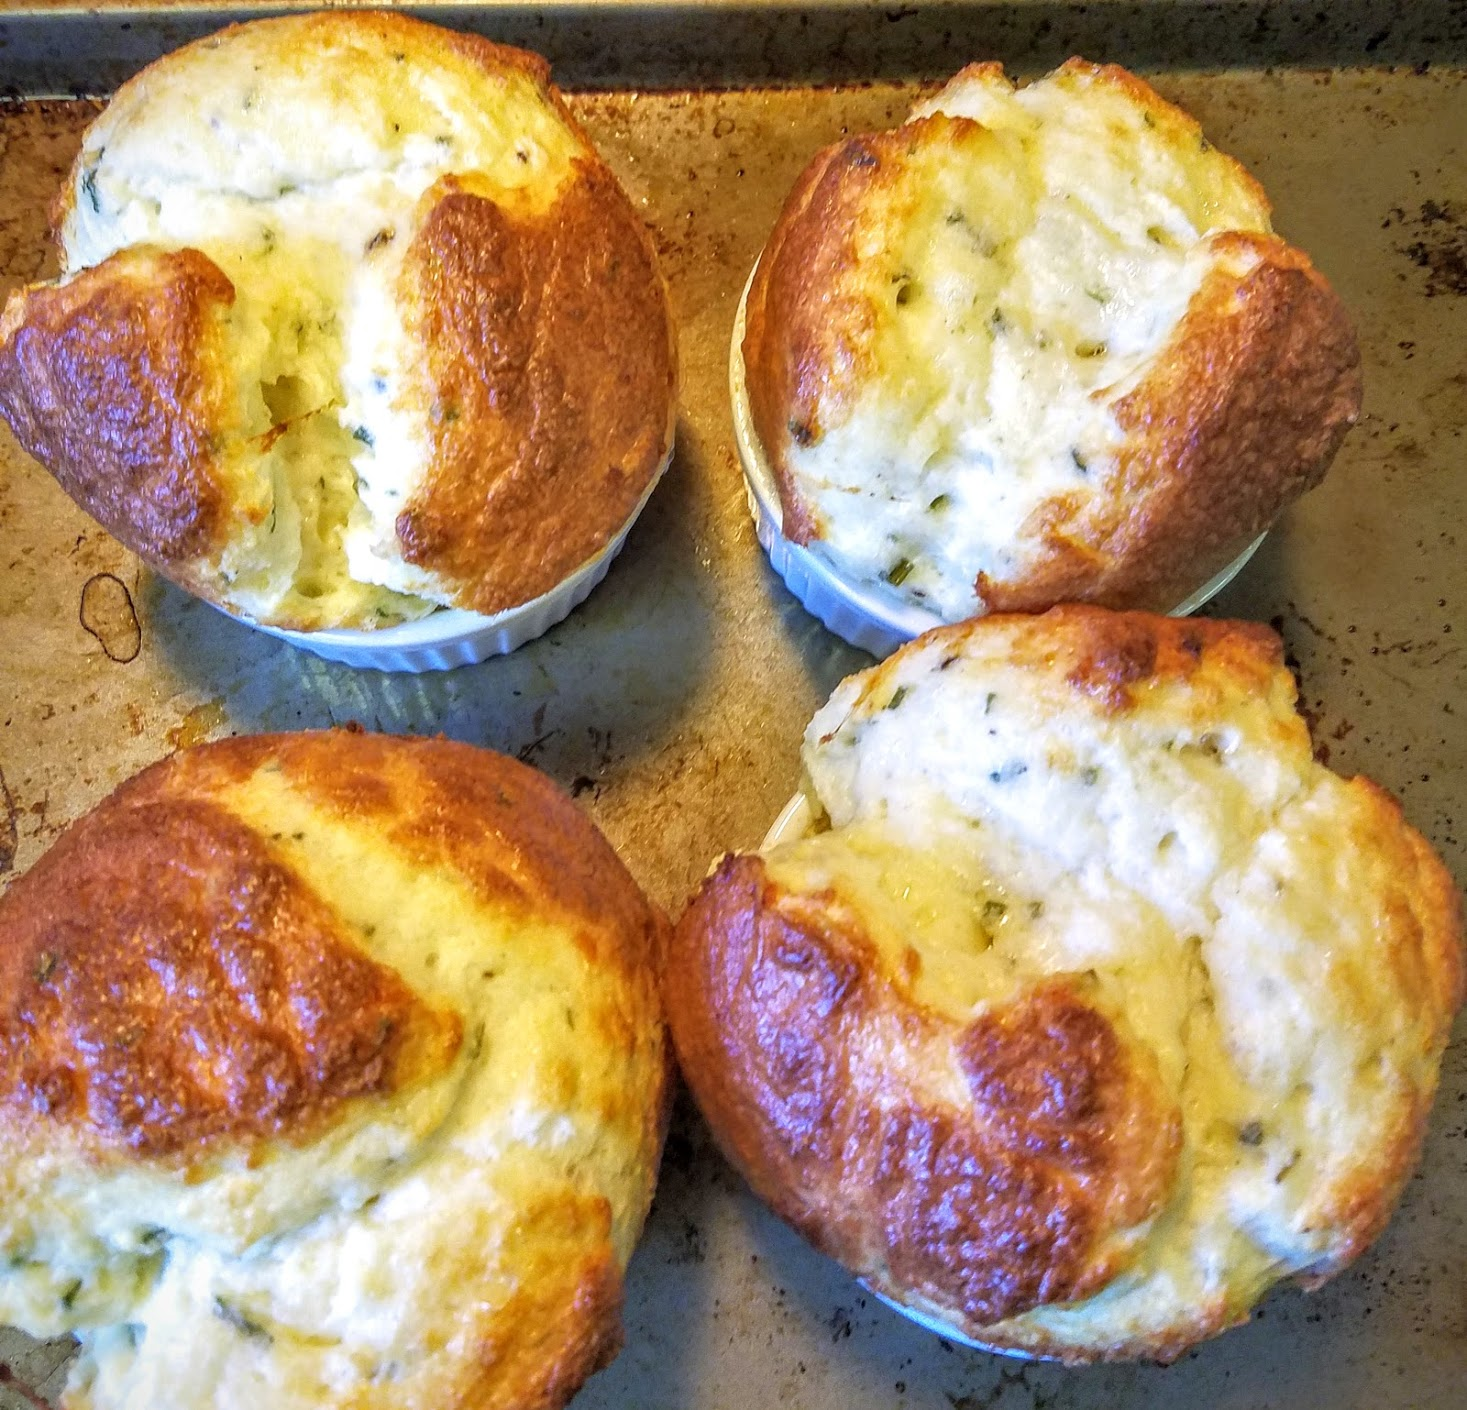
*You can not stick a toothpick in to check doneness, give it time to cook thru, but keep your eye on them because it all happens (or vanishes) fast! You can do happy dance (with out jumping or shaking the ground!) When they look like this...

Beautiful!!! Congratulations!!! You did it!!! Pull them out and gently put on surface, again they are fragile so don't drop them or you're souffle will too.


These are quite rich and filling so I recommend serving with my Peaches & Bacon Salad with Arugula, shown with. Now go and savor the moment! You’ve earned it!  


#CheeseSouffle #GourmetAtHome #DIY #Souffle #Baking #Brunch #SavorySouffle #FrenchCuisine #KitchenAid #EggSlut #ChefCaylena
Try serving it with my Bloody Mary!


Monday, June 27, 2016

STRIPED BASS


Striped Bass


There is nothing better than properly cooked, fresh seafood, in season! From the fun energetic fish markets, to the time everyone gathers around to marvel and the beautiful feast in front of them… I love seafood in the summer! 


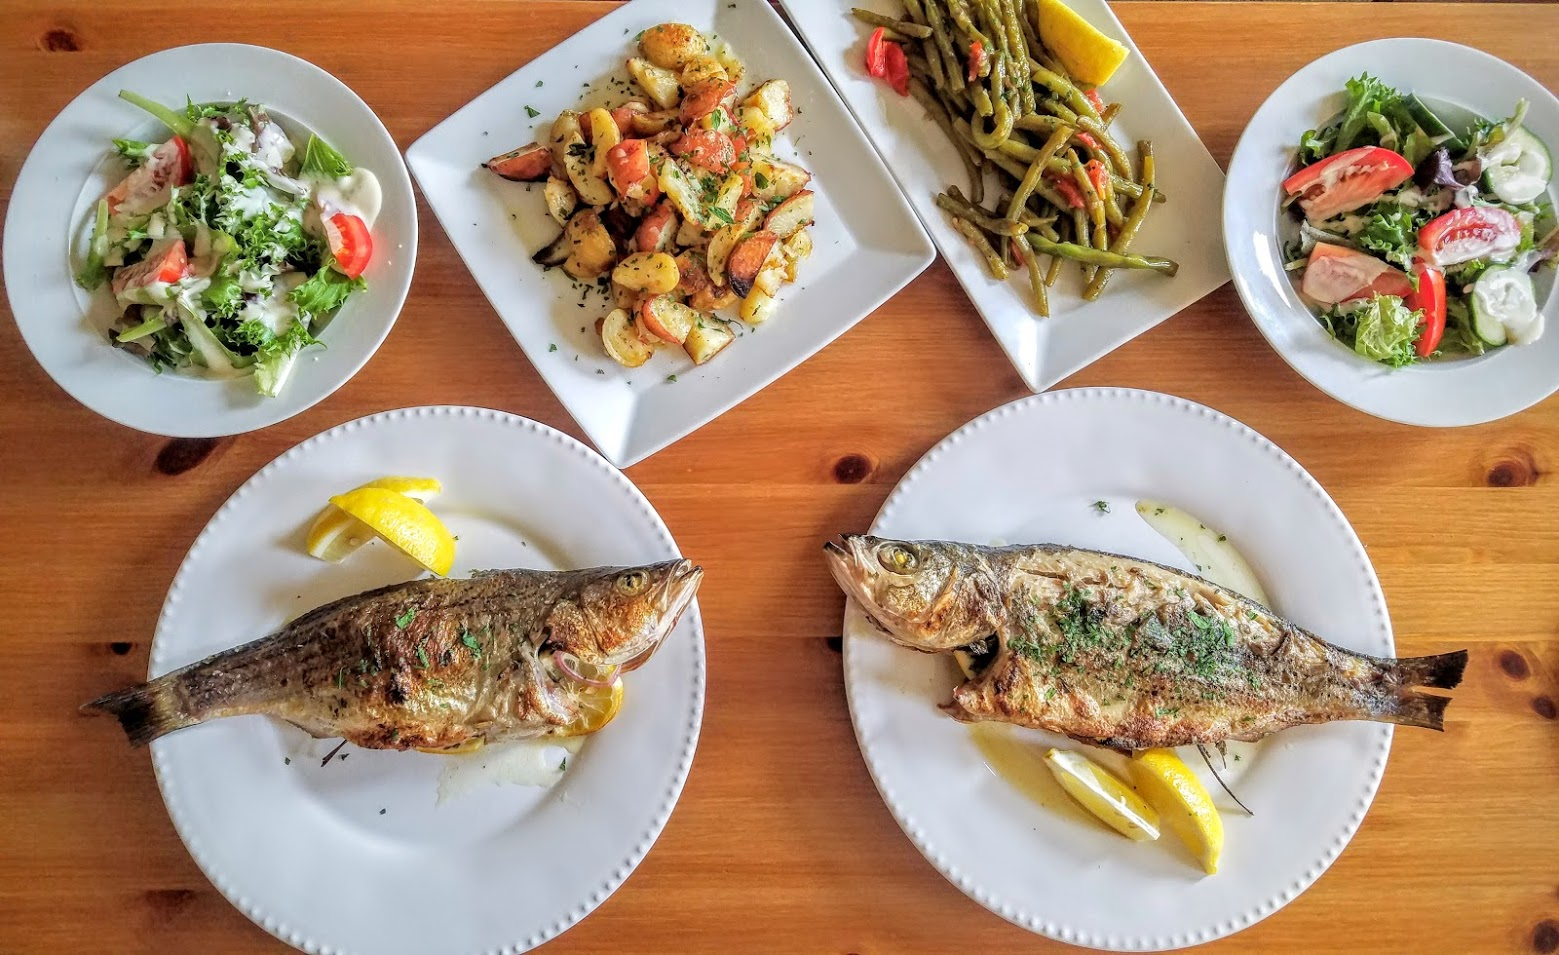
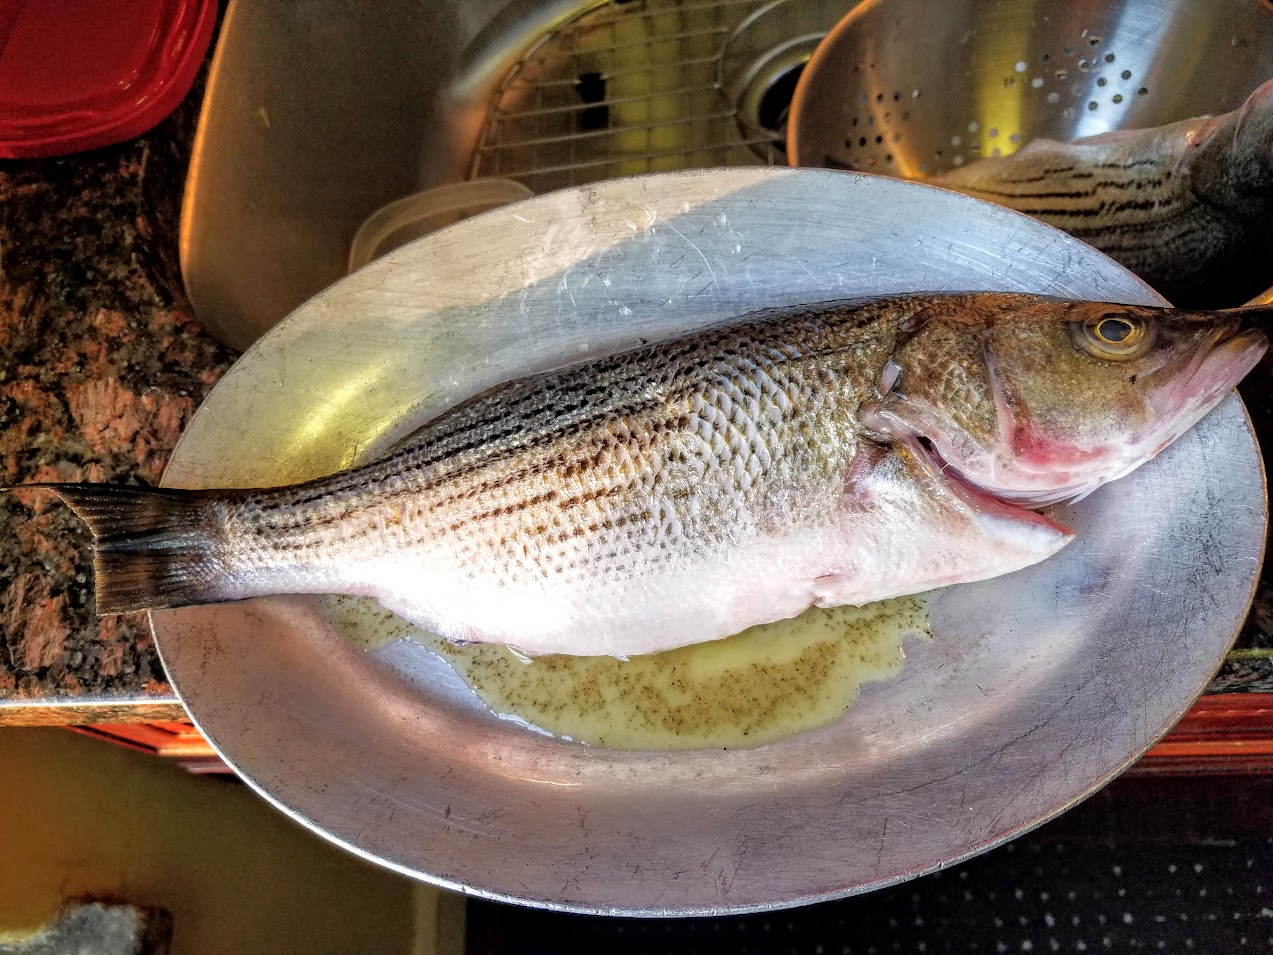
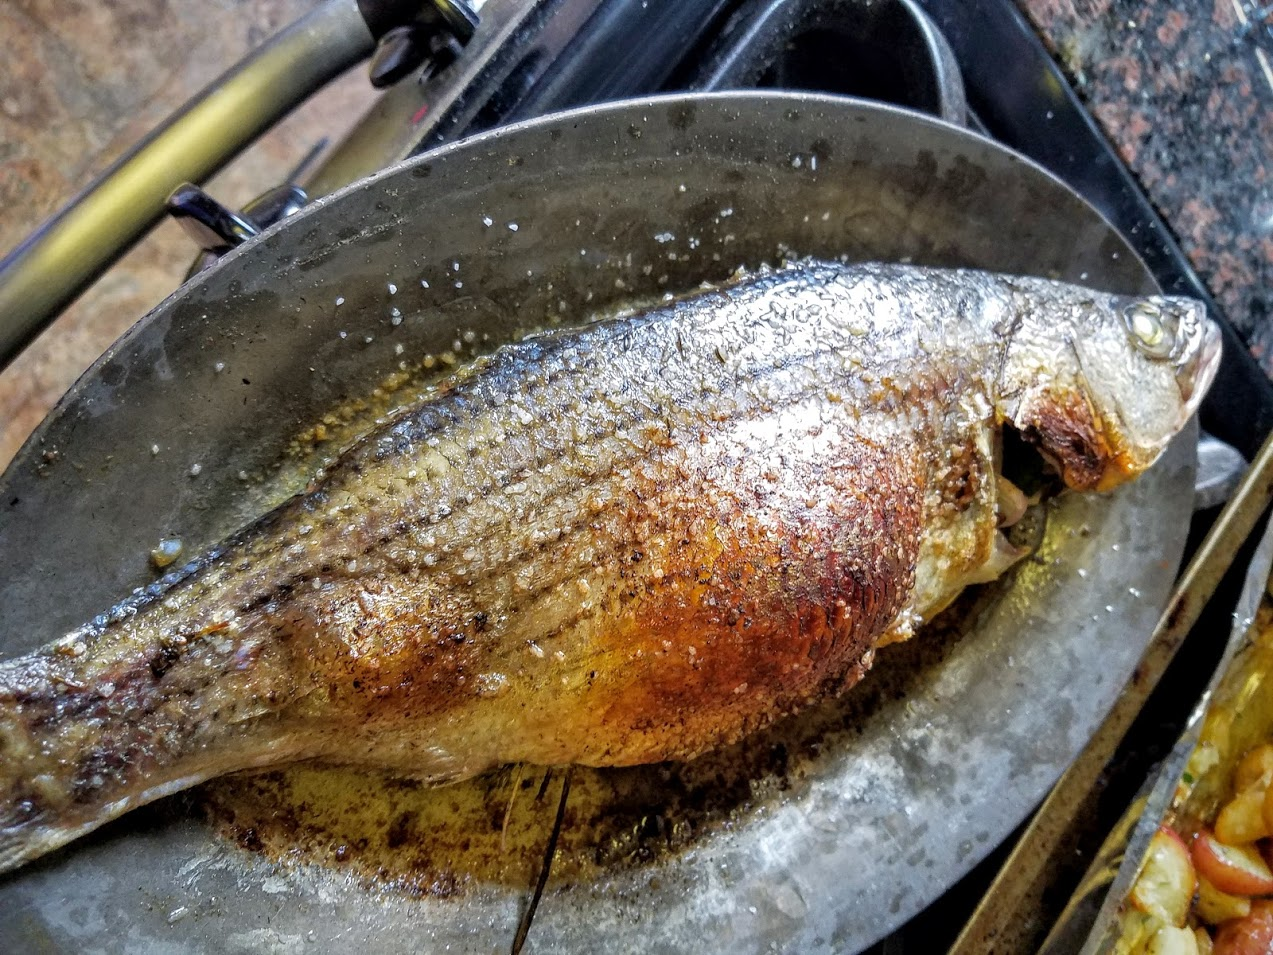
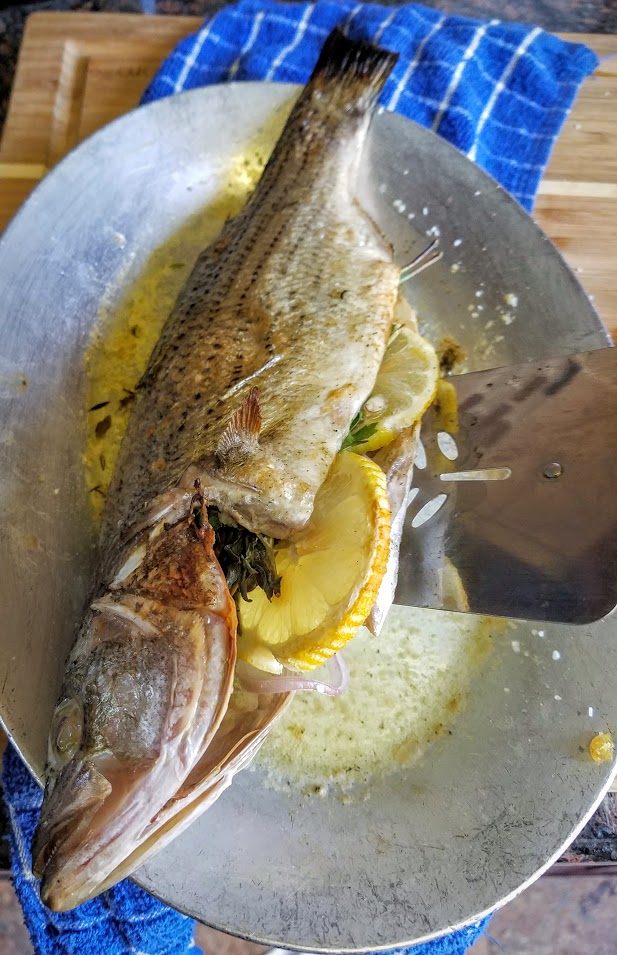
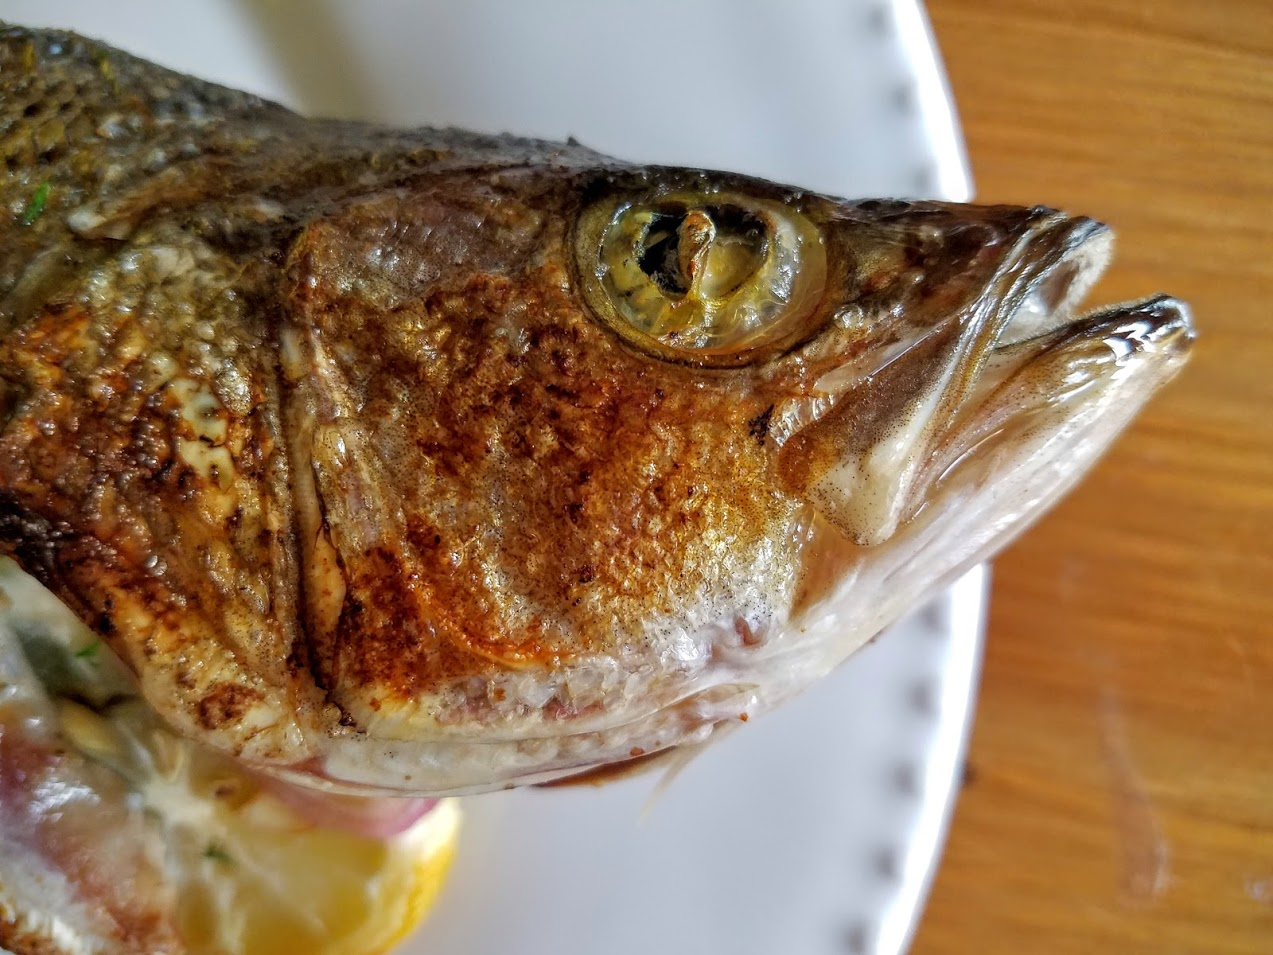
Grills and BBQ's are working overtime right now, for a beautiful fish to accompany them at your gathering, or elegant enough for a sit down dinner, this is a perfect Summer fish course. Present the whole fish as above to really impress, and with a fish spatula if it’s a communal dish, letting your guest serve themselves, in awe.

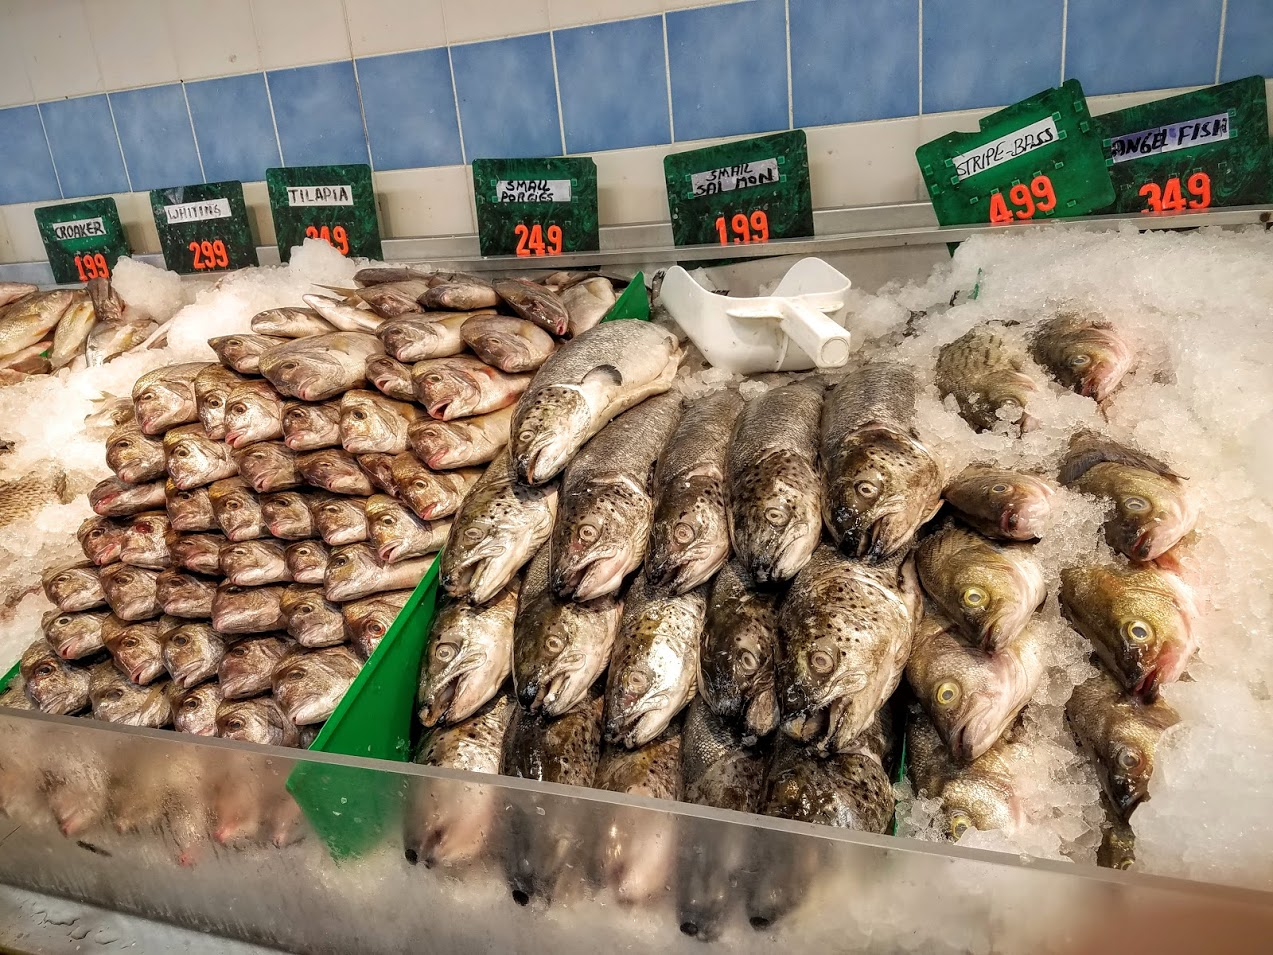
Although buying fish is a bit overwhelming if you’re not sure what you’re looking for, how to buy,  how to properly filet, how to prepare it, cook it, and serve it, and a million other concerns, like, what exactly is a fishmonger?


A simplified outline for those of you who need it:
  • Buy local and a place you trust that knows where their fish comes from.
  • Have any questions - ask your fishmonger - the one who sells, debones (not today), and cuts your fish.
  • Buy the fish where you can physically get close enough to touch it, more importantly smell it!


What you’re looking for:
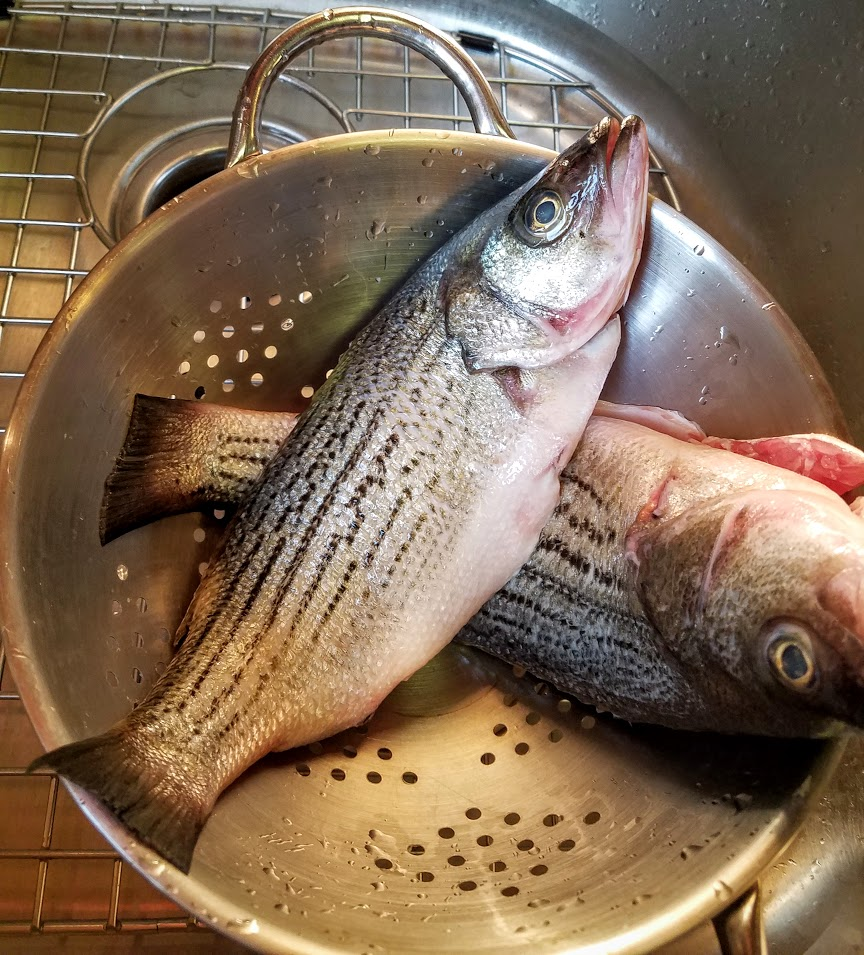
  • Shiny and bright. Firm scales and skin that bounces back after you touch it - does not sink or take to long to plump back up.
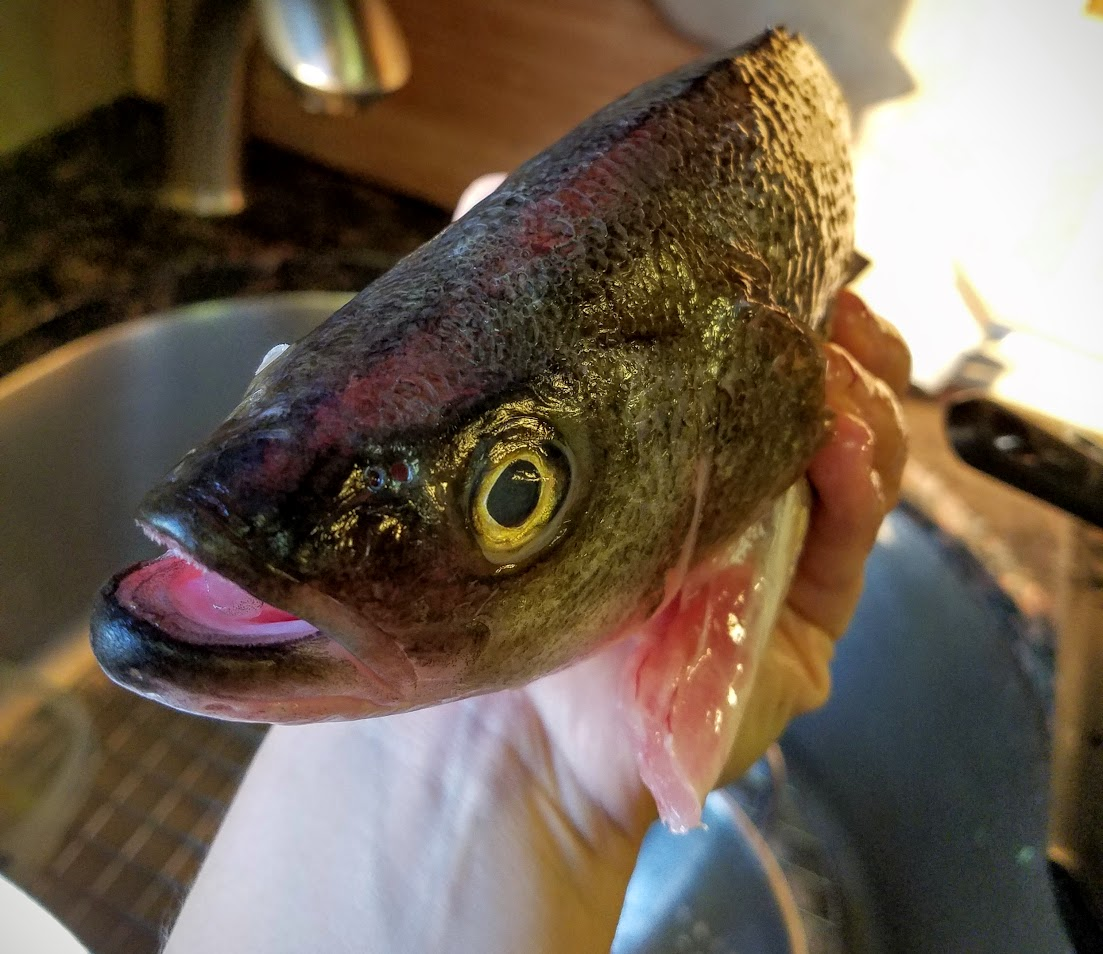
  • Bright and shiny eyes - not sunken in or decay.
  • Brightly colorful gills, full of blood - you want to see them because they’ll cut them off before you take it home.
  • Same for the stomach; you want to see that it is full and intact before they remove it - not punctured in any way.
  • Of course the most obvious - odor free! It should smell like the ocean and of fresh fish - Not funky fishy nastiness.


Striped Bass with Sperma!
-Yes Sperma! Follow the link for the recipe… and the story behind the name. Simple, Fast, Divine!


Difficulty: Moderate Time: 10-14 min per fish, 10 min prep Clean Up: easy!


  • Striped Bass - scaled, fins & stomach removed only; leaving tale, head, skeleton in tact.
  • Salt & Pepper - plenty
  • Olive Oil & tsp butter per pan - for searing
  • Shallot - sliced 2-3 pieces per fish
  • Lemon - sliced 2-3 pieces per fish & more for garnish
Thyme, Oregano, Parsley- couple sprigs each (same you use for Sperma)


You’ll have had your fishmonger scale and take off all the fins but the tale, and empty the stomach. (Unless you feel comfortable doing this yourself.) They aren’t going to debone this fish, you’ll be cooking with the skeleton in tack, as well as the head!  So just the guts, fins, and scales. Always double check with your hand when your home to make sure the scale are all removed, or take the back of a knife and wipe the rest off. Clean the inside and out of the fish - they did not do this before handing it to you and it most likely was the same knife to do both, amongst many others.
The sizzle platter is one of my most important essentials in the kitchen. A knife, tongs, and sizzle platter is really all you need. When you’re broiling fish, you want something that is individual so that you can control everything, especially if you’re making a few, or serving a lot! Not everyone has these readily at home, so use an aluminum pan - oiled up- and don’t over crowd.
(Side Note: sizzle platters are what we use in the professional kitchen & and I at home, for EVERYTHING! They’re around $6 each- rediculously easy to clean! So considering grabbing a few.)

  • Use the Sperma to coat the pan and both sides of the fish. 
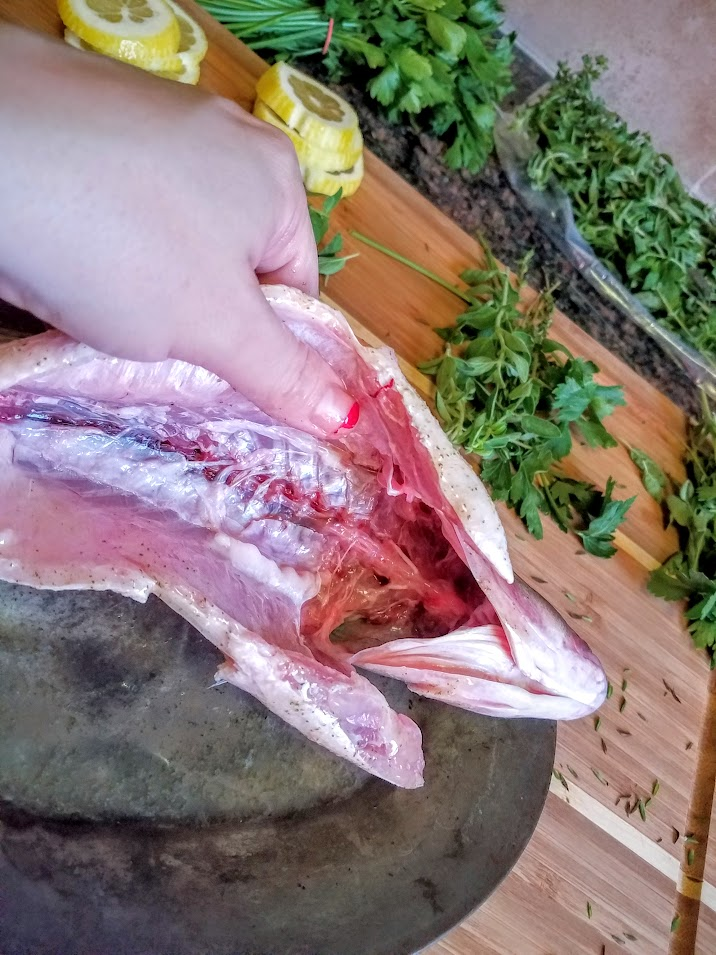
  • Open cavity and season both sides with salt & pepper.
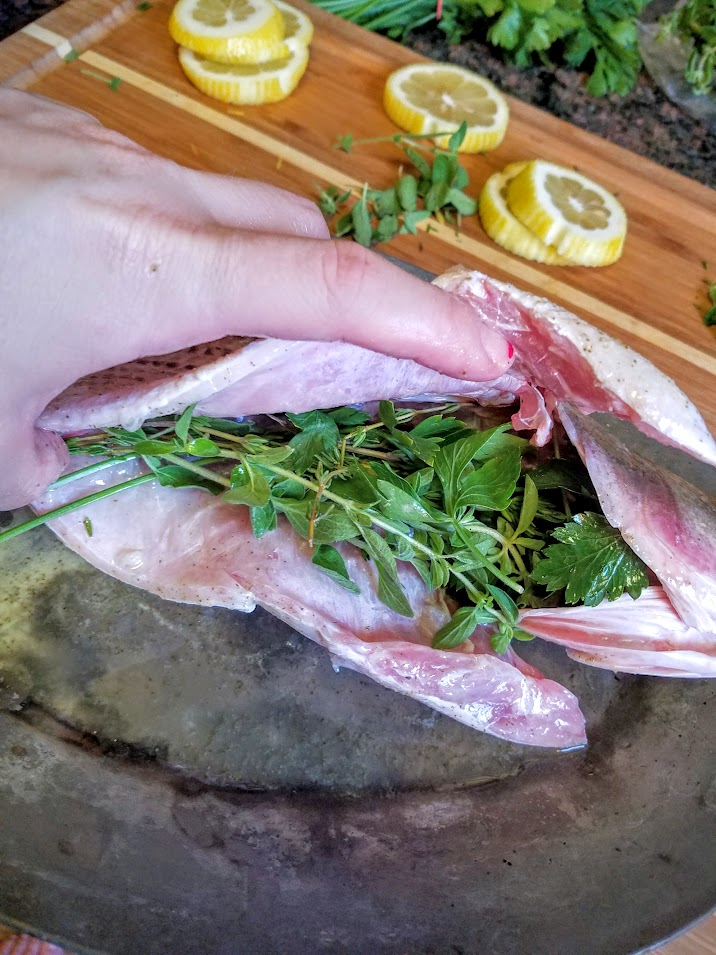
  • Stuff the herbs, lemon, and shallots. (Refrigerate until ready to cook!)


  • Turn Broiler on High. Place rack 6” from top.


  • Make sure pan is well coated with Sperma or Olive Oil so skin will not stick to pan. Coat top of fish as well.

  • Salt skin sides of the fish well.
  
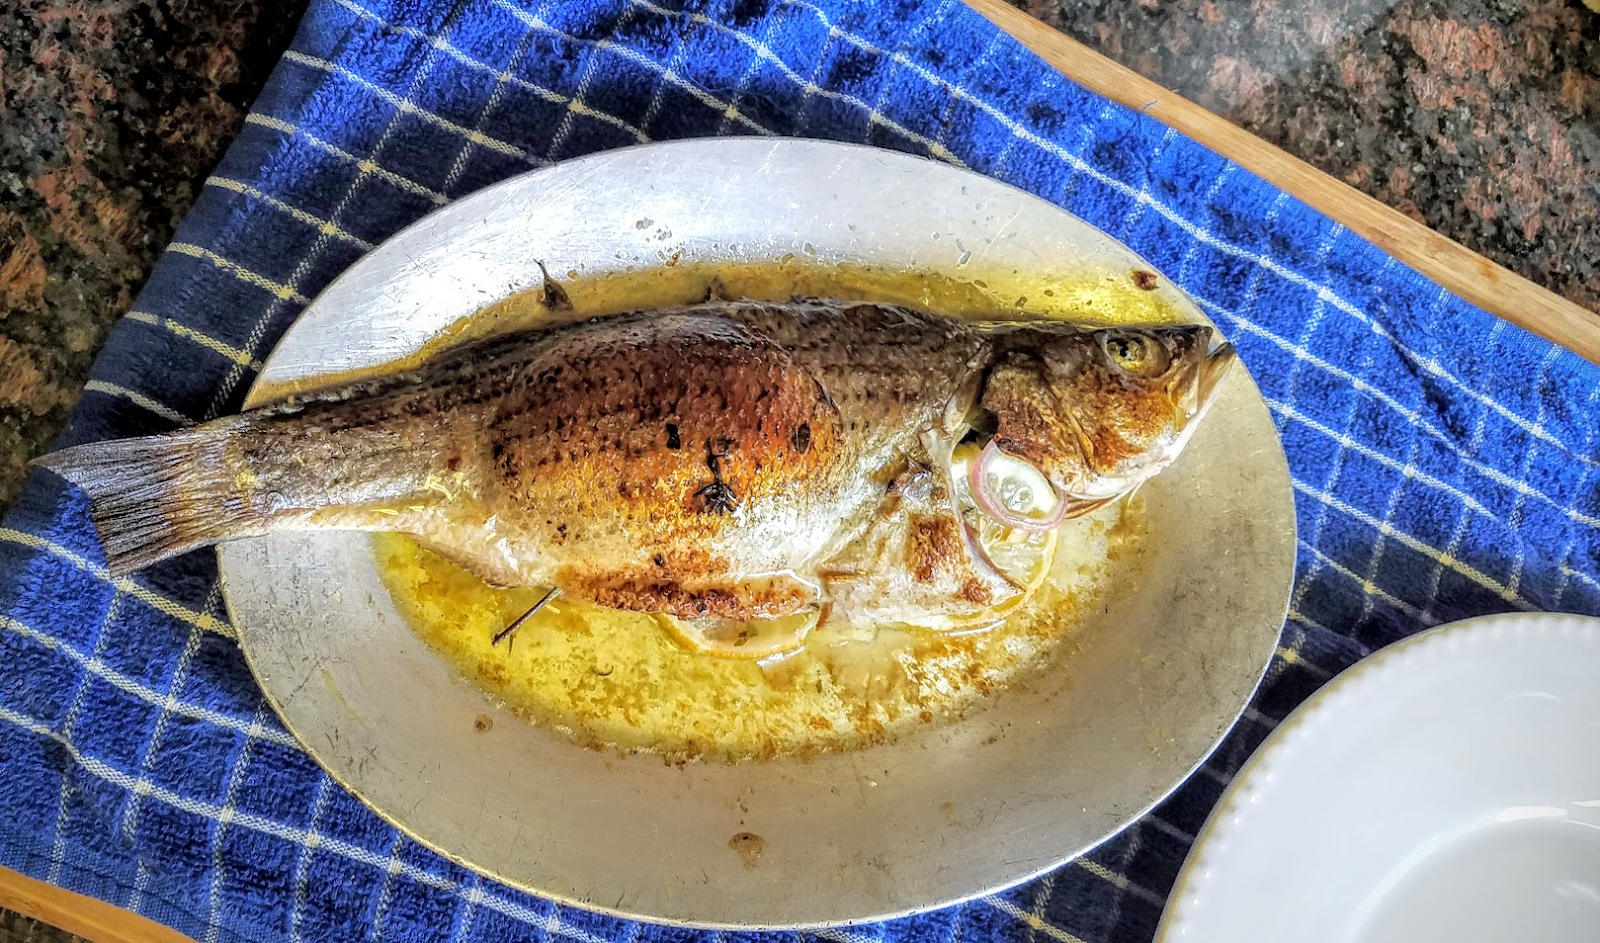
  • Place fish in oven for 6 minutes. Check to make sure it’s golden brown, may need a minute or two longer pending on oven.


  • Take the entire pan out of the oven.
  • More Sperma! You want to make sure it’s coated so the skin will stay on when finished!
  • Gently and carefully use fish spatula to edge under fish until it’s sliding easily, and a clean flip is available. Use fingers if have to but make sure you gently flip, not like pancakes.

  • Add more Sperma on the top of the fish showing.
  • Put back in the broiler for another 6 or so minutes.
  • Have plates ready because you’ll be serving immediately.
  • Take a spoon and use the juice from the pan to base fish before plating.

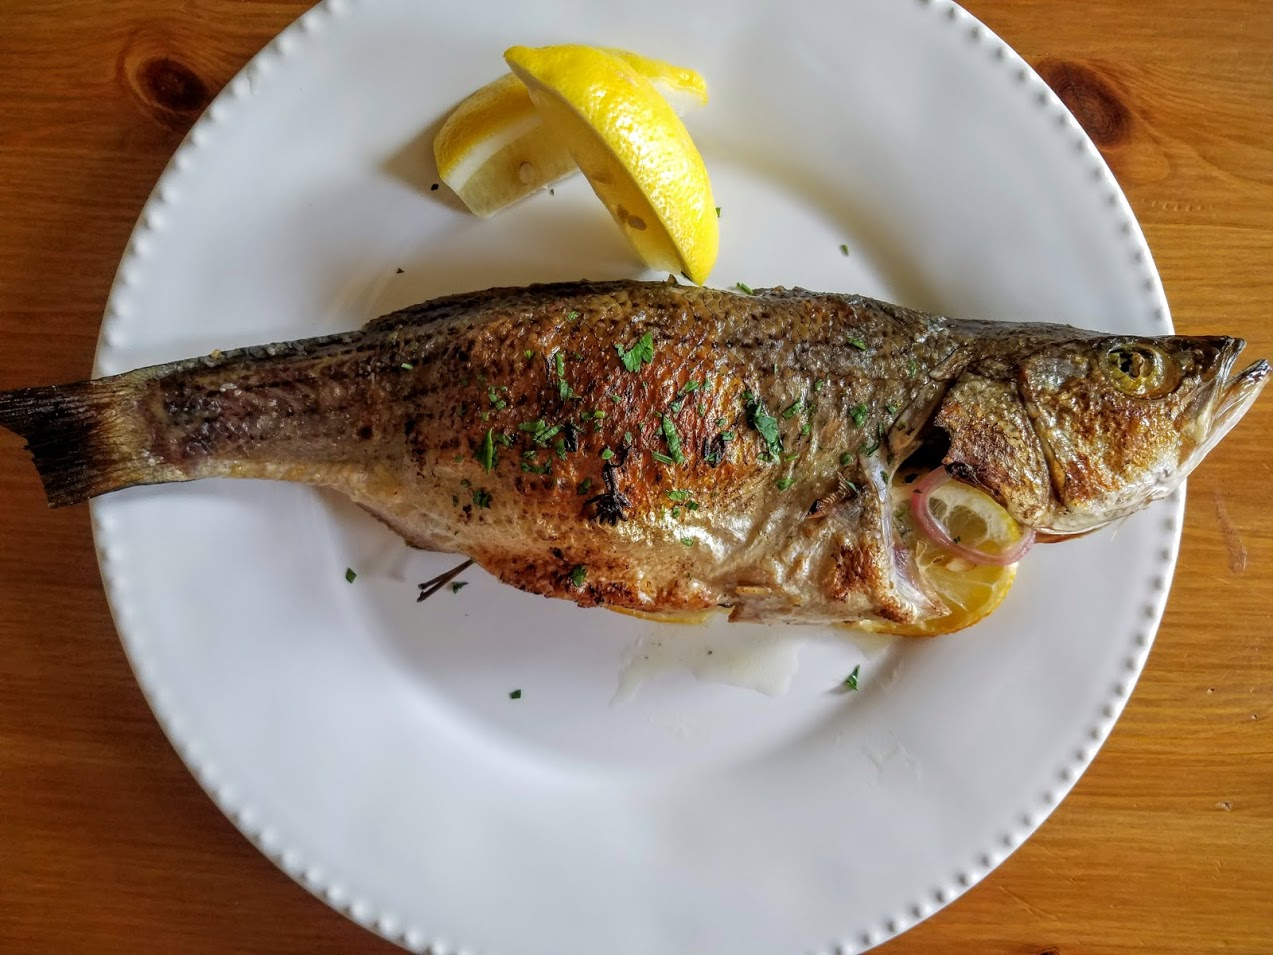
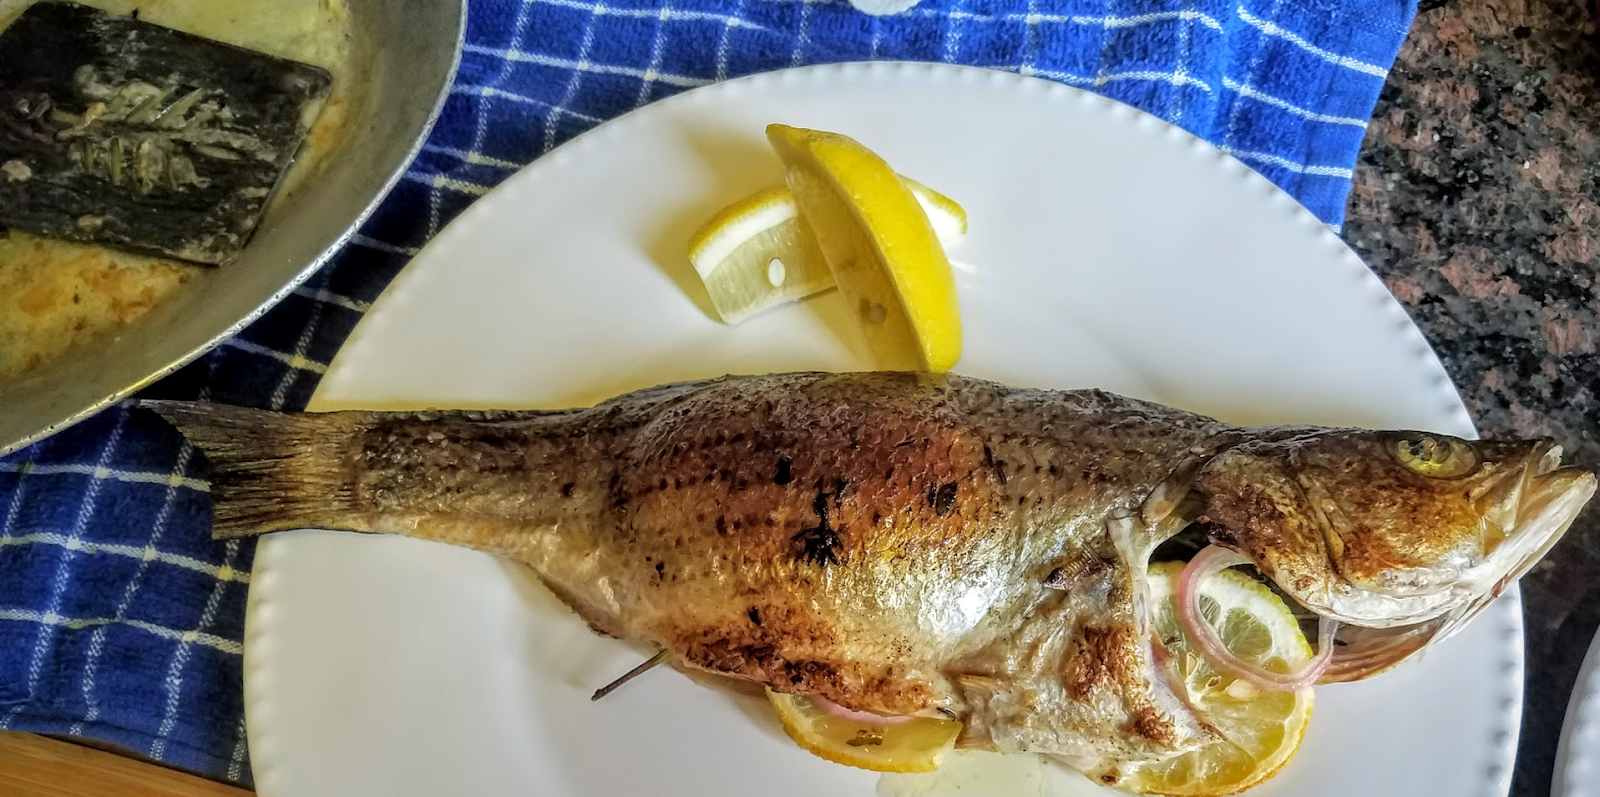
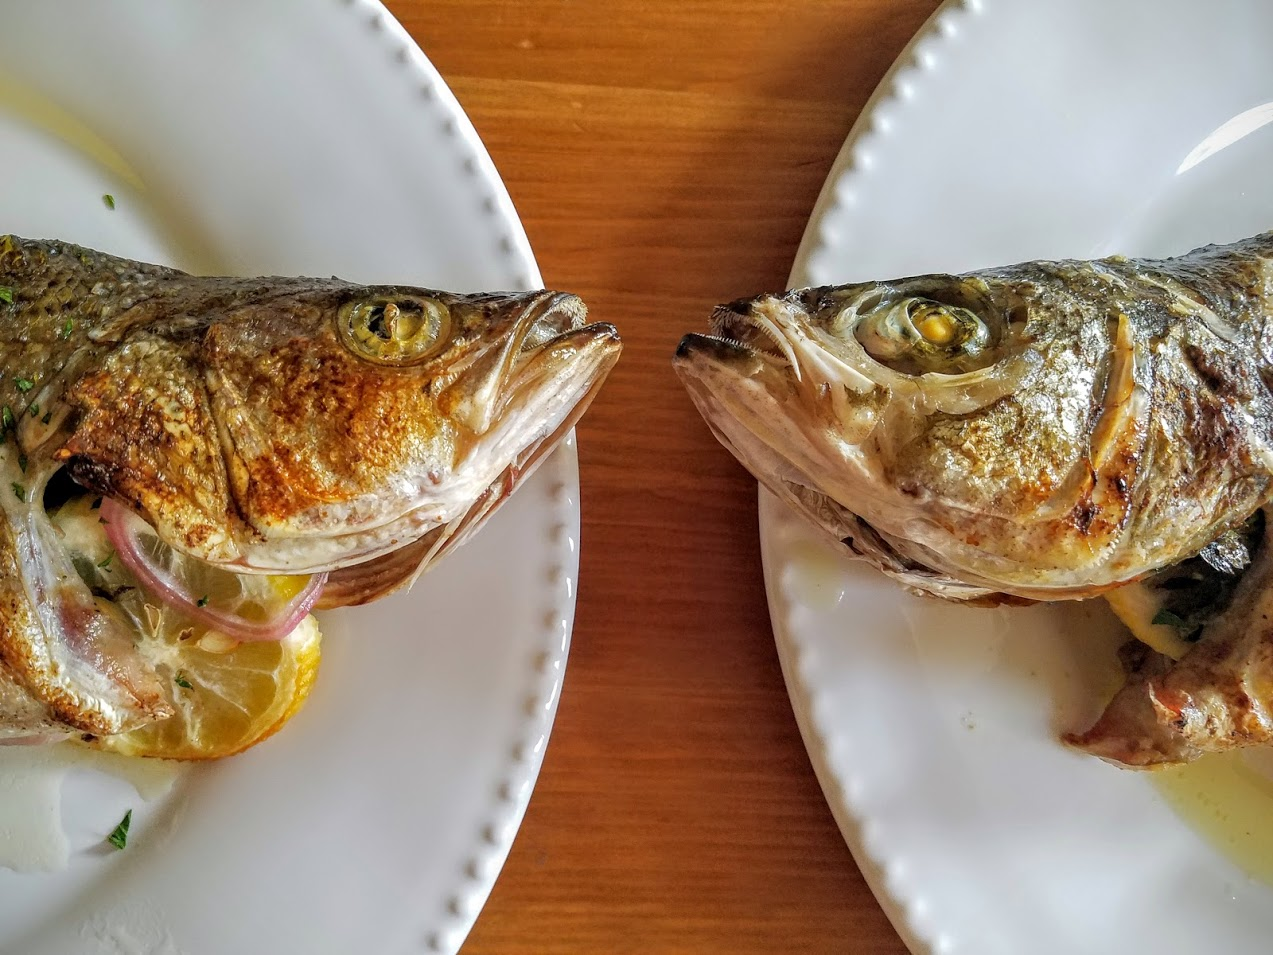
You may leave the filling or remove. I leave it in for that extra beautiful aroma that escapes when it’s opened on the table. I also serve it all by itself with only lemons because it looks beautiful and this way you won’t need a separate plate for the herbs and bones once you remove.
Careful of the bones when eating. Flip open the fish, after breaking neck off with spoon, the spine/skeleton of fish should easily lift right out, though there will be bones throughout so eat carefully.


Now that was Simple, Quick, and Divine! Go enjoy!
#StripedBass #Organic #LocalFarming #GourmetCooking #DIYGourmet #IndependenceDayMeal #Hosting #Entertaining #GlutenFree #DiabeticDiet #Paleo #FoodandWine #Seafood #Broiling #4thOfJuly #PicNic #HealthyDelicious #SeasonalFish #AllAmerican #ChefCaylena